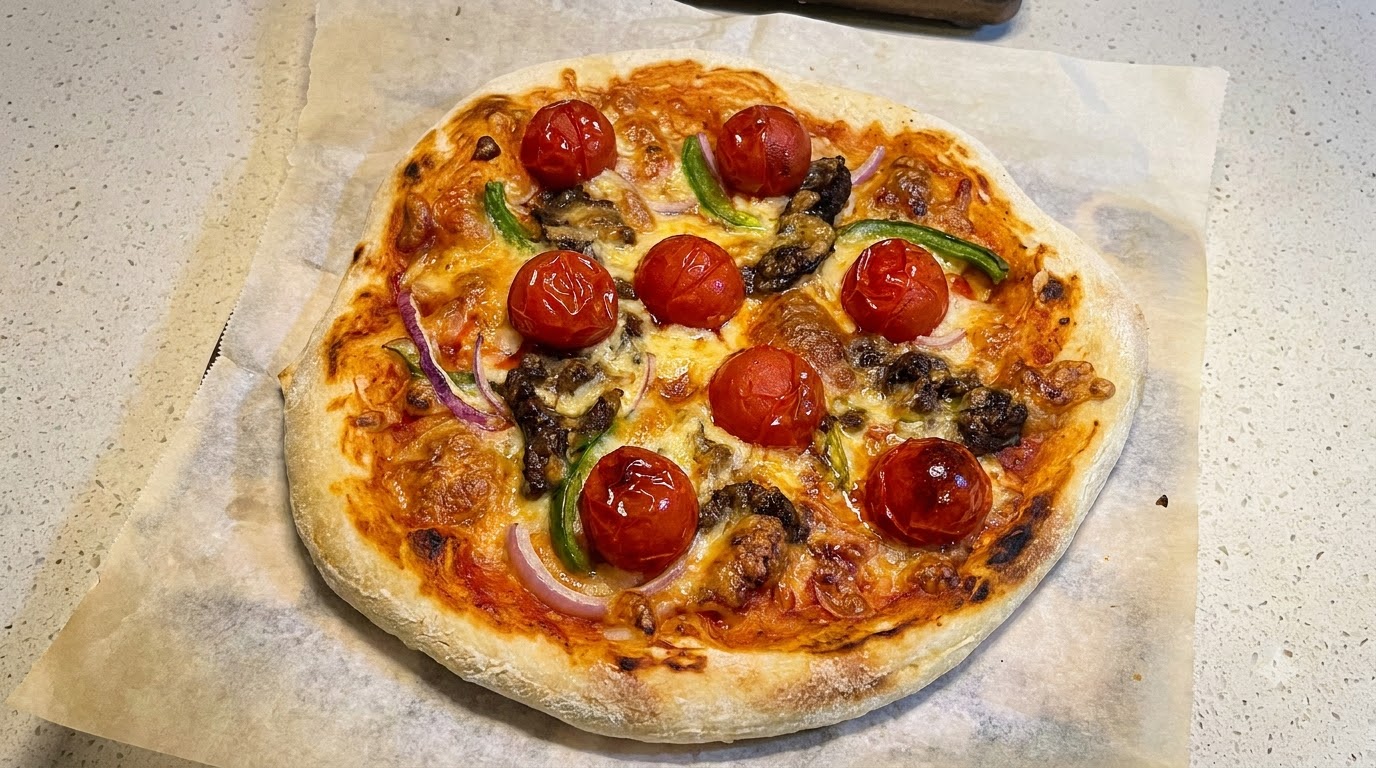
Homemade Small Pizza from Scratch
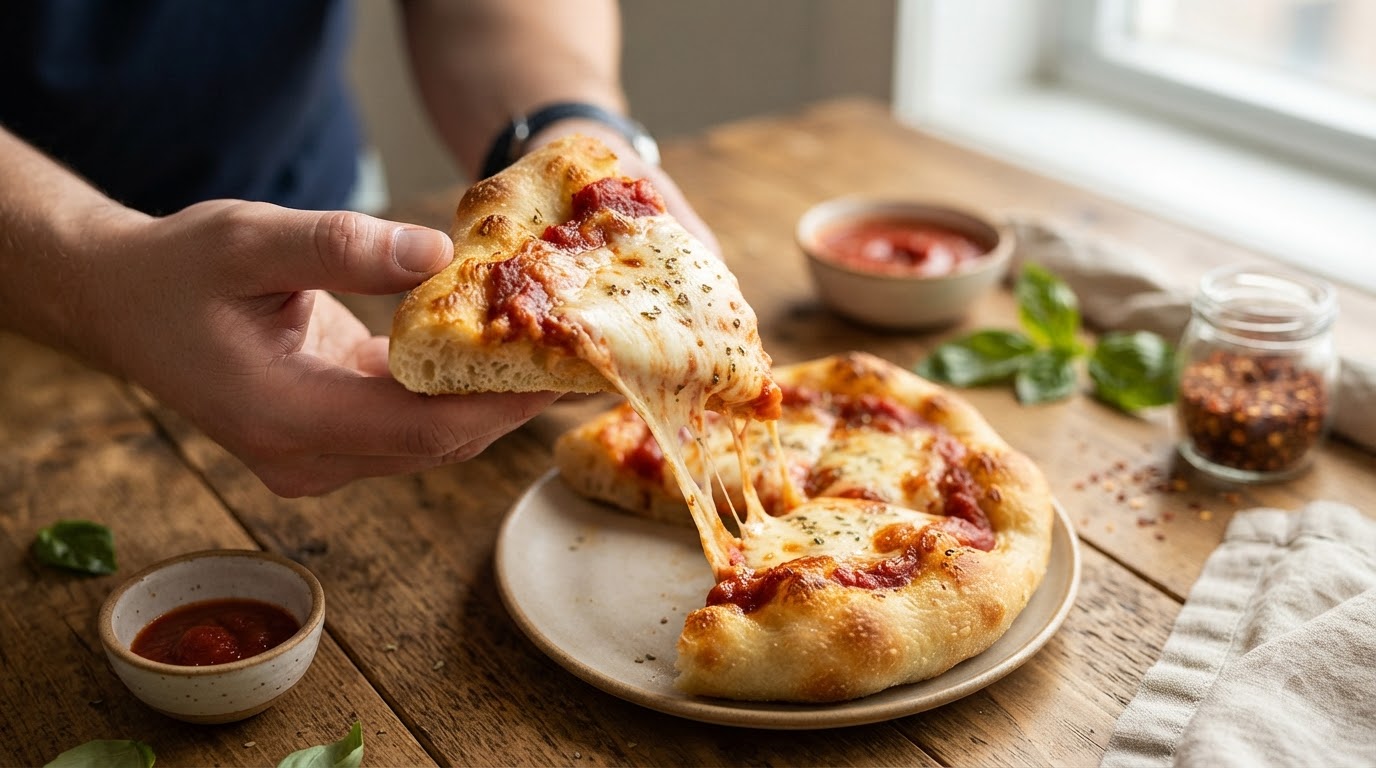
Master the art of homemade small pizzas with a crisp bottom crust and stretchy melted mozzarella, featuring a hand-kneaded dough and rich tomato-oregano sauce.
Making great pizza at home starts with properly hydrated high-gluten flour and a patient fermentation process. By splitting the dough into individual small balls and baking them at high temperatures on both lower and upper oven racks, you achieve an authentic pizzeria-style crispness combined with gooey, melted cheese.
Ingredients
- 500 g high-gluten flour
- 220 g milk
- 12 g fresh yeast
- 130 g water
- 10 g salt
- 15 g olive oil
- to taste pizza sauce
- to taste dried oregano
- to taste mozzarella cheese
Instructions
- 1Add Fresh Yeast
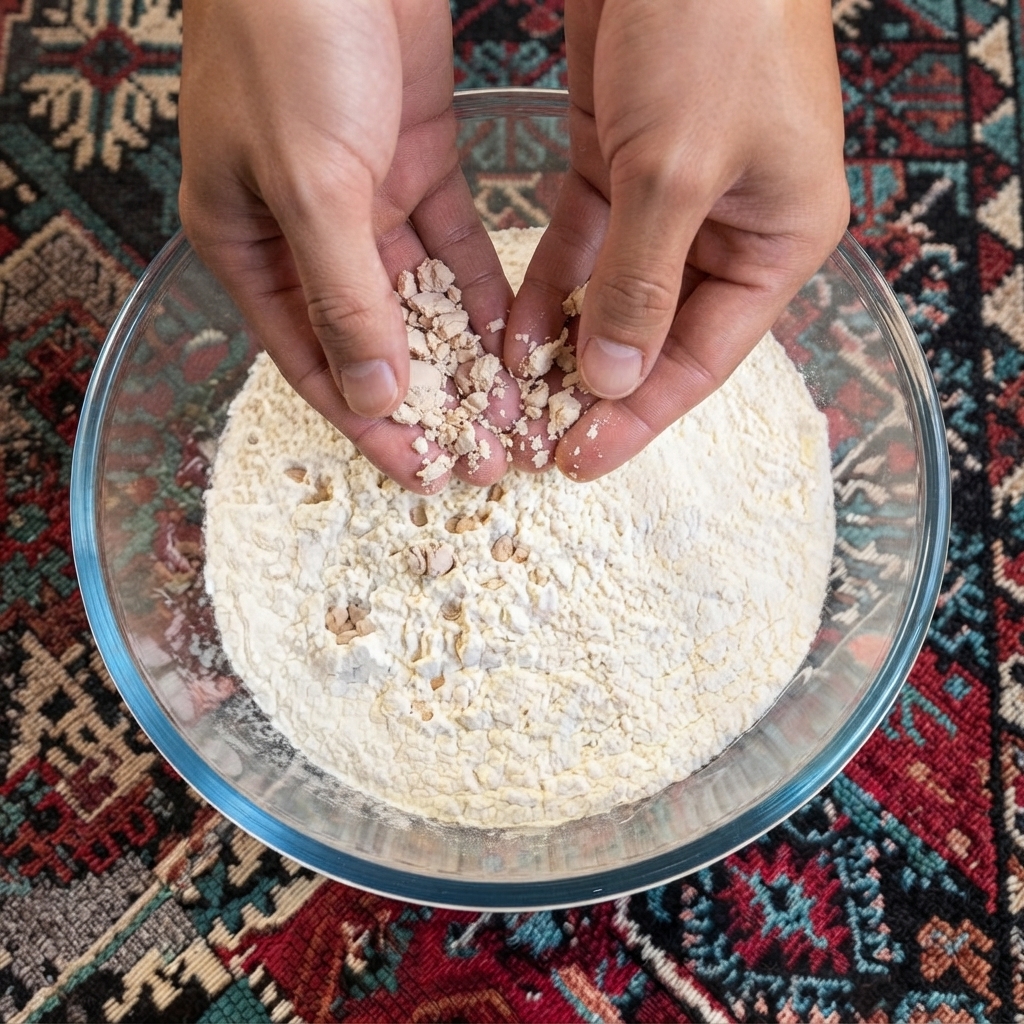
Take the fresh yeast pieces and crumble or add them directly into the glass bowl containing the measured high-gluten flour. This forms the dry and yeast base for the pizza dough preparation.
Tip: Ensure the fresh yeast is evenly distributed across the flour surface to help it dissolve better when liquids are added. - 2Pour in Milk
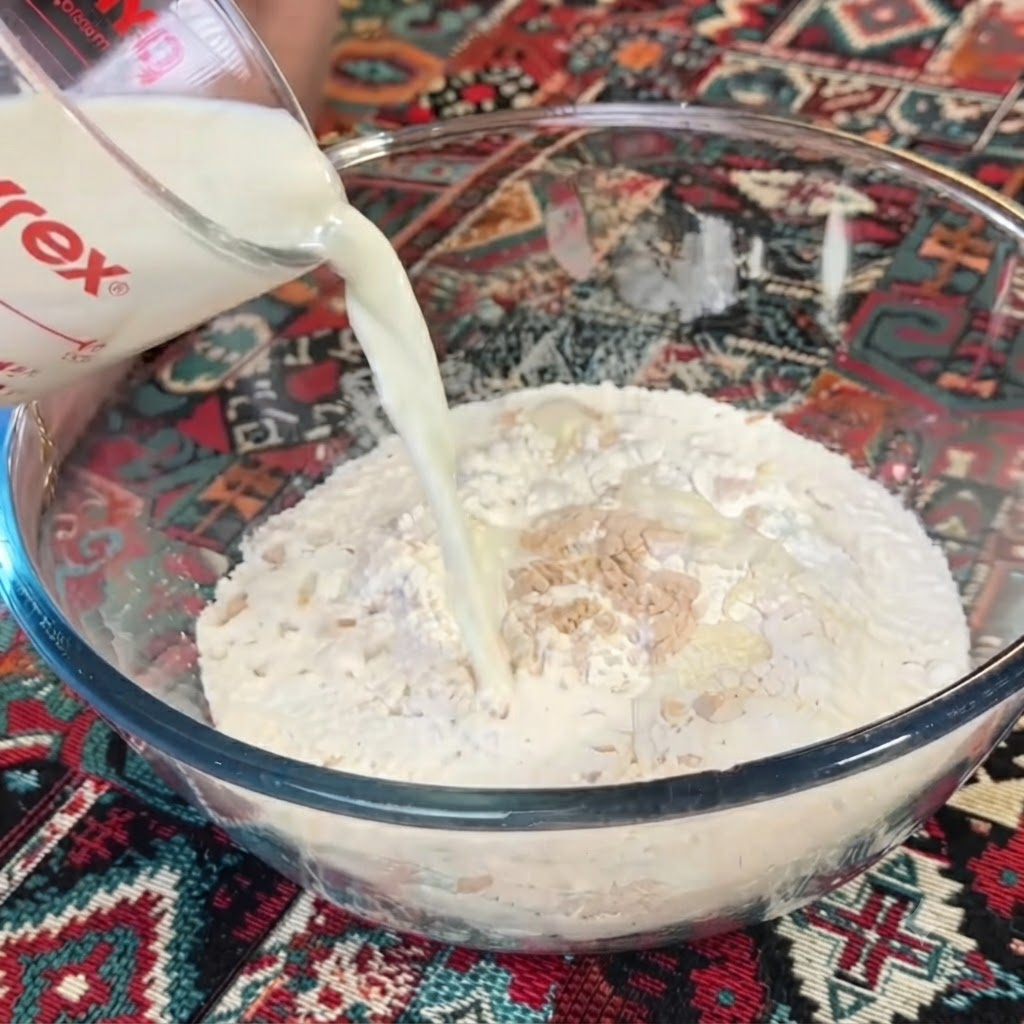
Slowly pour the measured milk from the measuring cup directly into the glass bowl containing the flour and fresh yeast mixture. The milk provides moisture and enriches the dough texture.
Tip: Pour in a steady stream while keeping an eye on the hydration level of the flour. - 3Add Water and Stir
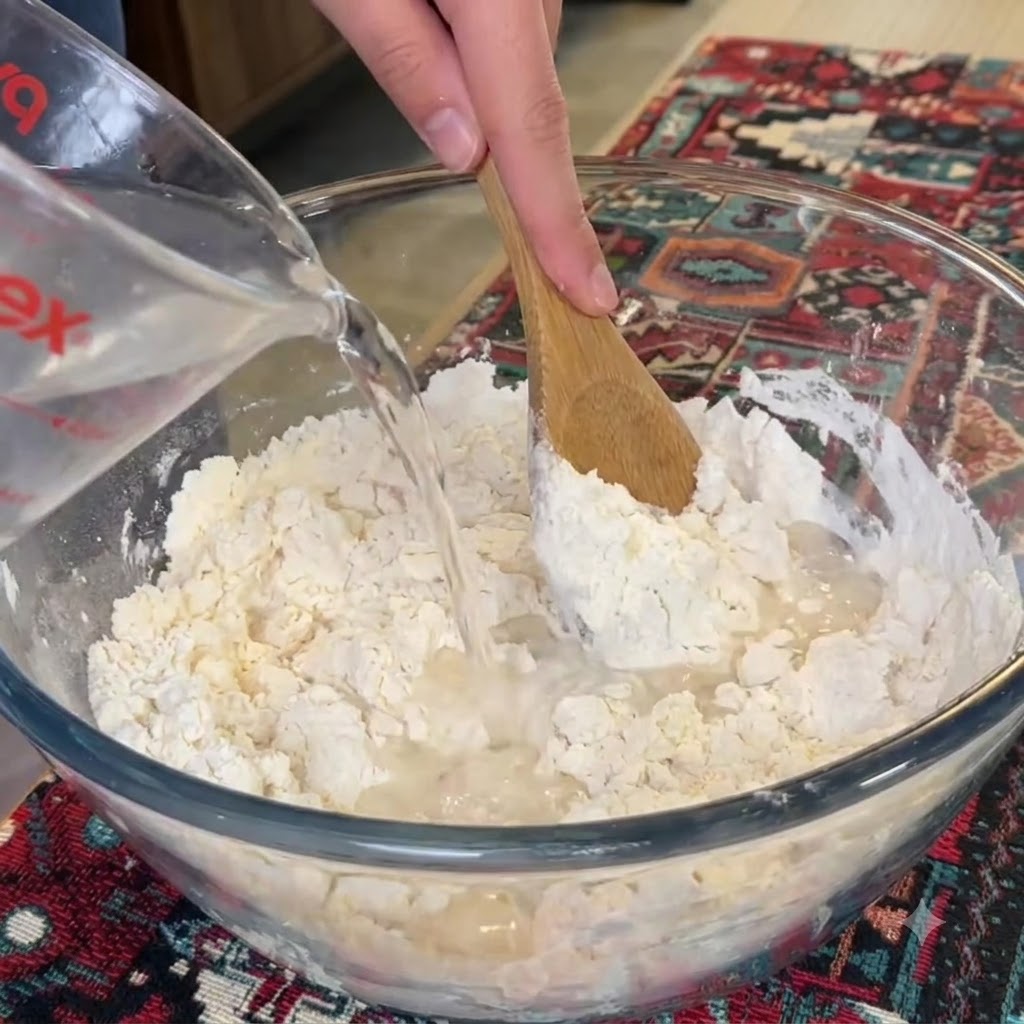
Gradually pour water into the flour mixture while simultaneously stirring the contents using a wooden spoon. This helps incorporate the liquids evenly and begins the gluten development process.
Tip: Add the water in batches as indicated to prevent forming lumps and ensure even hydration. - 4Incorporate Salt
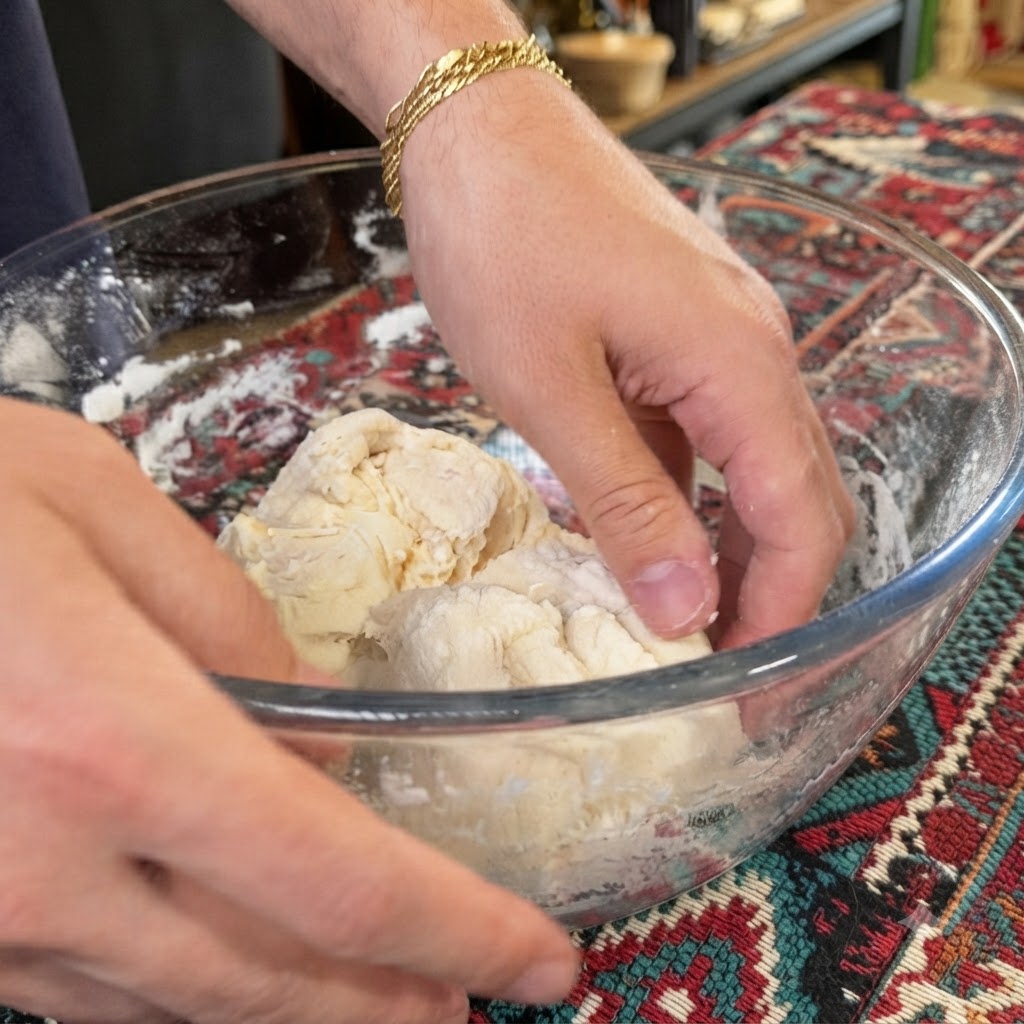
Add the measured salt directly into the dough mixture inside the glass bowl after the initial resting period. Salt strengthens the gluten network and enhances the flavor of the crust.
Tip: Avoid placing salt in direct contact with active yeast initially; incorporate it after the rest phase. - 5Add Olive Oil
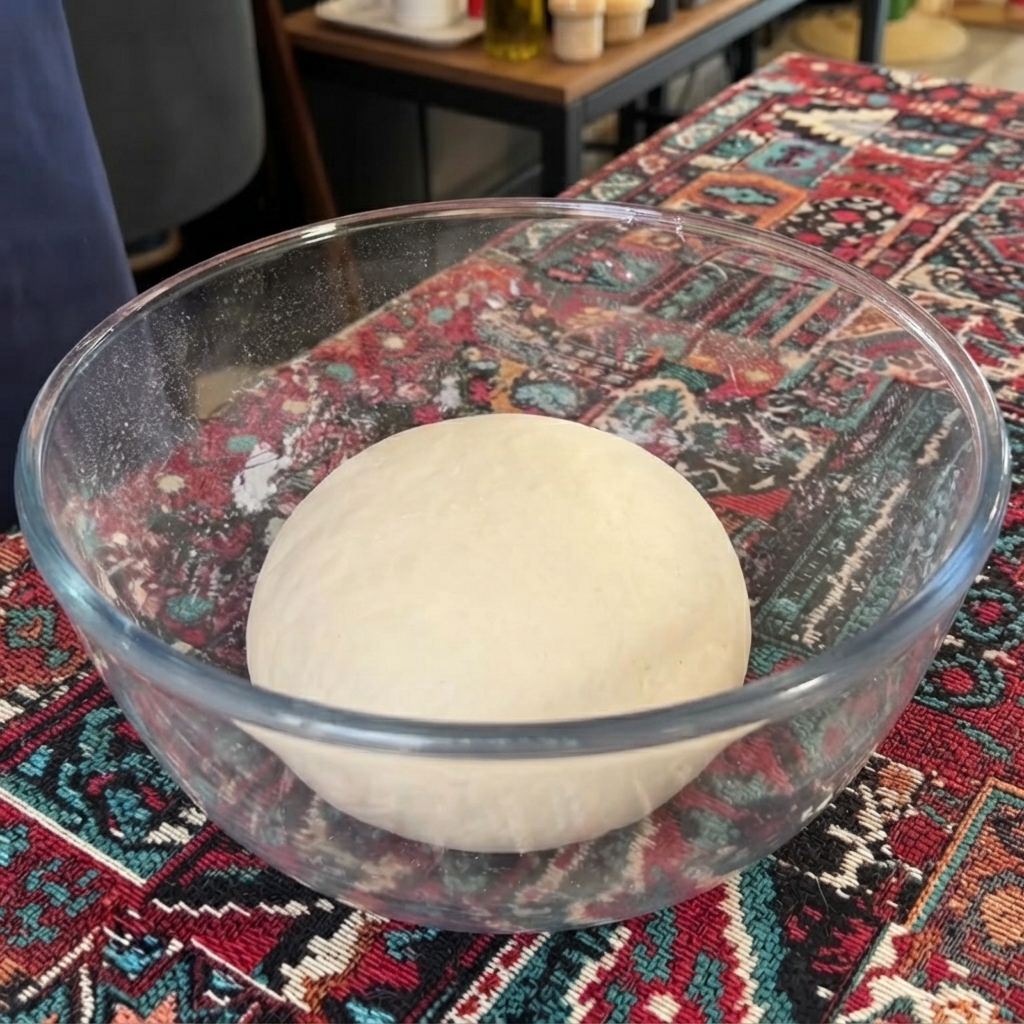
Pour olive oil over the formed dough ball sitting inside the glass bowl. The oil coats the dough, adds richness, and prevents it from drying out during the upcoming kneading and resting stages.
Tip: Ensure the oil coats the entire surface of the dough ball evenly. - 6Knead the Dough
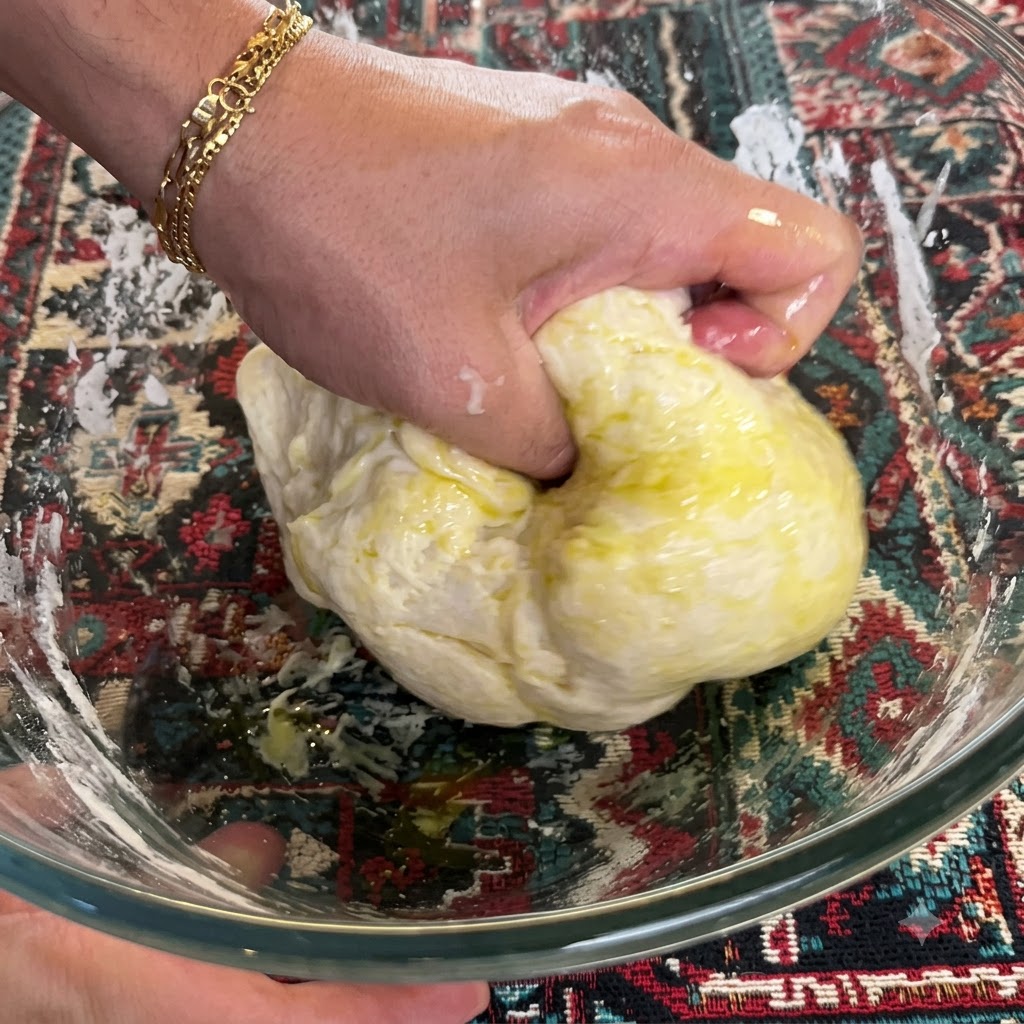
Knead the dough vigorously by hand directly inside the glass bowl until it becomes smooth, elastic, and well-combined with the added oil and salt.
Tip: Use the heel of your hand to push and fold the dough to develop elasticity efficiently. - 7Pour olive oil into the tomato sauce
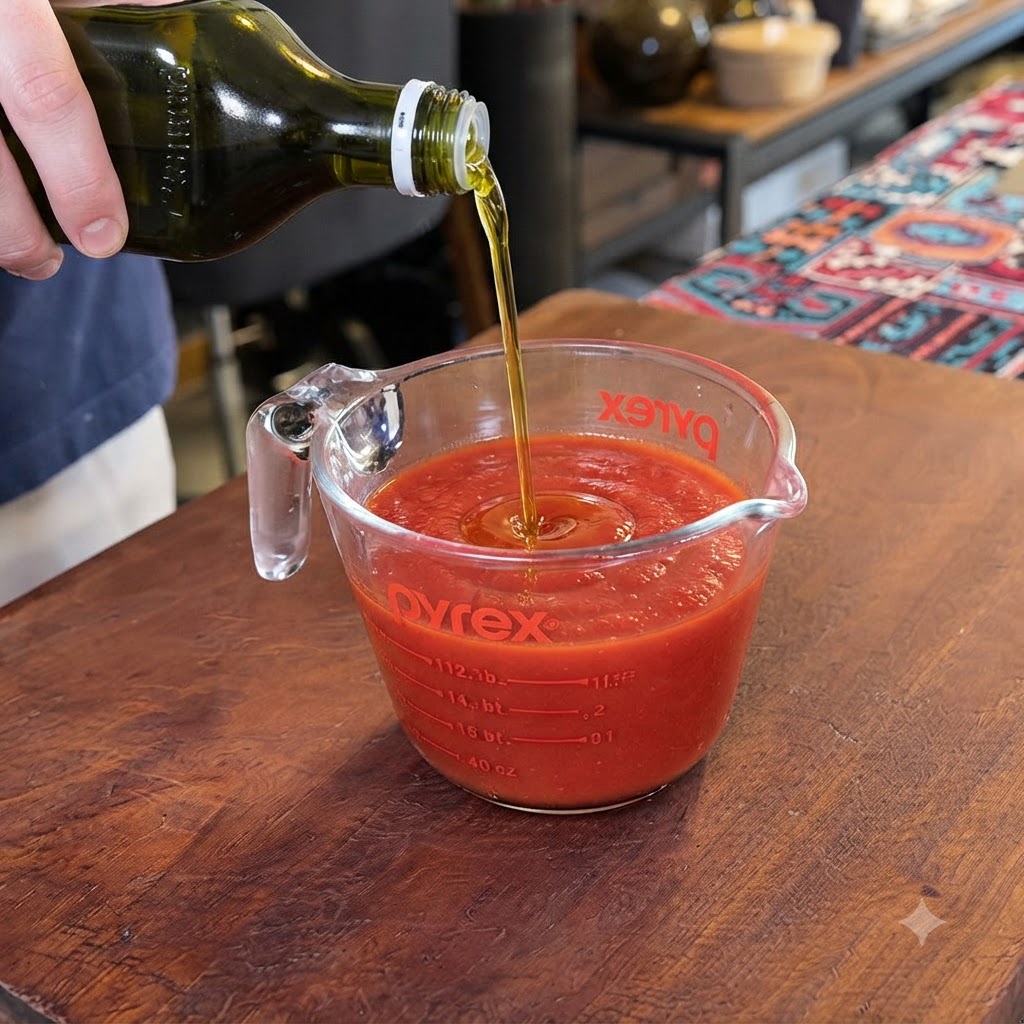
Pour olive oil into the measuring cup containing the pizza sauce, dried oregano, and cheese mixture. This adds richness and helps blend the flavors together smoothly for the pizza topping.
Tip: Make sure to measure the oil carefully so the sauce does not become too greasy. - 8Divide the fermented dough
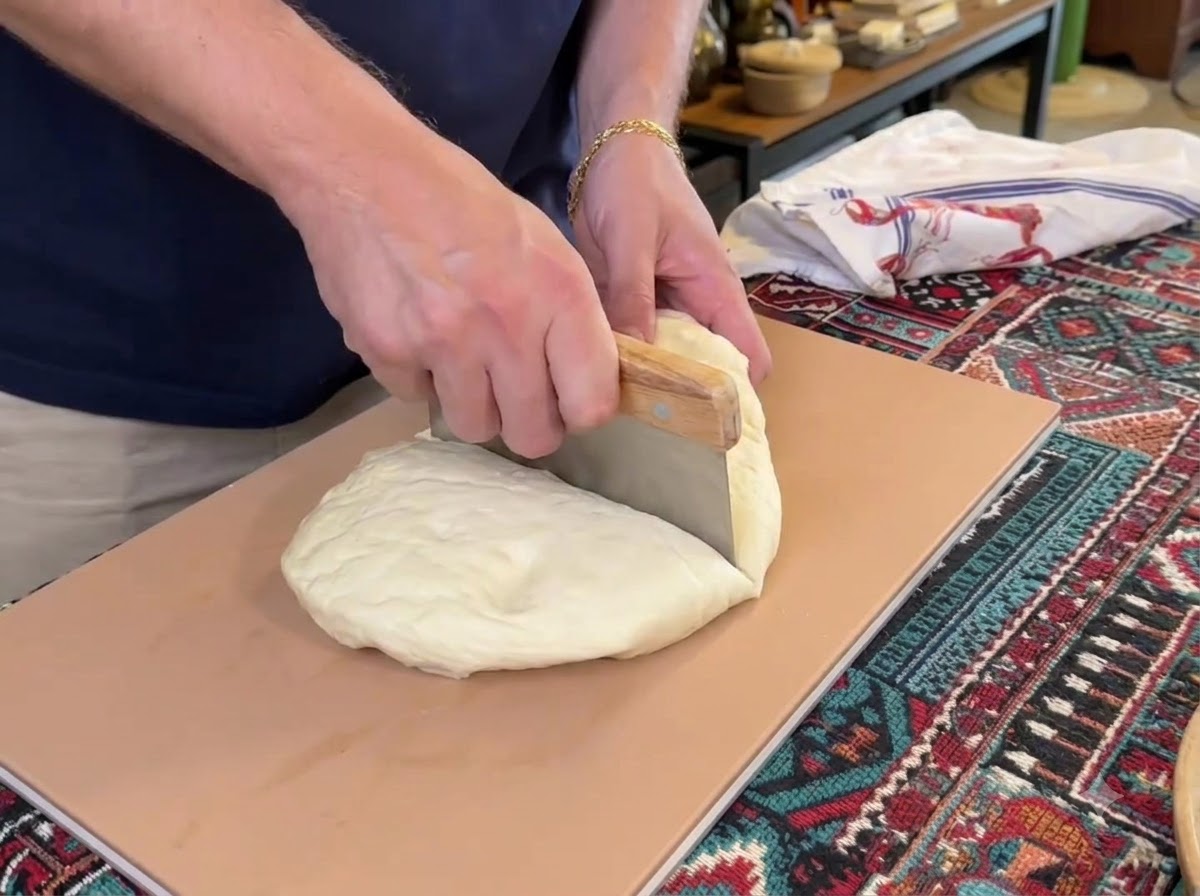
Take the fully fermented dough and place it onto a clean board. Use a dough scraper to cleanly cut and divide the dough into four equal pieces.
Tip: Use a sharp dough scraper to slice through the dough smoothly without tearing its gluten structure. - 9Flatten the dough balls
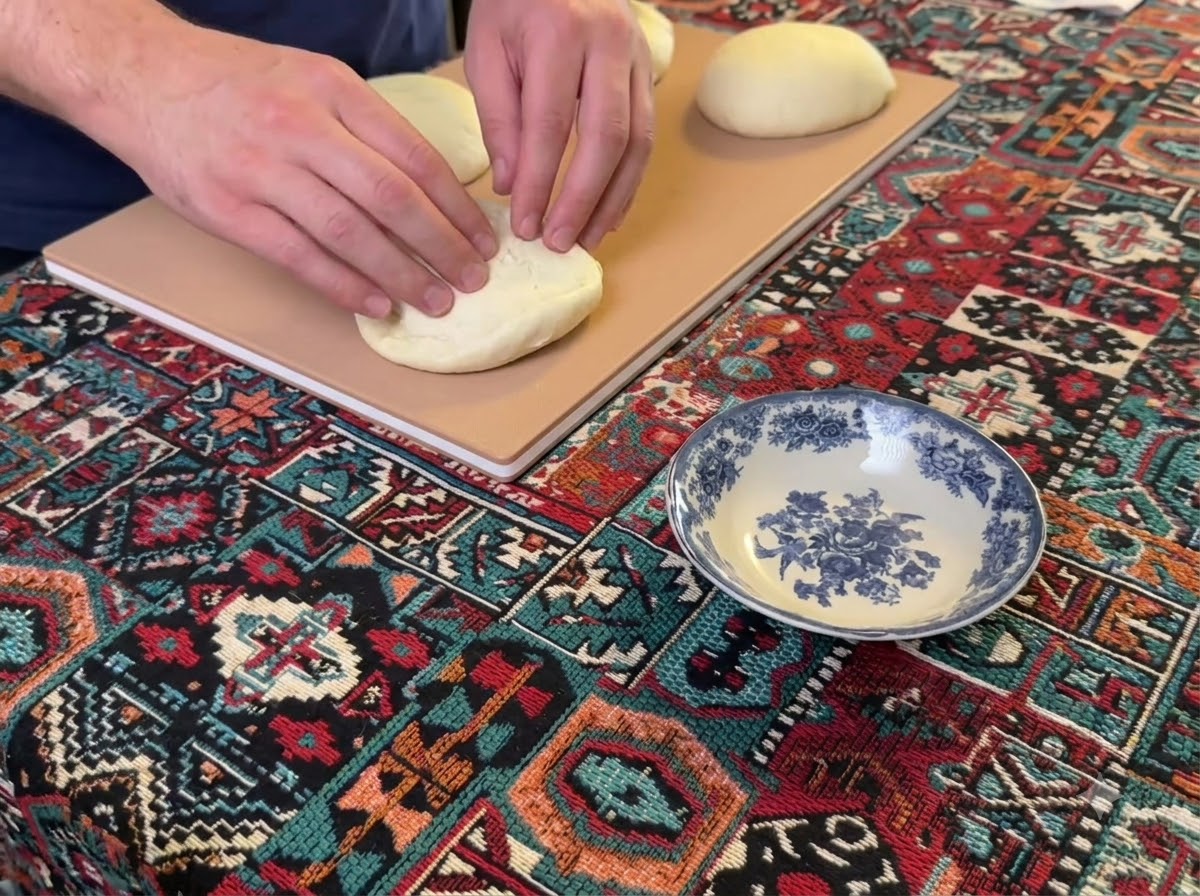
Take each divided dough ball and gently flatten and press it out by hand directly on the board. This begins shaping the dough into individual pizza bases.
Tip: Press gently from the center outward to preserve the trapped air bubbles for a light crust. - 10Spread tomato sauce onto the dough
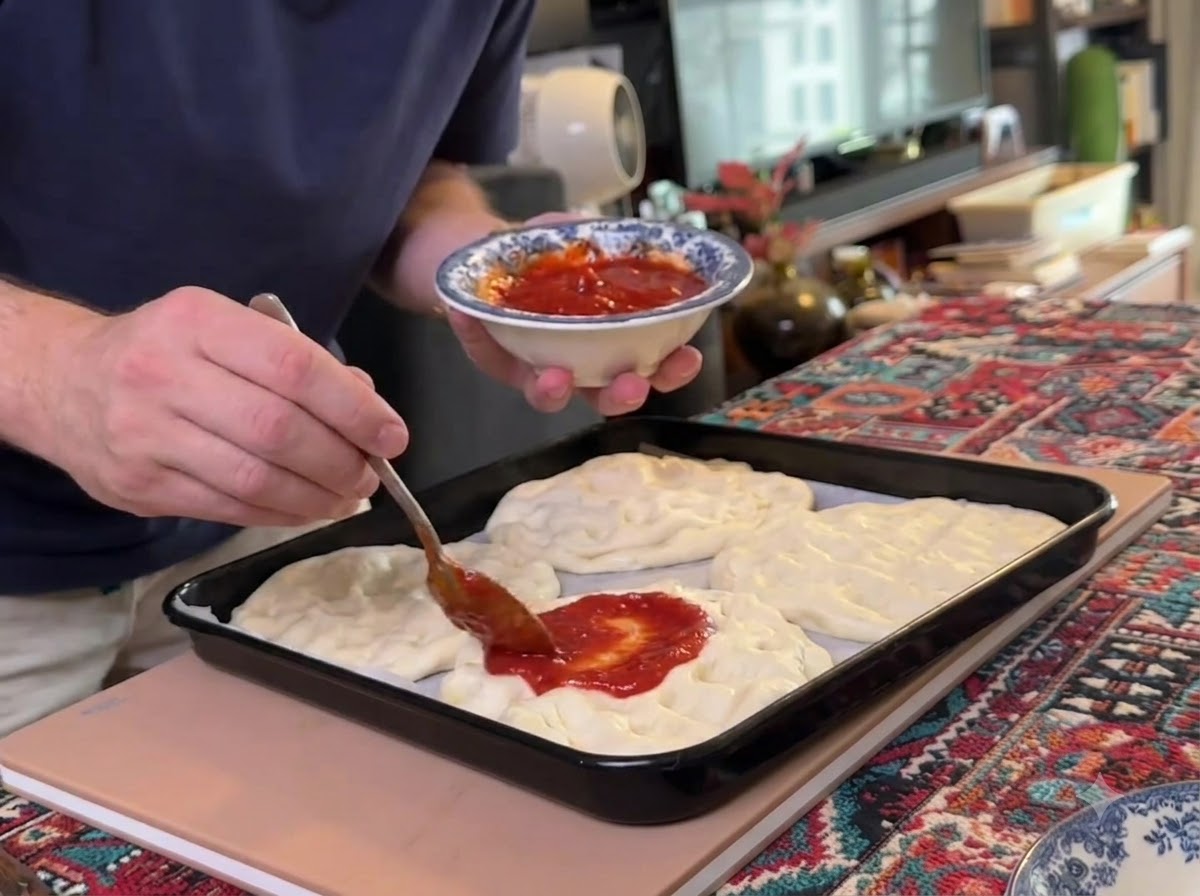
Use a spoon to scoop the prepared tomato sauce and spread it evenly onto each of the flattened dough bases arranged on a baking tray.
Tip: Leave a small border around the edges sauce-free to create a nice crispy crust edge.