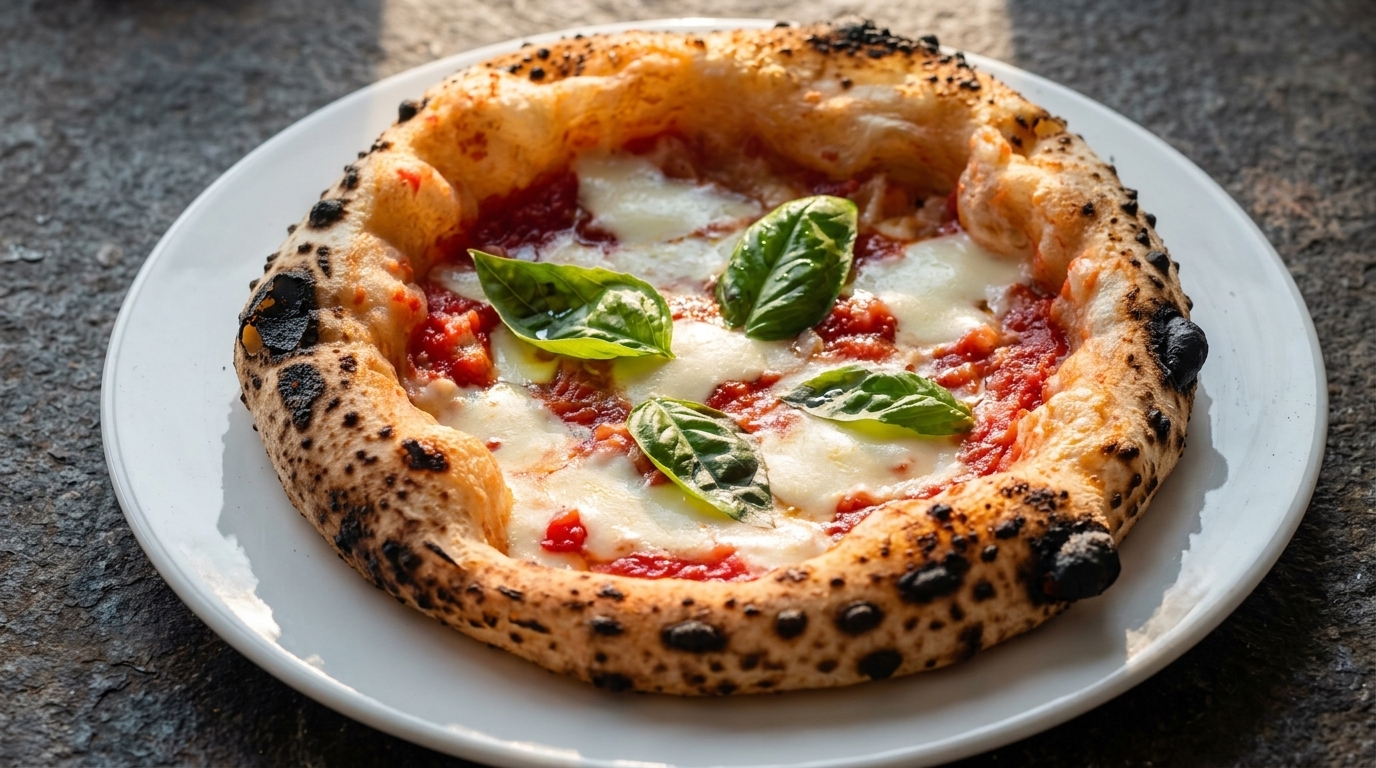
Modern Neapolitan Pizza Dough (100% Biga Method)
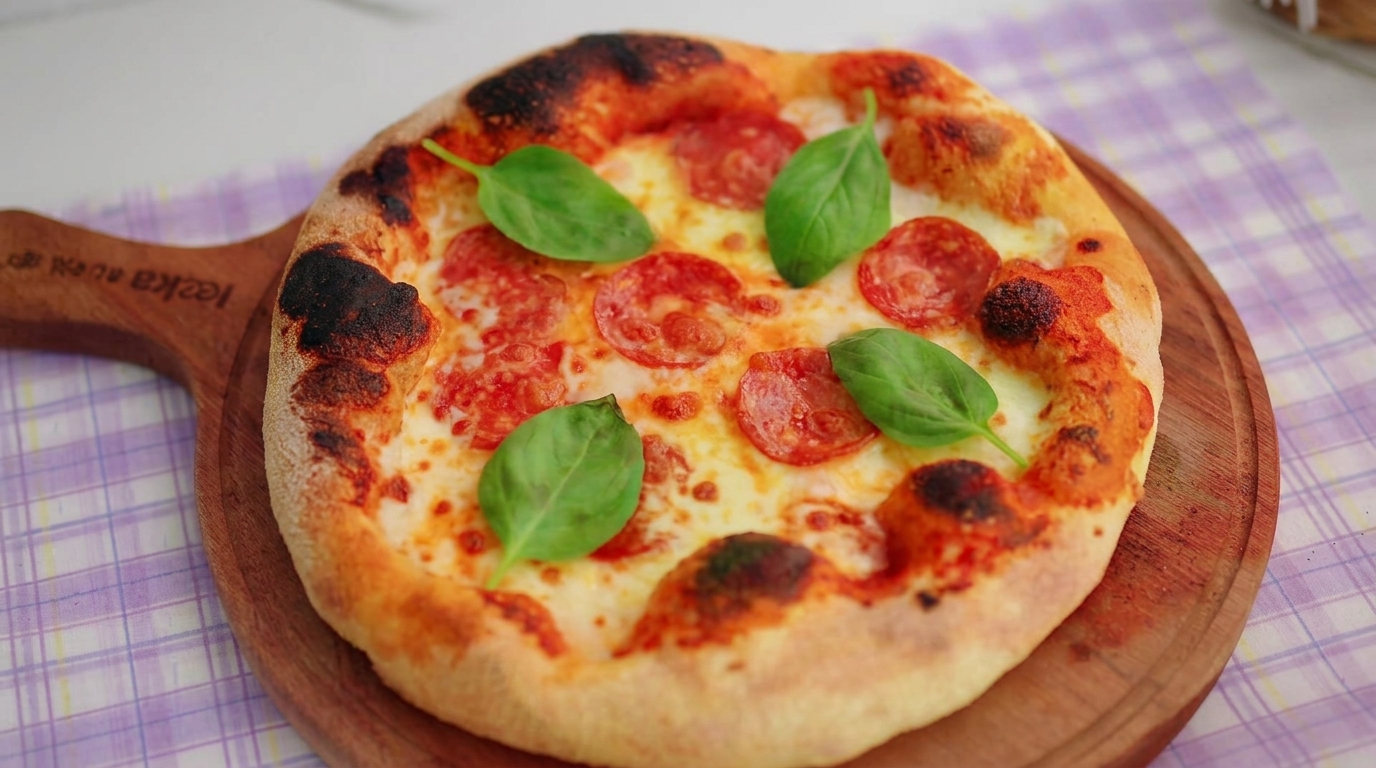
Master the 100% Biga method for a professional Neapolitan pizza crust featuring an airy structure, distinct leopard spotting, and deep fermented flavor.
Modern Neapolitan pizza, often called Canotto style, is defined by its exaggerated, puffy crust. This technique relies on a 100% Biga—a stiff preferment that utilizes all the recipes flour to maximize enzymatic activity. The result is a dough that is remarkably light and easy to digest.
Ingredients
- 1 kg 00 flour or high-protein bread flour
- 700 ml water (divided into room temperature and ice cold)
- 3 g instant dry yeast
- 25 g fine sea salt
- 20 ml extra virgin olive oil
Instructions
- 1Initial Hydration & Yeast Prep
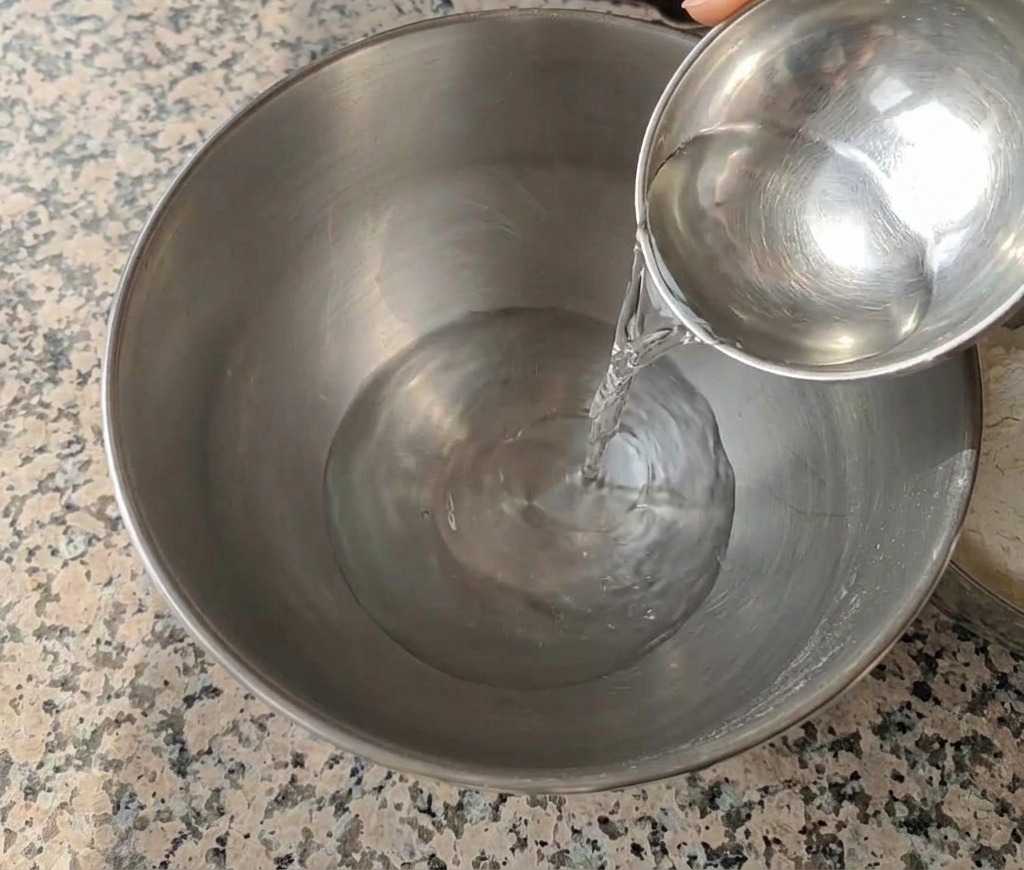
Begin by pouring room temperature water into a large stainless steel mixing bowl. This base provides the ideal environment for the yeast to wake up before the Biga is formed.
Tip: If your kitchen is particularly cold, you may want to slightly warm the water to around 25-30°C to help activate the yeast. - 2Activate the dry yeast
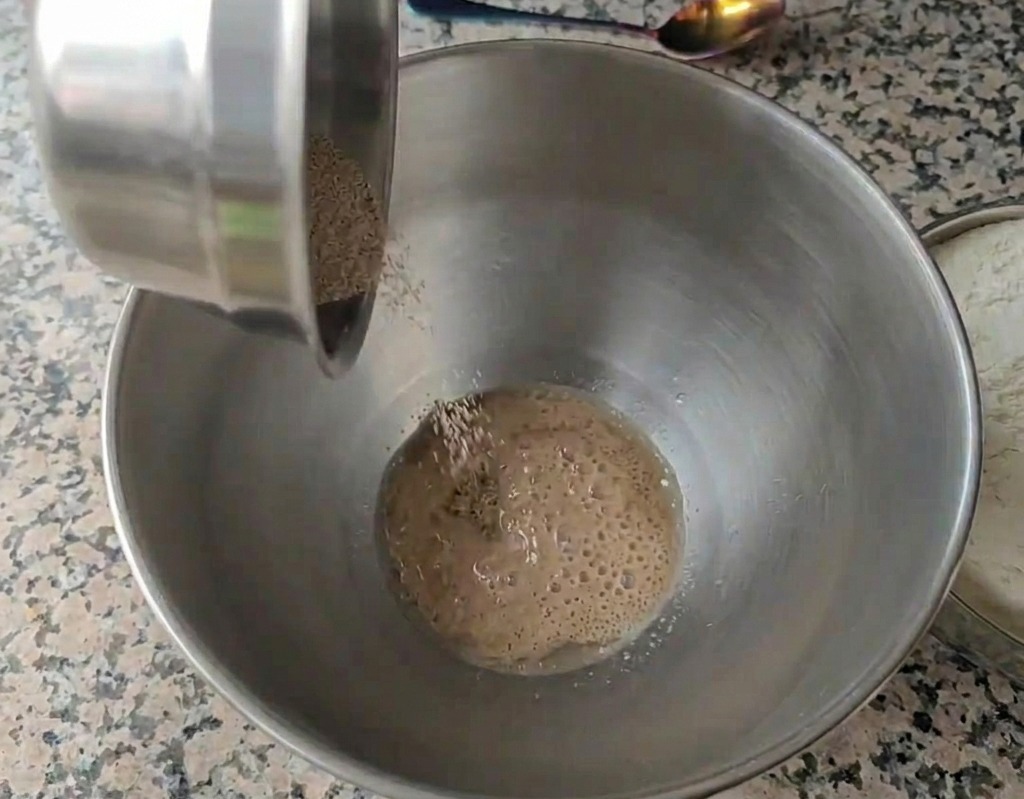
Pour the dry yeast into a bowl of room temperature water. Stir the mixture gently until the yeast is completely dissolved and begins to bubble slightly. This step is crucial for ensuring the yeast is active before it is incorporated into the flour and ice water used later in the recipe.
Tip: Ensure the water is at room temperature because using ice water directly on dry yeast can damage the cells and prevent the dough from rising. - 3Incorporate the flour
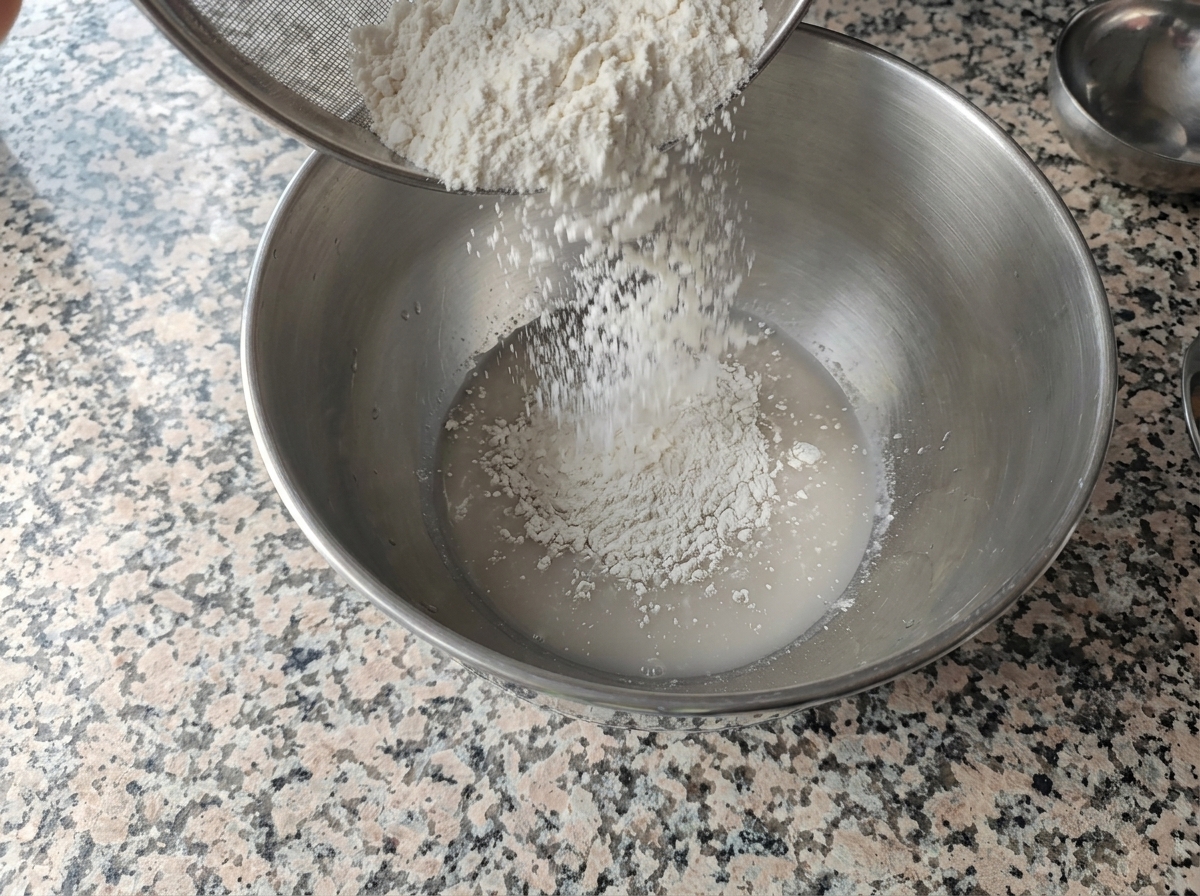
Add the white flour into the bowl with the water and yeast mixture. For this modern Neapolitan recipe, we are using a 100% Biga, meaning all of the flour is introduced during this initial preferment stage to develop superior flavor and dough structure.
Tip: Sift the flour as you add it to prevent lumps and ensure the Biga hydrates evenly. - 4Mix the Biga preferment

Hand-mix the flour and water together until a shaggy, raw Biga preferment forms. The goal here is not to create a smooth dough, but simply to ensure there is no dry flour left. This process should only take a few minutes of light mixing.
Tip: Avoid over-kneading at this stage; you just want to combine the ingredients into a rough, textured mass. - 5Transfer Biga to the mixer
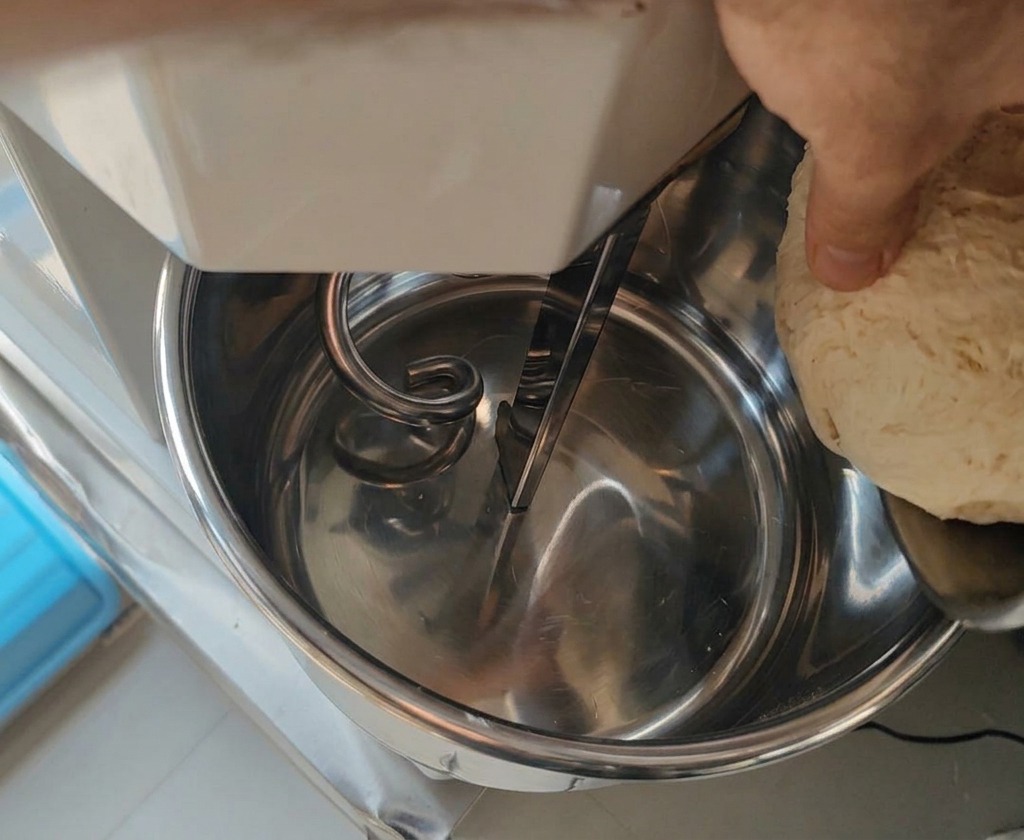
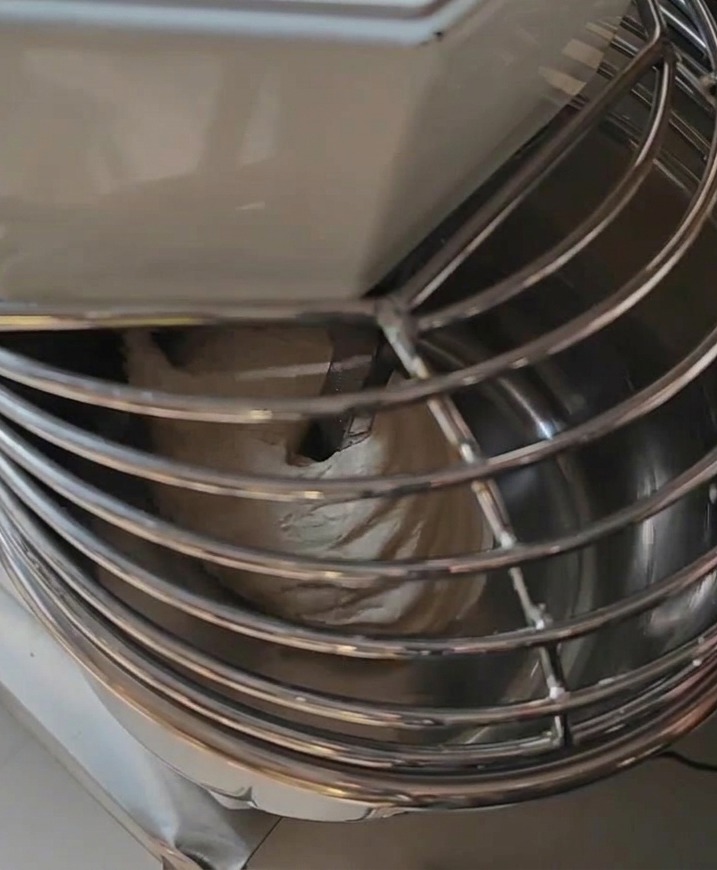
After the Biga has had time to rise and ferment, transfer the bubbly dough into the bowl of a spiral mixer. This preferment is the heart of the modern Neapolitan style, providing the characteristic airy crust and complex taste profile.
Tip: The Biga will be sticky; you can use a bowl scraper to help move it cleanly from the fermentation container to the mixer. - 6Add water for final mixing
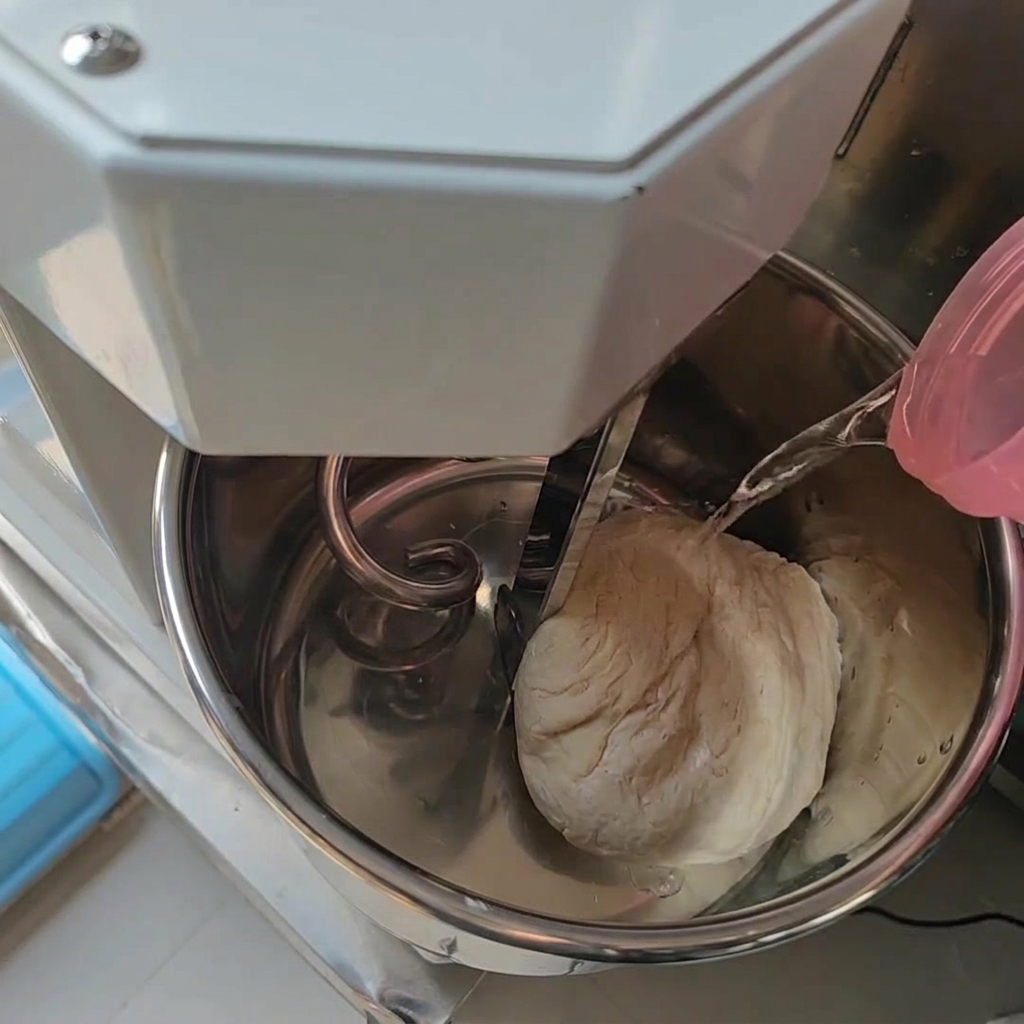
Add approximately 60% of the remaining water into the mixer bowl containing the Biga. Start the mixer on a low speed to allow the water to begin breaking down the Biga before adding the salt and remaining water for the final hydration.
Tip: Keep the water cold for this stage to control the final temperature of the dough during the high-speed mixing process. - 7Add the salt
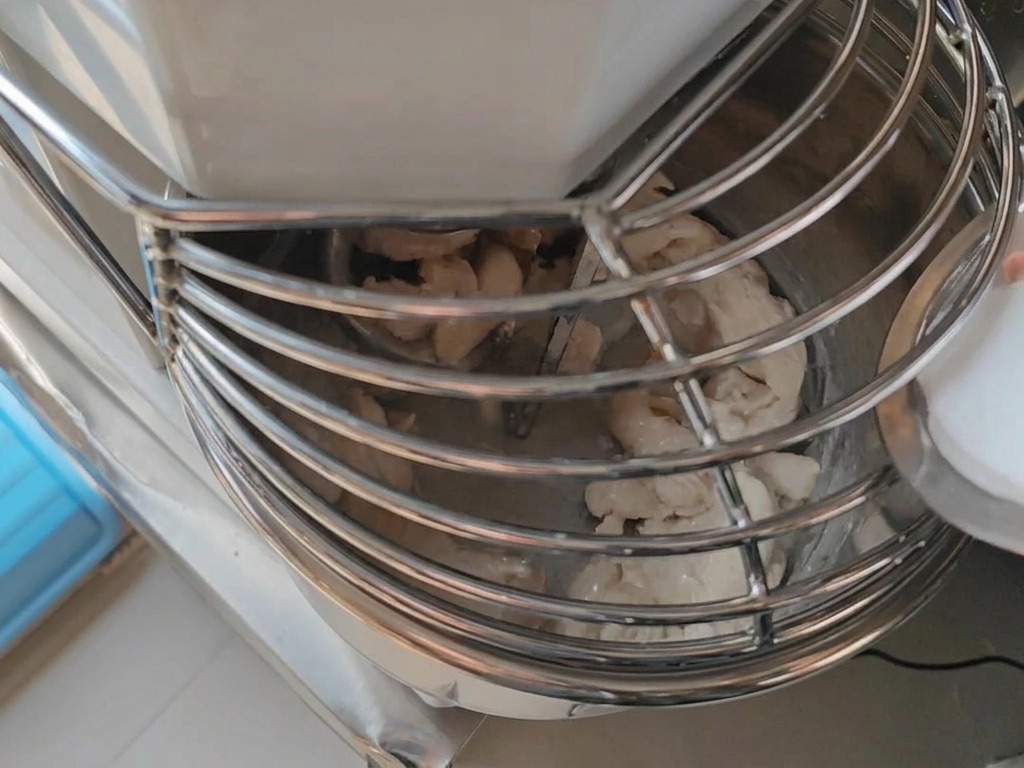
Once the Biga and the initial portion of water have begun to mix and the gluten starts to form, add the fine salt. Incorporating the salt at this stage ensures it is distributed evenly throughout the dough as the structure develops, strengthening the final consistency of the pizza base.
Tip: Adding salt slightly later in the mixing process helps control fermentation and prevents it from inhibiting the yeast early on. - 8Incorporate the remaining water
Slowly drizzle the final 10% of the water into the mixer while the dough is moving. For high-hydration doughs like this modern Neapolitan style, adding the water gradually is essential to allow the flour to fully absorb the moisture without breaking the gluten structure.
Tip: Patience is key—adding the water too quickly can cause the dough to lose its shape and become difficult to manage. - 9Check the dough temperature
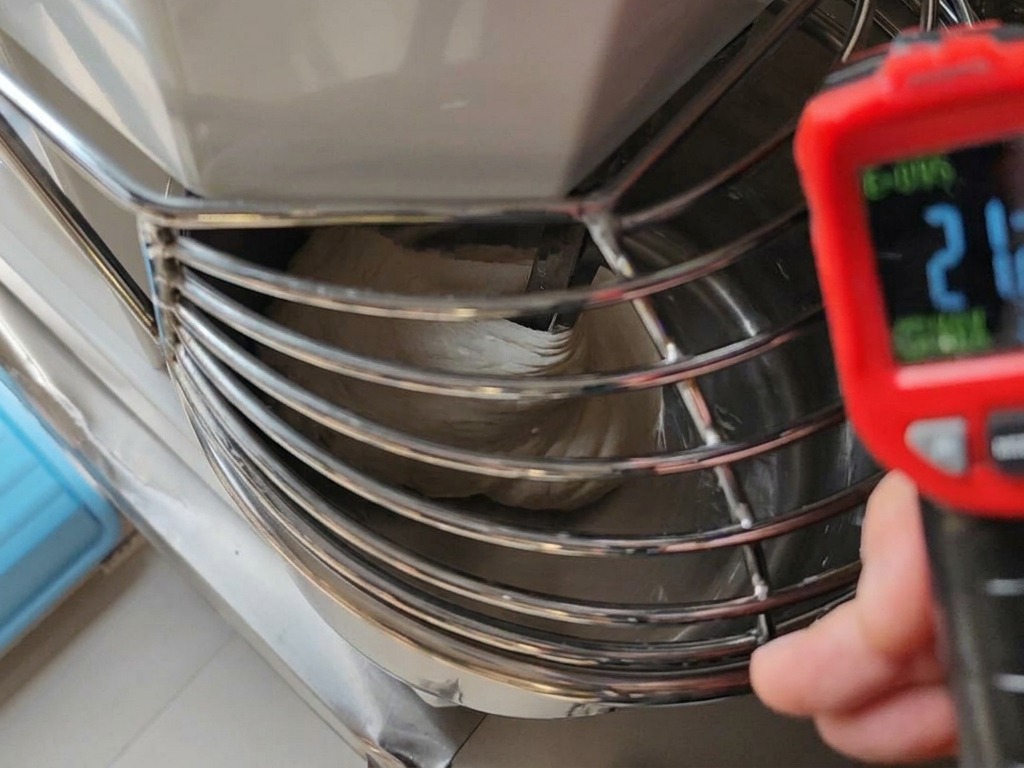
Use an infrared thermometer to monitor the temperature of the dough inside the mixer. Aim for a final temperature of approximately 21 degrees Celsius. Maintaining this specific temperature range is vital for achieving the correct fermentation rate and the characteristic airy texture of the crust.
Tip: If the dough temperature is too high, it may ferment too quickly, leading to a loss of flavor and structure. - 10Add olive oil to the dough
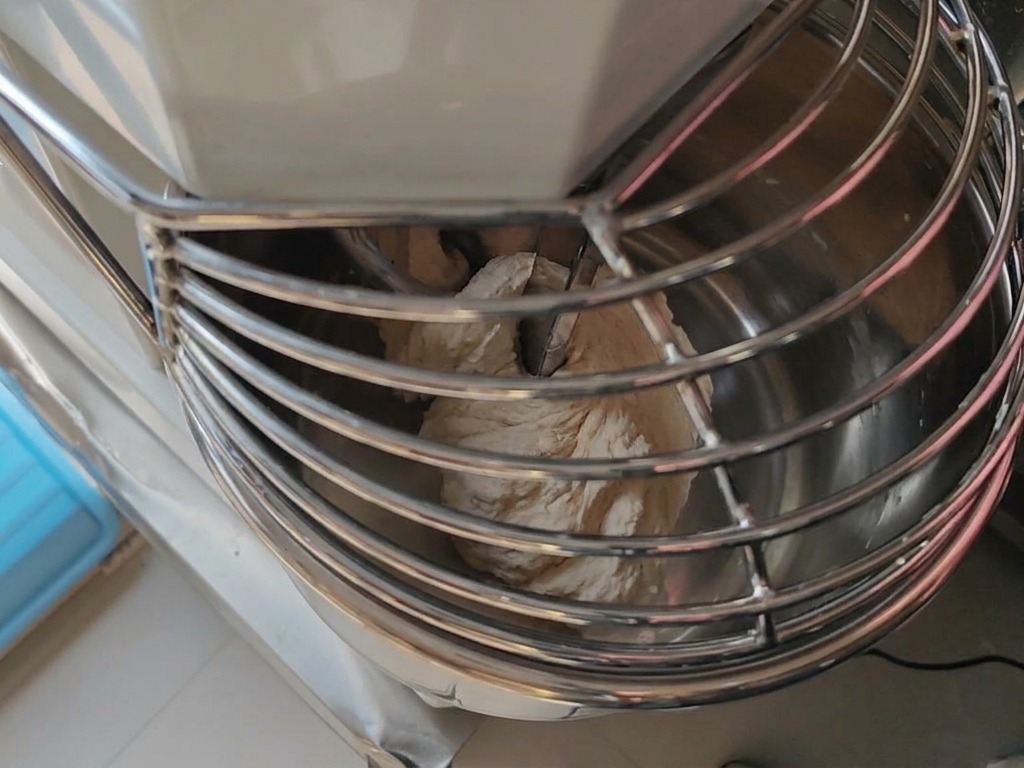
Once the dough has reached a smooth and developed consistency in the mixer, add the olive oil. Continue mixing for the remainder of the fifteen minute total mixing time until the oil is fully absorbed and the dough is supple and elastic.
Tip: Adding the oil at the end of the mixing process helps to further develop the texture of the dough without interfering with early gluten formation. - 11Divide the dough into portions
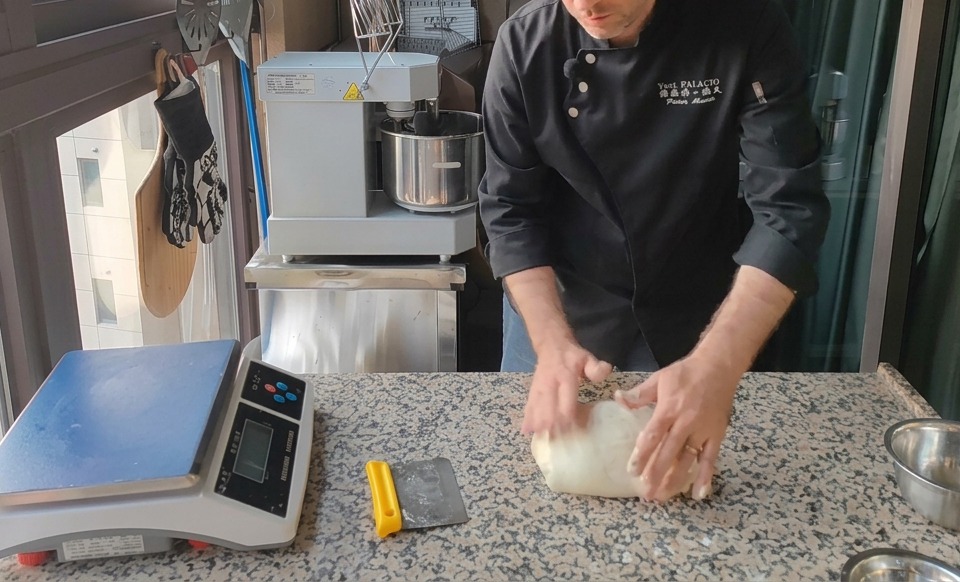
Transfer the large batch of dough onto a granite countertop and use a yellow bench scraper to divide it into smaller portions. For a standard twelve inch modern Neapolitan pizza each portion should weigh approximately 250 to 280 grams.
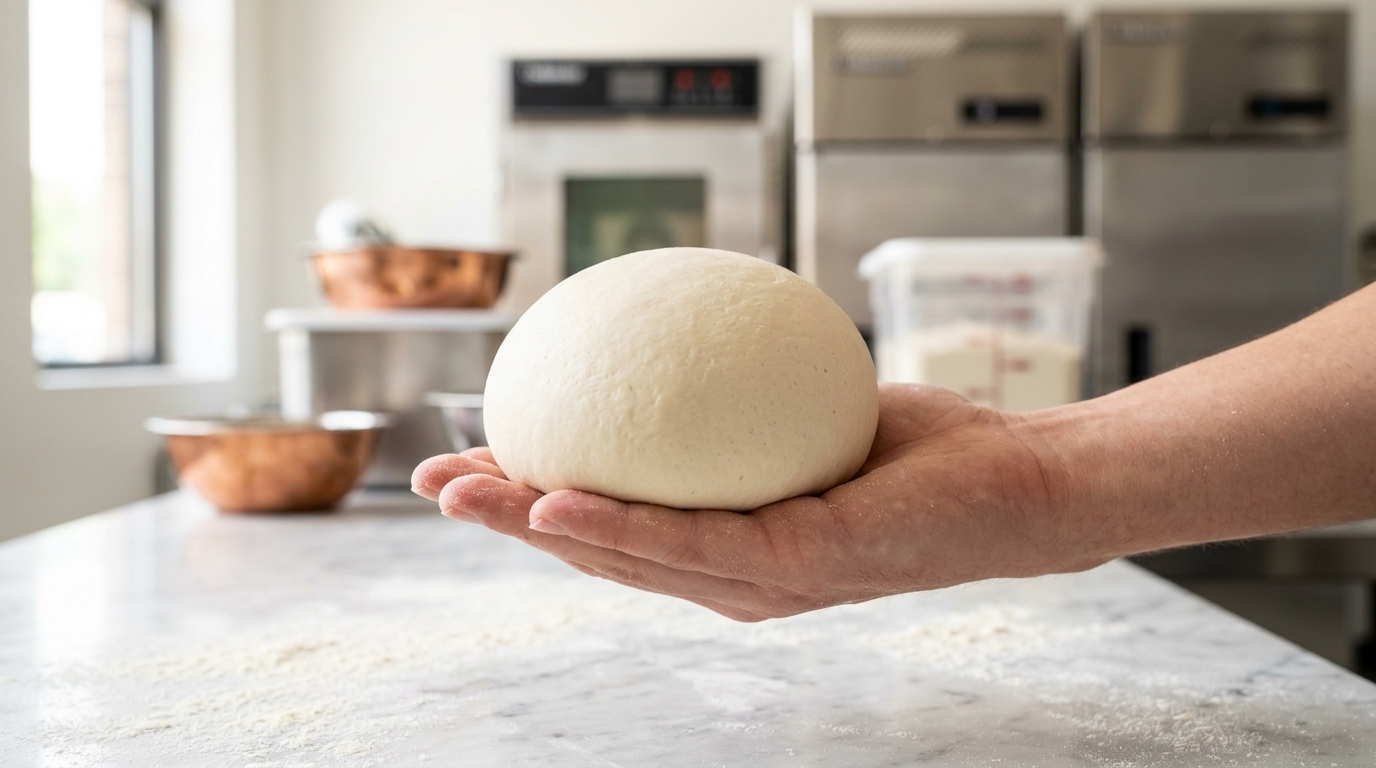
Tip: A bench scraper allows for clean quick cuts that preserve the air bubbles and gluten structure developed during fermentation. - 12Shape the dough balls
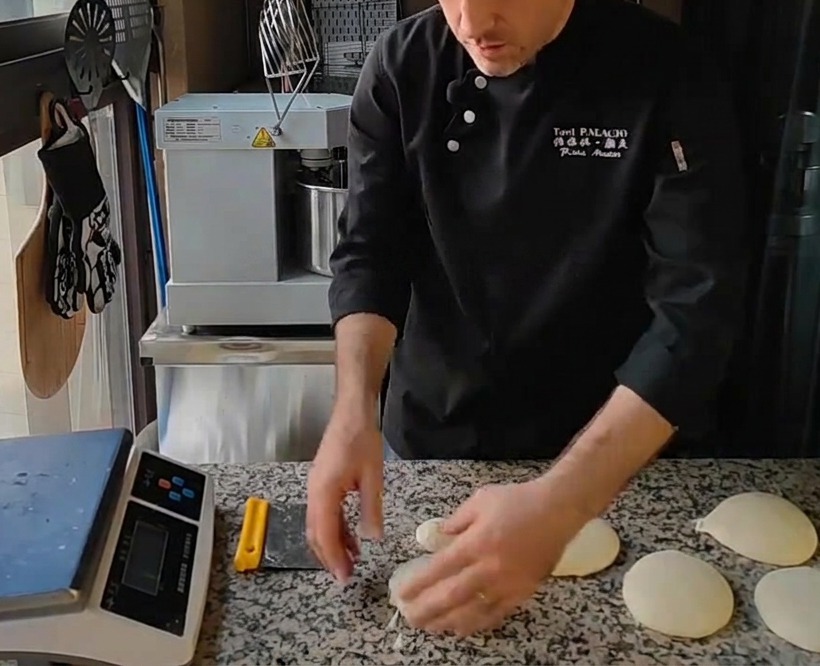
Take each divided portion of dough and round it against the granite surface to create a tight smooth ball. This process builds surface tension which helps the dough maintain its shape and rise upwards during the final proofing stage.
Tip: Drizzle the dough balls with a small amount of olive oil after shaping to prevent the surface from drying out while they proof.