Authentic Neapolitan Pizza Dough (Cold Fermented)
Master the foundation of true Neapolitan pizza with this 24-hour cold-fermented dough, crafted with Italian 00 flour for a light, airy, and supple crust.
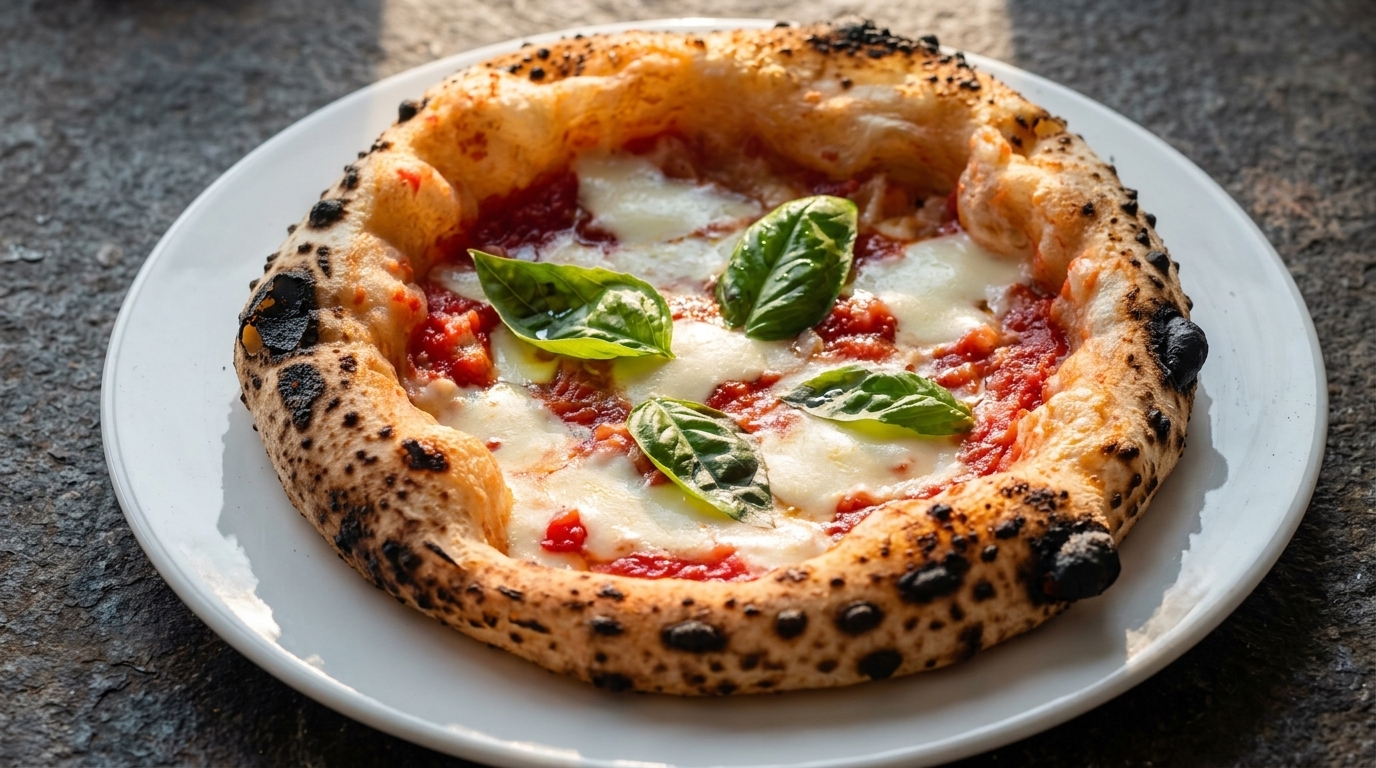
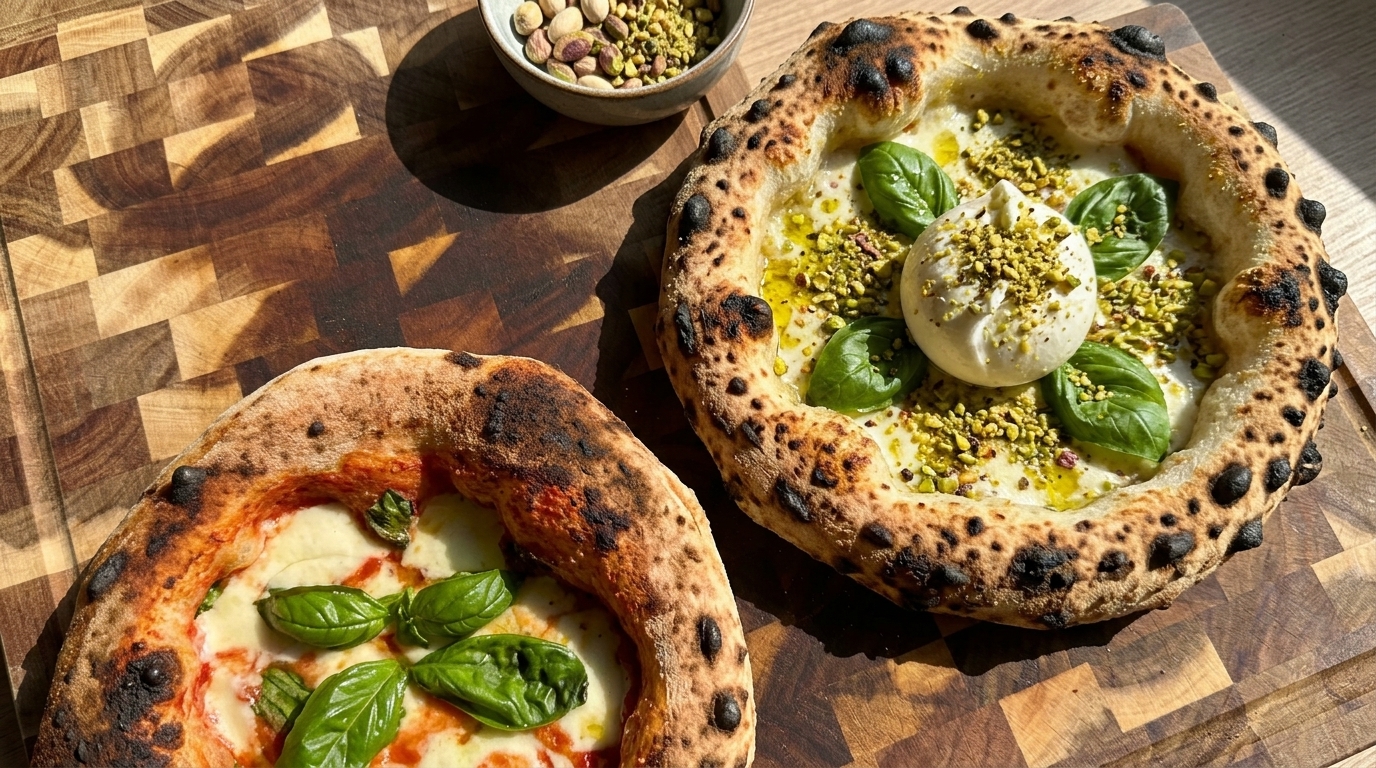
Neapolitan pizza dough is a study in patience and precision. By using highly refined 00 flour and a long cold fermentation period, the starches break down into complex sugars. This results in the characteristic charred leopard spotting and superior digestibility found in the authentic pizzerias of Naples.
Ingredients
- 1 kg Italian 00 flour
- 600 ml ice water
- 3 g fresh yeast
- 25 g fine sea salt
- to taste olive oil
Instructions
- 1Add flour to the mixer
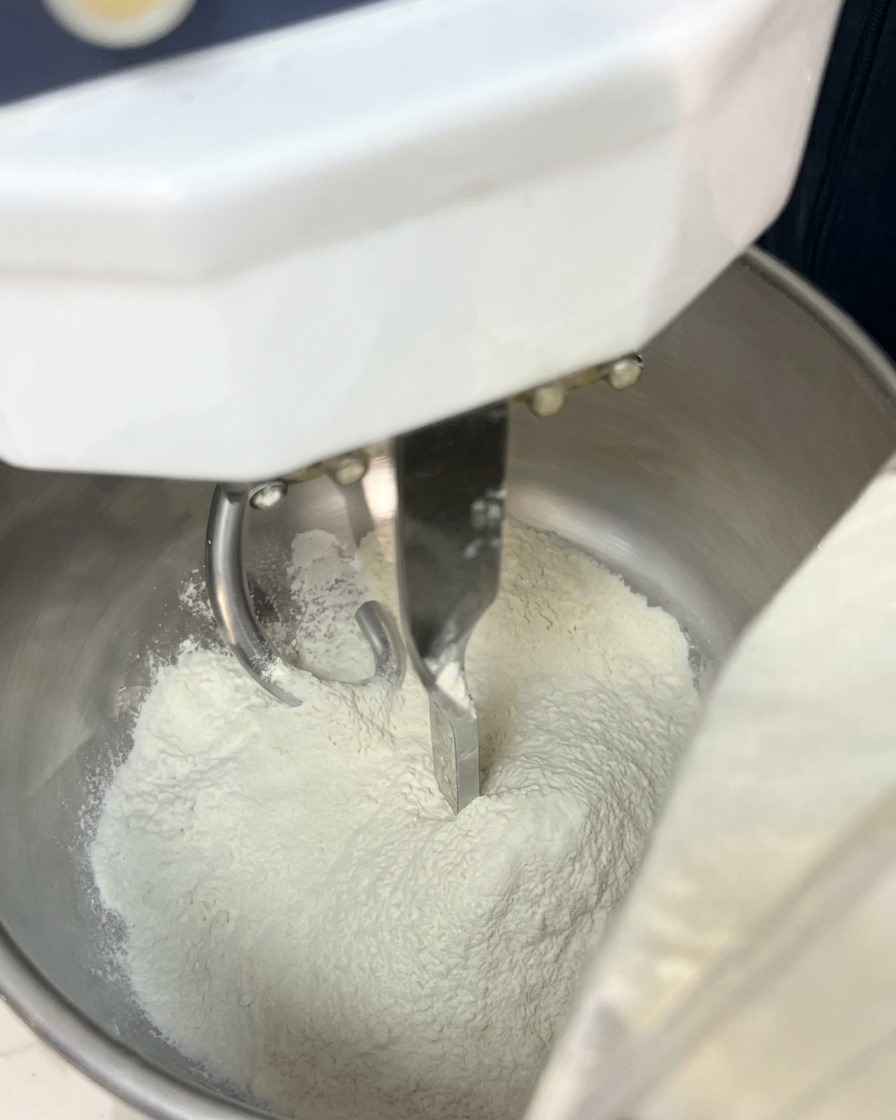
Begin by adding imported Italian 00 flour into the metal bowl of a dough mixer. Cover it with the protective guard and start the mixer on a low speed. This fine flour is essential for creating the perfect authentic texture for Napoli pizza dough.
Tip: Mixing the flour at a low speed helps to evenly hydrate it without dispersing dust into the air. - 2Add the fresh yeast
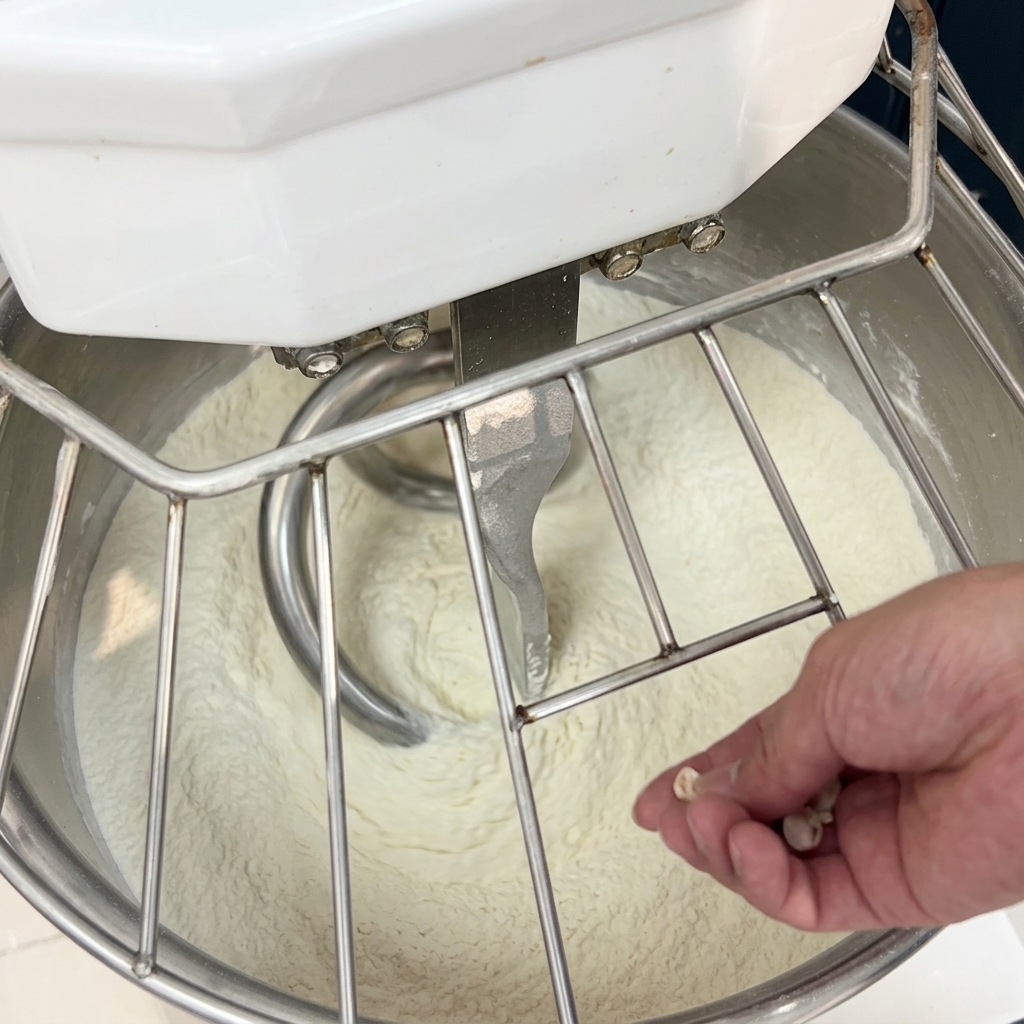
While the mixer is running at a low speed, gently crumble the fresh yeast and add it directly into the flour. Continue mixing for about 10 minutes to allow the yeast to distribute evenly throughout the dry ingredients.
Tip: If you are substituting with dry yeast, remember to use only one-third of the amount of fresh yeast. - 3Add the ice water

Slowly pour the ice water into the mixing bowl with the flour and yeast. It is best to add the water in several stages while the mixer is running at a low speed to ensure even hydration of the flour. Continue mixing for about 10 minutes until the dough begins to form.
Tip: Using ice water is crucial for temperature control; it prevents the dough from overheating during the mechanical mixing process. - 4Add the salt
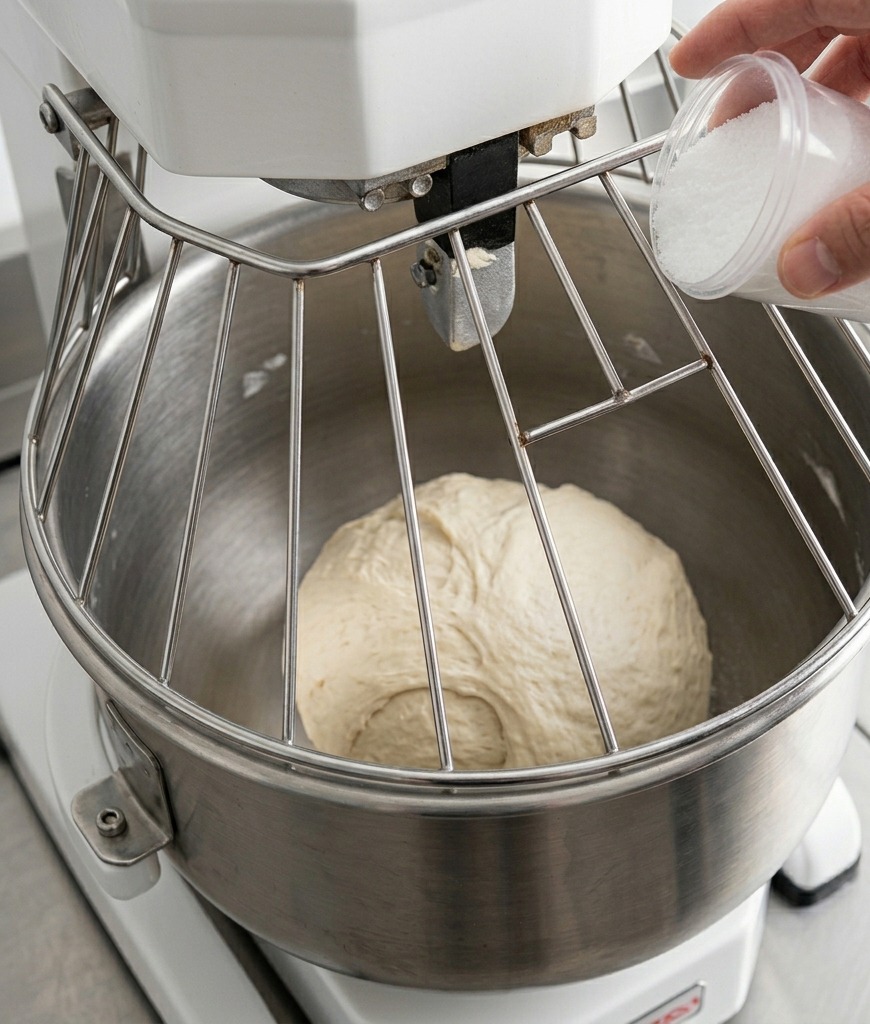
During the final three minutes of the mixing process, add the dry salt to the partially formed dough mass. Adding the salt at this stage allows the flour to hydrate fully first, ensuring a better gluten structure and more consistent fermentation for the pizza crust.
Tip: Delaying the salt addition helps the yeast work more effectively during the initial mixing phase. - 5Remove the dough
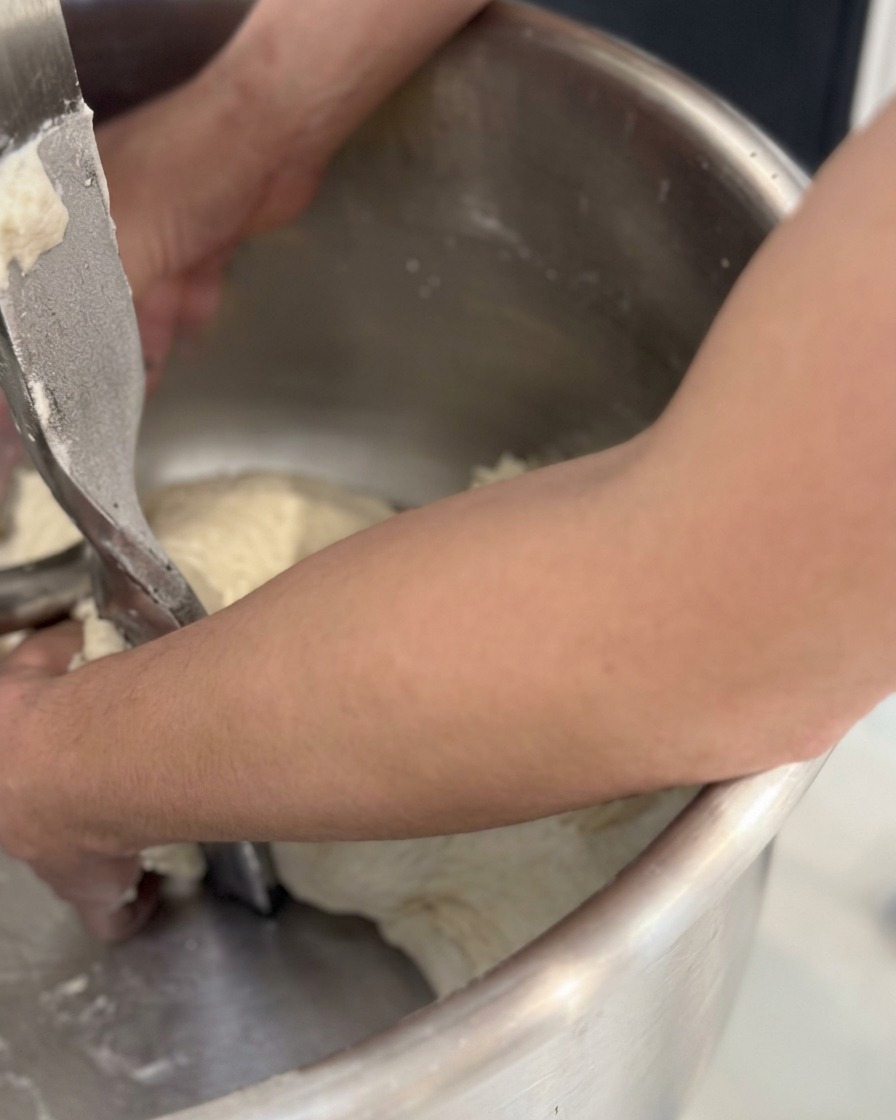
Once the salt and ice water have been incorporated and the dough reaches an internal temperature of 24 degrees Celsius, stop the mixer. Carefully pull the large, cohesive mass of dough out of the metal bowl by hand.
Tip: Monitoring the doughs temperature ensures the yeast doesnt ferment too rapidly during the mixing phase. - 6Fold and shape the dough
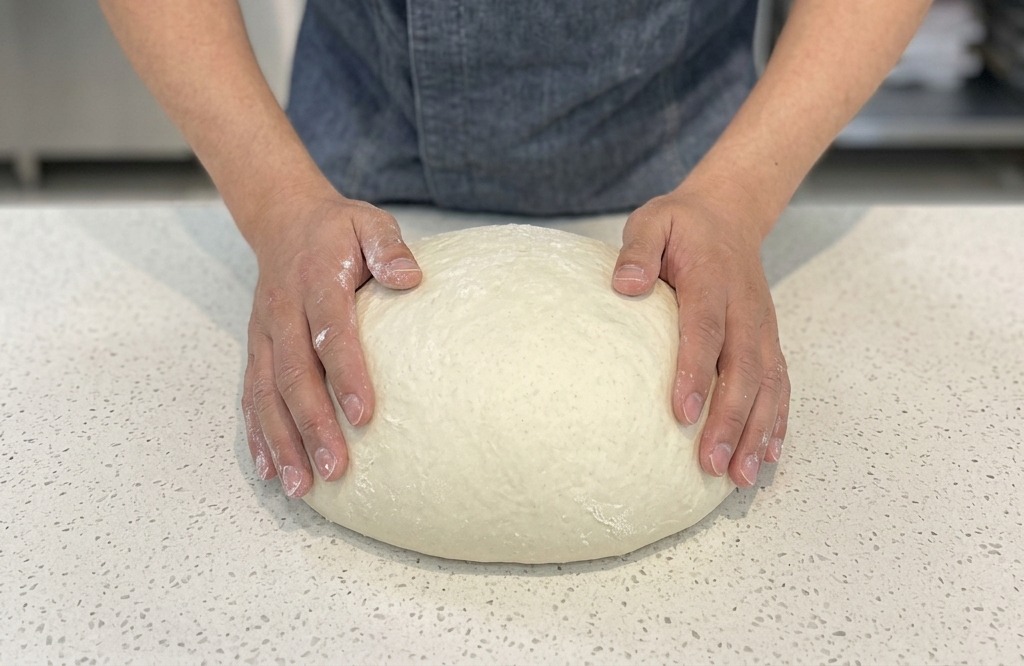
Transfer the dough to a clean, white countertop. Fold the dough over itself several times to build tension and develop a smooth, uniform surface.
Tip: Folding helps trap air and strengthens the gluten network, which is crucial for the final structure of the pizza crust. - 7Coat with olive oil
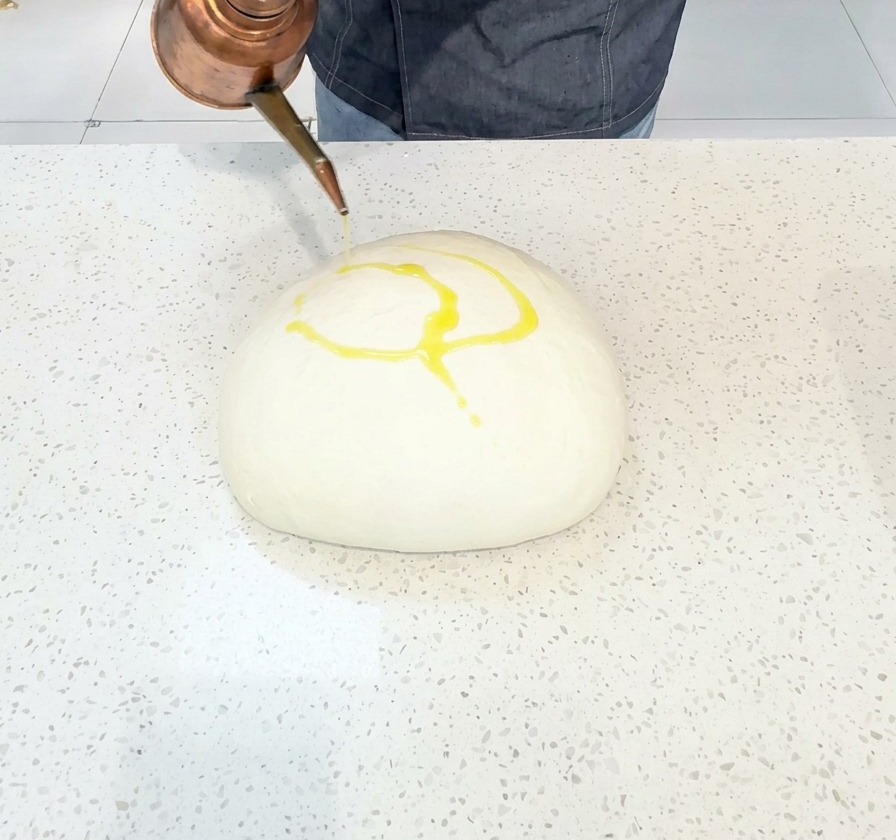
Drizzle a small amount of olive oil over the shaped dough ball. This creates a protective seal that isolates the dough from the air, preventing a dry crust from forming while it rests at room temperature for 10 to 20 minutes.
Tip: A light coating of oil ensures the dough remains soft and pliable during its resting period. - 8Degas the dough
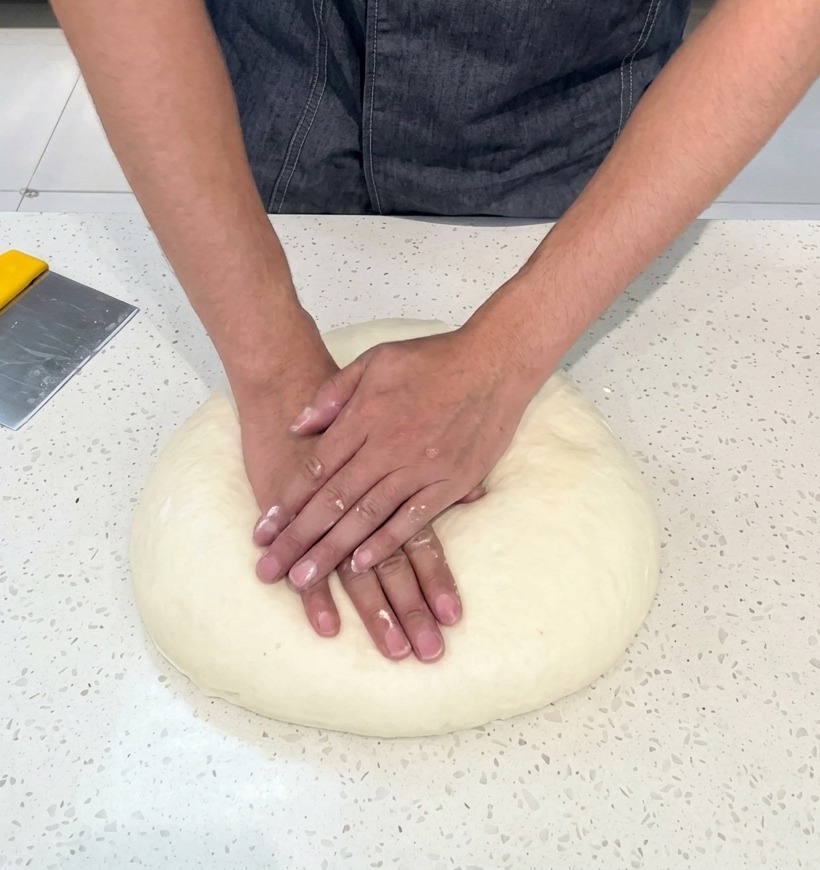
After the dough has rested at room temperature for 10 to 20 minutes and the surface is smooth, use both hands to gently and evenly press down on the dough. This helps to redistribute the gases and prepares the large mass for portioning.
Tip: Apply even pressure with your palms to ensure the dough is flattened to a consistent thickness before you start cutting. - 9Divide the dough
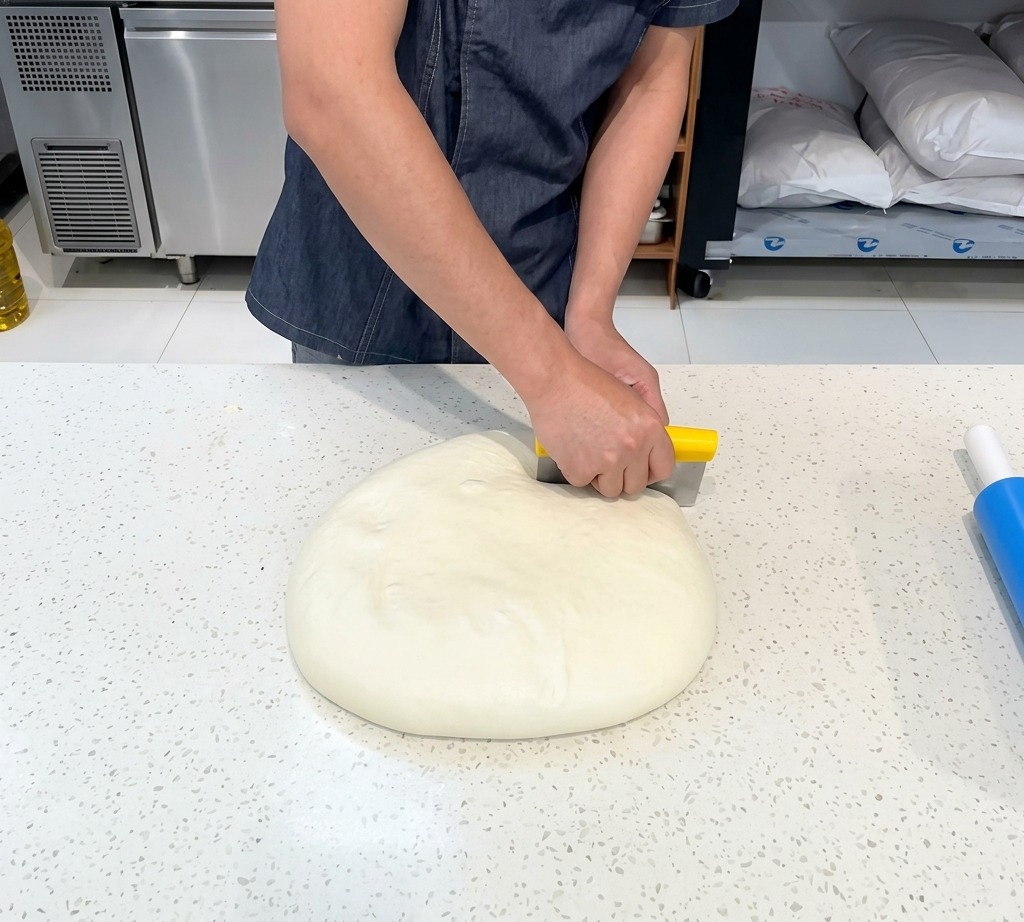
Use a bench scraper to divide the large piece of dough into smaller, even portions. Accuracy at this stage ensures that every pizza you bake will be the same size and cook at the same rate.
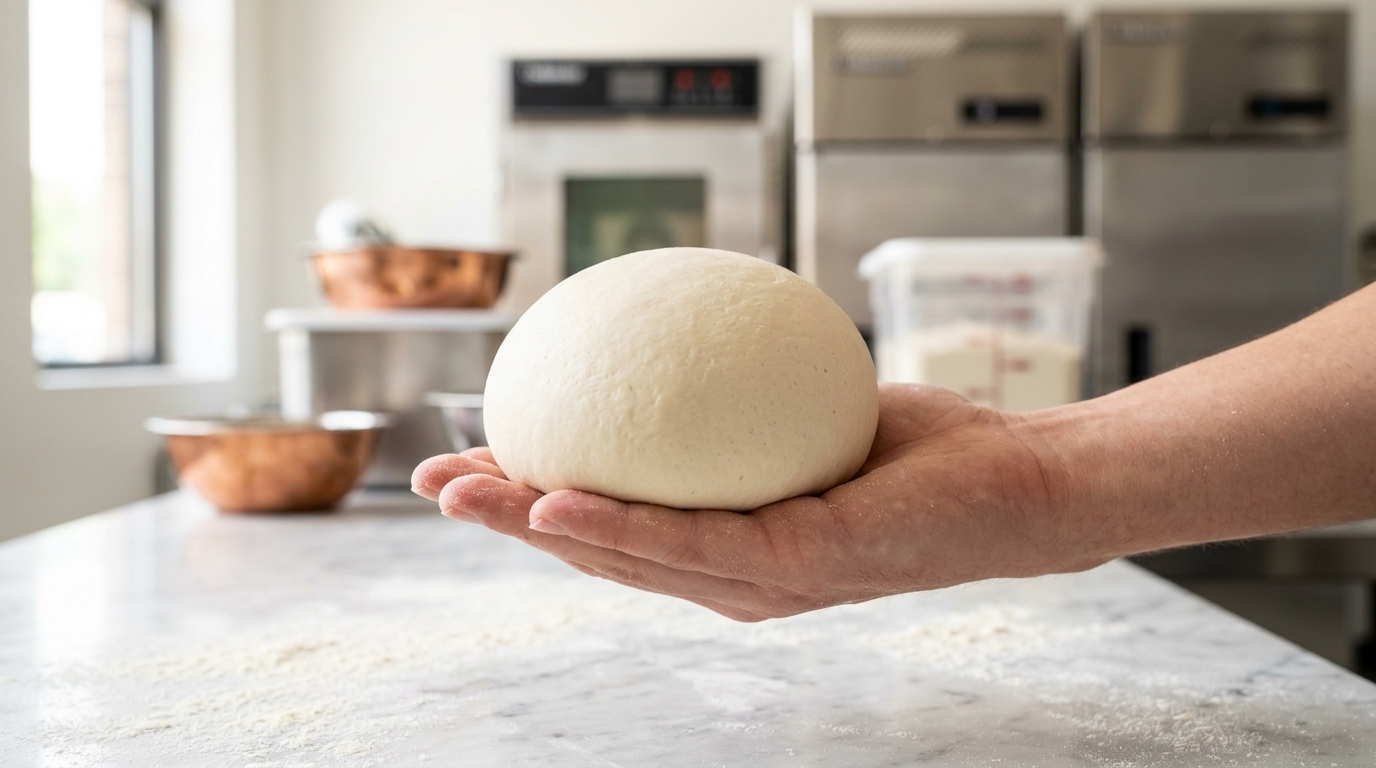
Tip: Keep your bench scraper clean and dry to prevent it from sticking to the fresh dough as you cut. - 10Shape into dough balls
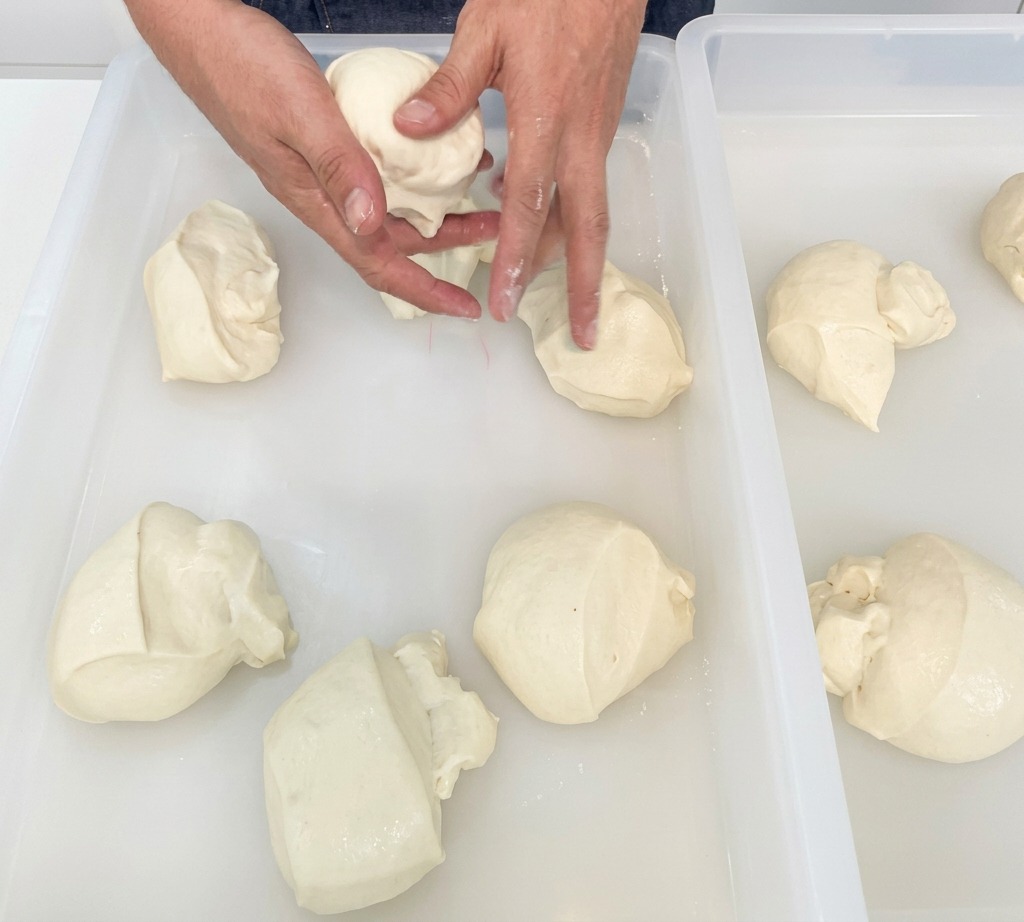
Take each divided portion of dough and roll it between your palms or against the work surface to create a tight, smooth sphere. Proper tension on the surface of the ball helps the dough maintain its shape during the long fermentation process.
Tip: Tuck the edges underneath to ensure the bottom is sealed and the top remains perfectly smooth. - 11Seal for fermentation
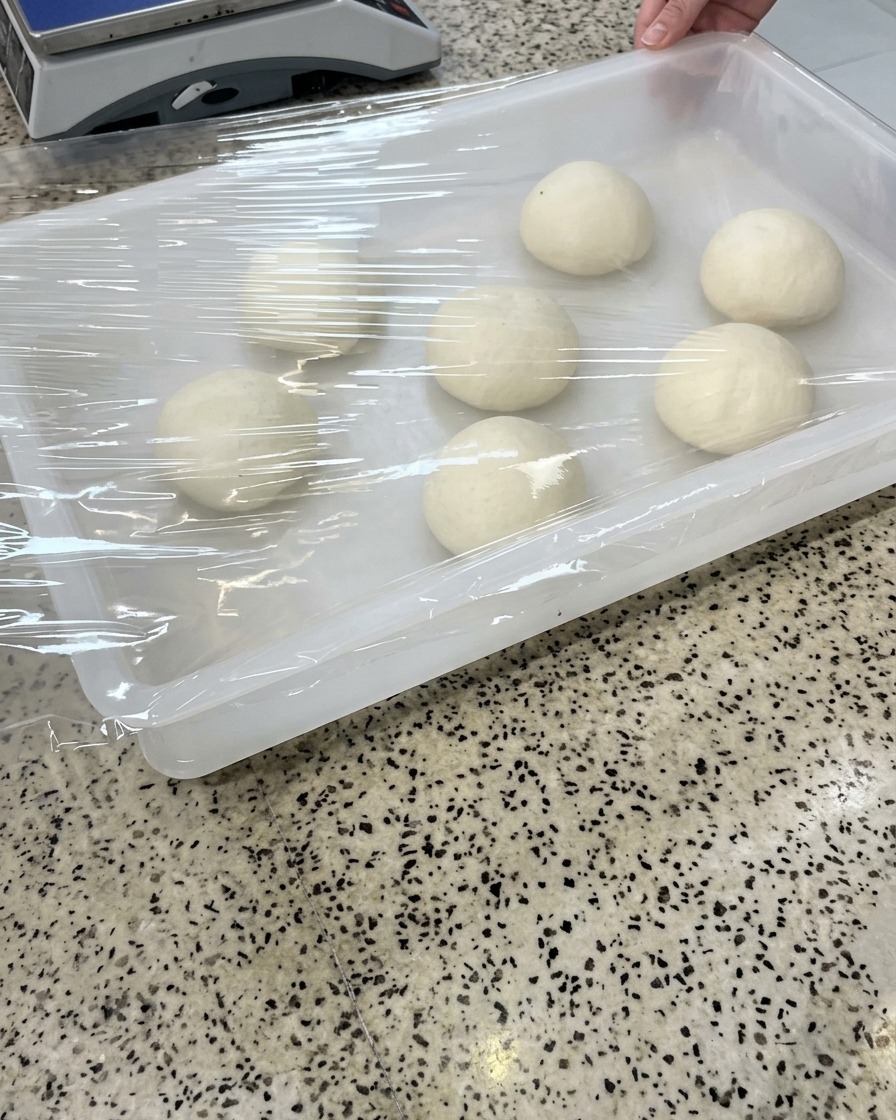
Place the shaped dough balls into a fermentation box and cover the tray tightly with plastic wrap. This creates an airtight seal that prevents a dry skin from forming on the dough. Finally, cover with a lid and move to a cold environment.
Tip: Ensure the plastic wrap is pulled taut across the tray so it doesnt sag and touch the tops of the dough balls.