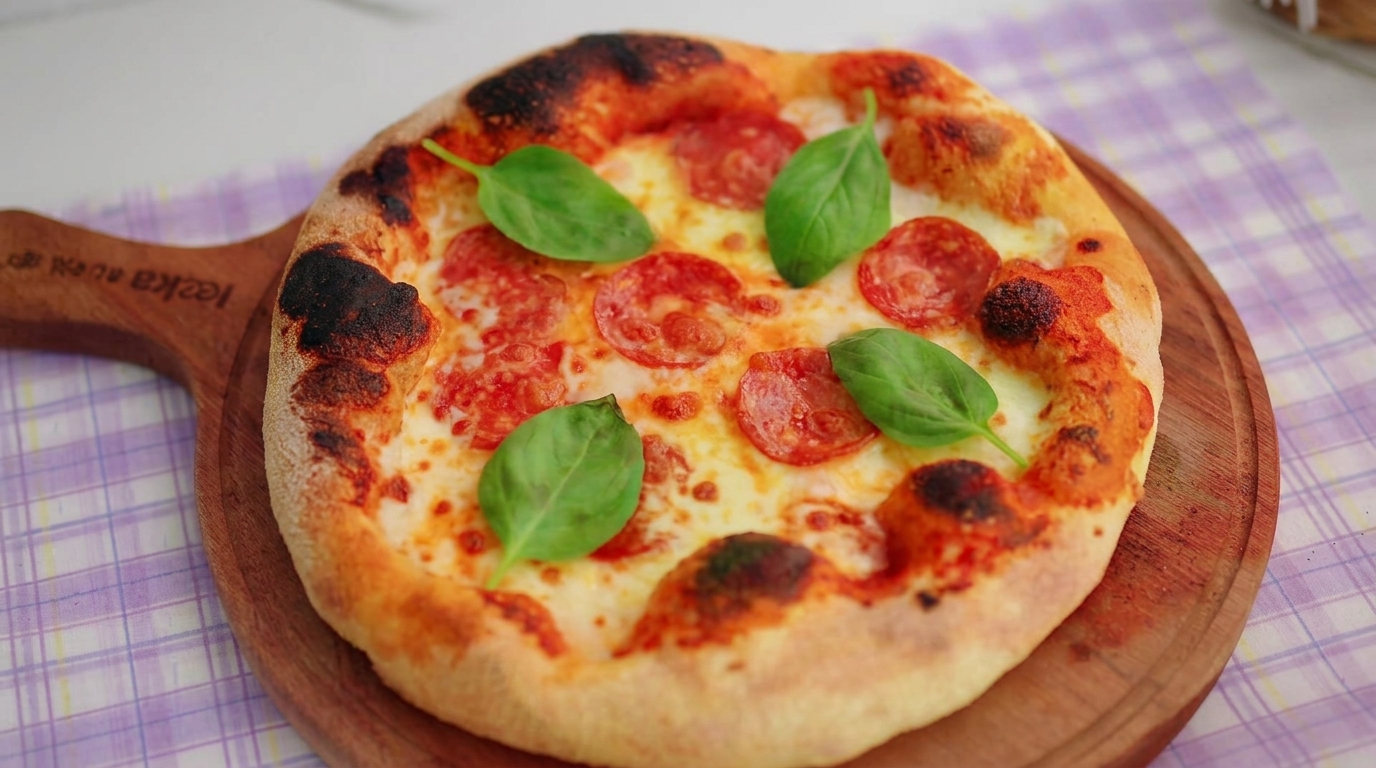
Homemade Salami Neapolitan Pizza
Thin Charred Crust
Master the art of Neapolitan pizza with this thin-crust recipe featuring a cold-fermented dough, vibrant tomato sauce, creamy mozzarella, and savory salami.
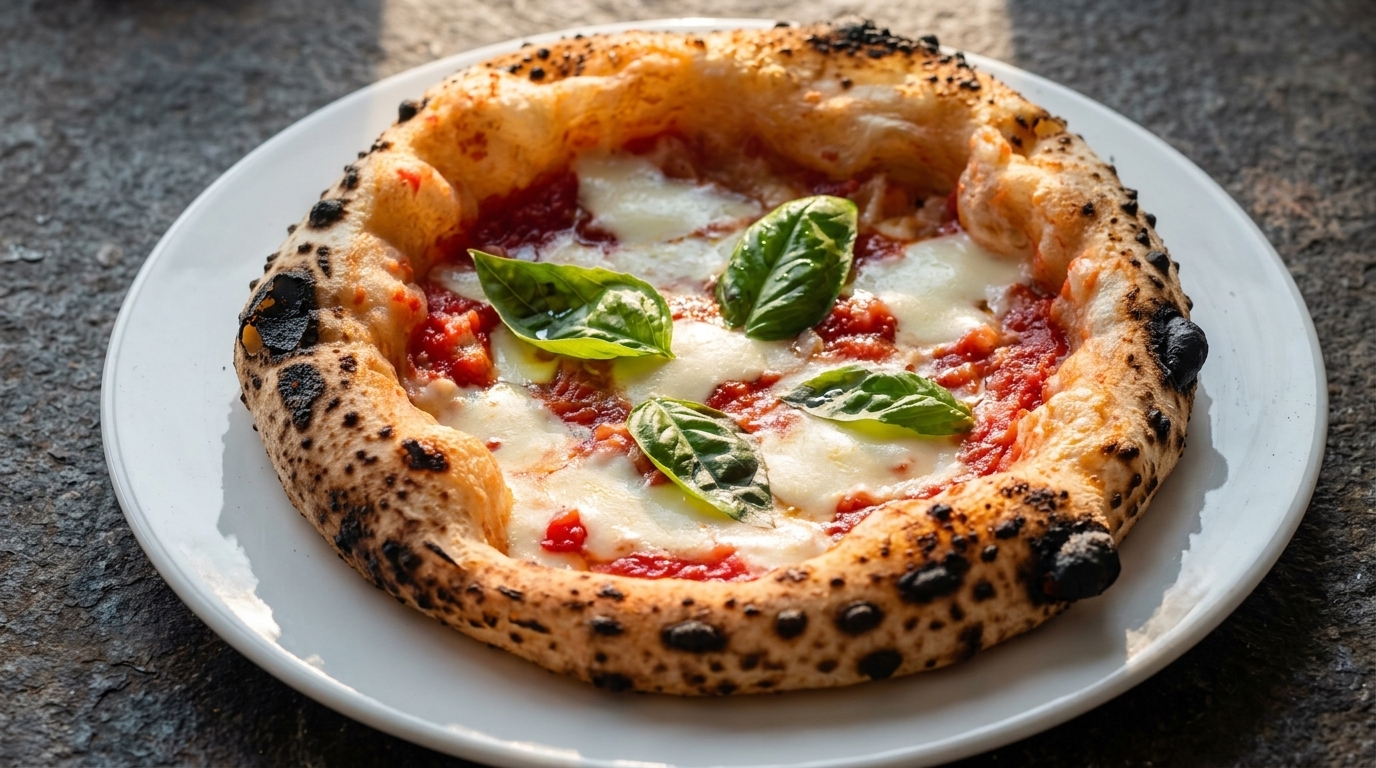
Neapolitan pizza is defined by its characteristic charred crust and pillowy rim. This version uses a slow fermentation process to develop a complex flavor profile and an exceptionally light structure. Topped with salty salami and fresh basil, it is a masterclass in culinary balance and simplicity.
Ingredients
- 300 g pizza flour or high-gluten flour
- 2.5 g yeast
- 5 g salt
- 210 g ice water
- 15 g olive oil
- to taste cornmeal
- to taste tomato basil sauce
- to taste fresh mozzarella cheese
- to taste salami slices
- to taste fresh basil leaves
Instructions
- 1Combine the dry ingredients
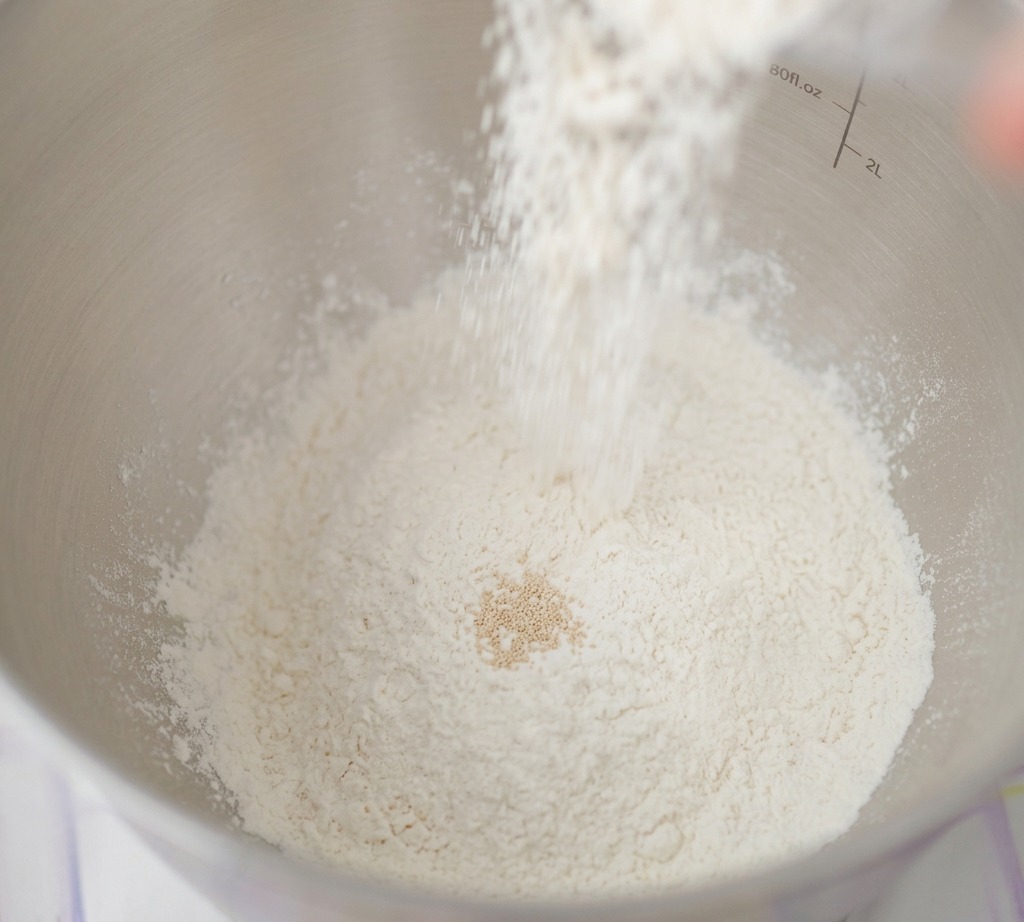
Add 300 grams of pizza flour 2.5 grams of yeast and 5 grams of salt into a metal mixing bowl. Pour in 210 grams of ice water to begin the hydration process. Starting with ice water is essential to control the dough temperature during the mechanical kneading process.
Tip: If you do not have pizza flour high-gluten bread flour is an excellent substitute for achieving that chewy crust texture. - 2Knead at medium speed
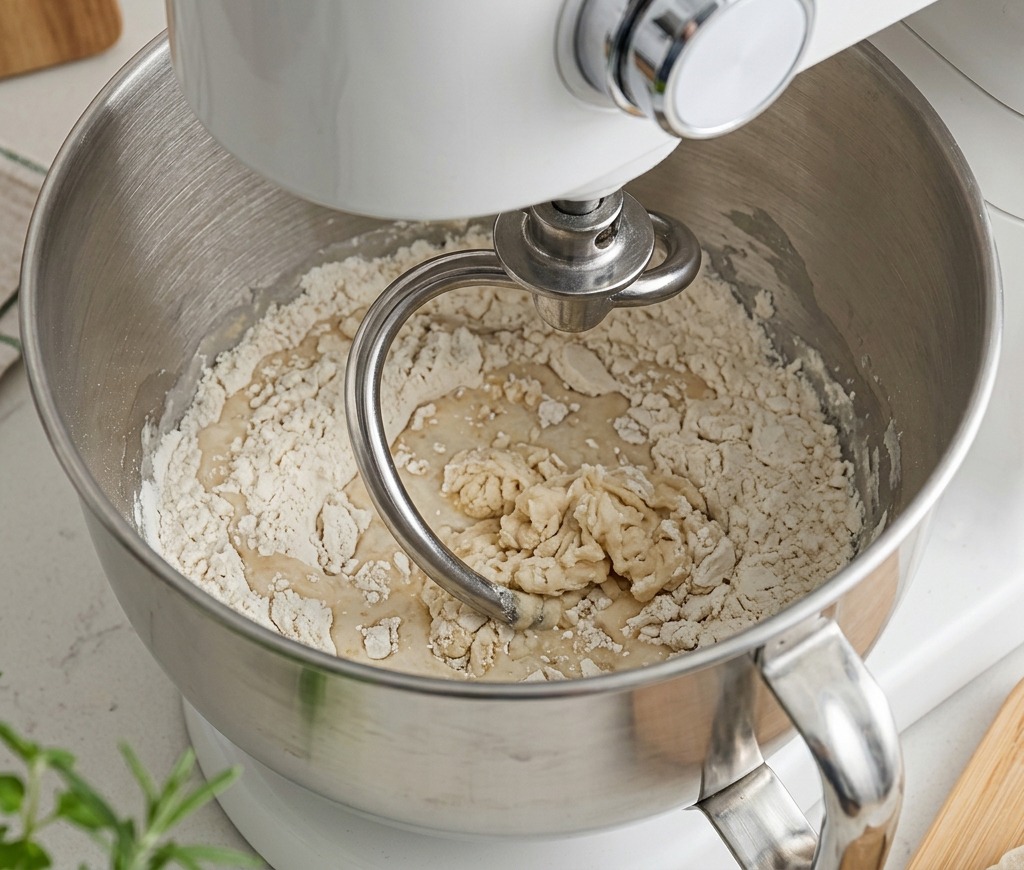
Attach the dough hook to your stand mixer and begin kneading the ingredients at medium speed. Mix until the flour is fully incorporated and the mixture transforms into a basically smooth, cohesive dough ball.
Tip: Avoid high speeds initially to prevent flour from flying out of the bowl and to ensure even hydration of the gluten. - 3Incorporate the olive oil
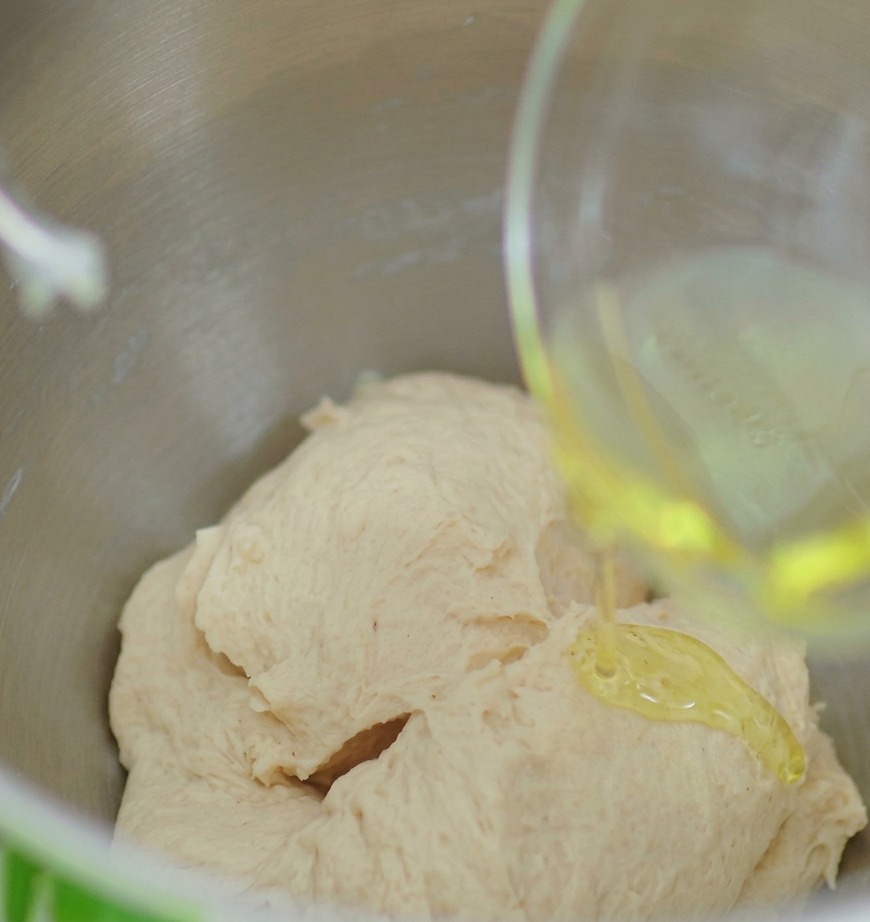
Once the initial dough is formed pour 15 grams of olive oil directly onto the dough. Switch the mixer to high speed to continue kneading. The oil will enrich the dough and help produce a strong elastic structure.
Tip: Adding the oil after some gluten has already developed ensures it does not coat the flour too early which can sometimes interfere with gluten formation. - 4Test for the windowpane effect
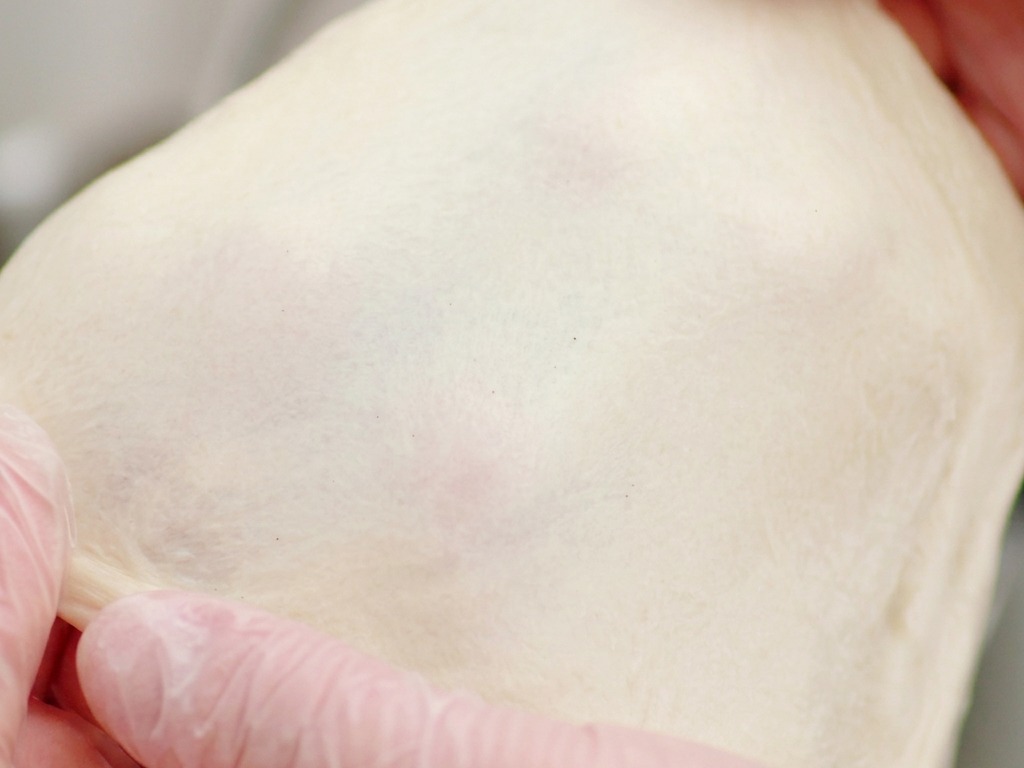
After kneading at high speed test the dough elasticity by stretching a small piece between your fingers. It should become thin enough to be translucent forming a windowpane effect without tearing. This indicates the gluten is fully developed and strong.
Tip: If the dough tears quickly continue kneading for another 2-3 minutes and test again. - 5Divide the pizza dough
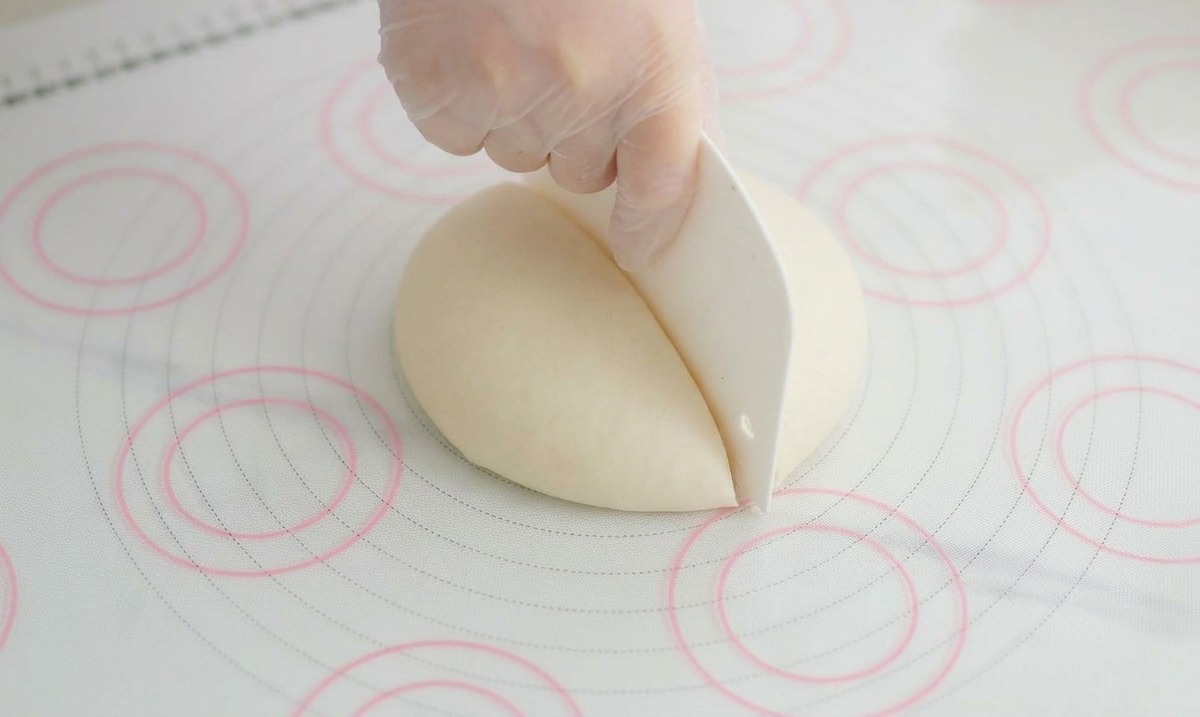
Place the smooth dough on a clean work surface. Use a bench scraper to divide the mass into two equal portions. This recipe is designed to make two individual thin-crust pizzas.
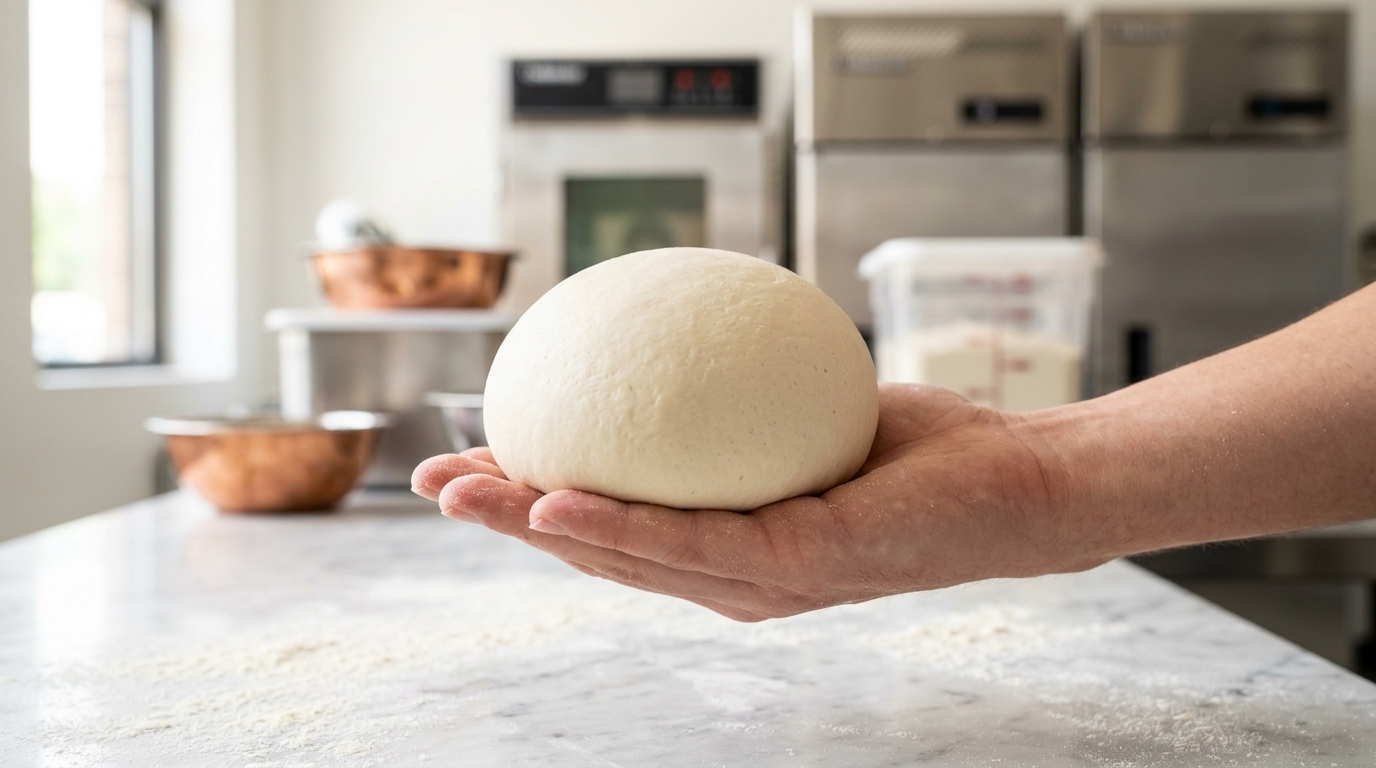
Tip: Use a quick vertical cutting motion with the scraper to avoid pulling or tearing the dough surface. - 6Prepare for fermentation
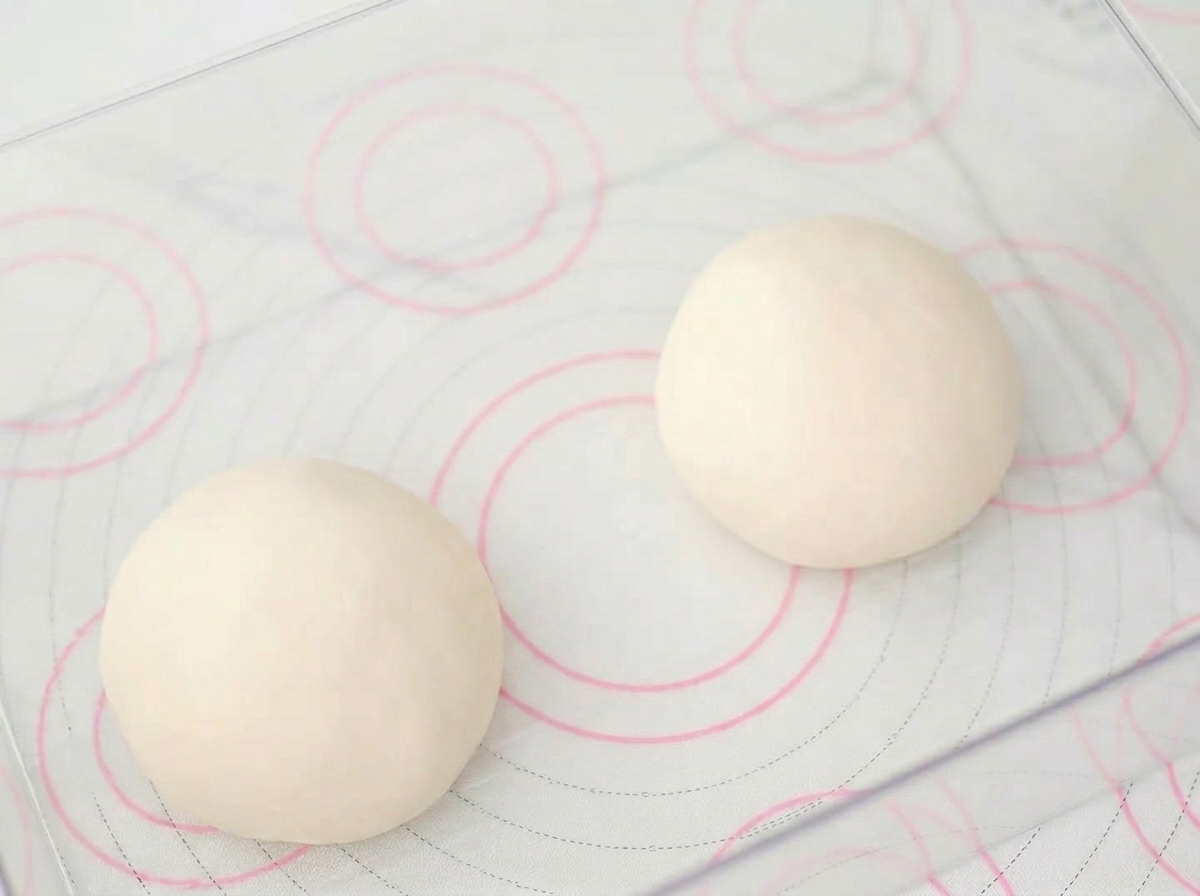
Shape the divided portions into smooth, tight balls. Place them into a clear plastic container. You can ferment the dough at room temperature for two hours, but refrigerating it overnight for cold fermentation is highly recommended for superior flavor and texture.
Tip: Cold fermentation allows the yeast to work slowly, creating more complex flavors and a better crust structure with larger air pockets. - 7Dust with cornmeal
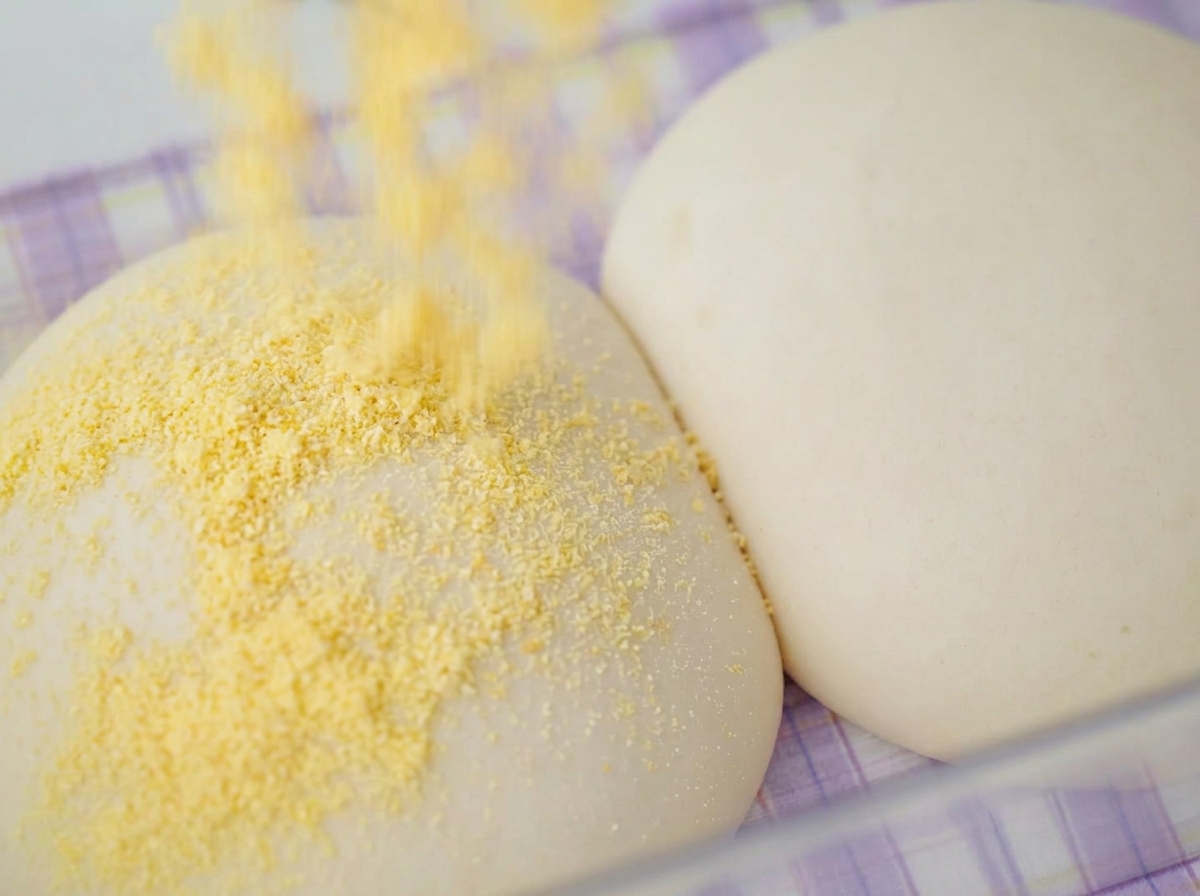
Once the dough has fermented, gently remove it from the container. Sprinkle a generous amount of yellow cornmeal over the surface of the dough and onto your work area. This prevents the high-hydration dough from sticking to the surface or the pizza peel.
Tip: Cornmeal acts like tiny ball bearings, making it much easier to slide the pizza into the oven without the dough tearing or sticking. - 8Shape the pizza base
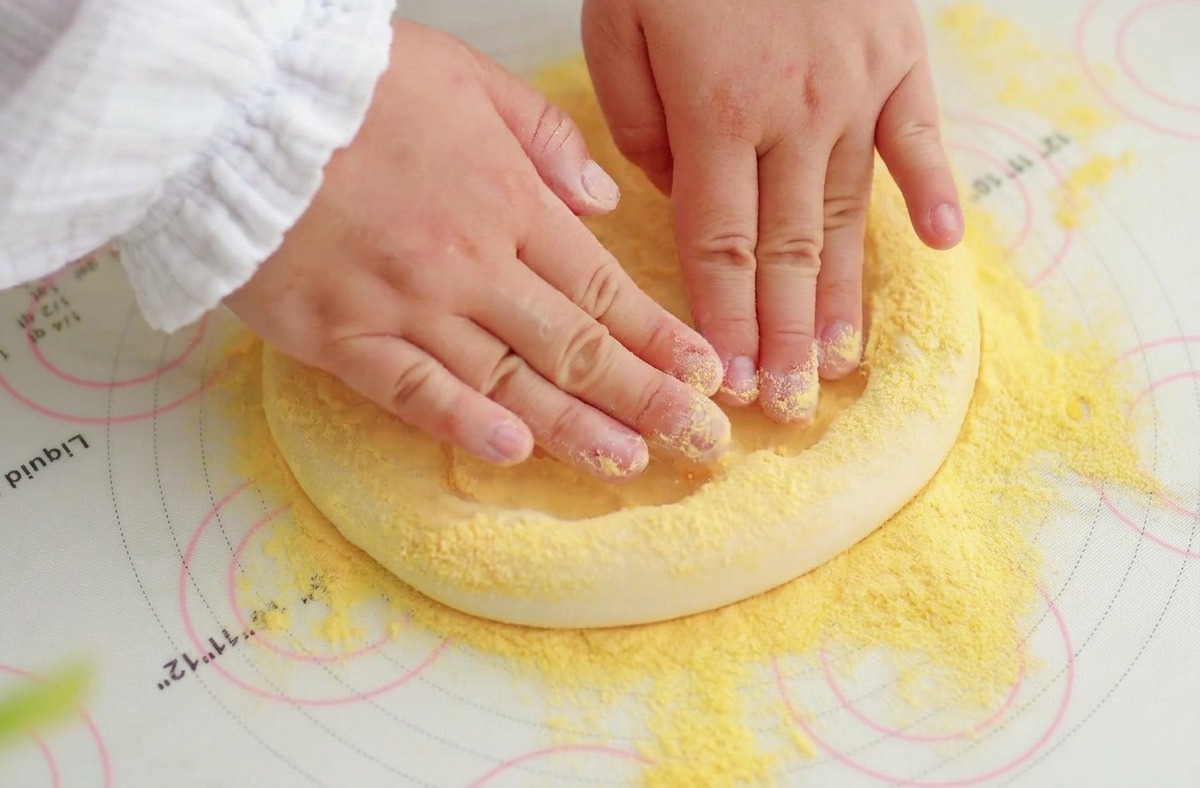
Place the dough on the cornmeal-dusted surface. Use your fingers to press down firmly starting from the center of the dough, slowly stretching it outward. Be careful to preserve a raised edge around the perimeter to form a beautiful, airy crust rim.
Tip: Avoid pressing the outer edge; keeping the air trapped in the rim is what creates the characteristic puffy crust of a Neapolitan pizza. - 9Stretch with gravity
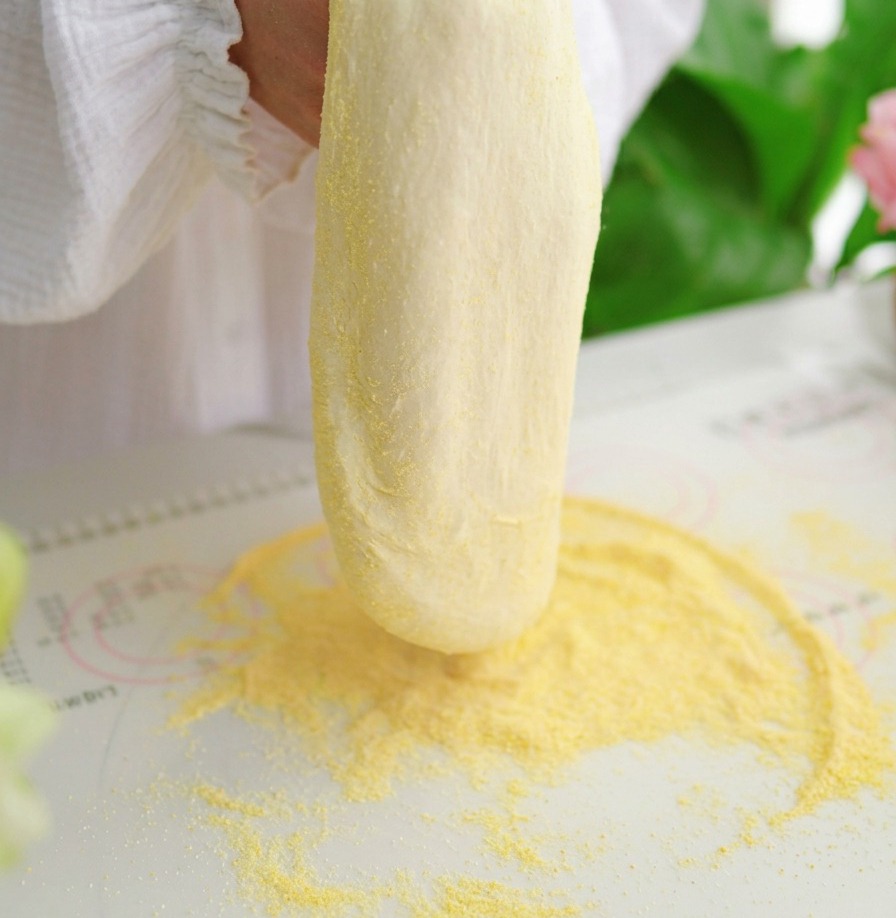
Carefully lift the dough and drape it over the backs of your closed fists. Gently pull your hands apart and rotate the dough letting the weight of the dough itself help stretch it larger and thinner until the center is almost translucent.
Tip: Keep your fists moving and do not pull too hard gravity does most of the work for you to ensure an even thickness. - 10Add tomato base
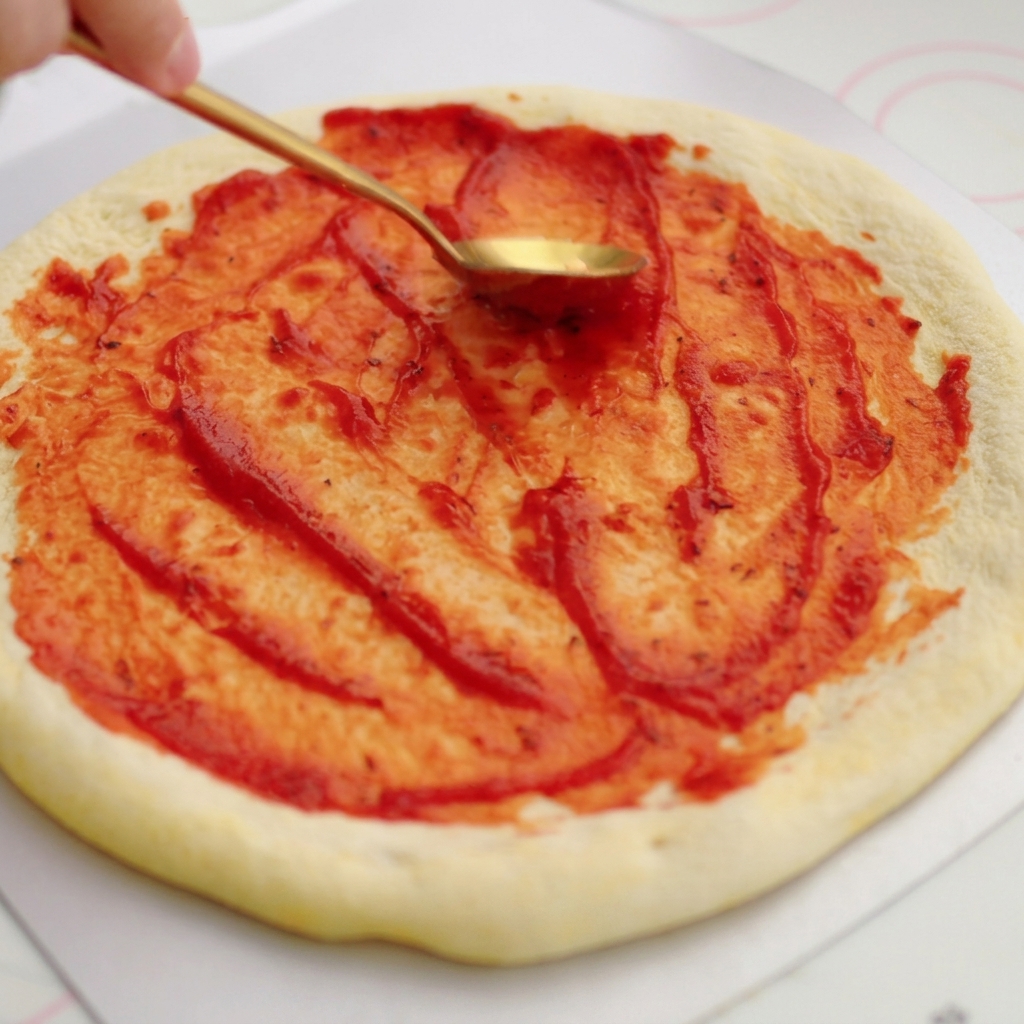
Transfer the shaped dough to a pizza peel and tidy the edges. Spoon red tomato basil sauce onto the center and use the back of the spoon to spread it in a spiral motion toward the edges, leaving the crust rim clean.
Tip: A thin, even layer of sauce is key; too much sauce can make the dough soggy and prevent it from crisping up properly in the oven. - 11Top with cheese
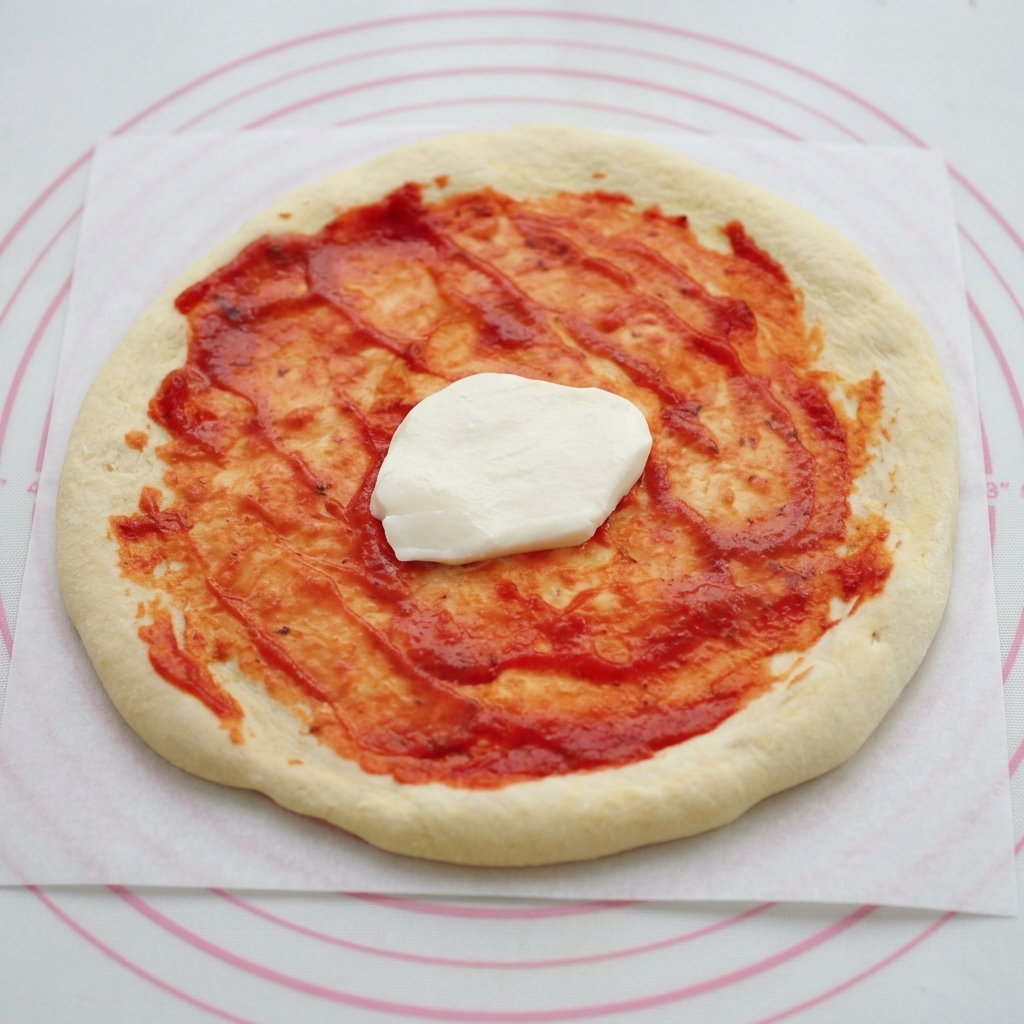
Arrange slices of fresh white mozzarella cheese over the tomato sauce base. Distribute the cheese evenly so that it melts consistently across the pizza during the intense, short baking time.
Tip: If your mozzarella is very wet, pat it dry with a paper towel before adding it to the pizza to prevent excess moisture from pooling on top. - 12Add the salami toppings
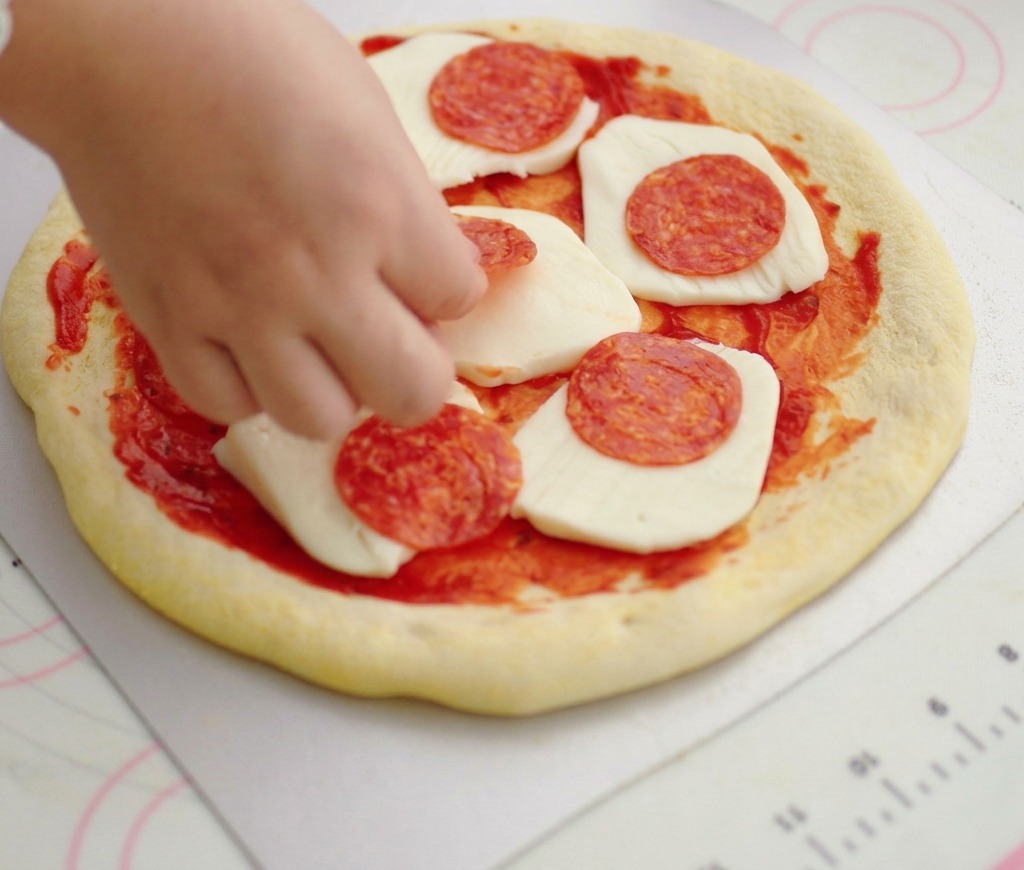
Layer round slices of salami over the fresh cheese base. Distribute them evenly across the pizza to ensure every slice has a balance of salty meat and creamy cheese. The heat from the oven will cause the salami to release its oils, adding flavor to the entire pizza.
Tip: If you prefer a crispier topping, use thinner slices of salami; they will curl and crisp up beautifully in the high heat of the oven. - 13Bake the pizza
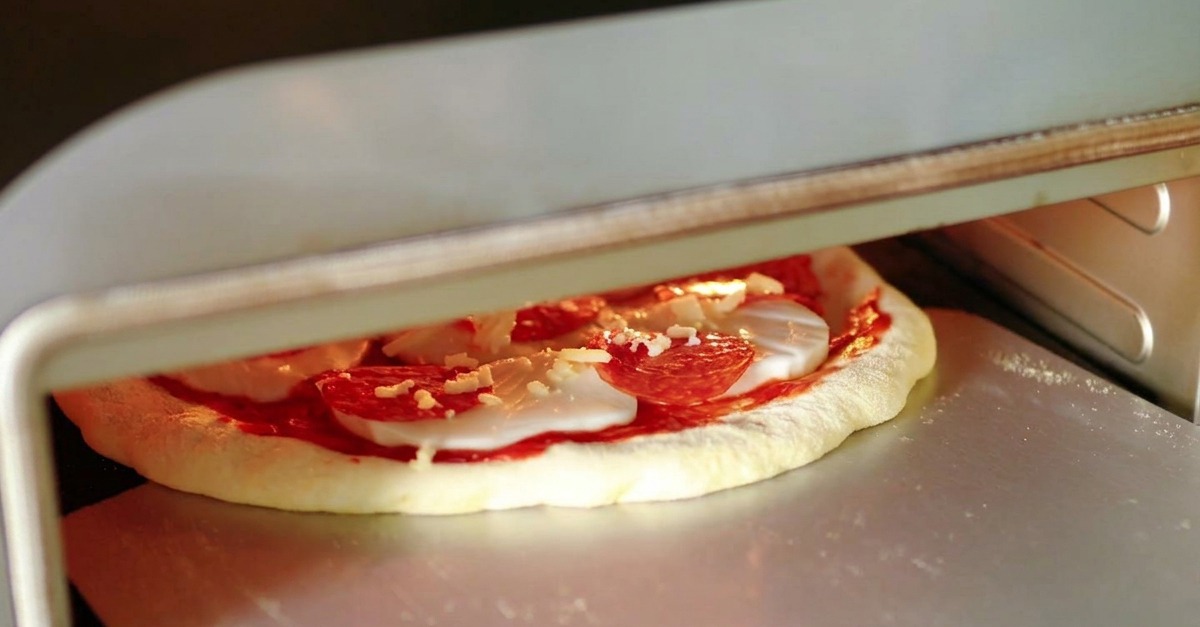
Using a metal pizza peel, slide the pizza onto the preheated stone. In a dedicated pizza oven, bake for about 3 minutes and 30 seconds with the top at 400°C and the bottom at 300°C. For a household oven, bake at the highest setting (at least 230°C) until the crust is charred and the cheese is bubbly.
Tip: Make sure to rotate the pizza halfway through the baking time to ensure an even cook and prevent one side of the crust from burning. - 14Garnish with fresh basil
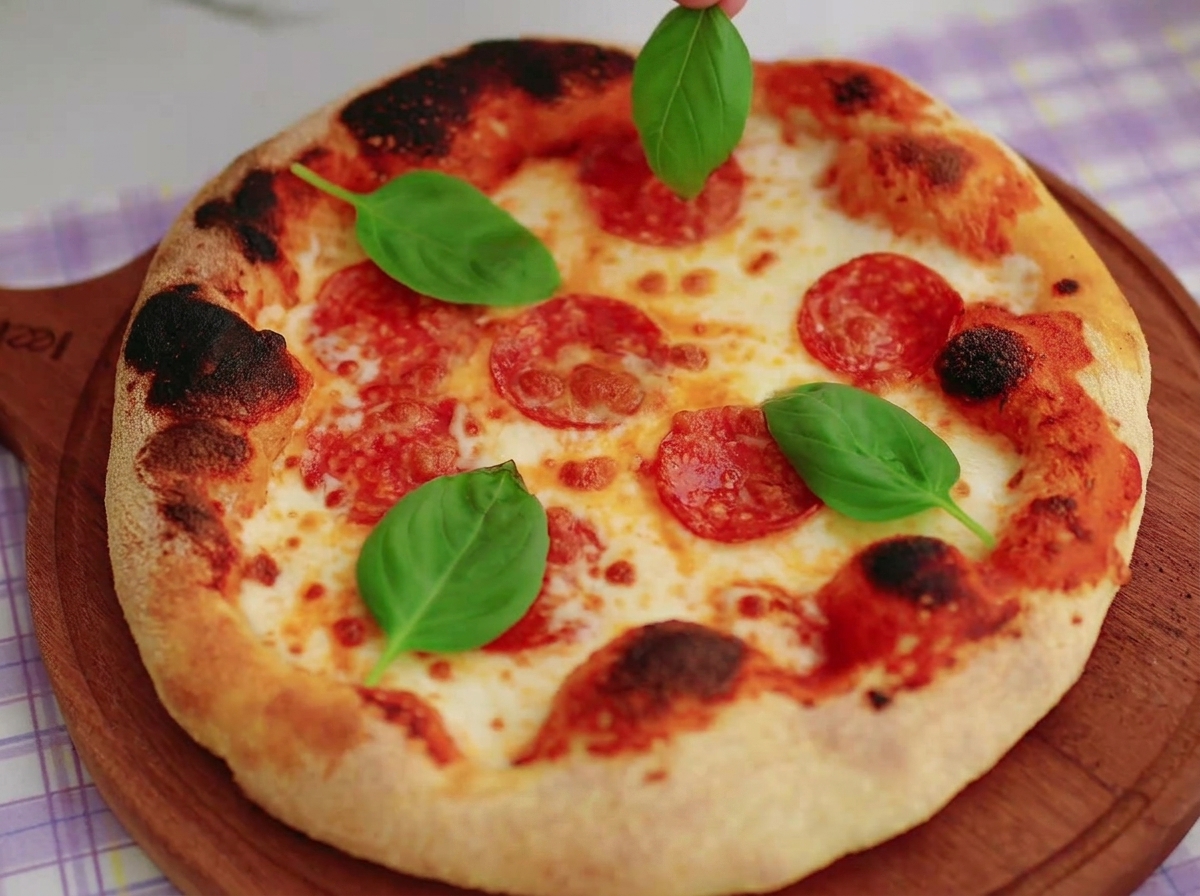
Once the pizza is out of the oven, immediately garnish it with fresh green basil leaves. The residual heat from the melted cheese and crust will slightly wilt the leaves and release their aromatic fragrance, providing a fresh contrast to the rich salami and cheese.
Tip: Always add fresh basil after baking rather than before. Fresh basil is delicate and will turn black and lose its flavor if subjected to the intense heat of the pizza oven.