Savory Pan-Fried Soy Sauce Pork Belly
Transform humble pork belly into a crispy, savory masterpiece. This simple pan-fried dish uses cornstarch for the perfect texture and a rich, aromatic soy glaze.
This soy sauce pork belly is the ultimate home-cooked comfort dish for those moments when you crave the smoky satisfaction of a barbecue restaurant without leaving your kitchen. By rendering out the fat slowly over low heat, the pork achieves a perfect, non-greasy crispness that pairs beautifully with the savory, garlic-infused sauce. It is a simple yet deeply satisfying meal that transforms a few pantry staples into a restaurant-quality experience.
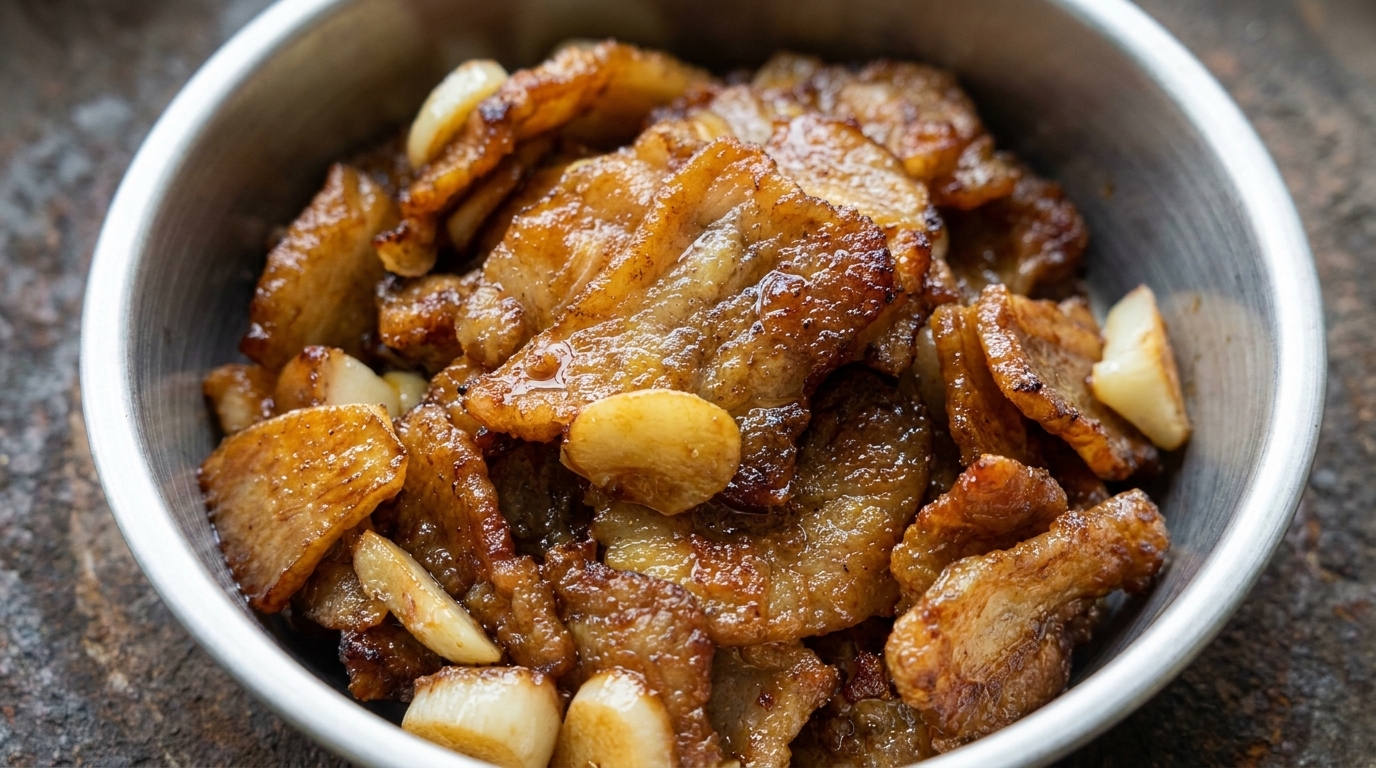
Ingredients
- 500 g pork belly
- 1 head garlic, sliced
- 3 tbsp cornstarch
- 1 tbsp cooking wine
- 2 tbsp light soy sauce
- 1 tsp oyster sauce
- 1 tsp white sugar
- 0.5 tsp pepper powder
- 0.5 tsp MSG
- 1 tbsp cooking oil
Instructions
- 1Slice the pork belly
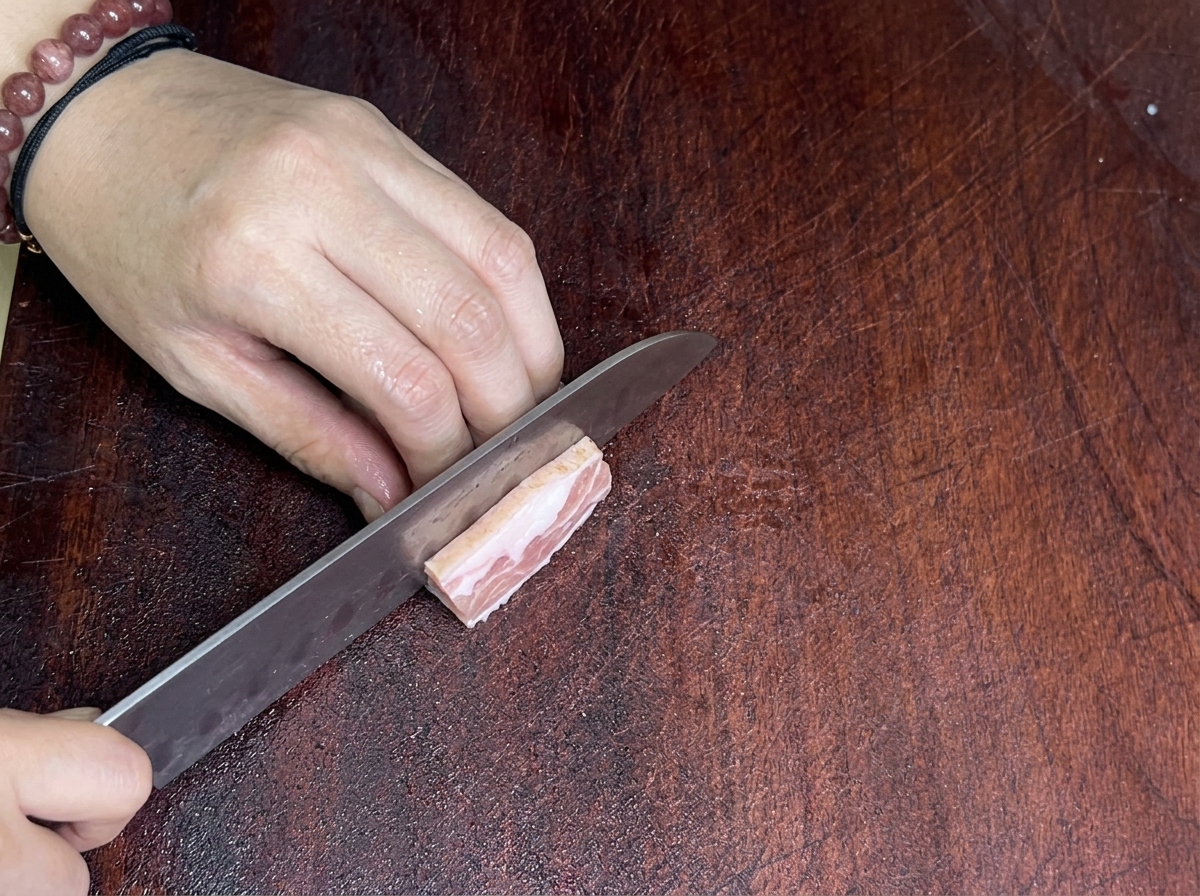
Take the partially frozen pork belly and slice it into thin pieces, about the thickness of a coin. Freezing the meat beforehand makes it easier to achieve clean, uniform slices.
Tip: Keep the pork belly semi-frozen to make slicing much easier and more precise. - 2Coat with cornstarch
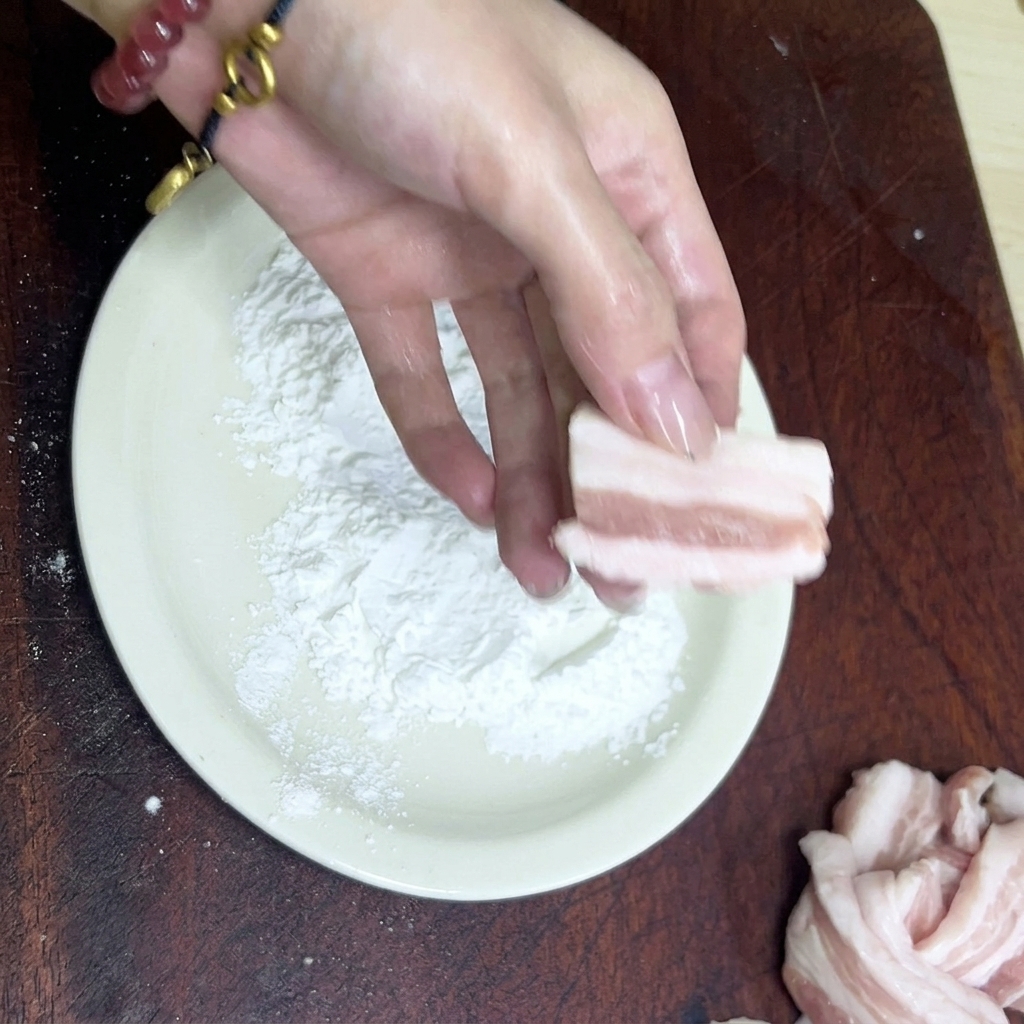
Lightly coat both sides of each pork belly slice with cornstarch. Use a thin, even layer to ensure the meat crisps up perfectly during frying.
Tip: A light dusting is all you need; avoid clumping for the best texture. - 3Prepare the pan
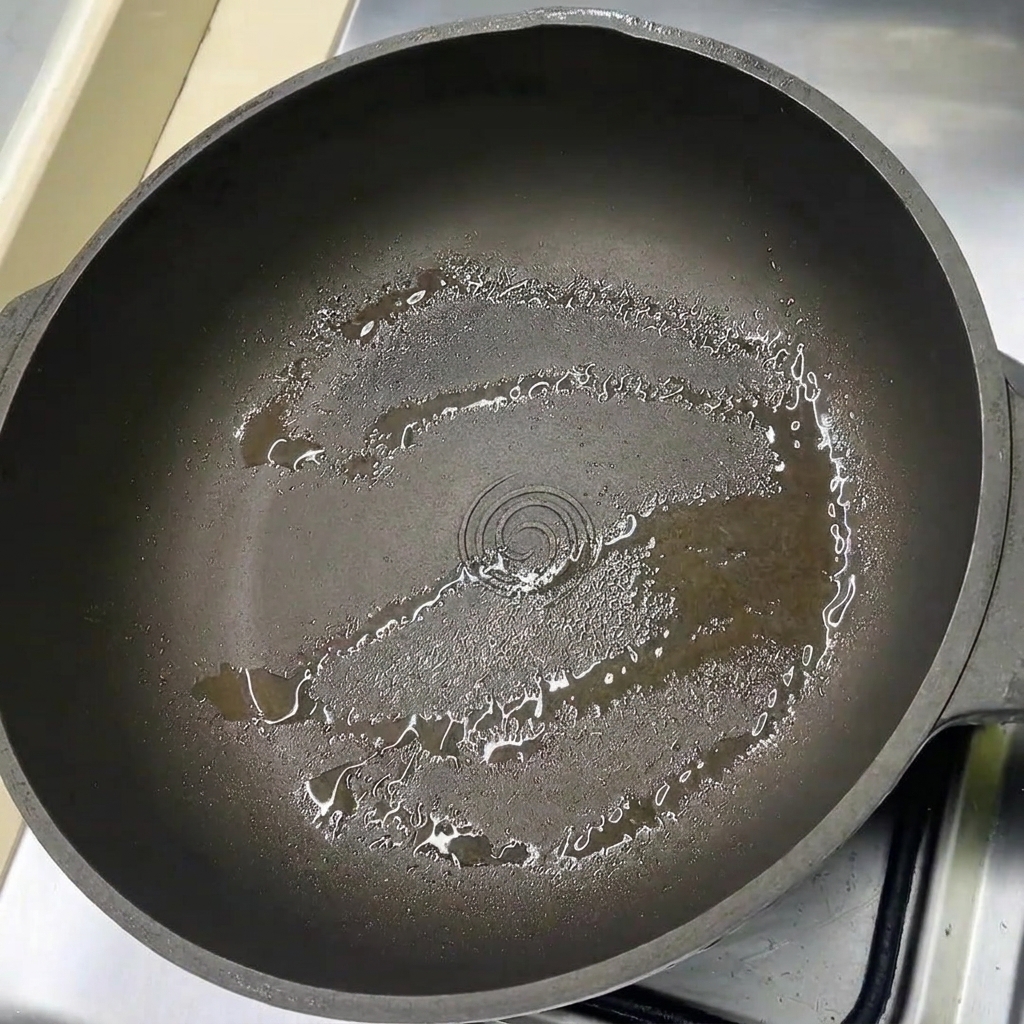
Lightly spray or coat your pan with a little oil, then arrange the cornstarch-coated pork belly slices in the pan. Ensure they are laid out in a single layer for even cooking.
Tip: Do not crowd the pan; cook in batches if necessary to ensure each slice gets crispy. - 4Fry the pork belly
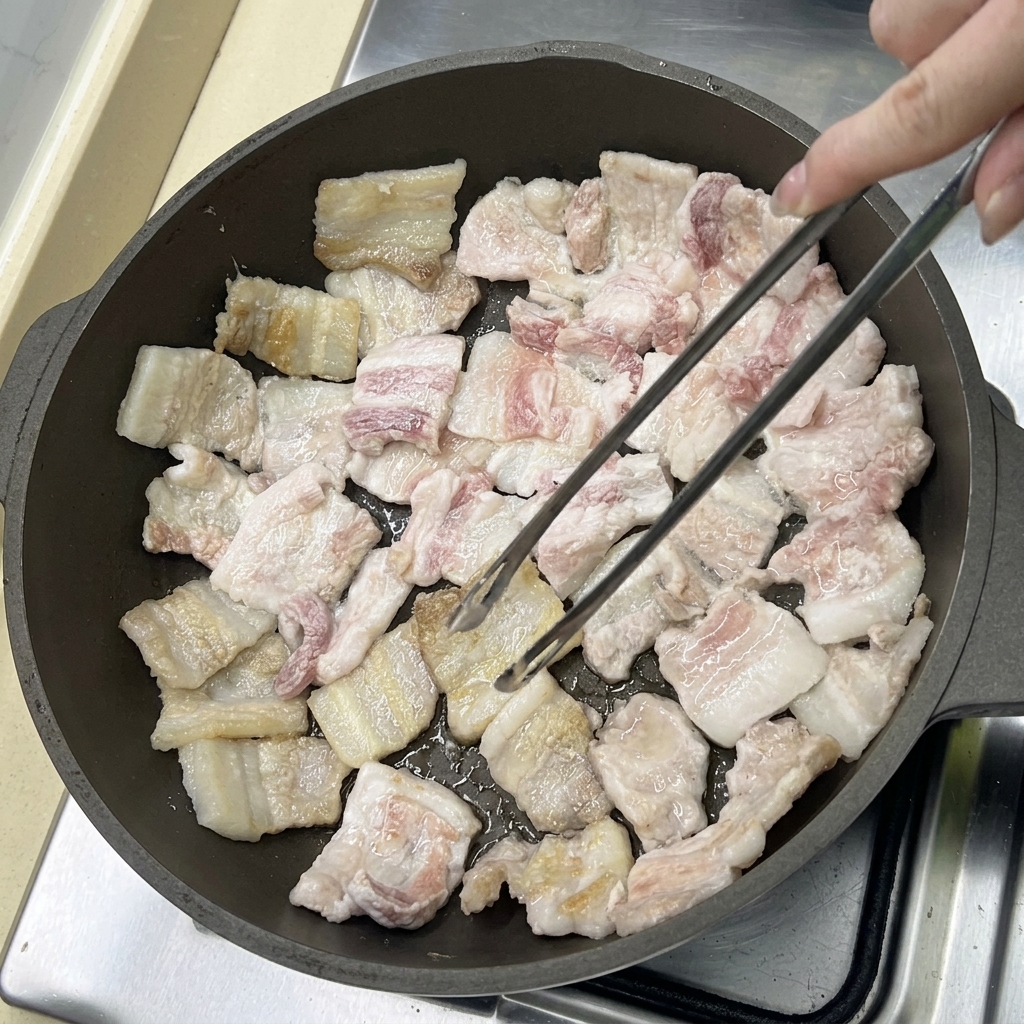
Fry the pork belly slices over low heat. This slow cooking process allows the fat to render out effectively, resulting in meat that is crispy and savory rather than greasy. Cook for about 10 minutes until both sides are golden brown.
Tip: Patience is key—low heat ensures the fat renders completely without burning the meat. - 5Drain excess fat
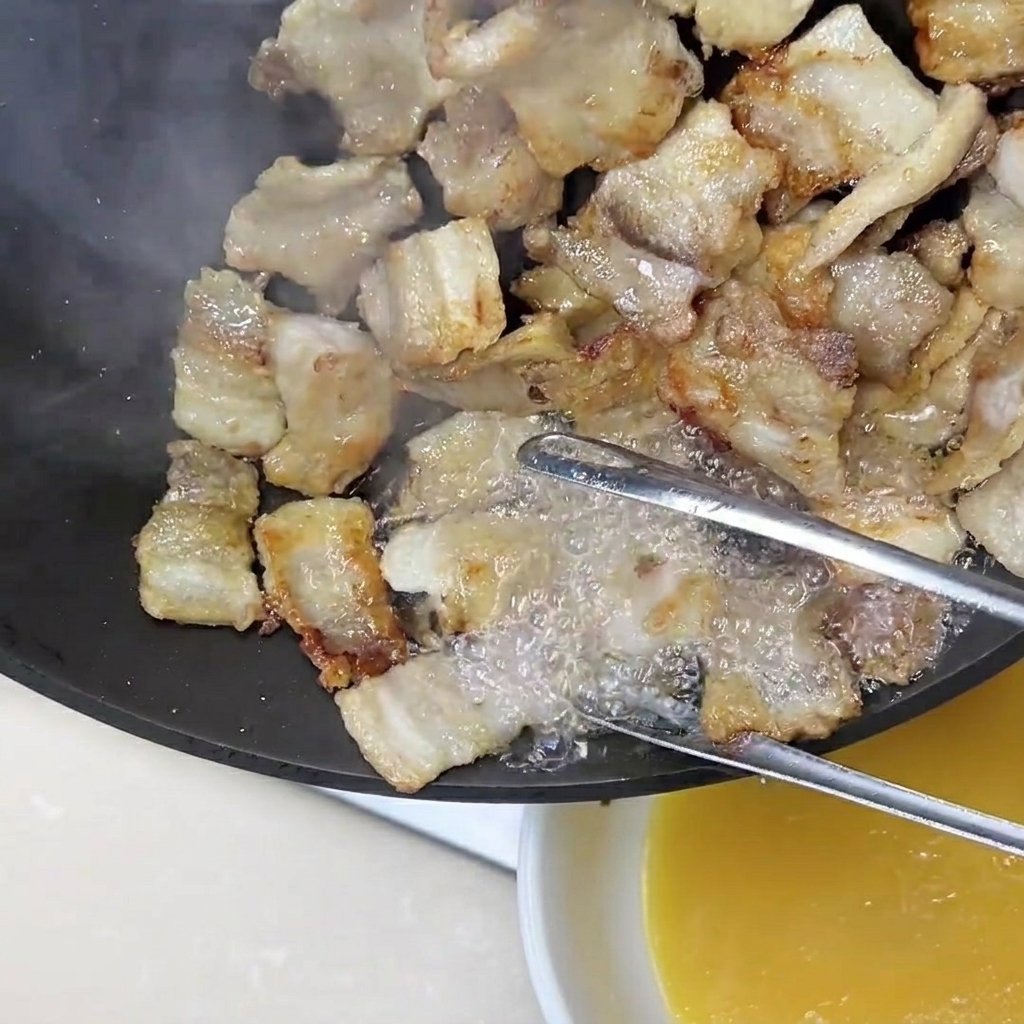
Once the pork is browned, carefully pour out the excess rendered fat from the pan into a bowl. This fat is flavorful and can be saved for stir-frying vegetables or mixing into noodles later.
Tip: Dont discard the rendered fat; its a great flavorful cooking oil for other dishes. - 6Add aromatics
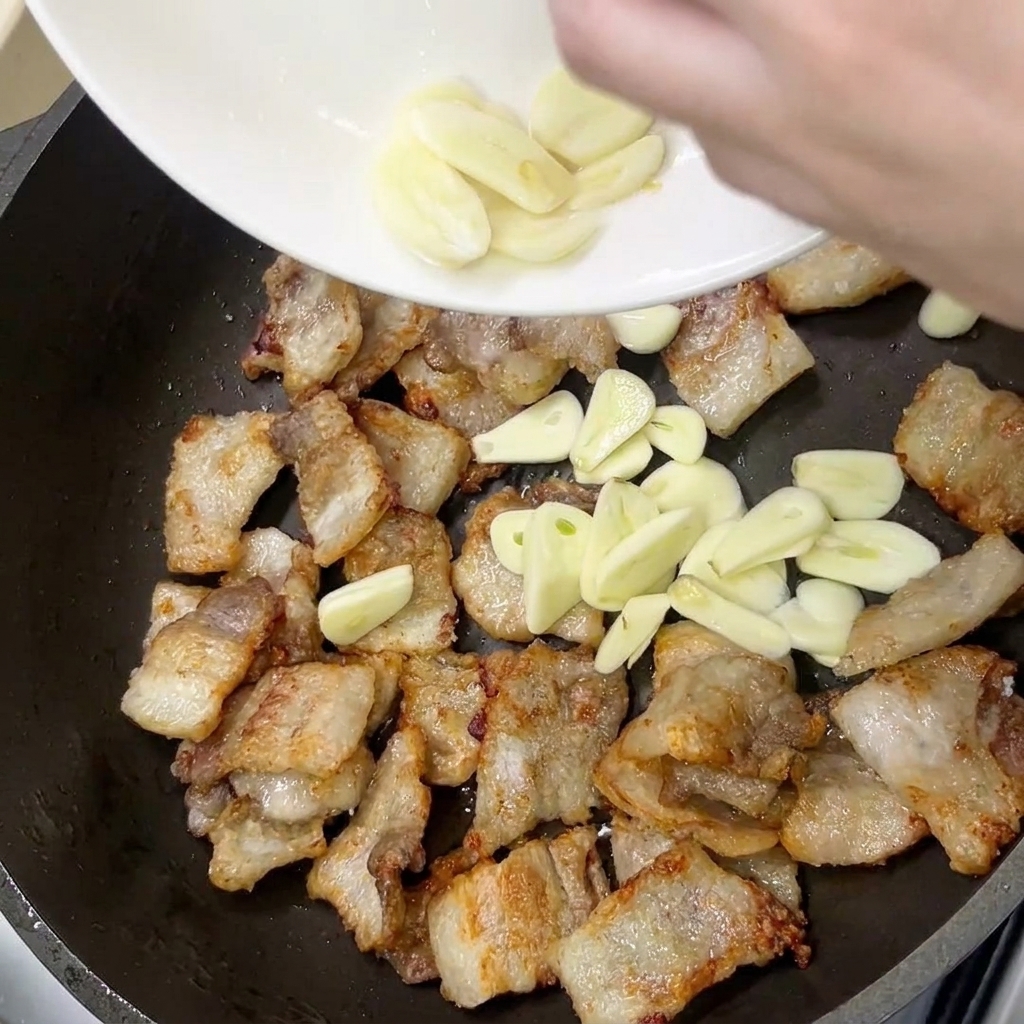
Add the prepared garlic slices to the pan with the browned pork belly. Stir-fry everything together until the garlic becomes fragrant and aromatic.
Tip: Fry the garlic just until fragrant so it doesnt burn, which can make it bitter. - 7Season the pork
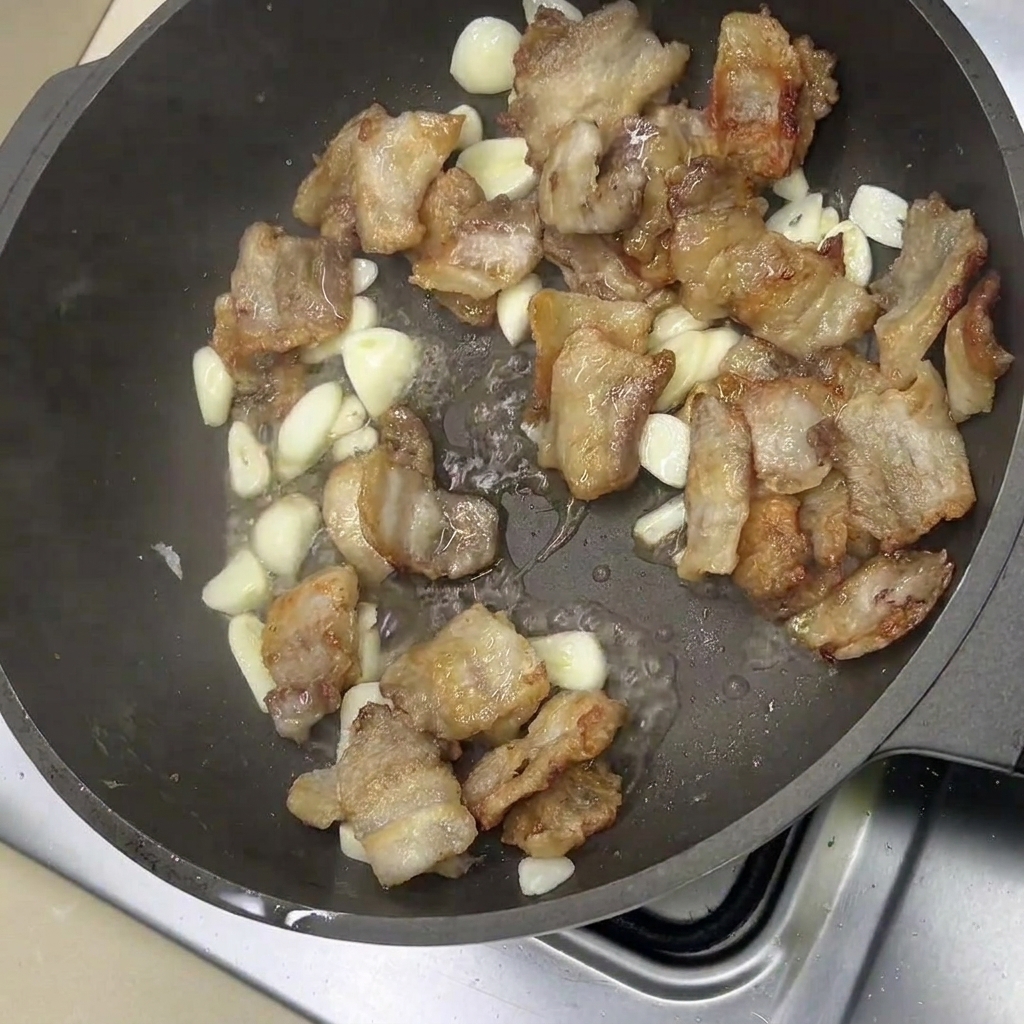
With the pork belly and garlic fragrant in the pan, its time to build the flavor profile. Add a splash of cooking wine, light soy sauce, a pinch of pepper powder, an appropriate amount of white sugar, oyster sauce, and a small spoonful of MSG.
Tip: If you prefer a darker glaze, you can add a few drops of dark soy sauce for color. - 8Stir-fry to coat evenly
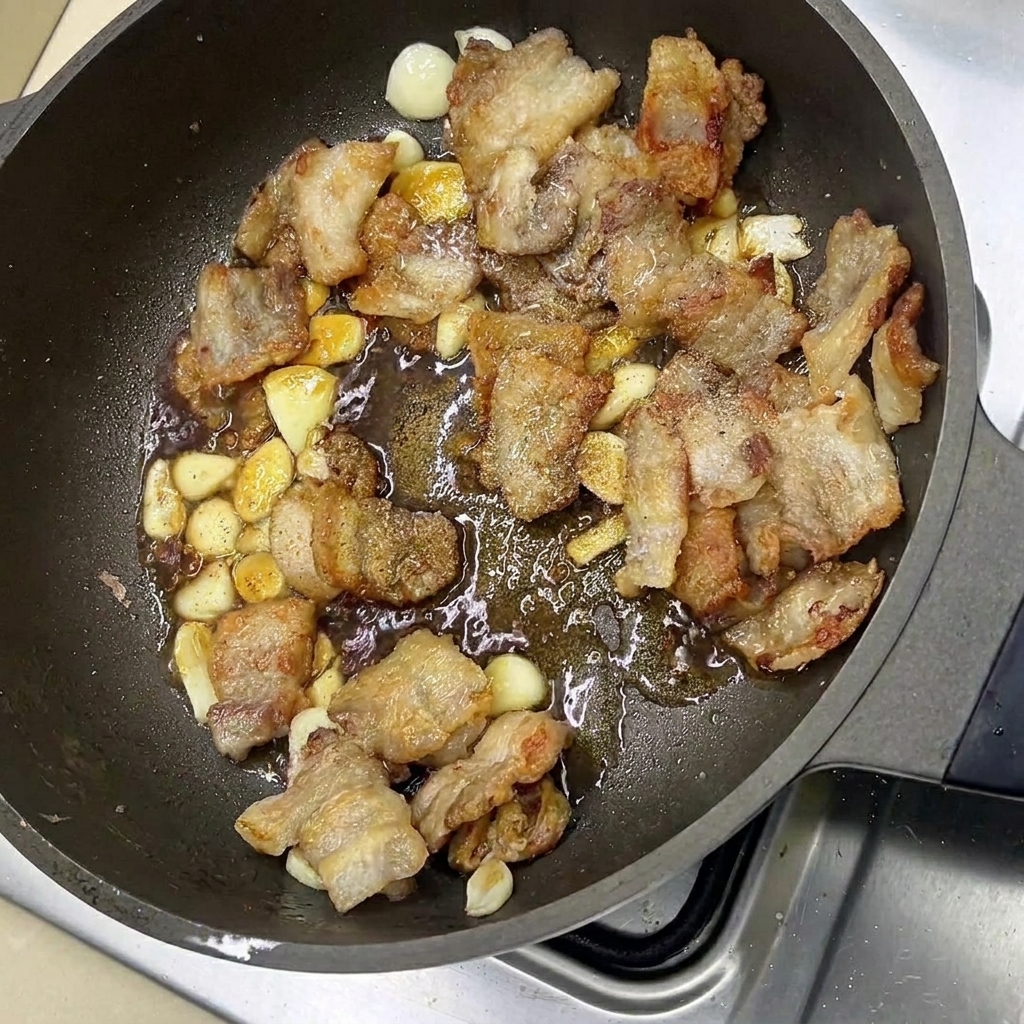
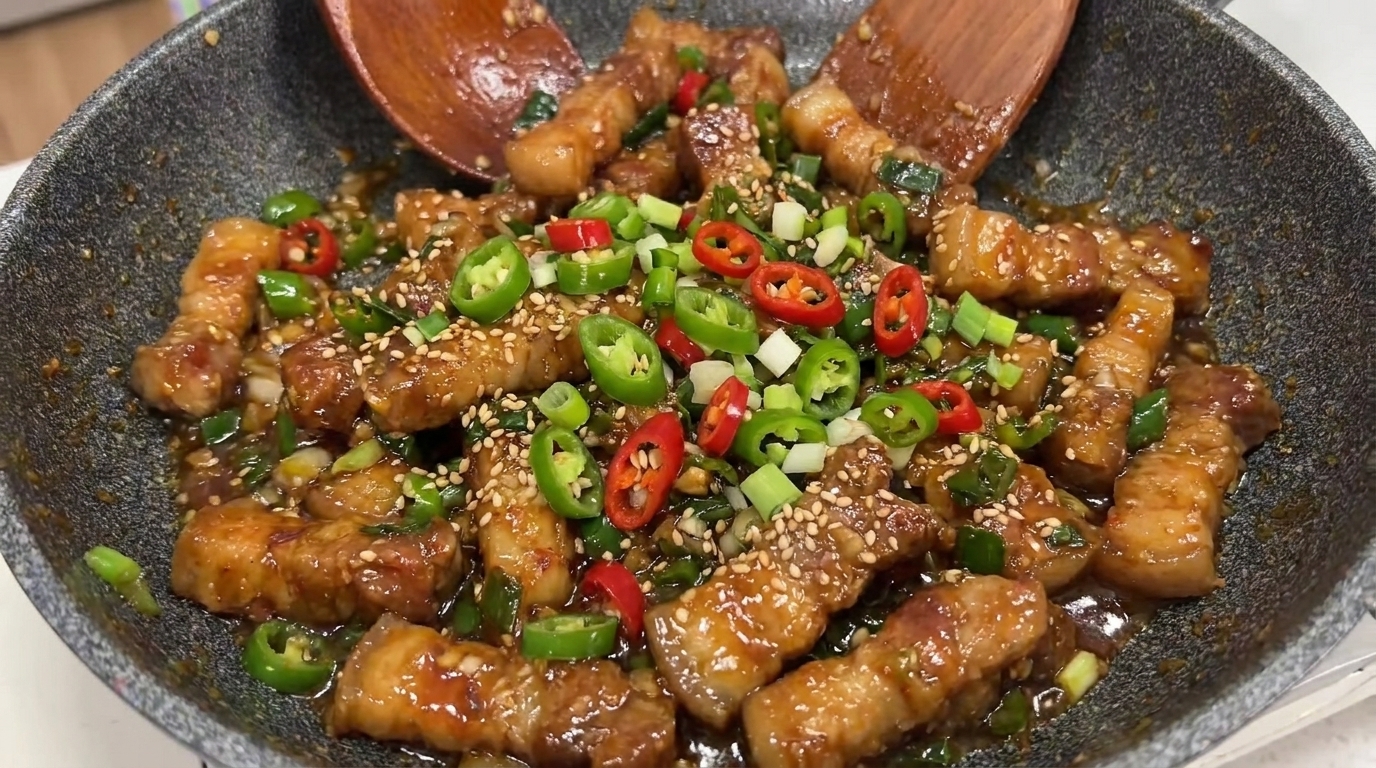
Stir-fry everything continuously so that the rich savory mixture thoroughly coats every single piece of the pork belly. Keep tossing until the sauce reduces slightly and the meat looks beautifully glazed and dry.
Tip: Keep the meat moving constantly in the pan to prevent the sugar and soy sauce from burning.