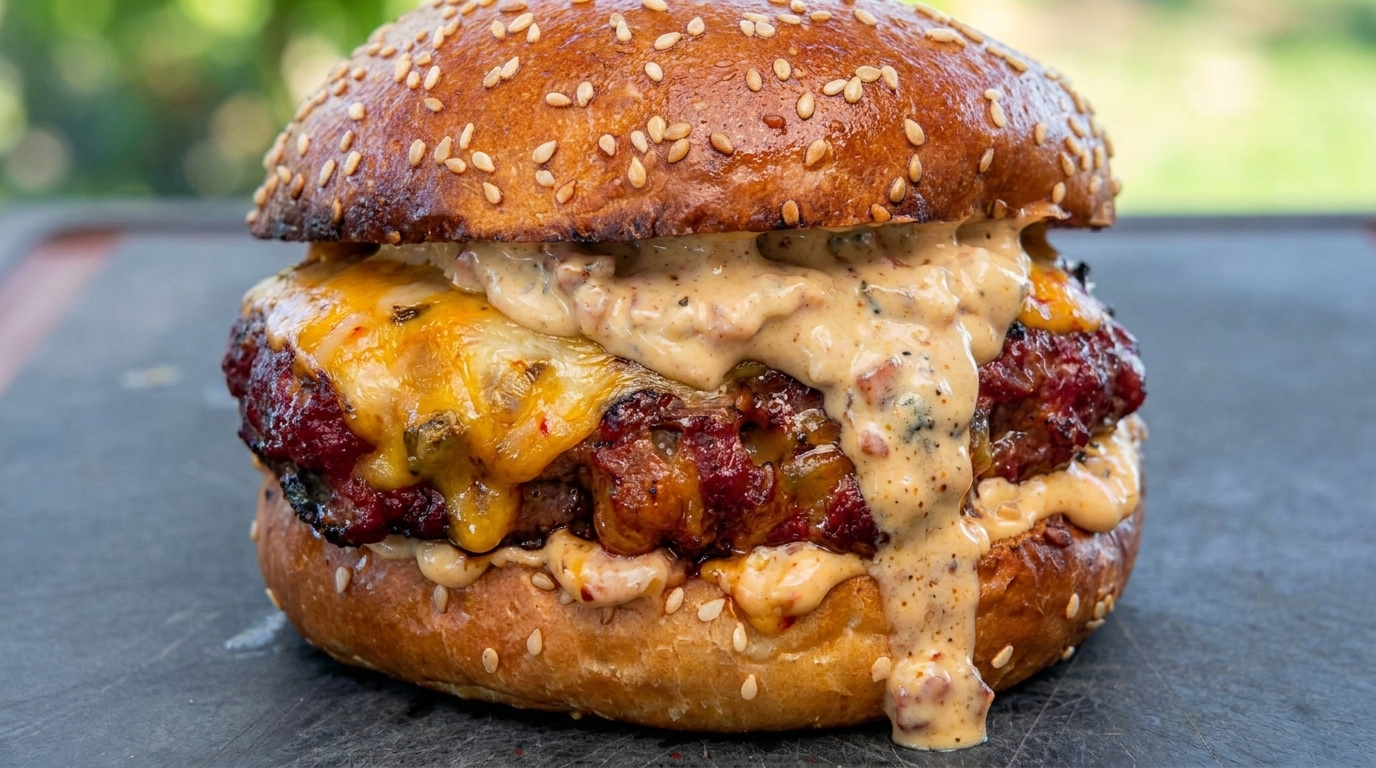
Classic Cheese Smash Burger
Master the art of the smash burger with this quick guide. Achieve a perfectly crispy, caramelized crust and melty cheese in just thirty minutes.
The smash burger is a masterclass in Maillard reaction, prioritizing maximum surface area for unmatched flavor. By pressing a ball of beef onto a searing hot surface, you create a deeply browned, crispy exterior that locks in the juices. It is a no-fuss, high-reward technique that delivers a restaurant-quality cheeseburger right in your home kitchen.

Ingredients
- 450 g ground beef (80/20 lean-to-fat ratio)
- 4 slices American cheese
- 4 brioche burger buns
- to taste salt
- to taste black pepper
- 2 tbsp unsalted butter
- optional lettuce
- optional sliced tomato
- optional pickles
Instructions
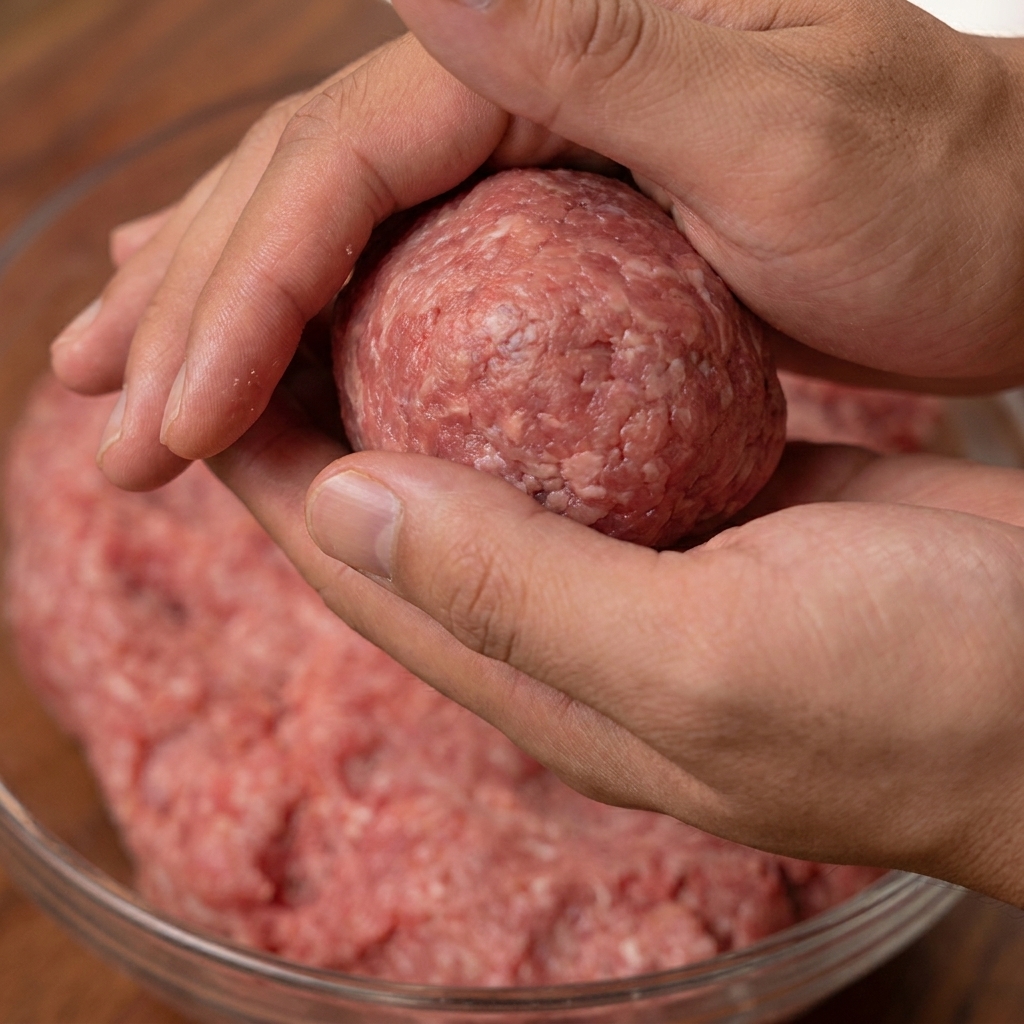
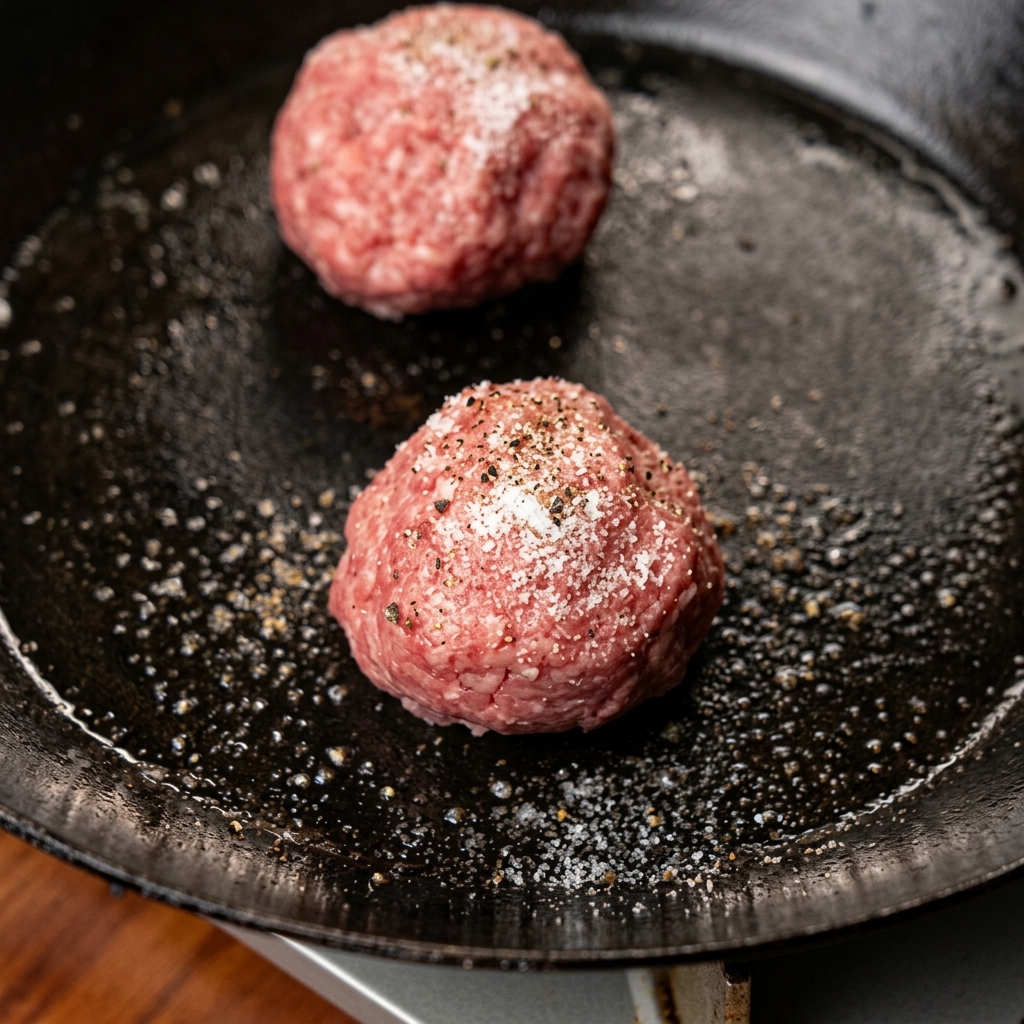
- 1Prepare the beef patty
Take a ball of seasoned ground beef and place it directly onto a preheated, greased skillet. This initial high-heat contact is essential for achieving a perfect sear.
Tip: Ensure your skillet is smoking hot before adding the beef to get the best crust. - 2Smash the burger

Using a sturdy metal spatula, press down firmly on the ball of beef to smash it flat against the skillet. This technique increases the surface area, promoting maximum browning and flavor development.
Tip: Use parchment paper between the spatula and the meat to prevent sticking. - 3Season the patty
Generously season the top of the flattened raw beef patty with your choice of spices. A simple mix of salt and pepper works best to enhance the natural beef flavor.
Tip: Season immediately after smashing to ensure the spices adhere well to the patty. - 4Flip the patty
Once the underside has developed a deep, dark brown crust, use a spatula to carefully flip the beef patty. Continue cooking the other side until it reaches your desired doneness.
Tip: Only flip once to keep the juices locked inside. - 5Add cheese
Place a slice of your favorite cheese directly onto the hot, cooked patty. You may cover the pan briefly to help the cheese melt evenly across the surface.
Tip: American cheese melts the best for that classic burger texture. - 6Toast the buns
Place the sliced burger buns face-down on the hot surface of the pan after removing the patties. Toast until the cut sides are golden brown and slightly crispy.
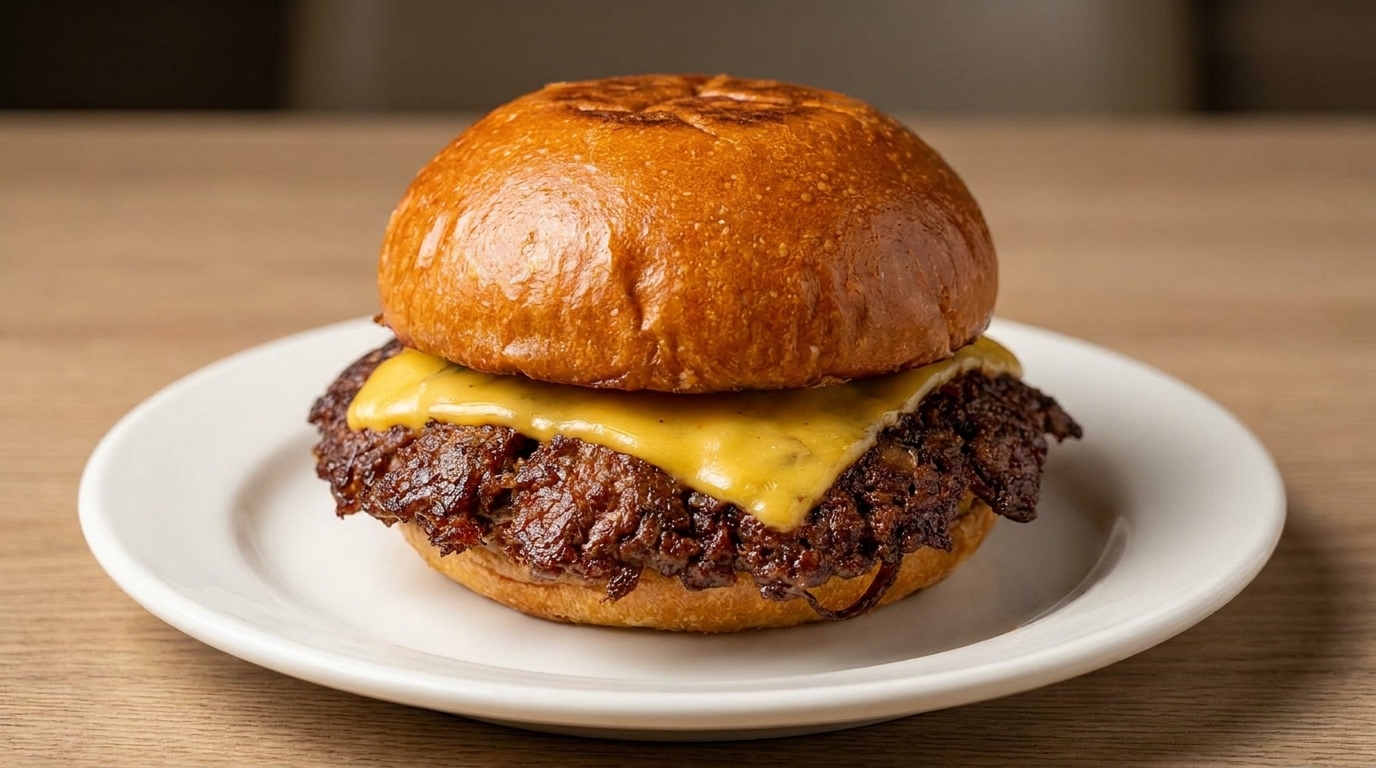
Tip: Apply a little butter to the buns before toasting for extra richness. - 7Assemble the cheeseburger

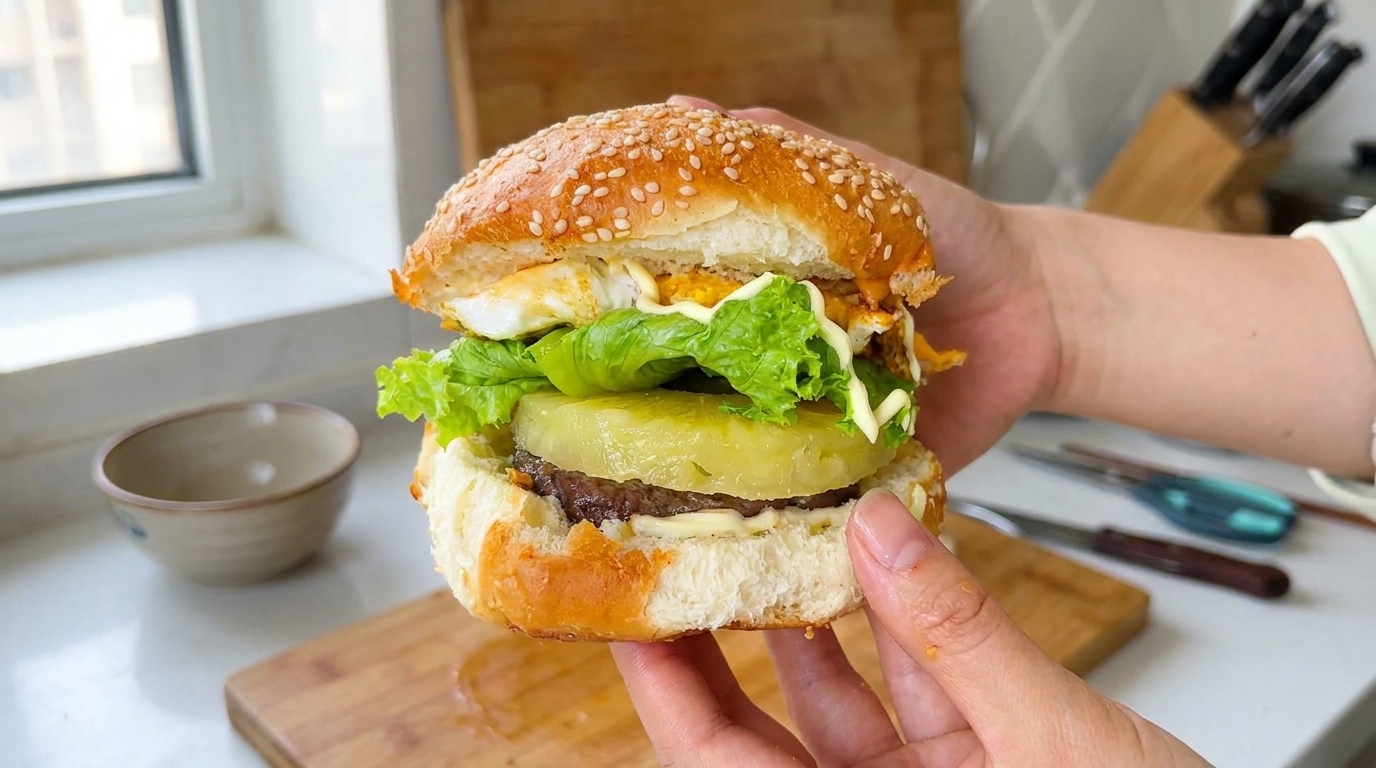
Take the perfectly seared, cheesy beef patty and place it onto the toasted bottom bun. Add your favorite toppings like lettuce, tomato, or pickles before crowning it with the top bun to complete this delicious smash burger.
Tip: For the best flavor, make sure your bun is lightly toasted with a bit of butter to prevent it from getting soggy from the juicy patty.