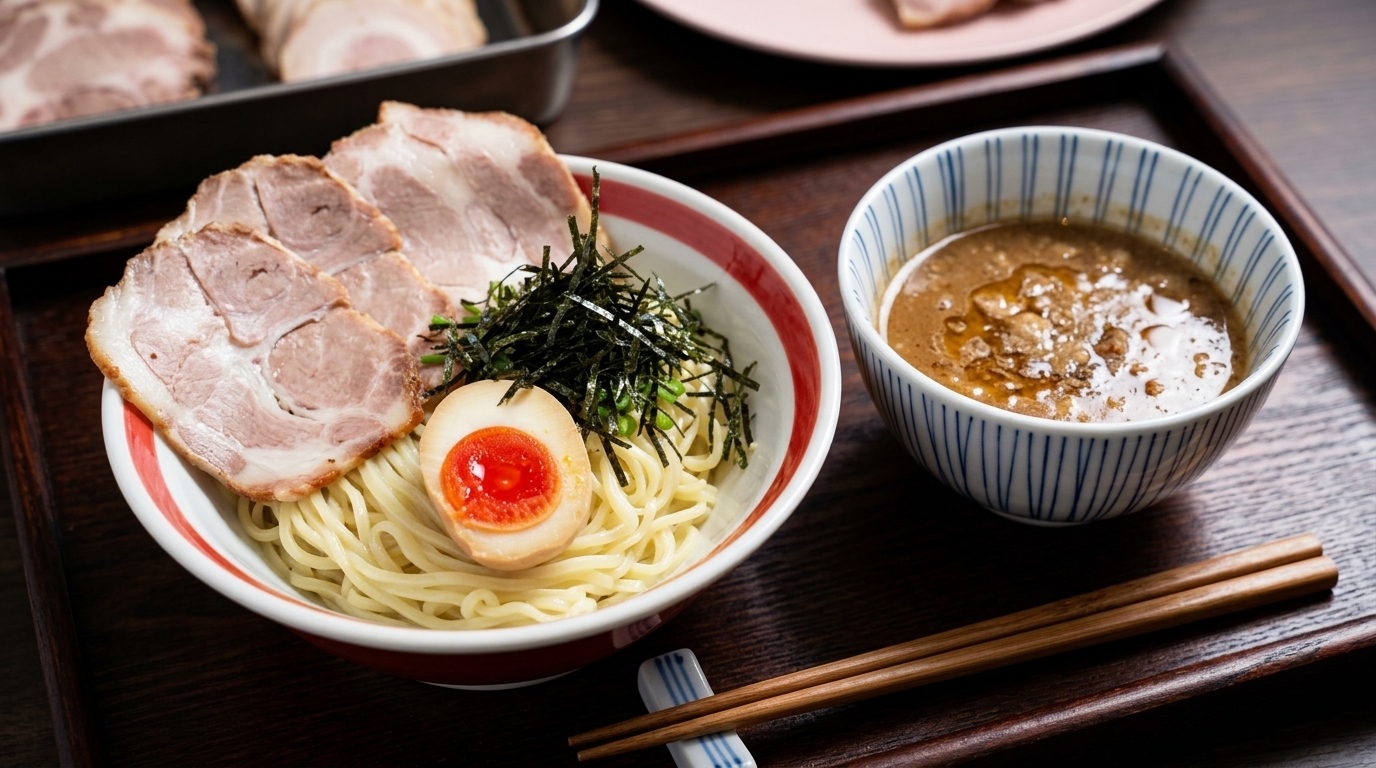
Japanese Tsukemen (Dipping Ramen)
Experience the ultimate deconstructed ramen — chewy, chilled noodles dipped into a concentrated, umami-rich broth made with miso, soy milk, and ground sesame.
Tsukemen is a modern ramen classic born in Tokyo. Unlike traditional ramen where noodles sit in soup, Tsukemen features cold, extra-thick noodles served alongside a hot, intensified dipping broth designed to cling to every strand.
Ingredients
- 2 servings thick ramen noodles
- 3 large eggs
- 100 g canned tuna
- 1 handful dried bonito flakes (katsuobushi)
- 200 ml soy milk
- 3 tbsp roasted sesame seeds
- 2 tbsp miso paste
- 1 tbsp dark soy sauce
- 1 tbsp mirin
- 10 g rock sugar
- 1 sheet nori seaweed
- to taste fresh scallions
Instructions
- 1Boil the eggs
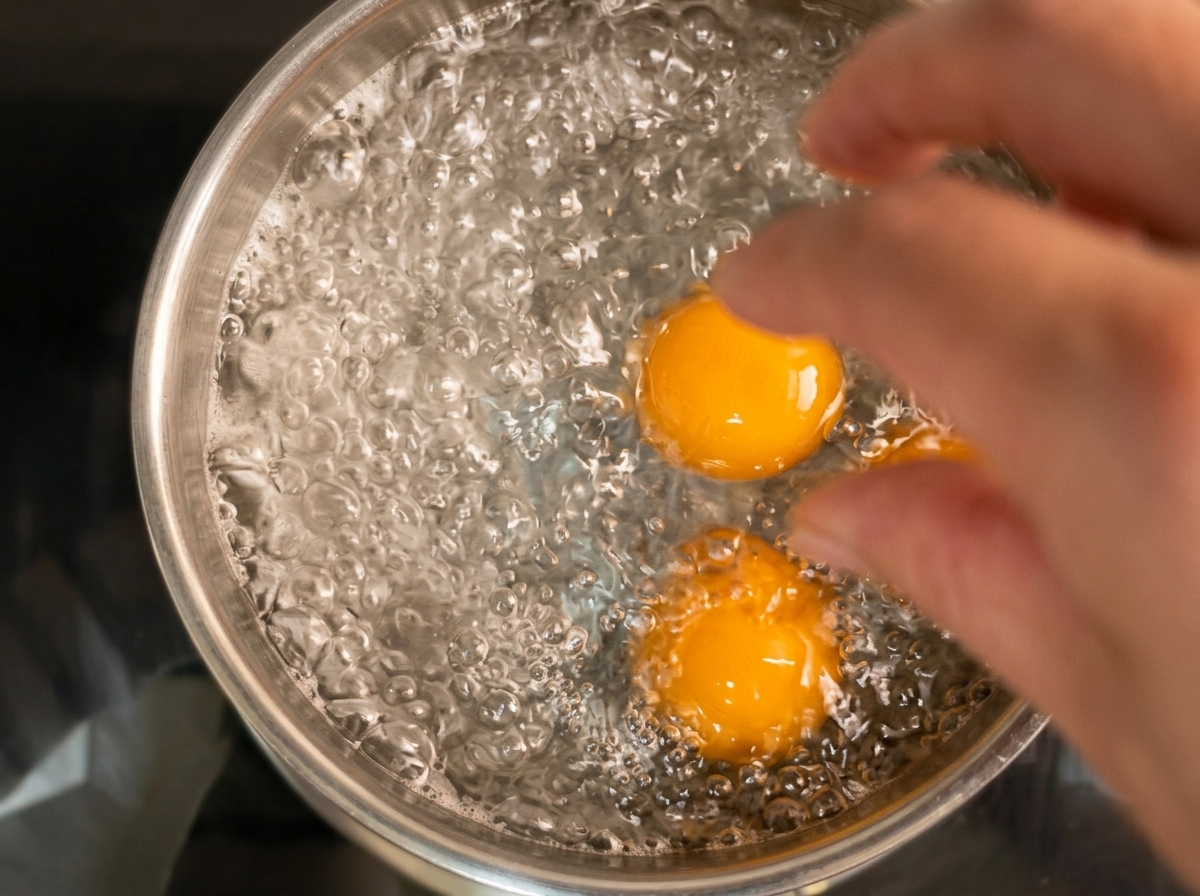
Carefully place the raw eggs into a pot of heavily bubbling hot water. Boil them for exactly eight minutes to achieve the ideal soft-boiled texture required for Tsukemen, then remove and set them aside.
Tip: Using a spoon or skimmer to gently lower the eggs into the boiling water will prevent the shells from cracking. - 2Grind the sesame seeds
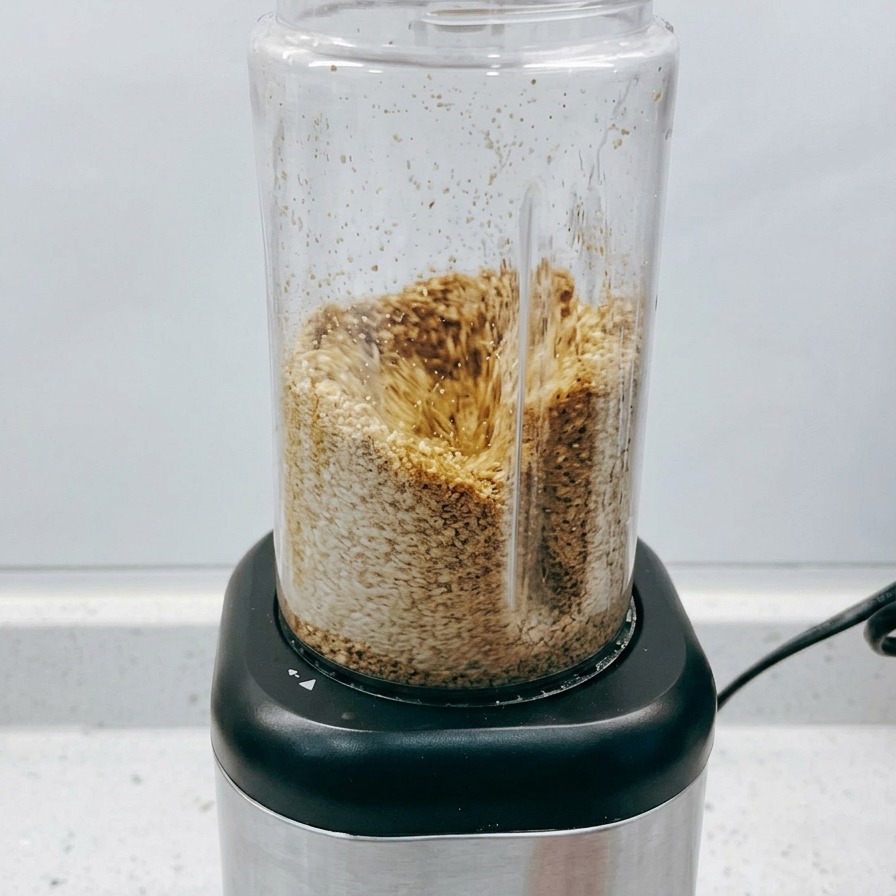
Transfer the roasted sesame seeds into a small electric blender. Pulse and grind them continuously until they are crushed into a fine, fragrant powder, and set them aside for flavoring the broth.
Tip: Grinding the sesame seeds just before adding them to the broth ensures maximum release of their natural oils and rich aroma. - 3Start the dipping broth base
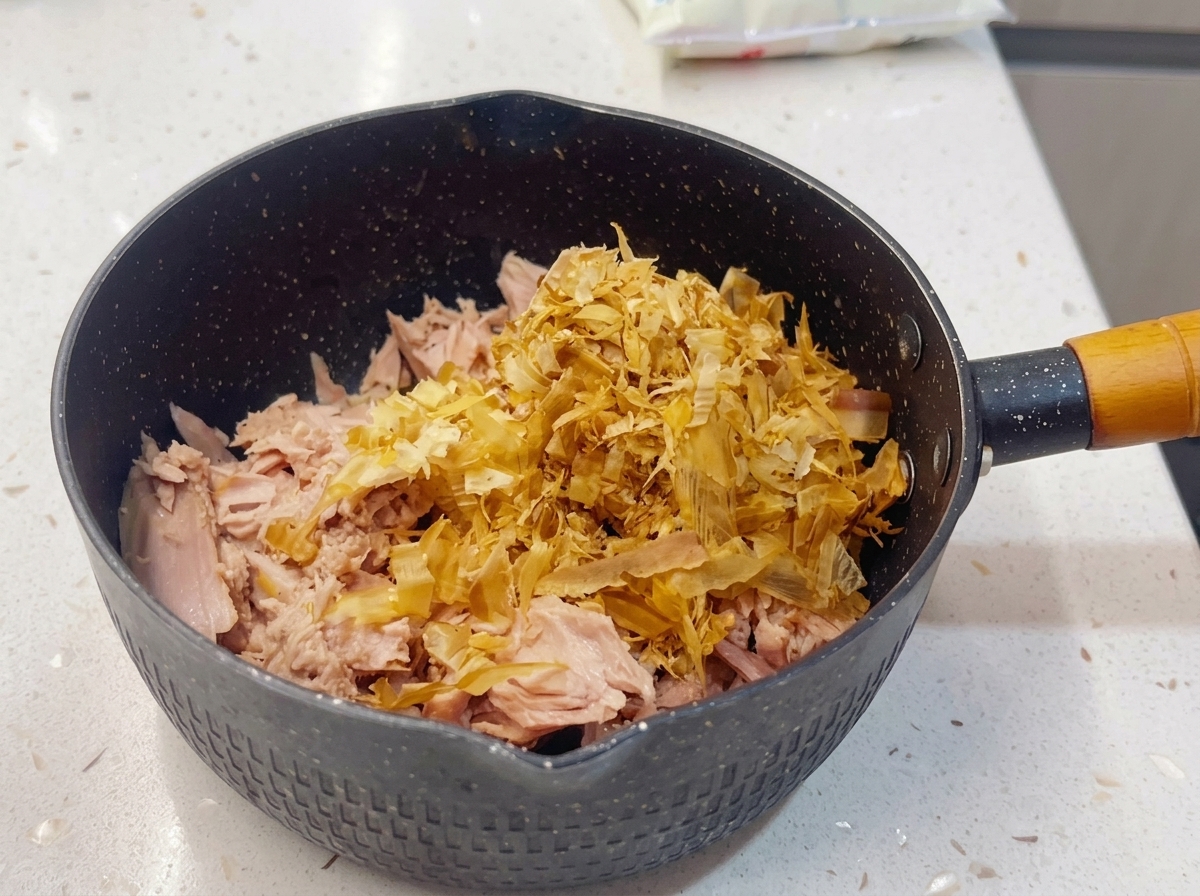
Begin building the umami flavor profile for your dipping broth. Add the flaked canned tuna directly into a small black pan, followed by a generous handful of dried bonito flakes.
Tip: Combining canned tuna and bonito flakes creates an incredibly deeply flavored, rich seafood base without requiring hours of simmering. - 4Add the soy milk
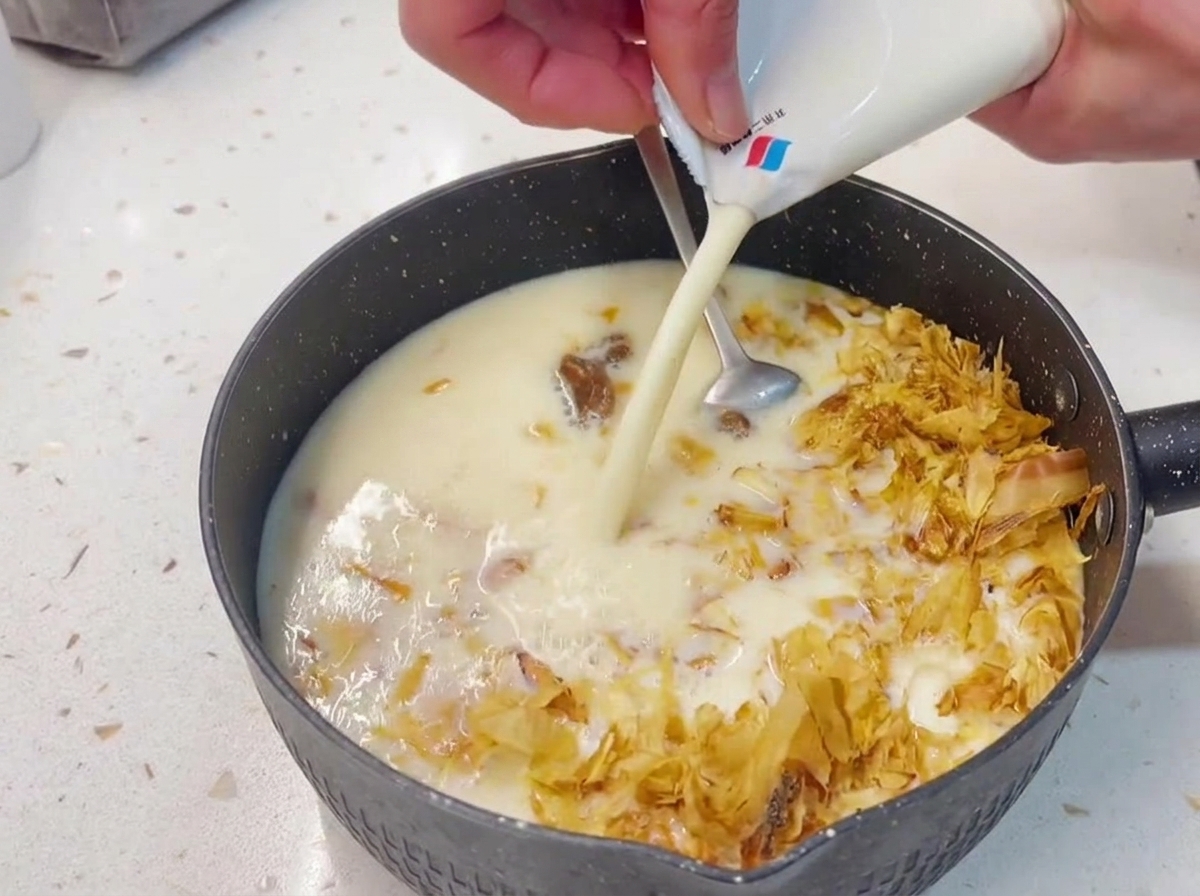
Pour the creamy soy milk directly into the pan over the tuna and bonito flake mixture. This will form the luscious, creamy base of the dipping broth and perfectly balance the savory seafood flavors.
Tip: Pour the soy milk slowly and keep the heat moderate to prevent the liquid from curdling or boiling over. - 5Add ground sesame seeds
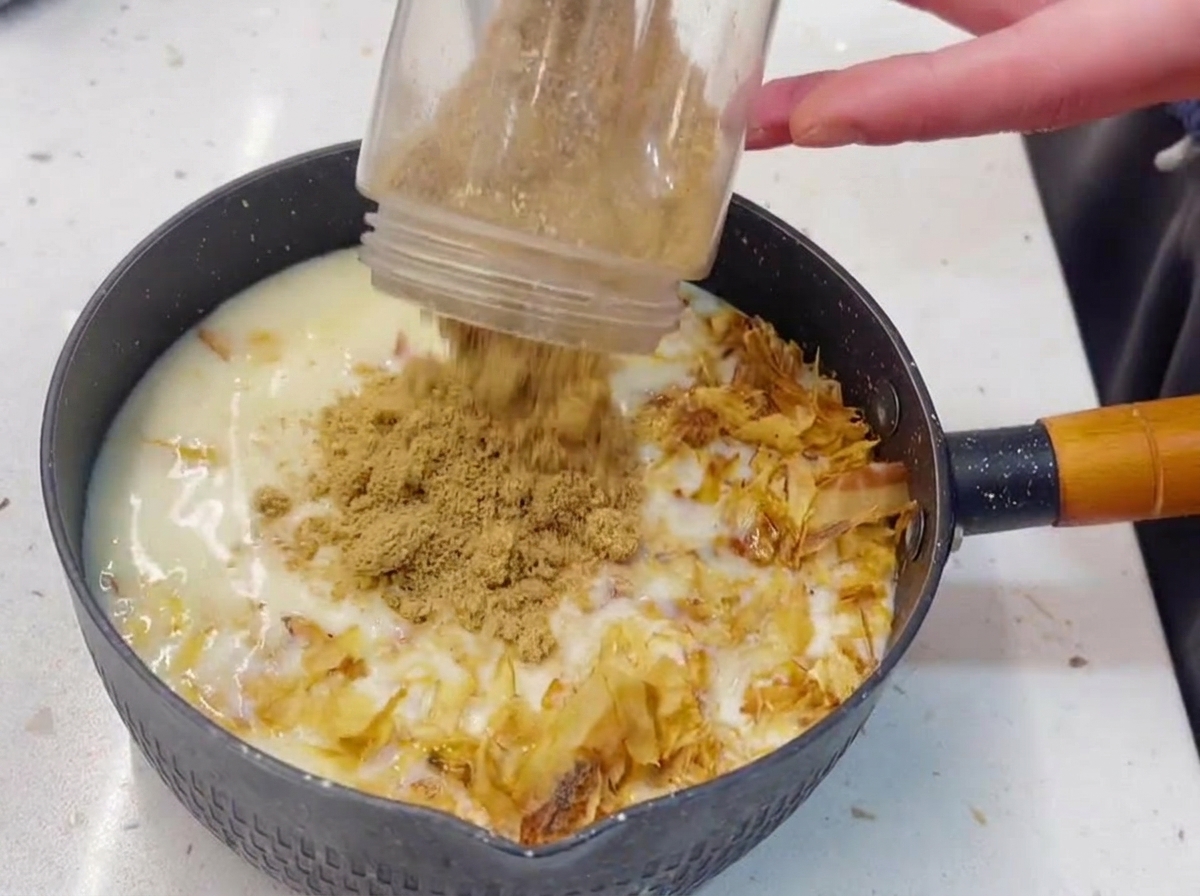
Pour the freshly ground roasted sesame seeds into the pan containing the soy milk, canned tuna, and dried bonito flakes. The crushed sesame will help thicken the liquid and add a deep, nutty richness to the dipping broth base.
Tip: Make sure the sesame seeds are ground as finely as possible so they integrate smoothly into the broth without leaving a gritty texture. - 6Incorporate the miso paste
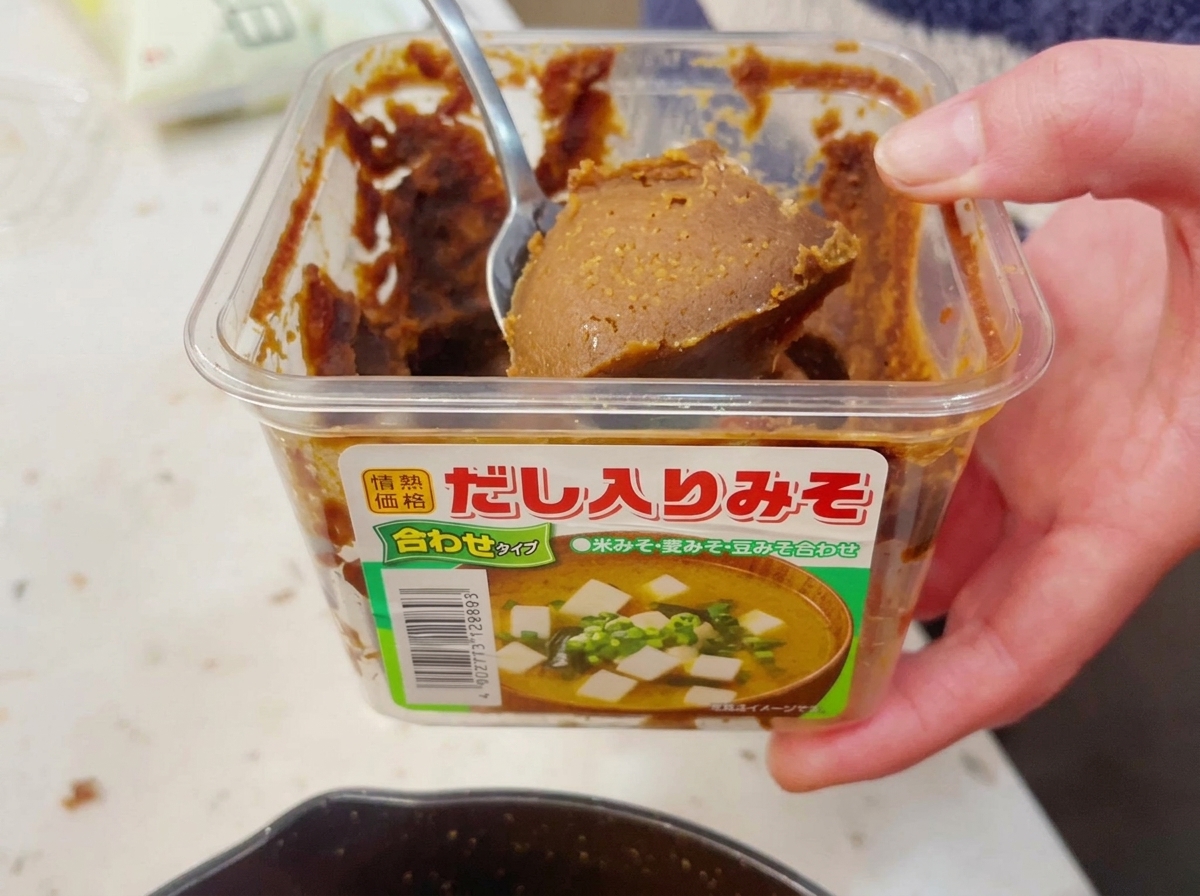
Scoop out a generous spoonful of thick brown miso paste. Add it to the simmering milky broth mixture along with dark soy sauce, stirring well so the paste dissolves completely to create a thick and rich texture.
Tip: To prevent clumps in your finished broth, you can dissolve the miso paste in a small ladle of the warm liquid before fully mixing it into the main pot. - 7Simmer the dipping broth
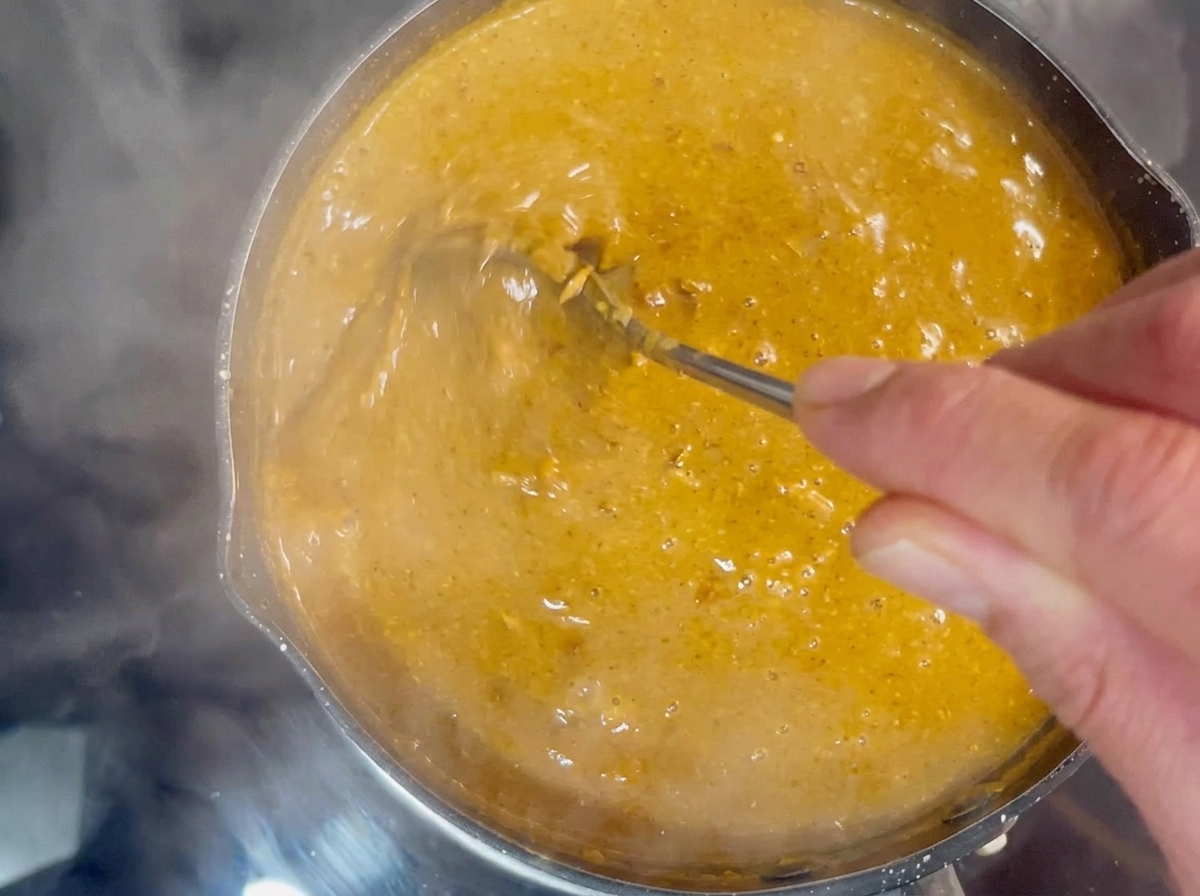
Stir the broth continuously over medium heat as it thickens. The miso and soy sauce will deepen the color to a rich orange-brown, while the ground sesame seeds add body to the dipping sauce.
Tip: Keep the heat low enough to prevent the bottom from scorching as the thick broth simmers. - 8Boil the ramen noodles
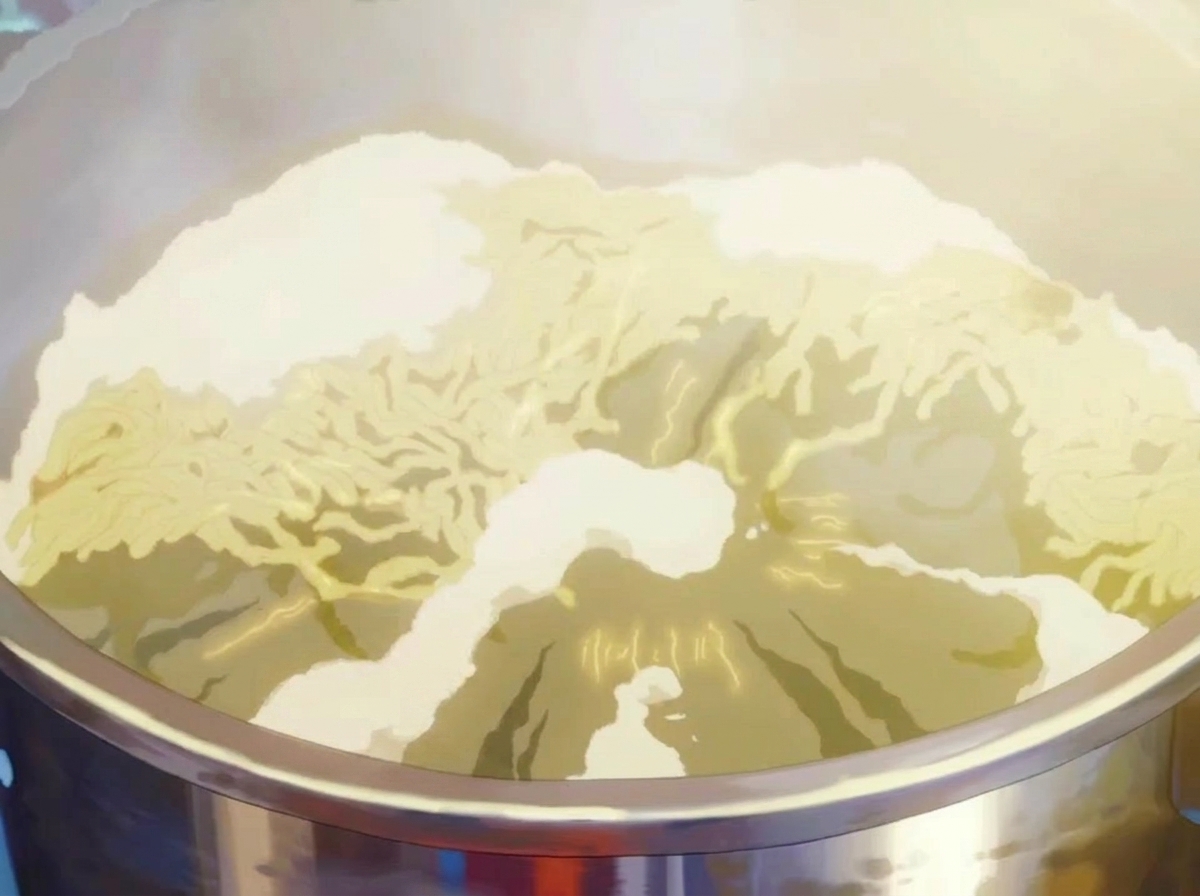
Drop the thick ramen noodles into a large pot of rapidly boiling water. Cook them for about 5 minutes, or according to package instructions, ensuring they maintain a chewy texture ideal for Tsukemen.
Tip: Stir the noodles occasionally to prevent them from sticking together or to the bottom of the pot. - 9Rinse and chill the noodles

Once the thick ramen noodles have boiled for 5 minutes, immediately transfer them to a bowl of cold water. Use your hands to lift, separate, and rinse the noodles thoroughly to cool them down quickly.
Tip: Vigorously rinsing the noodles in cold water stops the cooking process and washes away excess surface starch, which is essential for giving Tsukemen noodles their signature bouncy, chewy texture. - 10Garnish with nori
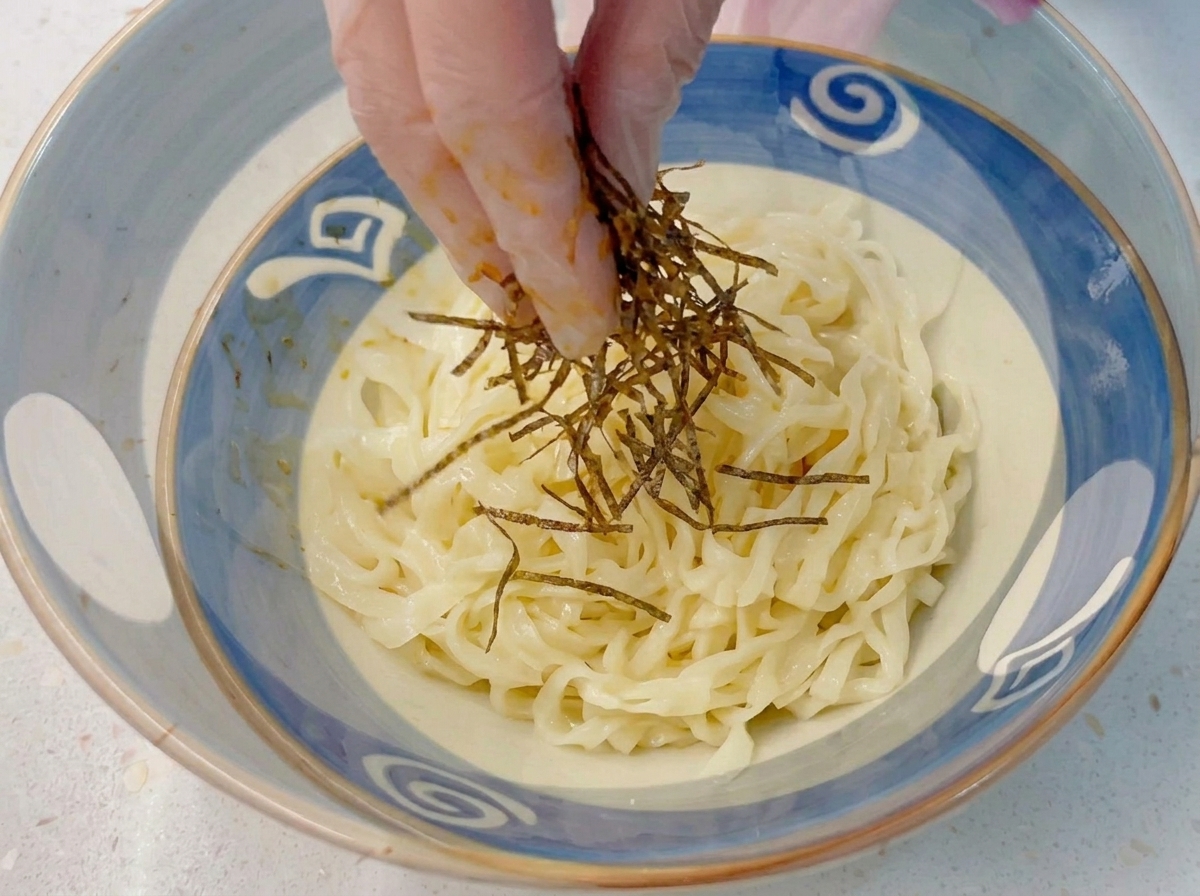
Once the cold noodles are drained and neatly plated in a serving bowl, sprinkle a generous pinch of shredded nori seaweed directly over the center.
Tip: Make sure the noodles are thoroughly drained before plating so they dont water down your dipping broth later. - 11Add the soft-boiled egg
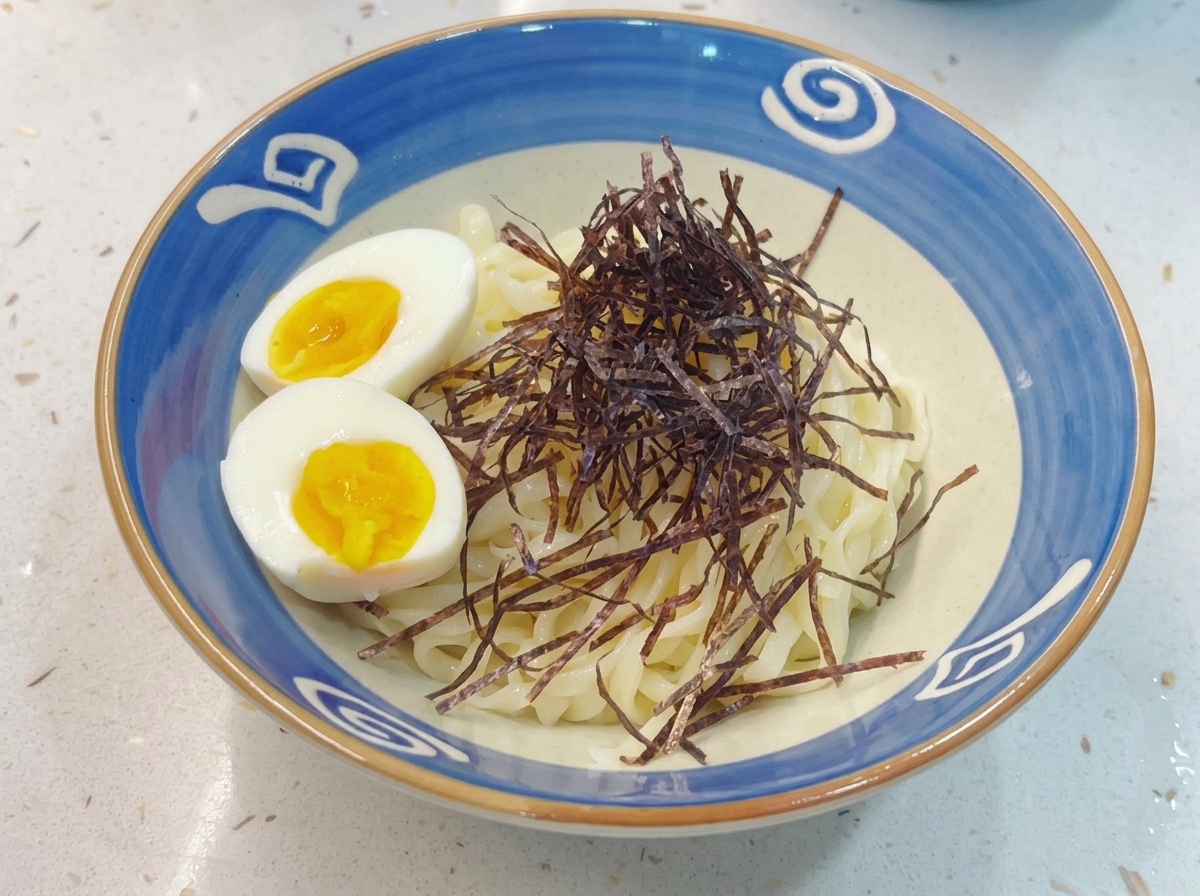
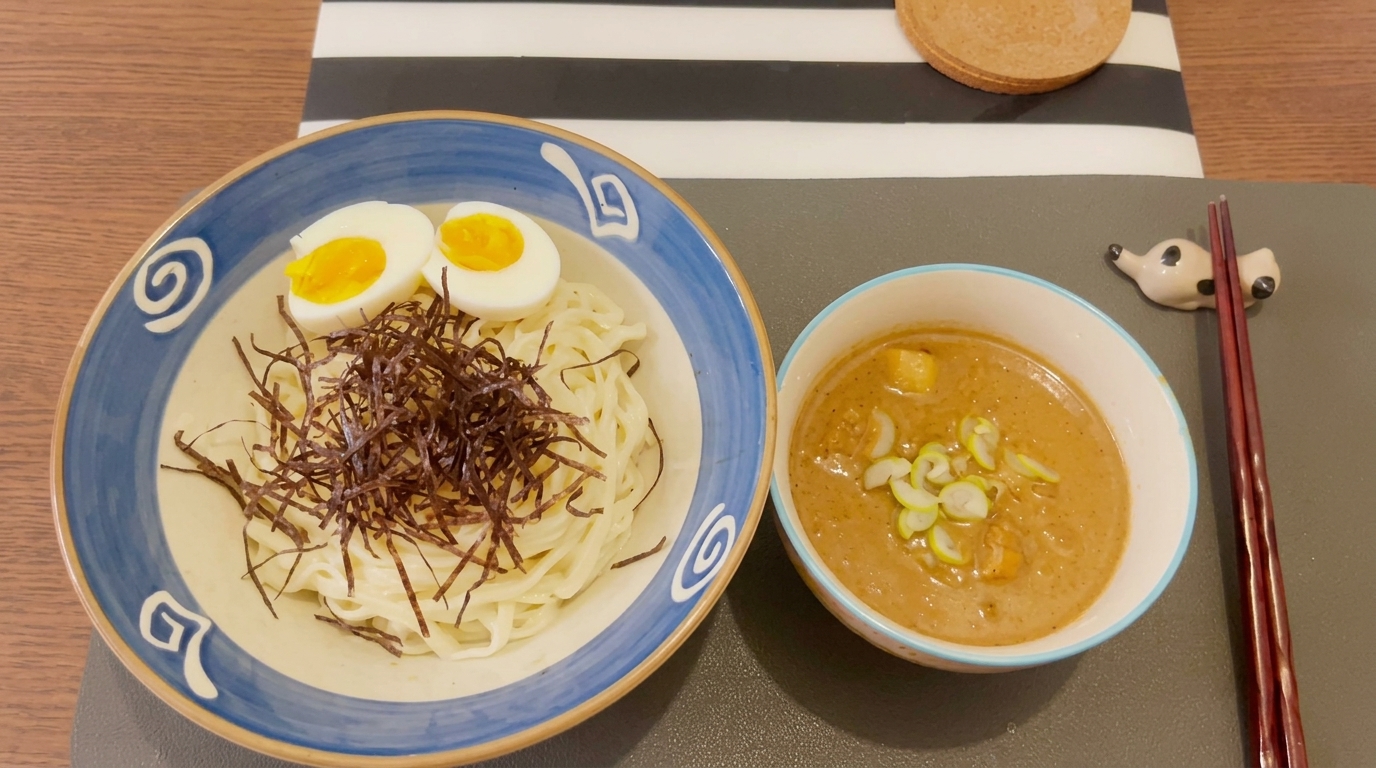
Complete the noodle bowl by adding the two halves of your perfectly soft-boiled egg alongside the shredded nori. The cold noodle bowl is now ready to be paired with the hot dipping broth.
Tip: A soft-boiled egg with a slightly runny yolk adds a rich, creamy element when eaten with the noodles. - 12Garnish the dipping broth
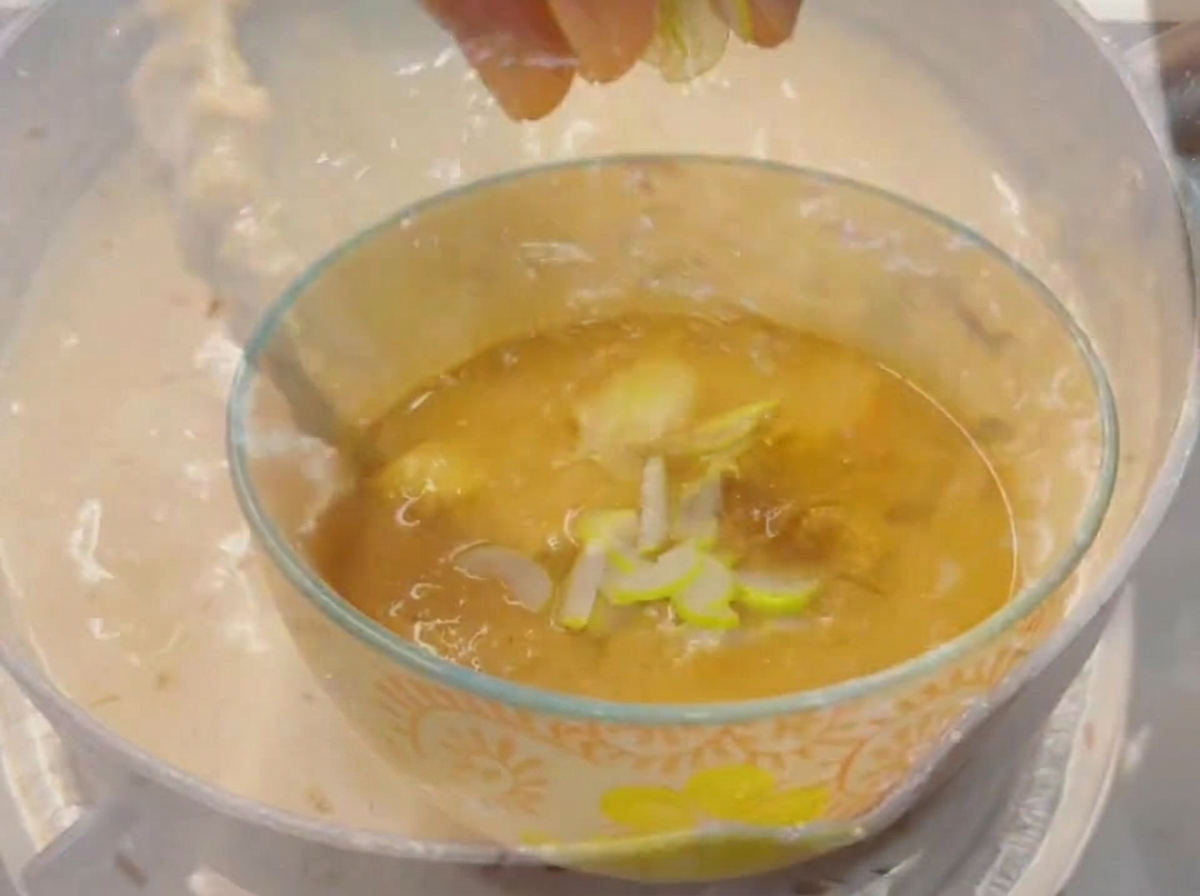
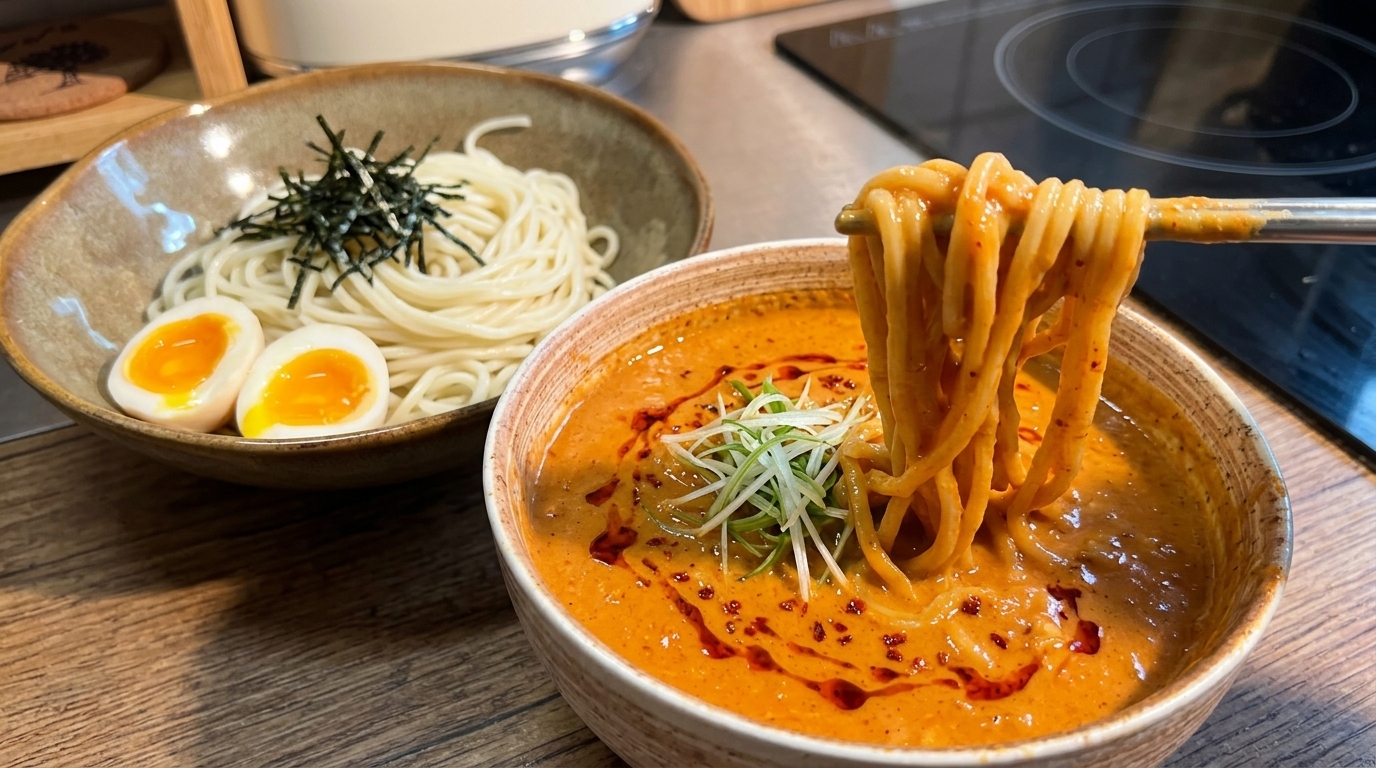
Complete the Tsukemen dipping broth by dropping freshly chopped green scallions onto the surface of the rich, thick mixture. Serve the hot, savory broth immediately alongside your plated, chilled noodles.
Tip: Adding the fresh scallions at the very last moment ensures they stay crisp and provide a bright, sharp contrast to the heavy, umami-rich broth.