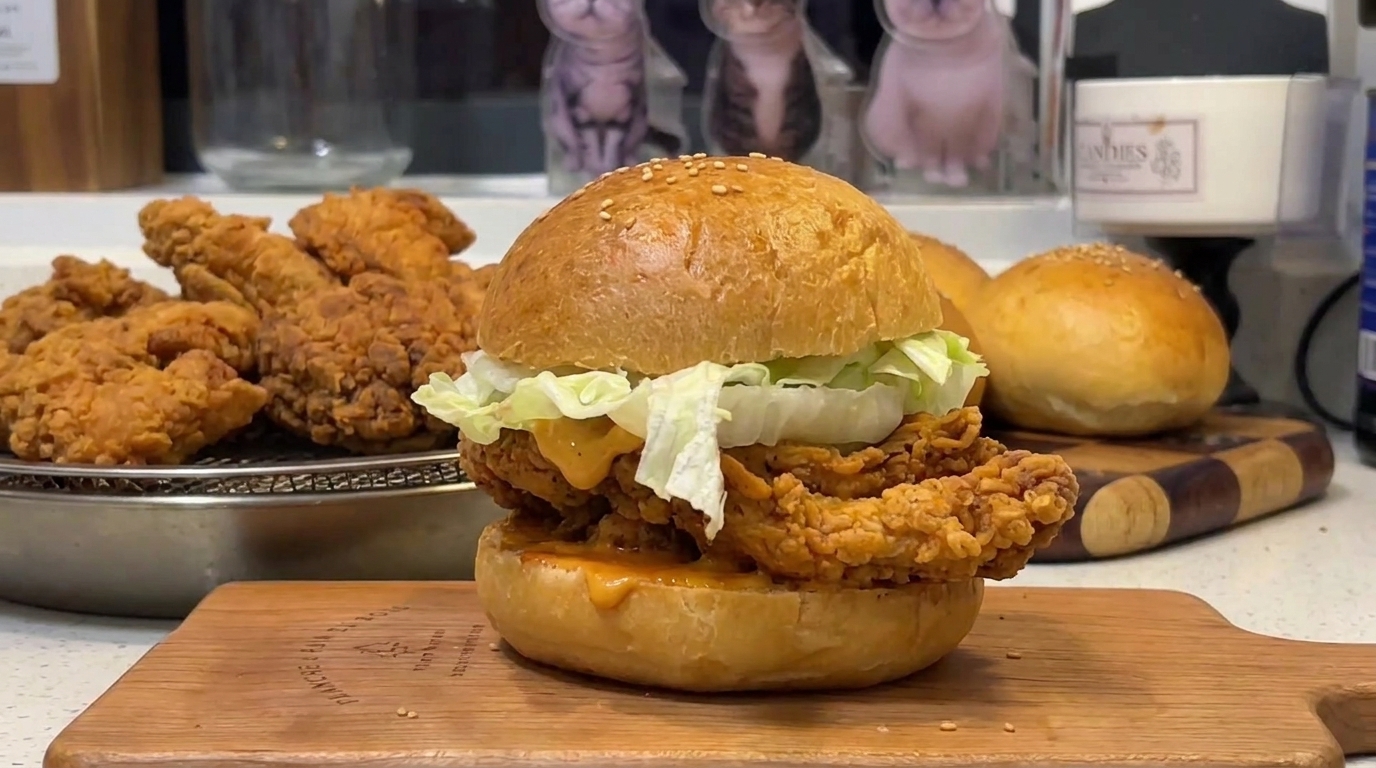
Homemade Crispy Spicy Fried Chicken Burger
Experience the crunch of a perfect McSpicy-style chicken burger at home. Featuring juicy, marinated chicken thighs and a signature flaky, golden-brown crust.
There is something undeniably satisfying about the contrast between a piping hot, exceptionally crispy chicken fillet and a soft, toasted bun. This recipe captures that iconic spicy chicken burger experience, focusing on a double-breading technique that creates those signature crunchy flakes. By marinating the meat overnight and using a precise flour-to-starch ratio, you can achieve a professional-quality burger that is even better than takeout.
Ingredients
- 4 pieces chicken thigh fillets
- 200 ml milk
- 2 tbsp spicy marinade powder
- 100 g cake flour
- 100 g cornstarch
- 1 tbsp baking powder
- 2 tbsp black pepper
- 2 tbsp chili powder
- 4 brioche burger buns
- 4 leaves fresh lettuce
- to taste special burger sauce
Instructions
- 1Debone the chicken thighs
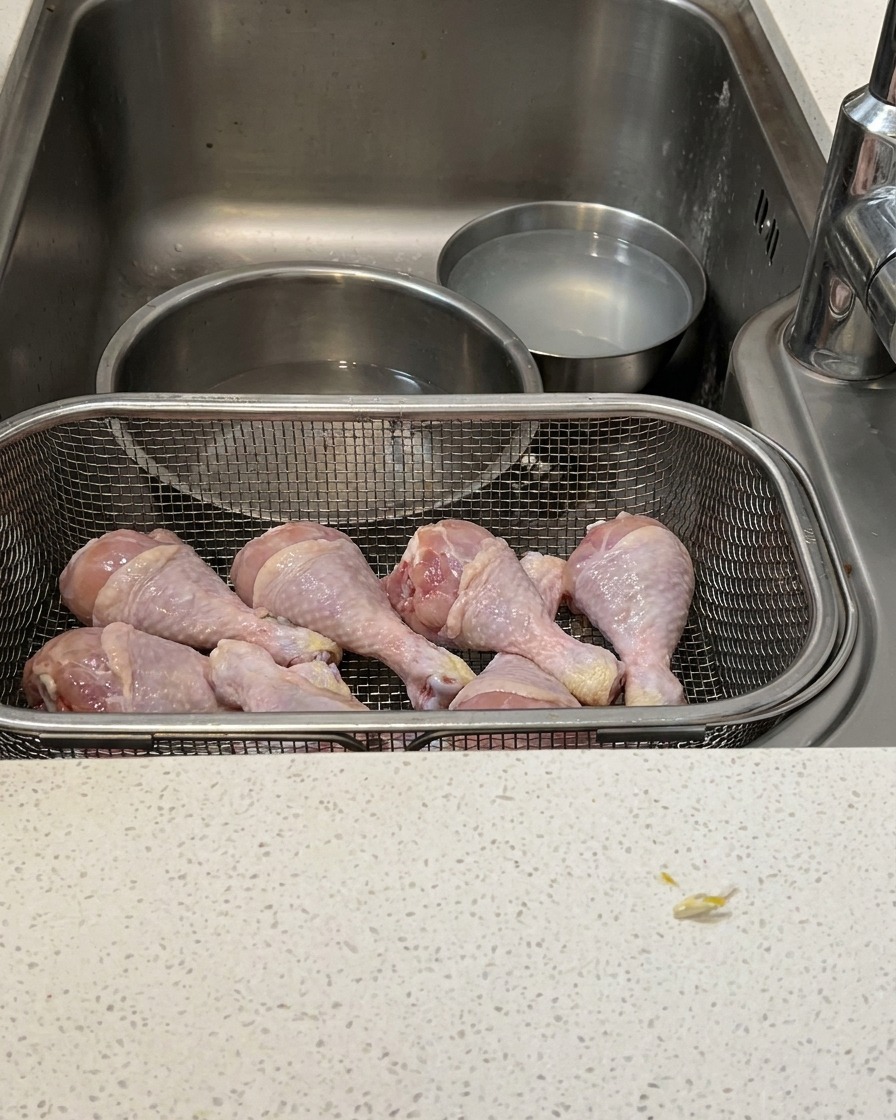
Using kitchen scissors, carefully cut a circle along the top of the chicken thigh, then cut down along the main bone to release it, and finally snip off the tail end. This prep work ensures the chicken is uniform and ready for marinating.
Tip: Keep the skin on for extra crispiness during frying. - 2Marinate the chicken

Place the prepared chicken thighs into a bowl, add the spicy marinade powder, and pour in enough milk to coat. Massage the chicken well to ensure the flavors penetrate the meat, then refrigerate overnight.
Tip: Using a high-quality spicy marinade powder makes a significant difference in achieving an authentic flavor. - 3Prepare the breading mix
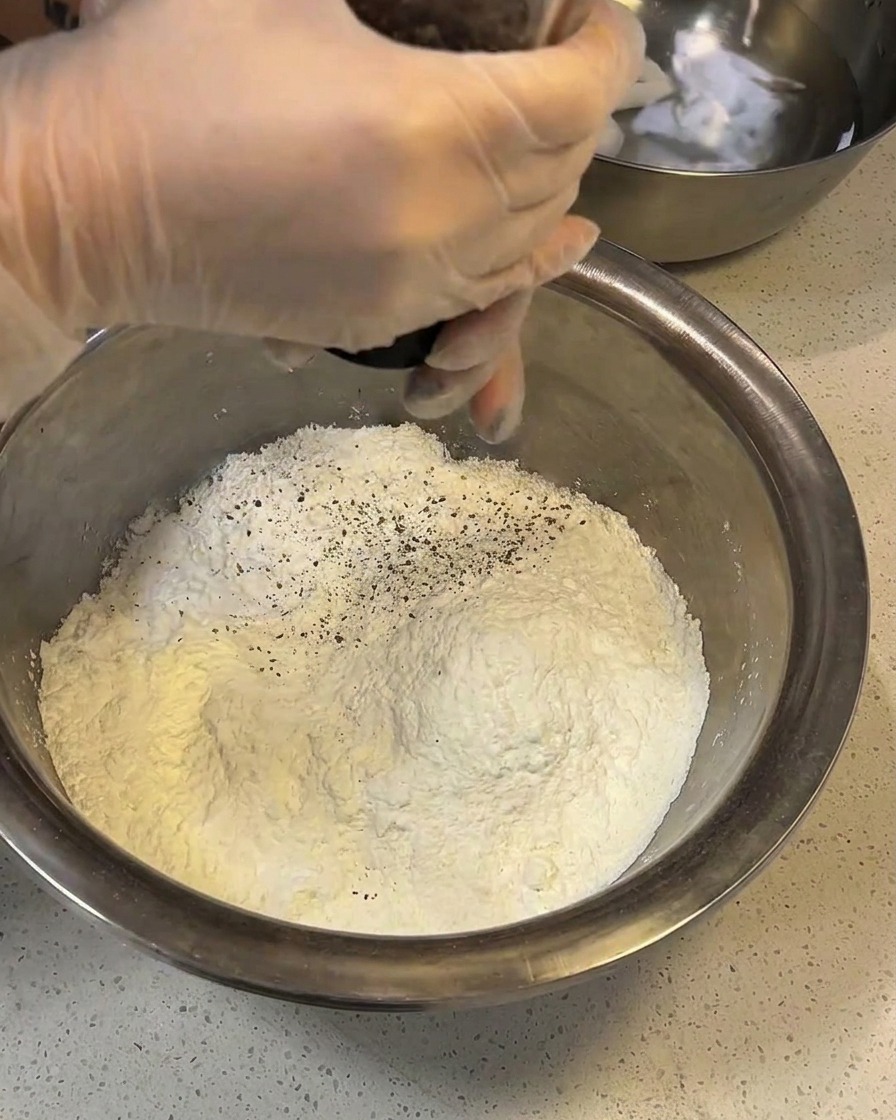
In a large metal bowl, combine cake flour and cornstarch in a one-to-one ratio. Add a spoonful of baking powder, two spoons of black pepper, and two spoons of chili powder, mixing everything until well combined.
Tip: The one-to-one ratio of cake flour to cornstarch is the key to achieving that perfect, crispy texture. - 4Initial coating
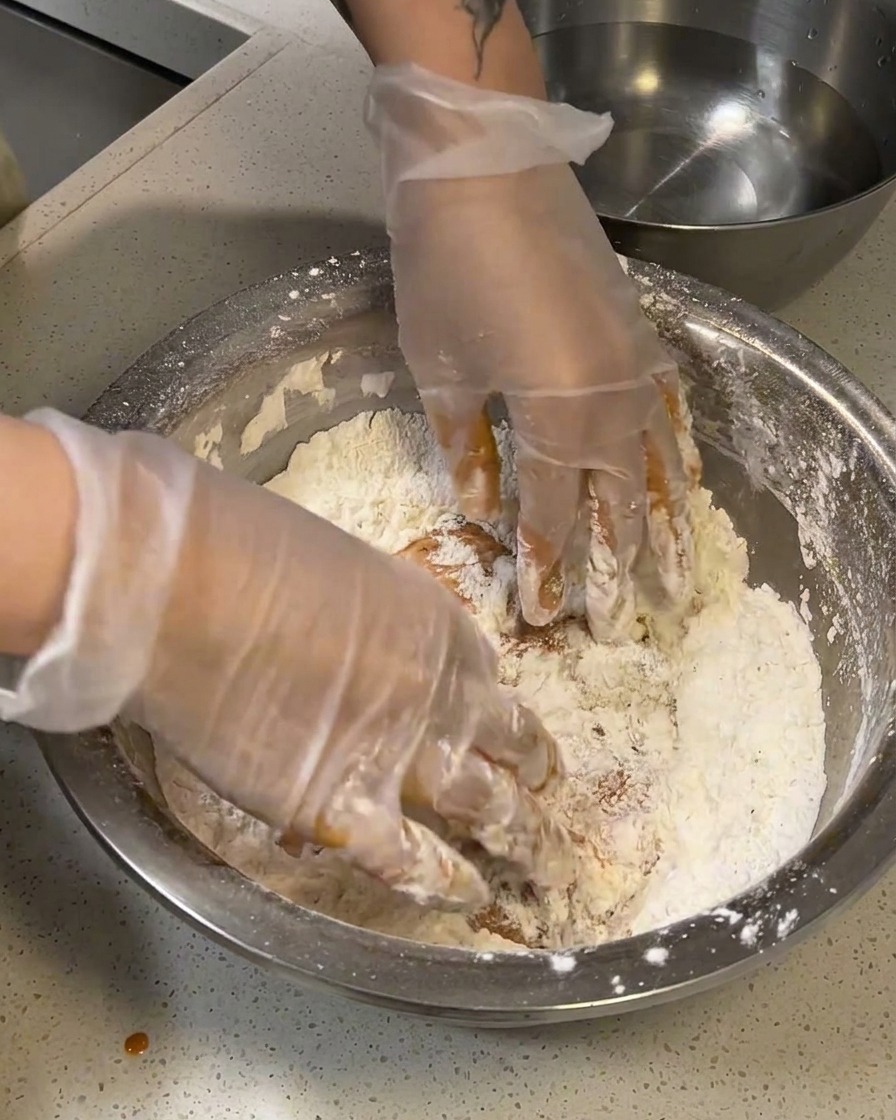
Take the marinated chicken out of the fridge and drain any excess liquid. Place the thighs into the bowl with the prepared flour mixture, pressing and rubbing them firmly back and forth to ensure they are well coated.
Tip: Press firmly during this first coating to help the flour adhere to the meat. - 5Hydrate the coating
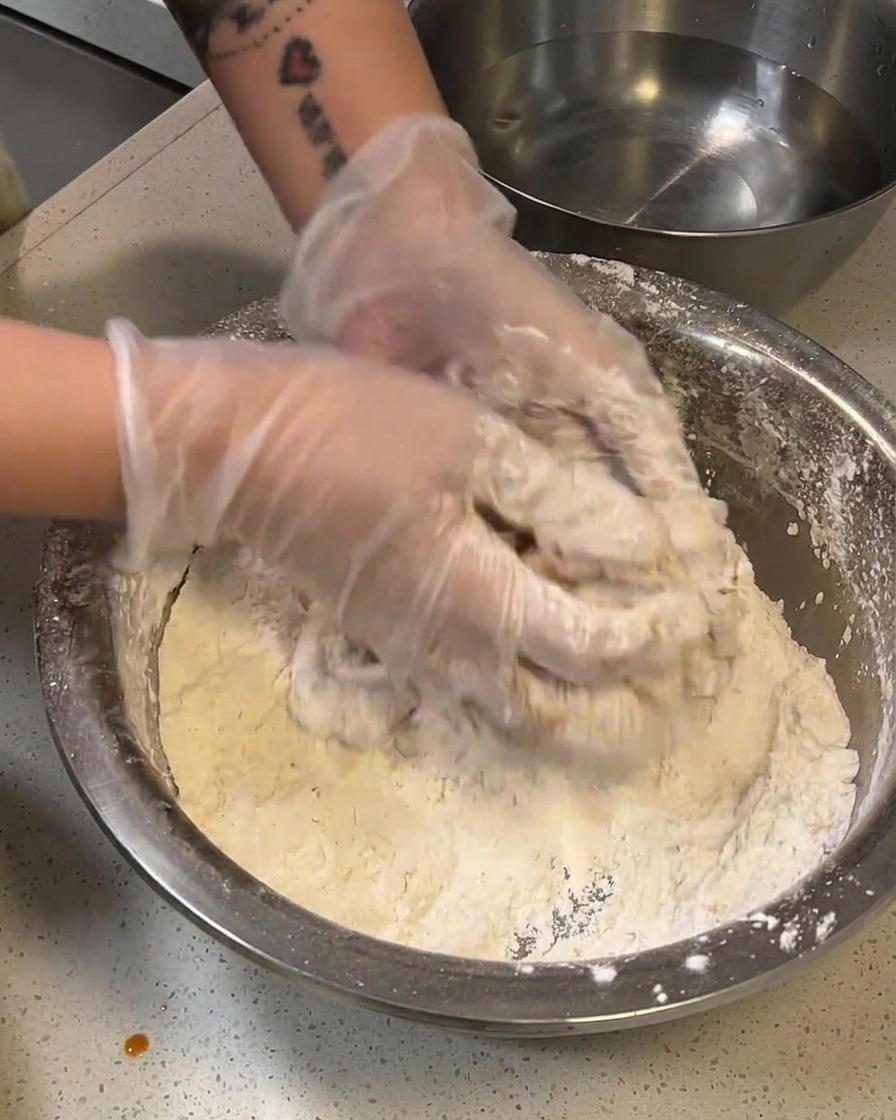
Once the chicken is coated and small cracks begin to appear on the surface, briefly dip the thigh into a bowl of water. Immediately lift it out and shake off any excess water before placing it back into the flour mixture.
Tip: Do not soak the chicken; a quick dip is all that is needed to create the base for the flaky crust. - 6Form the flakes
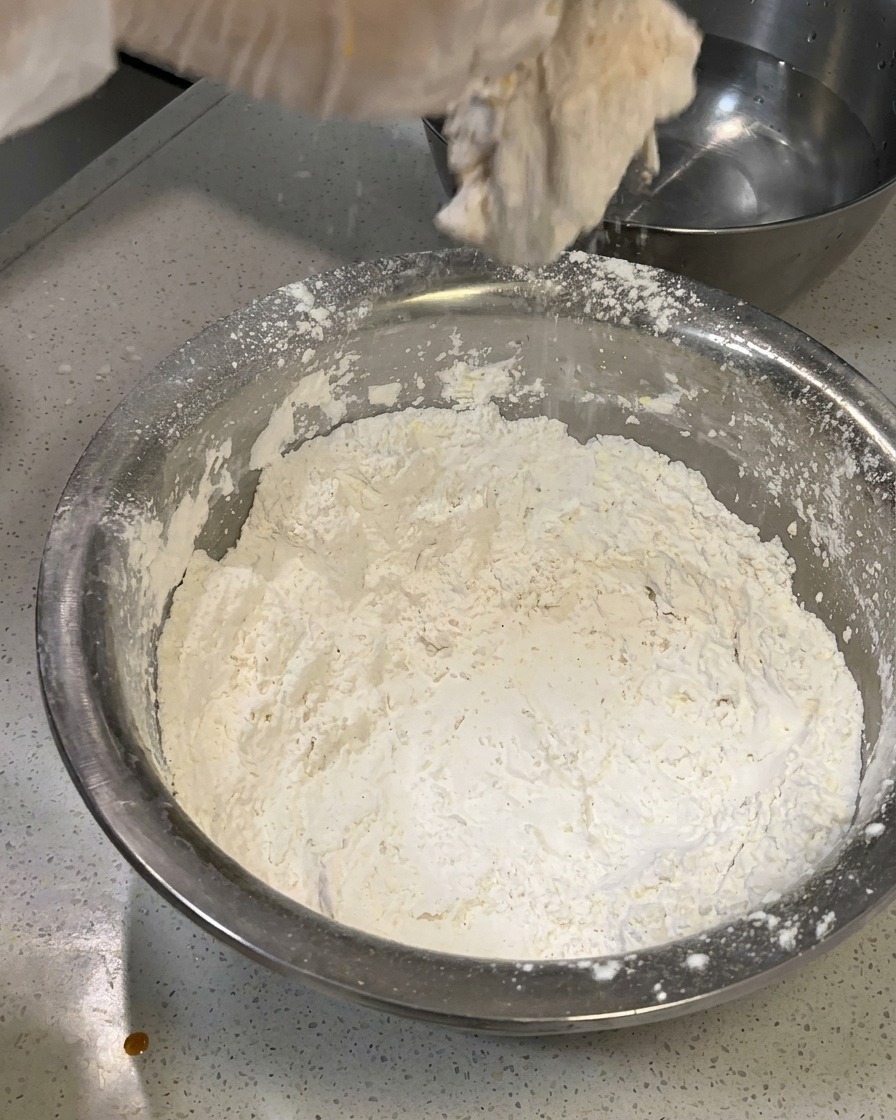
Place the hydrated chicken thigh back into the flour bowl and continue pressing, but this time use a gentle rubbing motion. Continue until beautiful flakes start forming on the surface, then shake off any excess flour.
Tip: Let the chicken sit for a few minutes after breading; this allows the flour and water to bind together for a crunchier result. - 7Fry the chicken
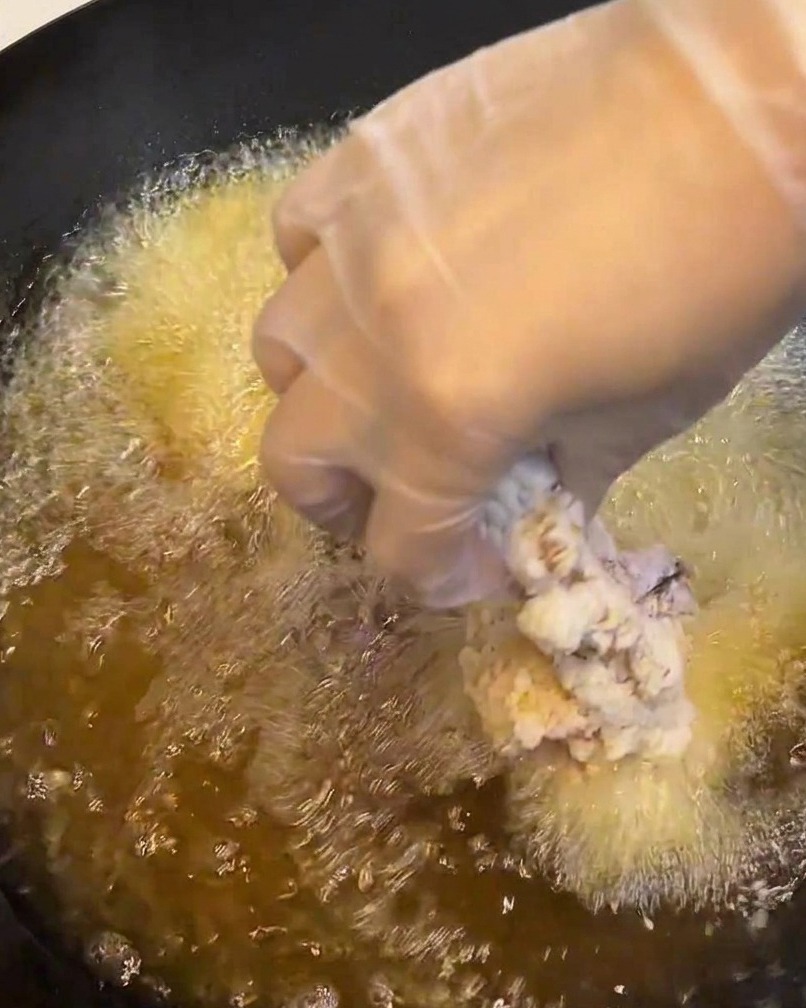
Once the oil reaches approximately 170°C, carefully place the breaded chicken thighs into the hot oil. You will see dense bubbles forming immediately. Fry for about 5 minutes until the chicken is cooked through.
Tip: Do not crowd the pan; fry in batches if necessary to maintain the oil temperature and ensure even, crispy results. - 8Monitor the frying process
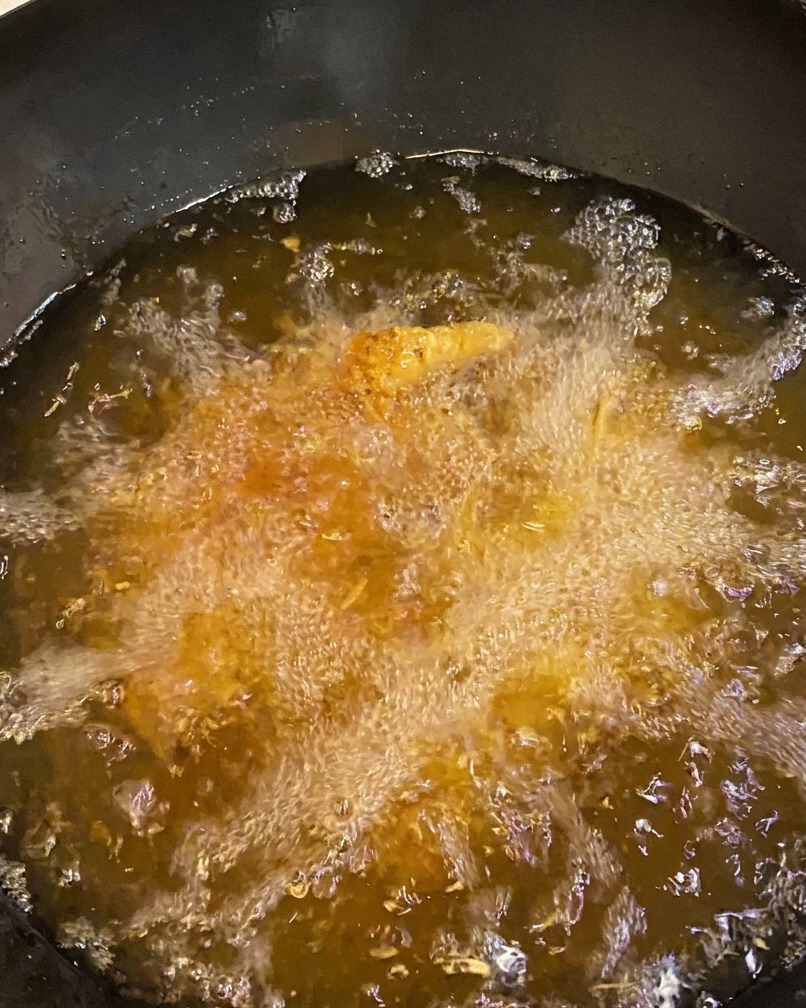
Continue frying the chicken until the bubbles gradually subside and the crust develops a beautiful, uniform golden-brown color. This indicates that the chicken is fully cooked and the exterior has reached the desired crunch.
Tip: Keep an eye on the bubbles; as they get smaller and less frequent, the chicken is nearing perfection. - 9Remove and drain
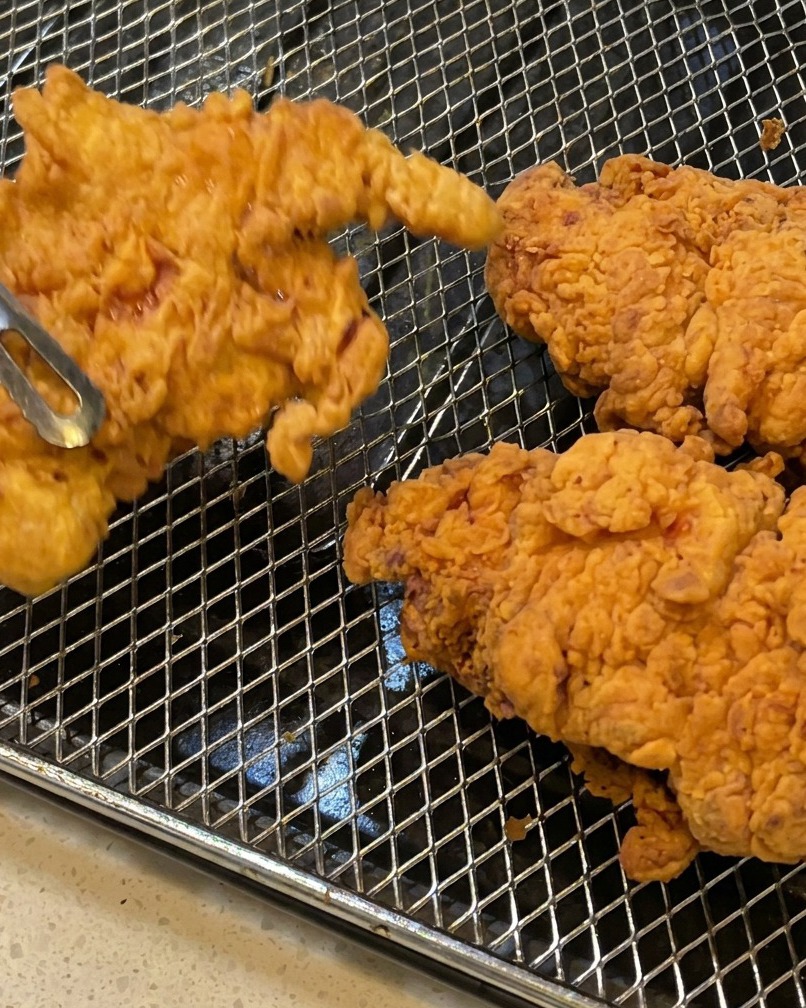
Use metal tongs to carefully remove the crispy, golden-brown chicken thighs from the hot oil. Transfer them to a wire rack or a paper-lined tray to drain any excess oil.
Tip: Using a wire rack instead of a paper towel will help keep the crust extra crispy by allowing air to circulate. - 10Check for juiciness
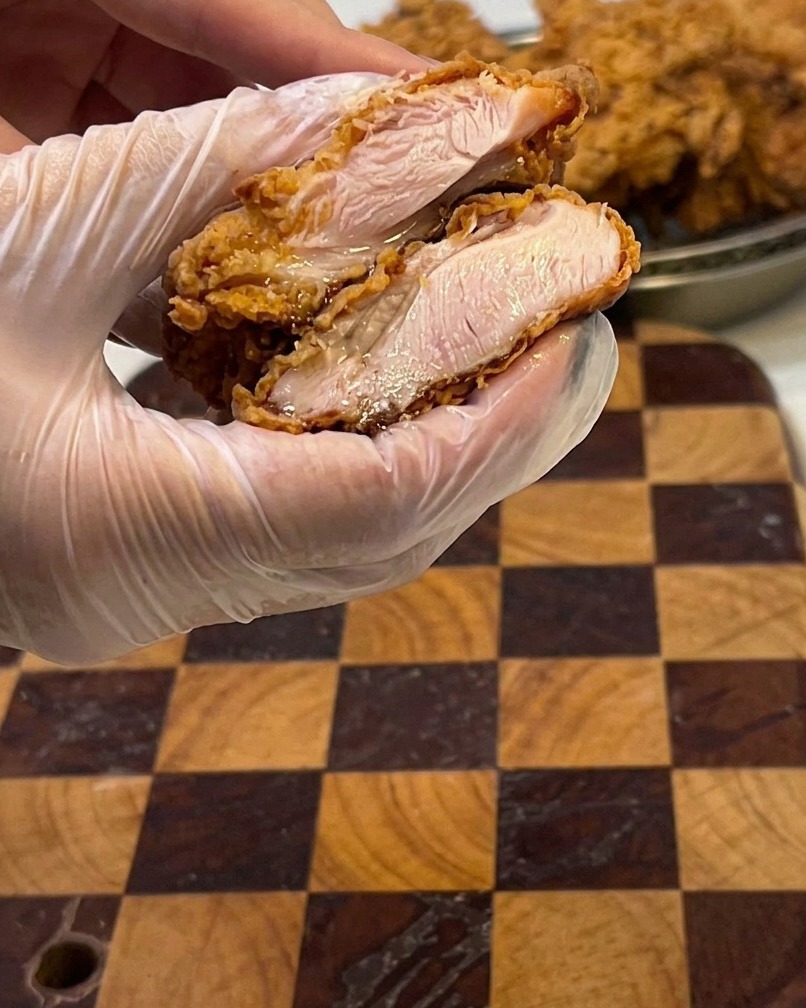
Slice the freshly fried chicken thigh in half to reveal the interior. The meat should be perfectly cooked, white, and exceptionally juicy, protected by the crisp, flaky exterior.
Tip: Let the chicken rest for a minute before slicing to ensure the juices redistribute throughout the meat. - 11Assemble the burger
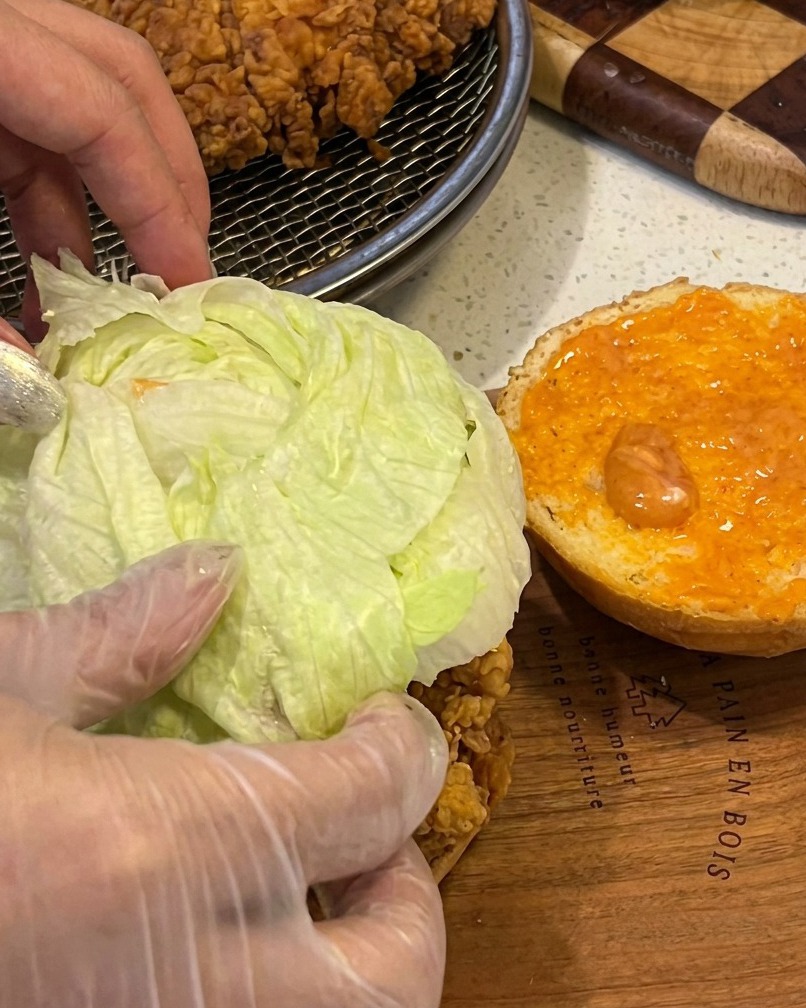
Prepare your bun by spreading the special sauce on both sides. Place the crispy fried chicken fillet on the bottom bun, top it with a crisp leaf of fresh lettuce, and finish with the top bun to complete your burger.
Tip: Toast the buns lightly before assembling to provide a nice texture contrast against the juicy chicken and crisp lettuce.