Homemade Spicy Fried Chicken
Beef Burgers
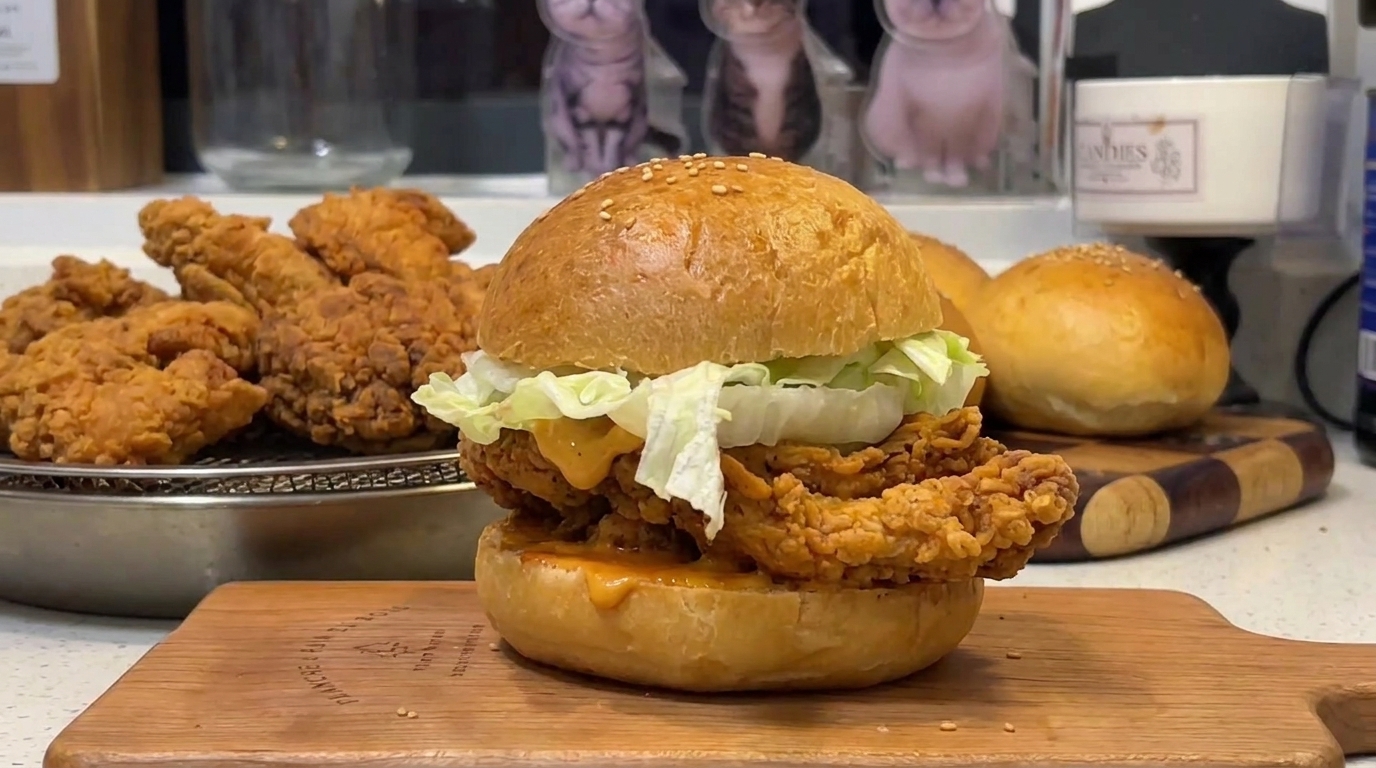
Master the art of the crispy fried chicken burger at home. This recipe delivers a signature flaky, golden crust and a juicy beef patty for the ultimate comfort meal.
Creating a professional-grade fried chicken burger at home is all about the technique behind that signature crust. By double-coating the chicken and mastering a simple, airy bun, you can achieve a texture and flavor profile that rivals any fast-food favorite. Whether you prefer the crunch of perfectly fried chicken or the savory depth of a homemade beef patty, these burgers are designed for the ultimate home-cooking experience.

Ingredients
- 3 large boneless, skinless chicken thighs
- 300 g ground beef
- 2 cups low-gluten flour
- 1 tsp baking powder
- 1 egg
- 1 small purple onion
- 1 tbsp soy sauce
- 1 tbsp dark soy sauce
- 2 tbsp sesame seeds
- to taste ginger
- to taste garlic
- to taste green onion
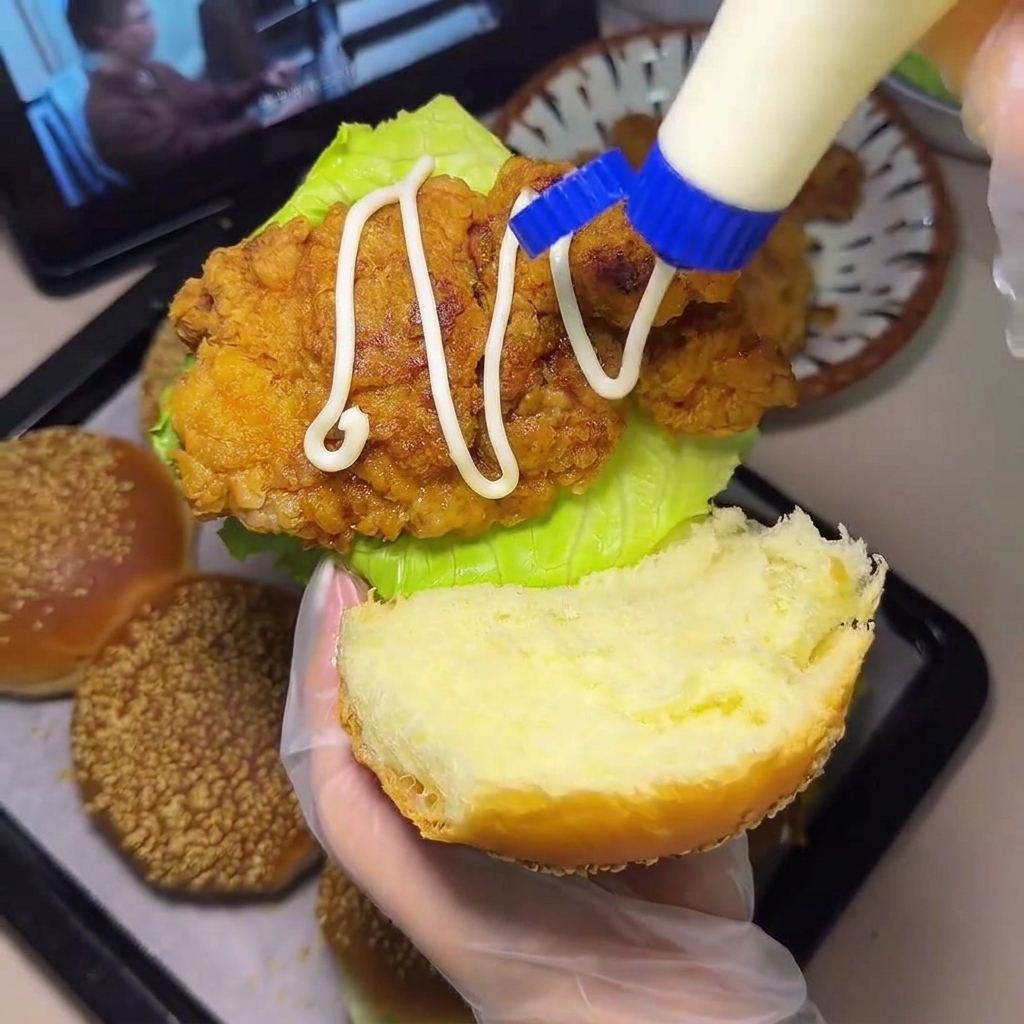
- to taste lettuce
- to taste mayonnaise
- to taste salt and sugar
Instructions
- 1Marinate the chicken
Place the boneless, skinless chicken thighs into a large glass bowl along with the sliced ginger, garlic cloves, and green onion stalks. Ensure the aromatics are well-distributed to infuse the meat during the marination process.
Tip: Using fresh aromatics like ginger and green onion is key to replicating that authentic KFC-style flavor profile. - 2Add the marinade

Pour the soy sauce and necessary spices over the chicken and aromatics. These liquids provide the savory base that will penetrate the chicken meat thoroughly during marination.
Tip: Measure your seasonings carefully to balance the savory notes for the perfect chicken base. - 3Massage the chicken
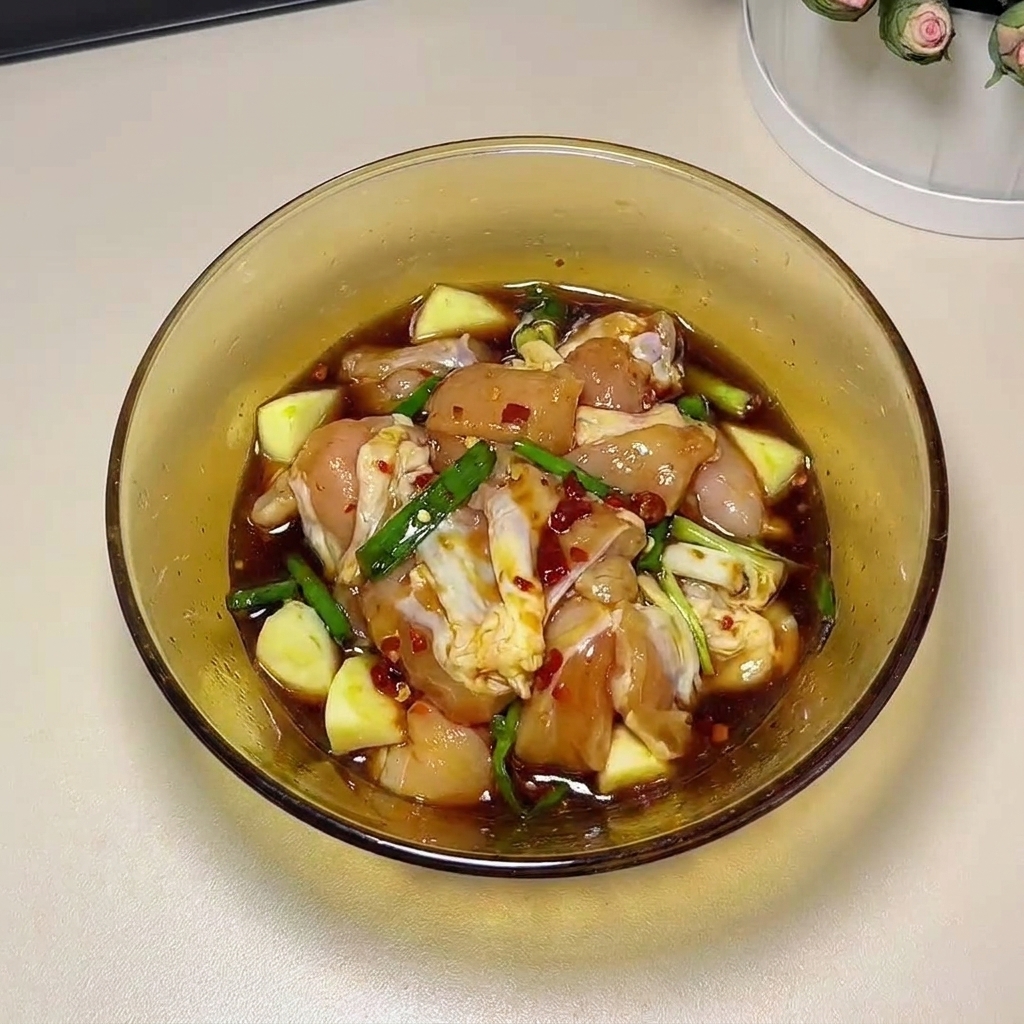
Using gloved hands, continuously massage the chicken pieces with the marinade and aromatics. This ensures every piece is evenly coated, which is crucial for consistent flavor after two hours of refrigeration.
Tip: Massaging helps the marinade absorb faster into the meat fibers. - 4Prepare the bun dough
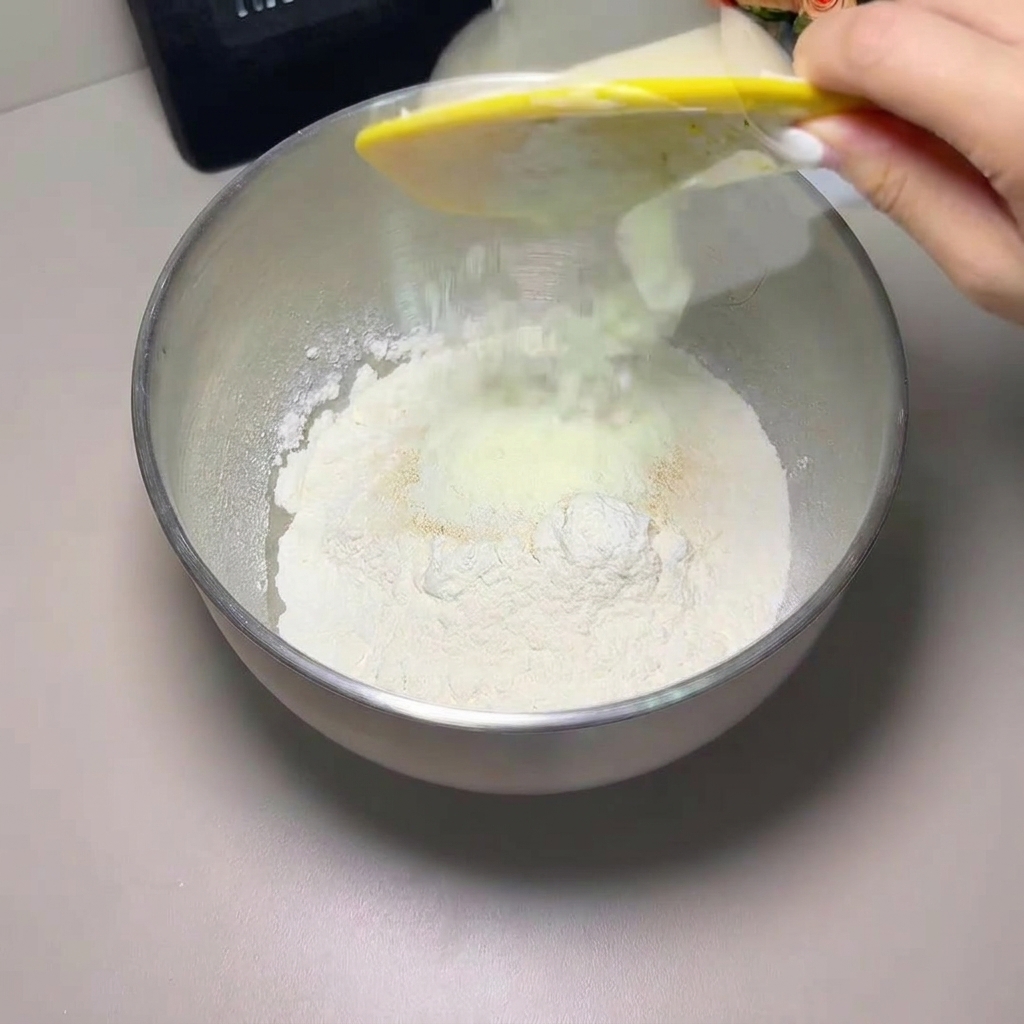
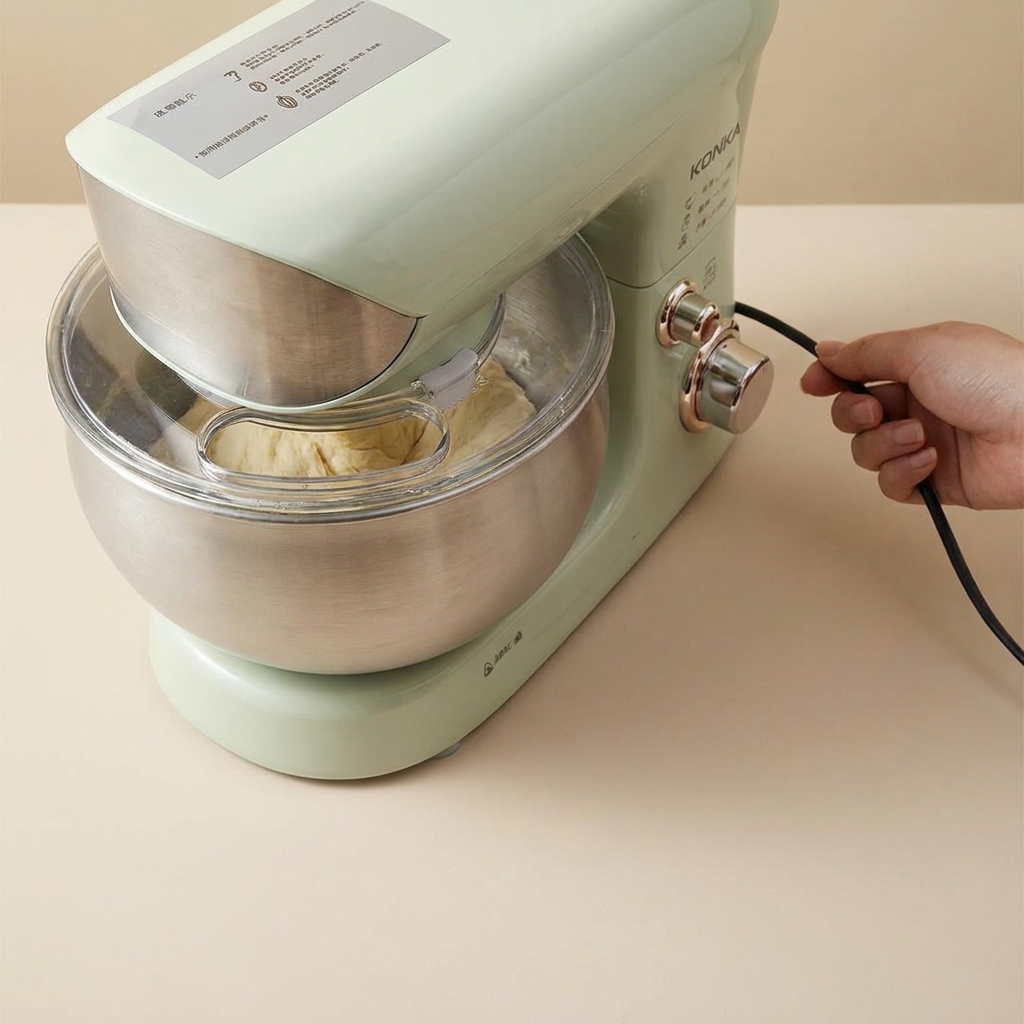
Combine the dry ingredients, including flour and sugar, into a stainless steel mixing bowl. These will form the foundation for the homemade burger buns.
Tip: Ensure your flour is sifted for a smoother dough texture. - 5Check dough elasticity
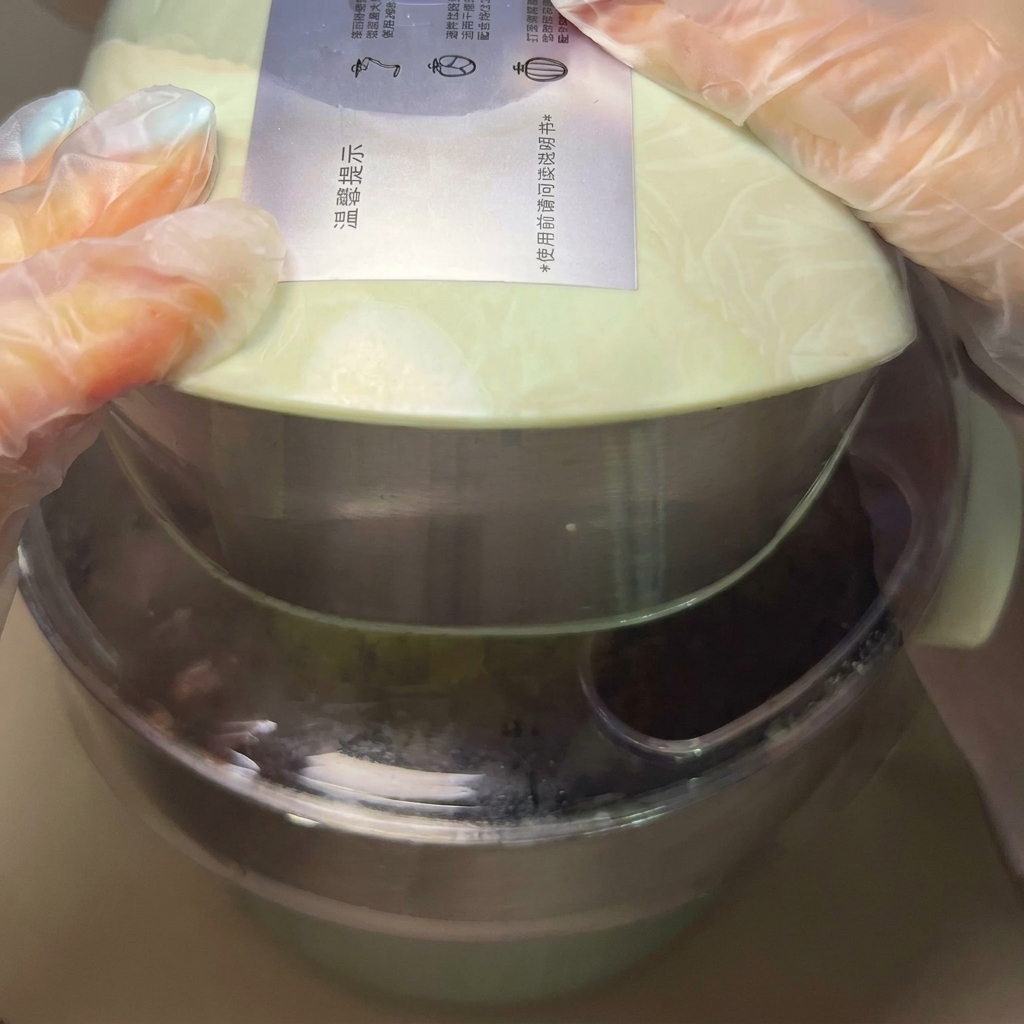
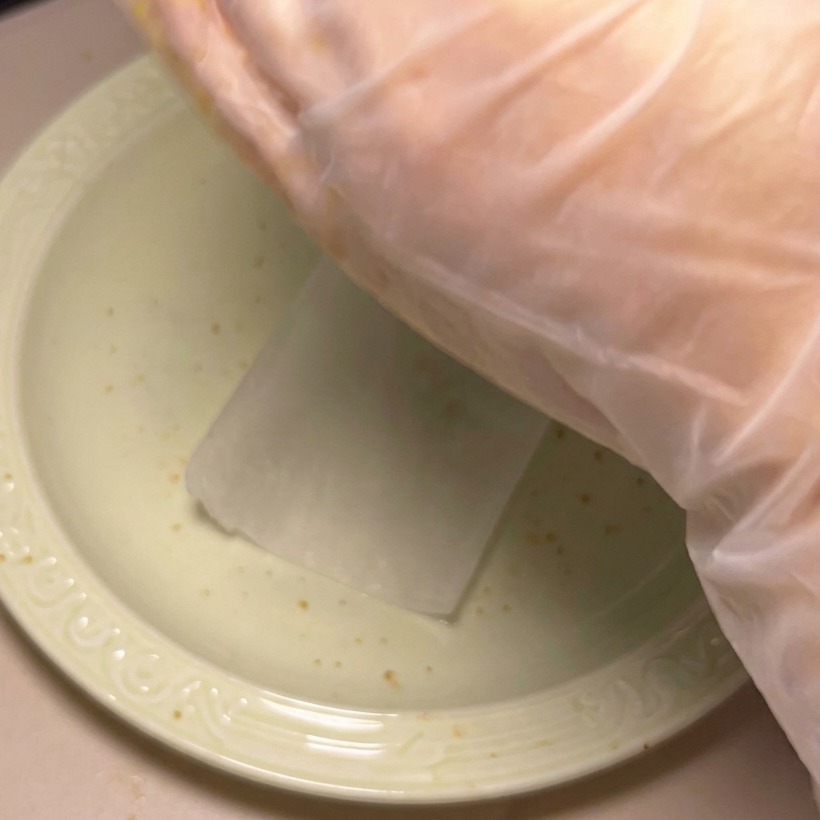
After kneading, gently stretch a small portion of the dough with your fingers. You are looking for the windowpane effect, where the dough can be stretched thin enough to become translucent without tearing, indicating proper gluten development.
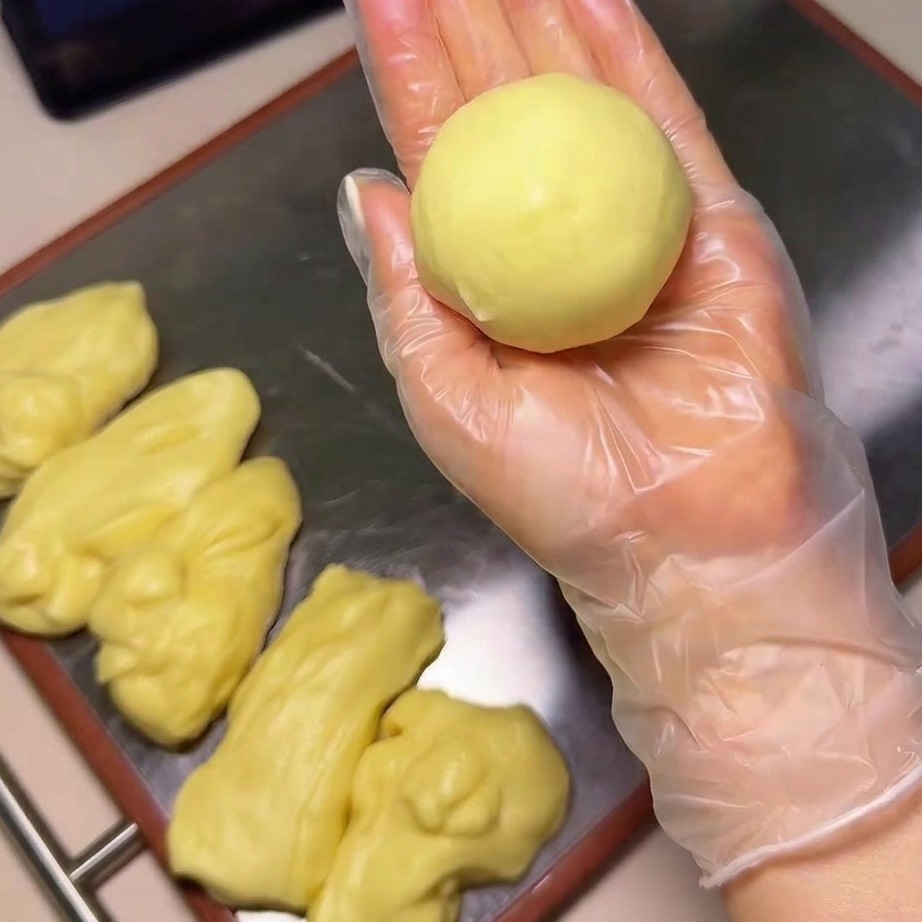
Tip: The windowpane test is the best way to ensure your dough is kneaded enough for fluffy, soft buns. - 6Shape the buns
Take a portion of the prepared dough and carefully tuck the edges underneath to form a smooth, round ball. Ensure the seam is facing down to keep the surface tight and uniform for baking.
Tip: Creating surface tension on the dough balls helps the buns rise evenly in the oven. - 7Coat the buns with sesame seeds
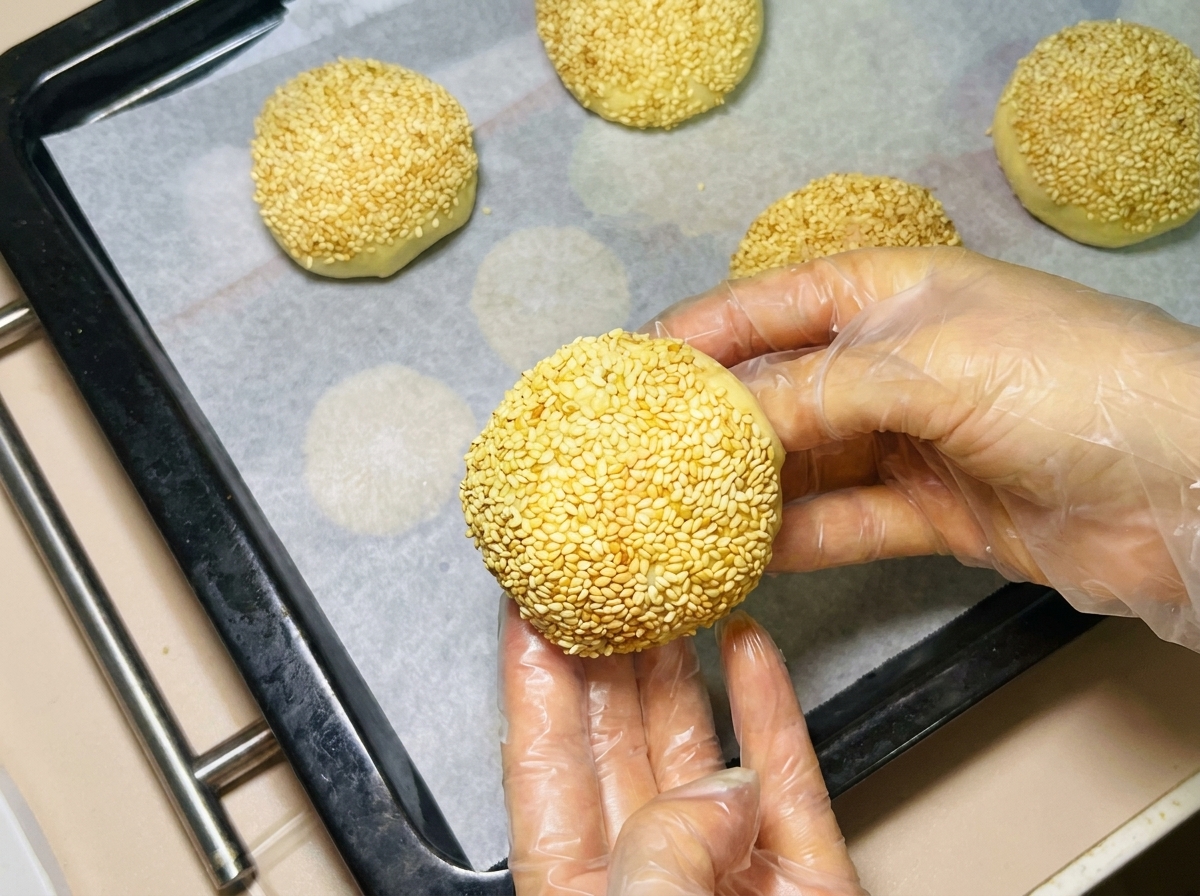
Take the dough balls and brush a thin layer of water over the smooth surface. Dip the moistened top of each ball into a bowl of white sesame seeds, coating more than half of the surface, before placing them on a baking tray to proof.
Tip: Ensure the water layer is thin so the seeds adhere well without making the dough too soggy. - 8Arrange on a baking tray
Place the sesame-coated dough balls onto a baking sheet lined with parchment paper. Ensure there is enough space between each portion, as they will expand significantly during their one-hour proofing time at 38°C.
Tip: Handle the dough gently at this stage to prevent knocking off the sesame seeds or deflating the shaped buns. - 9Bake the burger buns
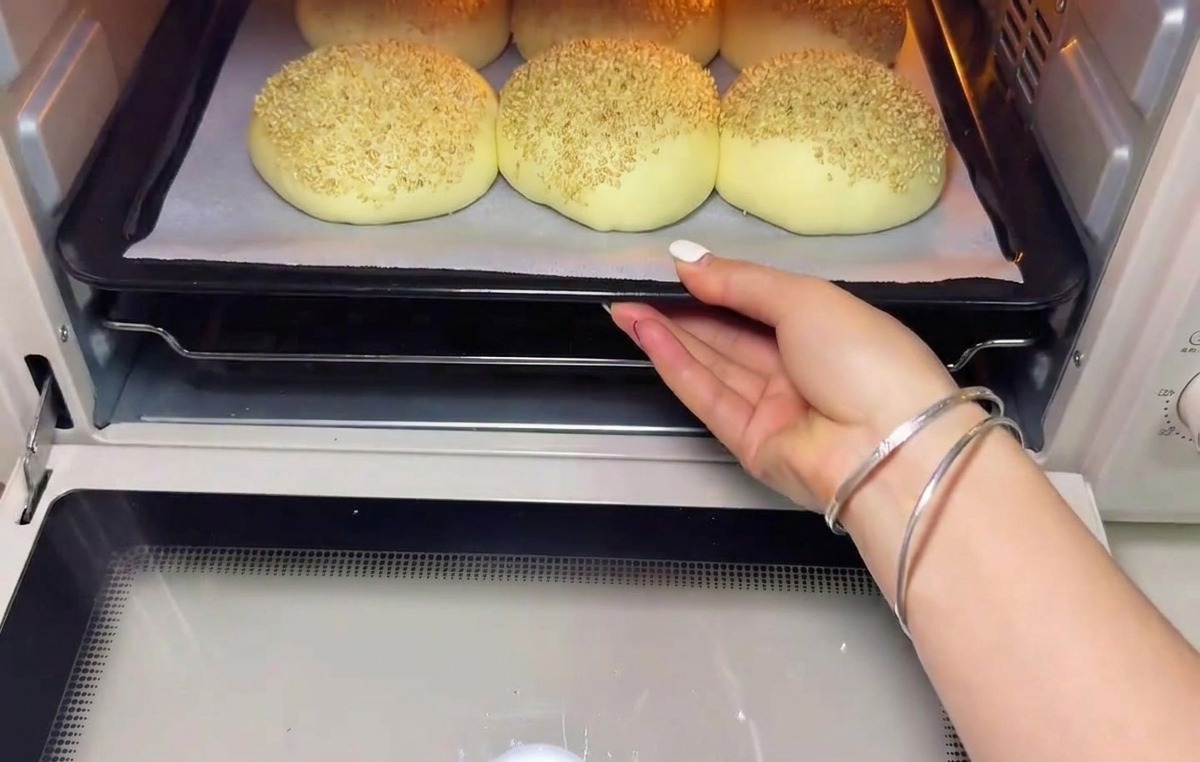
Once the buns have proofed, preheat the oven to 175°C using both top and bottom heat. Carefully place the tray of expanded buns into the oven and bake for 18 minutes until they achieve a golden-brown crust.
Tip: Wait until the oven is fully preheated before putting the buns in; baking them in a cold oven will affect their rise and texture. - 10Sauté the onions
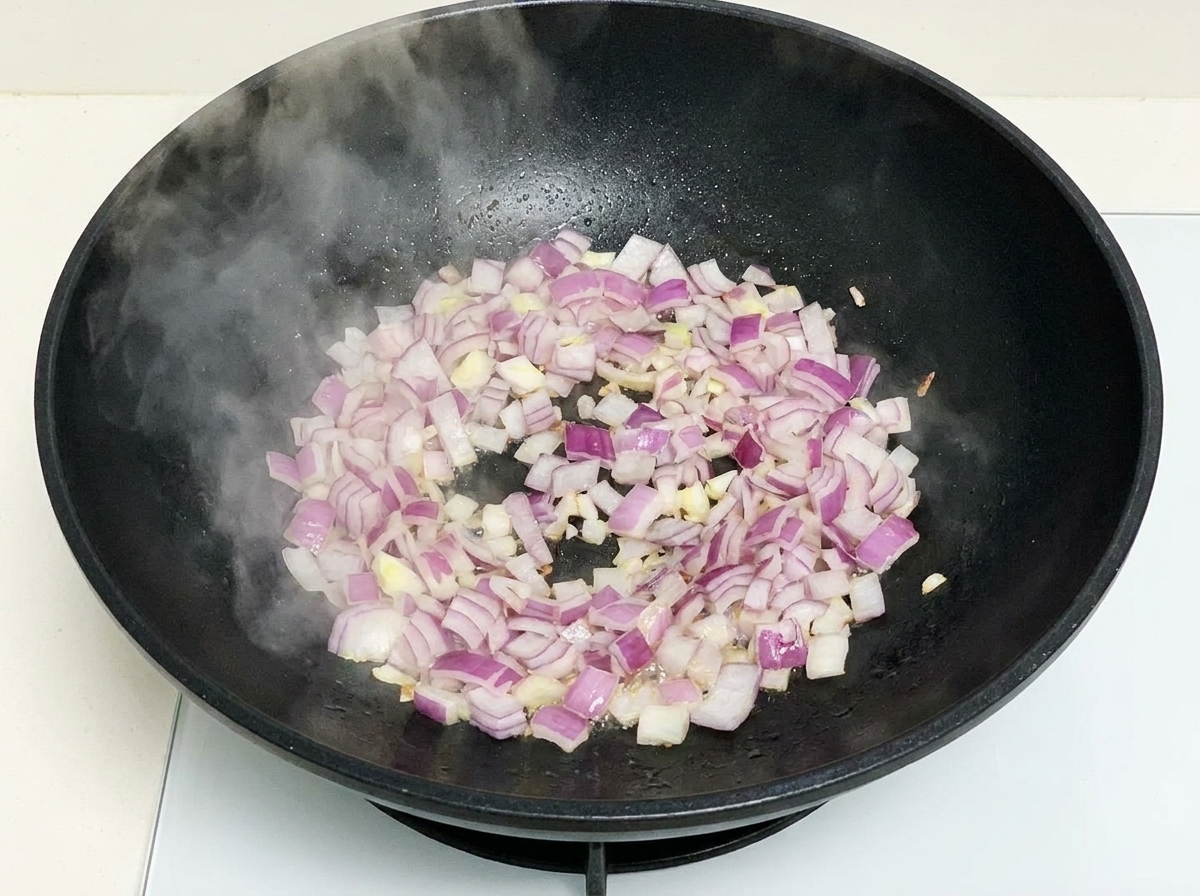
In a heated pan, stir-fry the chopped purple onions until they are fully cooked and softened. Cooking the onions removes their sharp raw bite and adds a savory sweetness to the beef patties.
Tip: Allow the cooked onions to cool down slightly before mixing them into the raw beef so they do not prematurely cook the meat or scramble the egg. - 11Mix the beef patty ingredients
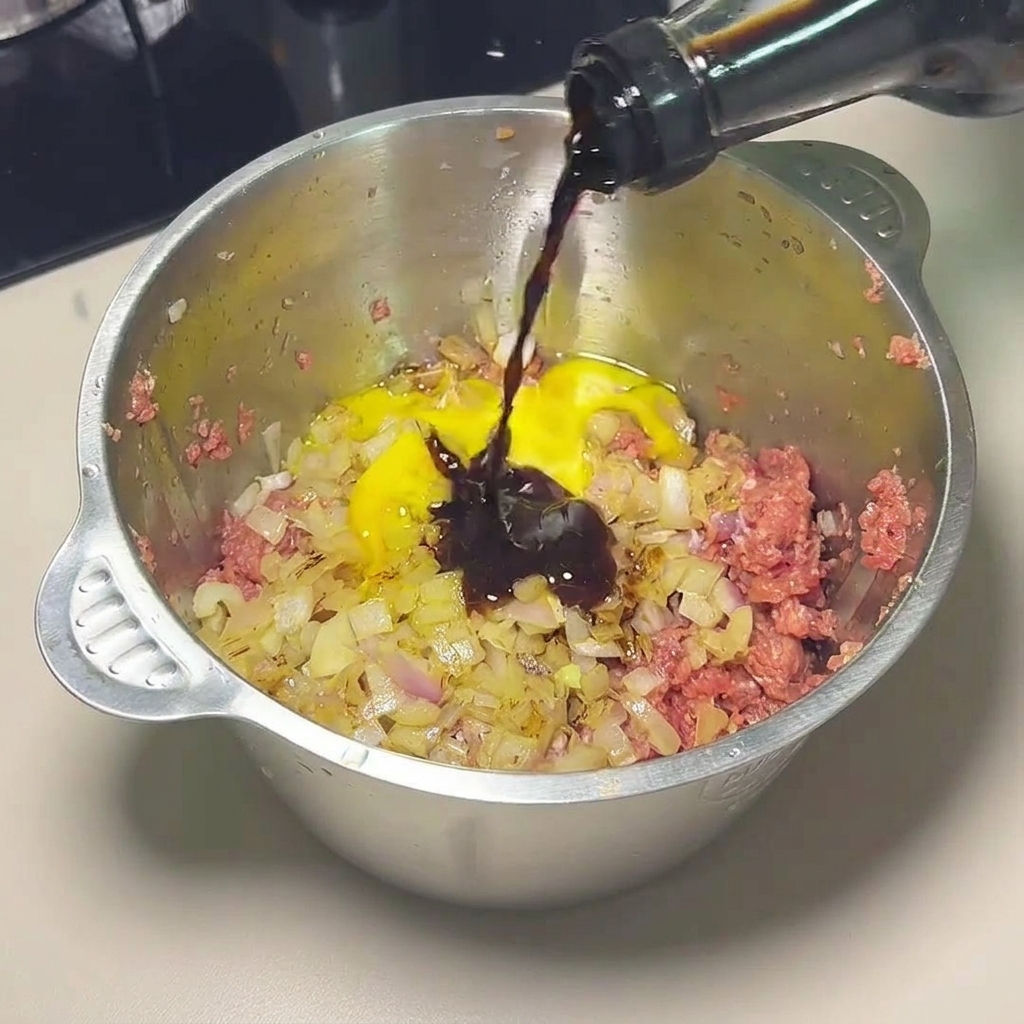
In a metal bowl, combine the raw ground beef, an egg, the cooled sautéed onions, and your chosen seasonings. Pour in the dark soy sauce and stir the mixture vigorously in one direction using chopsticks until it becomes sticky and well-bound.
Tip: Always stir ground meat mixtures in a single direction; this helps develop the proteins, ensuring your patties are springy and hold together well when frying. - 12Shape the beef patties
After mixing the beef with the seasoning, take a portion of the meat paste and toss it back and forth between your hands a few times to firm it up. Shape the mixture into a round patty, ready to be placed on parchment paper for frying.
Tip: Tossing the meat helps remove air pockets and ensures the patty holds its shape during cooking. - 13Pan-fry the beef patties
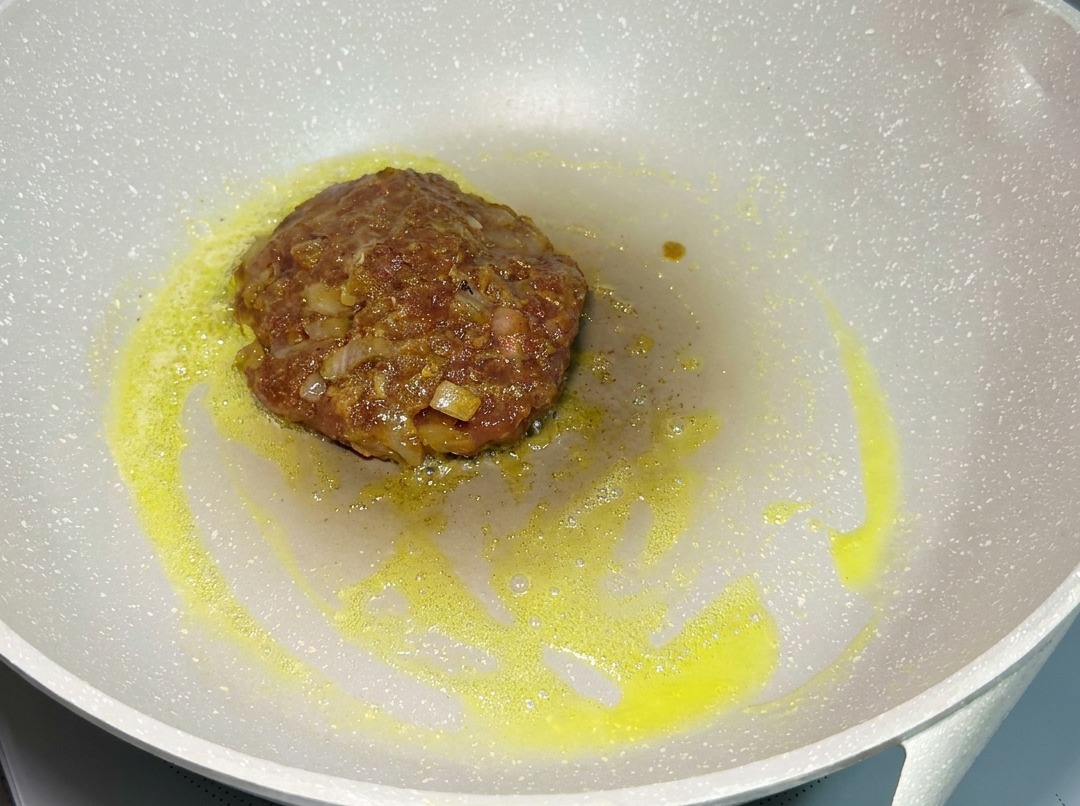
Place the prepared meat patties onto a pan lined with parchment paper. Cook slowly over low heat until the patties are browned and cooked through, ensuring they stay juicy.
Tip: Cooking on low heat prevents the outside from burning before the inside is fully cooked. - 14First coating of flour
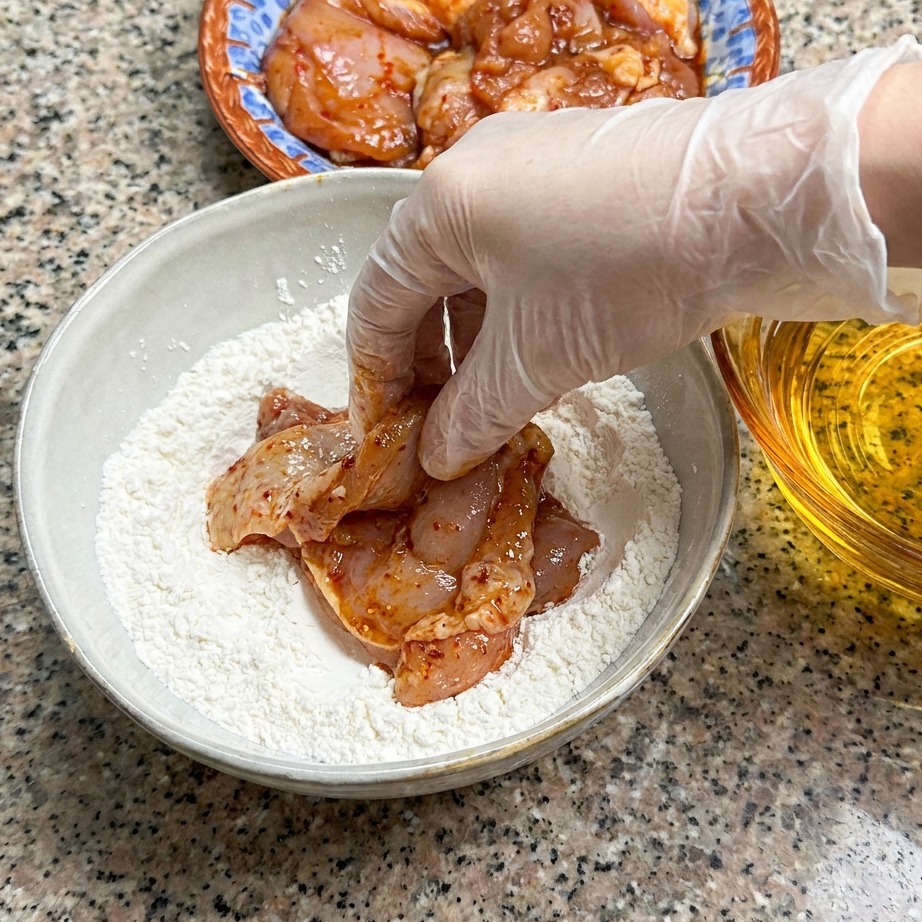
Take the marinated chicken thigh and press it into a shallow bowl filled with the prepared flour mixture. Ensure the chicken is evenly coated on all sides.
Tip: Use a light hand to ensure the flour adheres to the marinade without clumping too heavily at this stage. - 15Dip in water
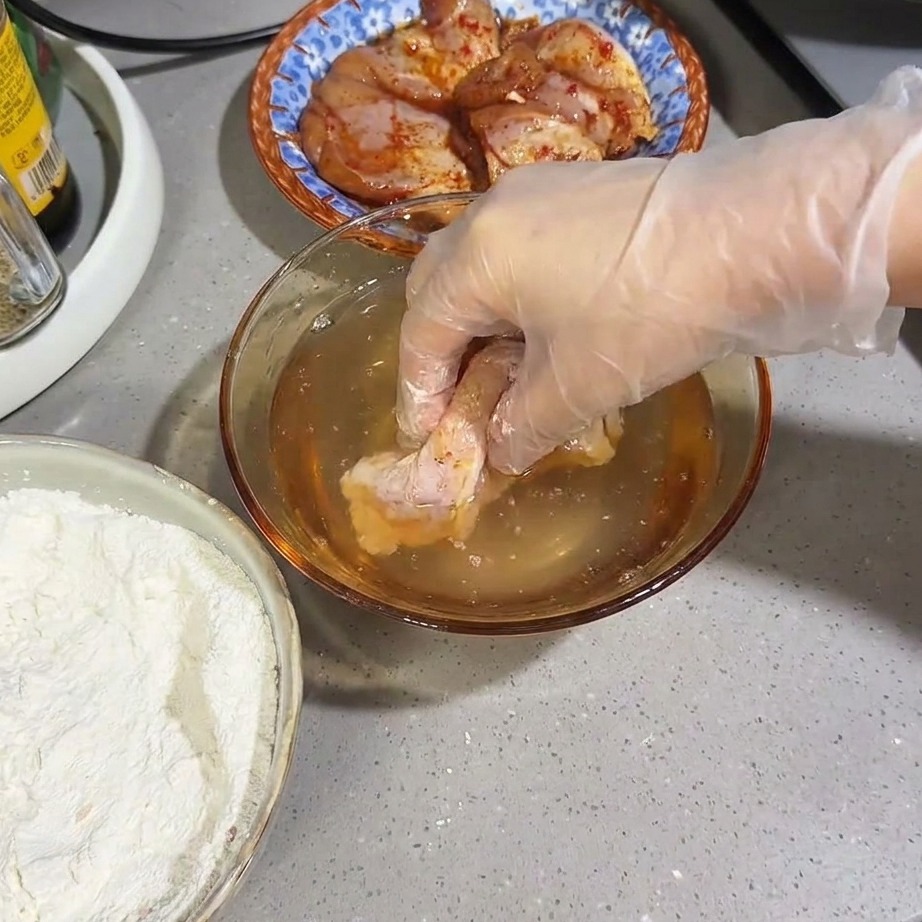
After the first coating of flour, briefly dip the chicken thigh into a bowl of water for about 10 seconds. This quick dip helps to hydrate the flour layer, setting it up for the final crust.
Tip: Do not leave the chicken in the water for too long; 10 seconds is sufficient to moisten the flour. - 16Second coating for flaky crust
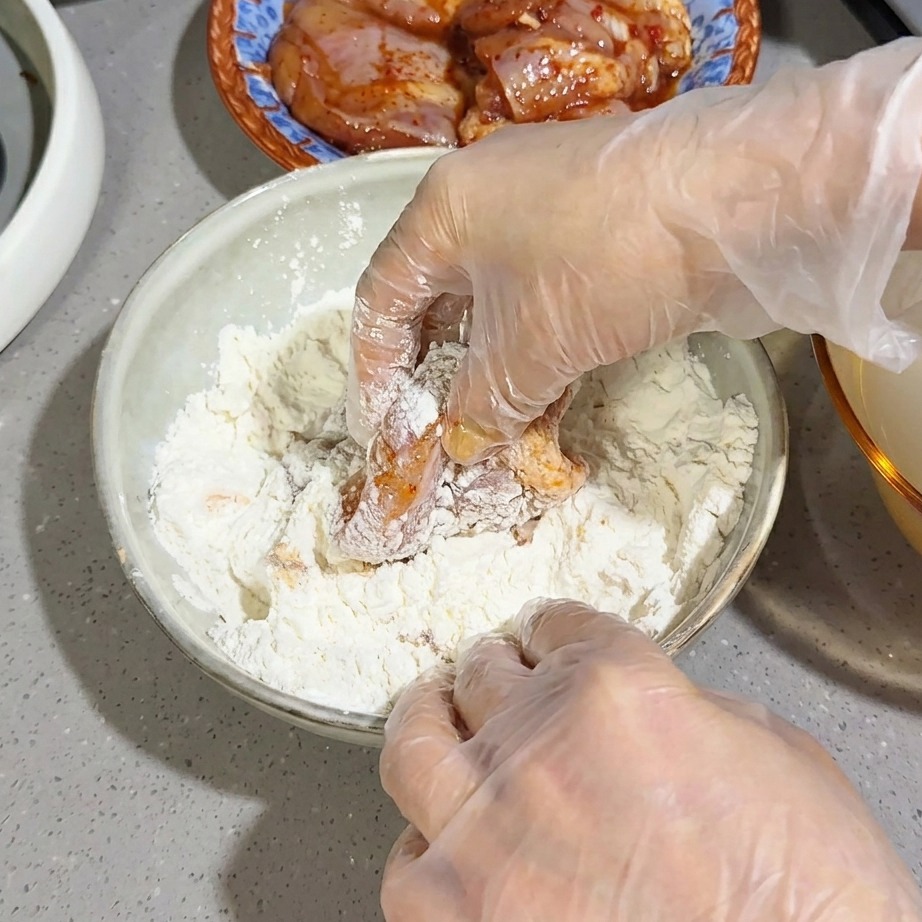
Take the moistened chicken thigh and press it into the flour mixture once more. Coat it thoroughly to create a thick, textured layer that will become the signature flaky crust when fried.
Tip: Press firmly during this second coating to ensure a deep, craggy texture.