Homemade Sourdough Neapolitan-style Pizza
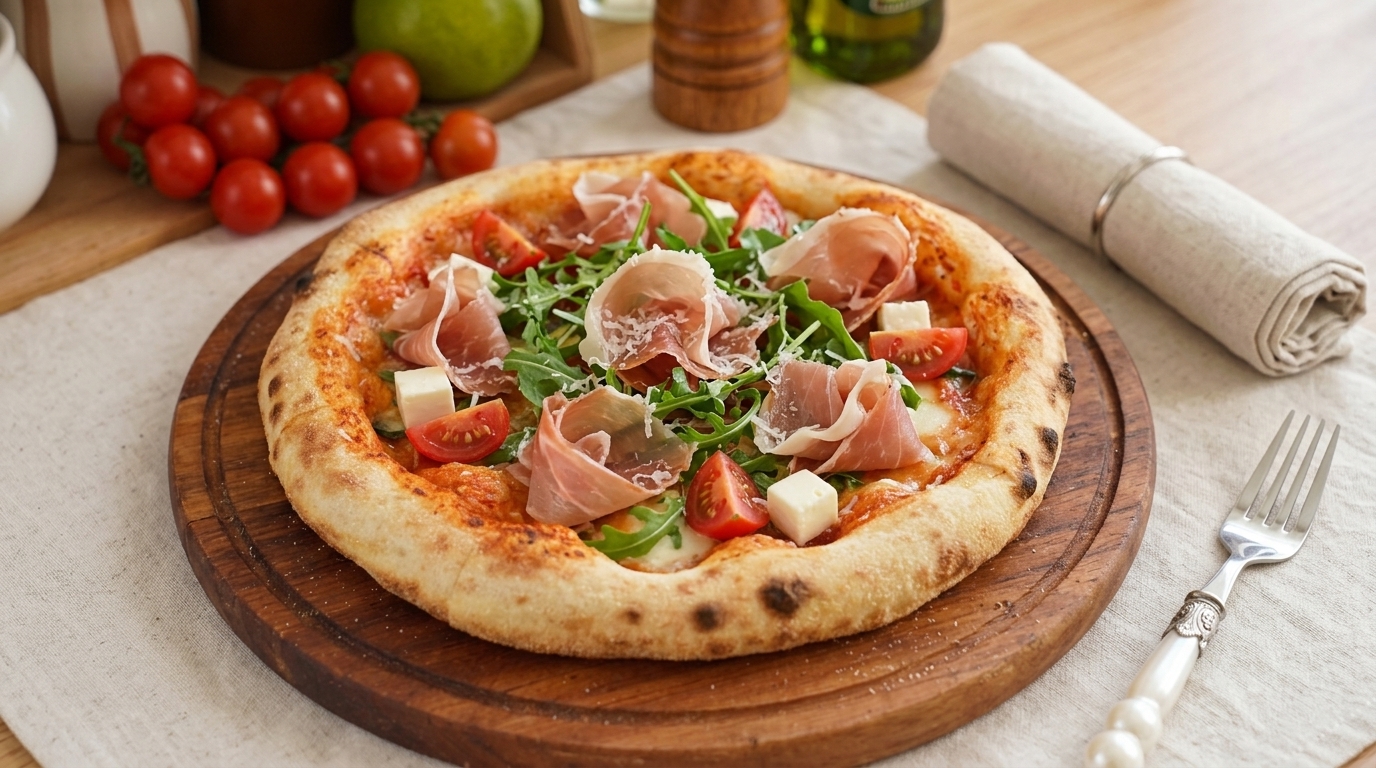
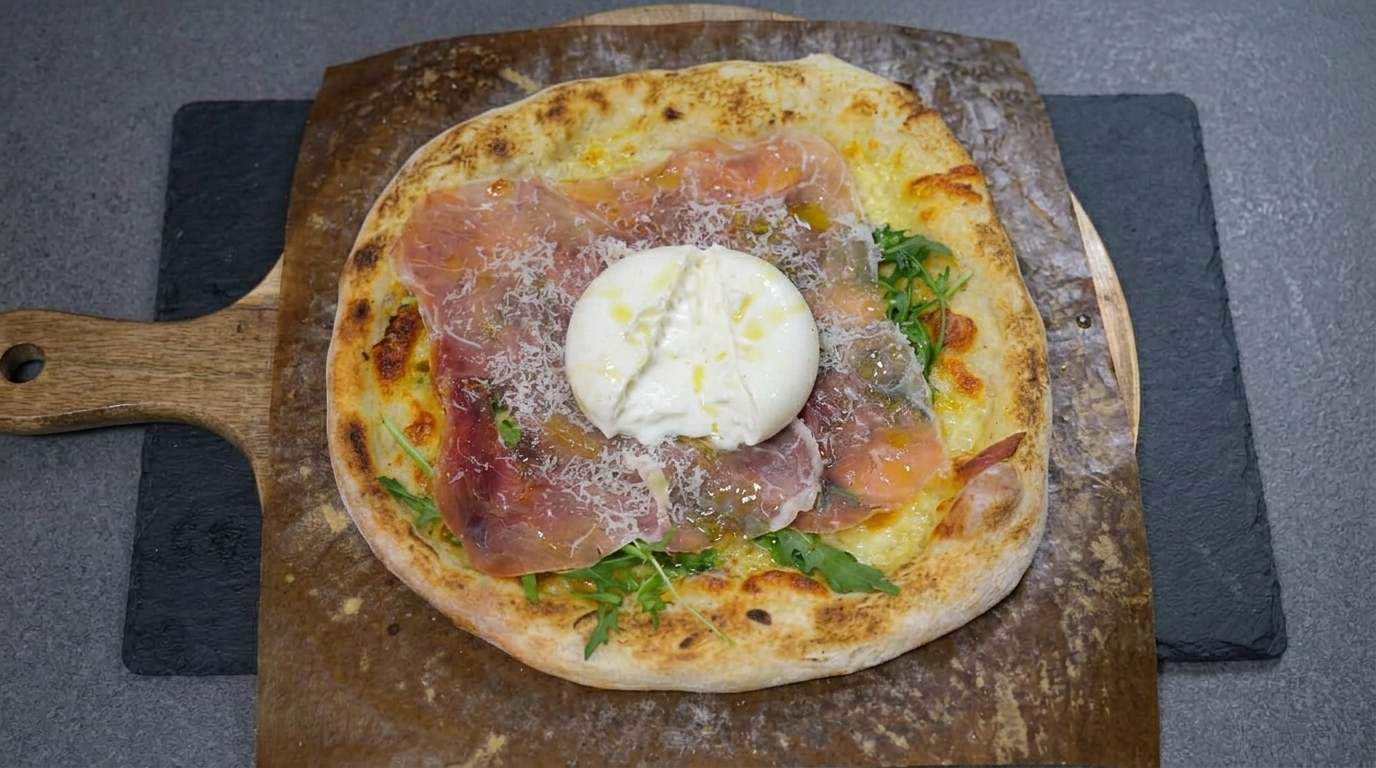
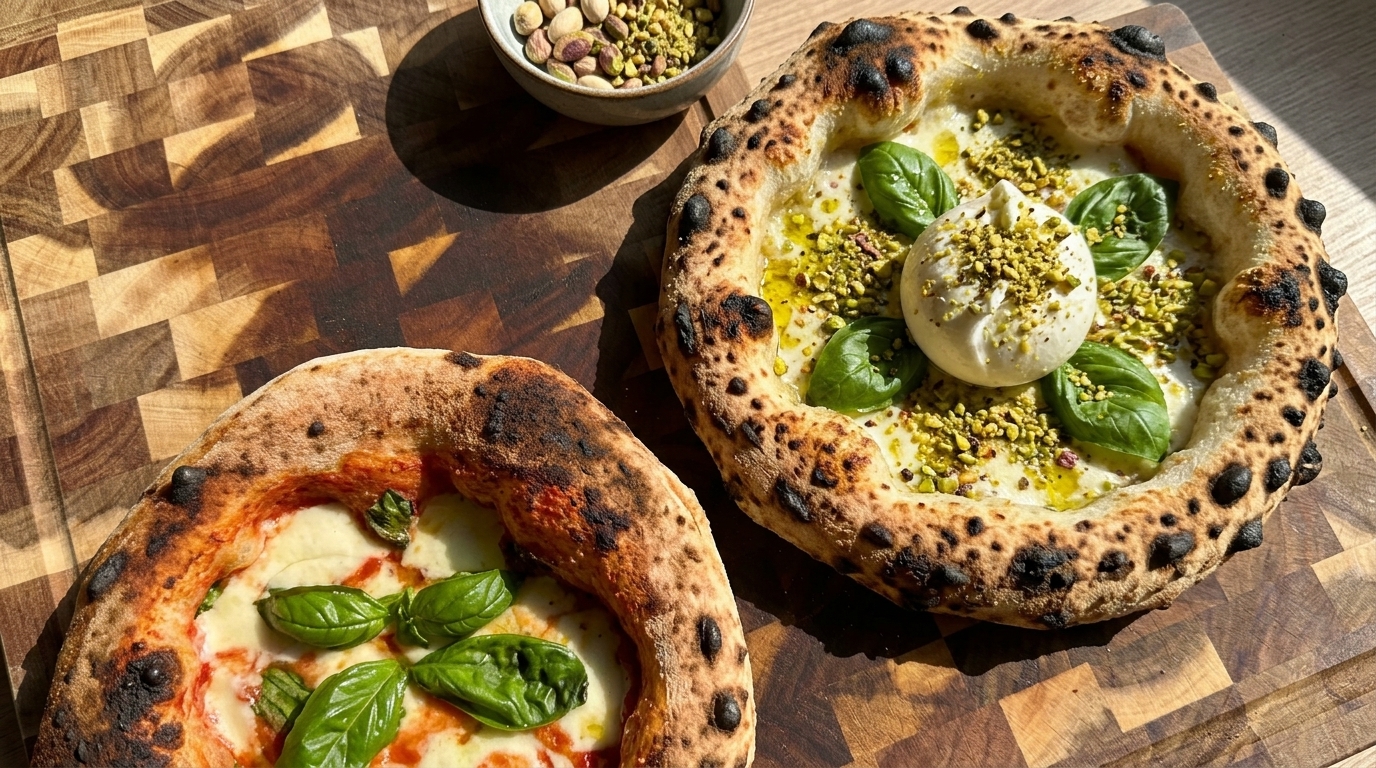
Master the art of sourdough pizza with this Neapolitan-inspired recipe. Features a light, airy, and charred crust topped with fresh mozzarella or creamy burrata.
Neapolitan-style pizza is defined by its soft, puffy crust and charred, blistered edges, achieved through a high-heat bake. Utilizing a sourdough starter adds a complex, tangy depth of flavor to the dough that commercial yeast cannot replicate. This recipe walks you through a multi-day fermentation process, resulting in a digestible and authentic pizzeria-quality crust right at home.
Ingredients
- 500 g 00 flour
- 350 ml water
- 100 g active sourdough starter
- 12 g salt
- 20 ml olive oil
- 200 g fresh mozzarella cheese
- 100 ml tomato sauce
- 1 bunch fresh basil
- 1 whole burrata cheese
- 30 g crushed pistachios
Instructions
- 1Feed the starter
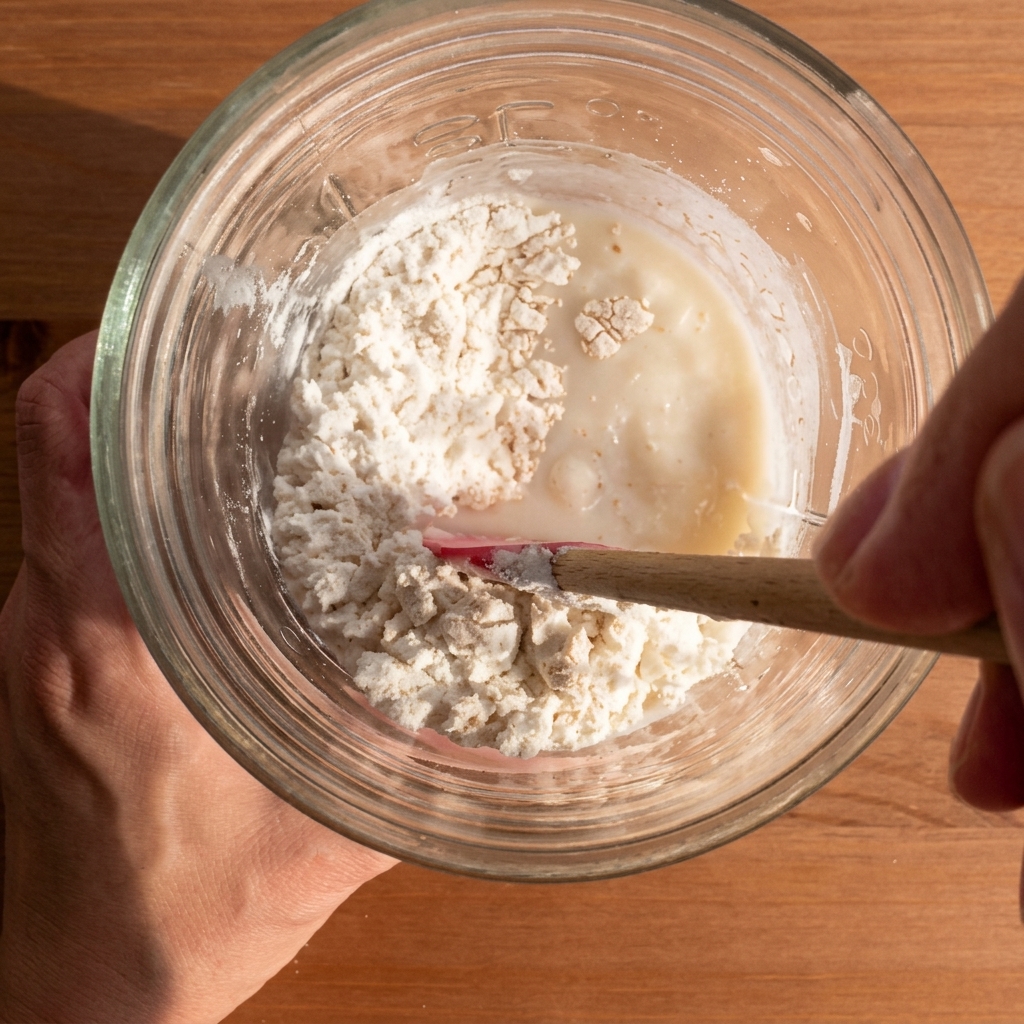
Combine flour and water with your active sourdough starter in a glass jar. Use a small spoon to mix until no dry streaks of flour remain, creating a consistent, thick paste that will provide the leavening power for your dough.
Tip: Ensure your starter is at its peak activity—bubbly and doubled in size—before mixing to ensure a strong rise. - 2Mix the dough ingredients
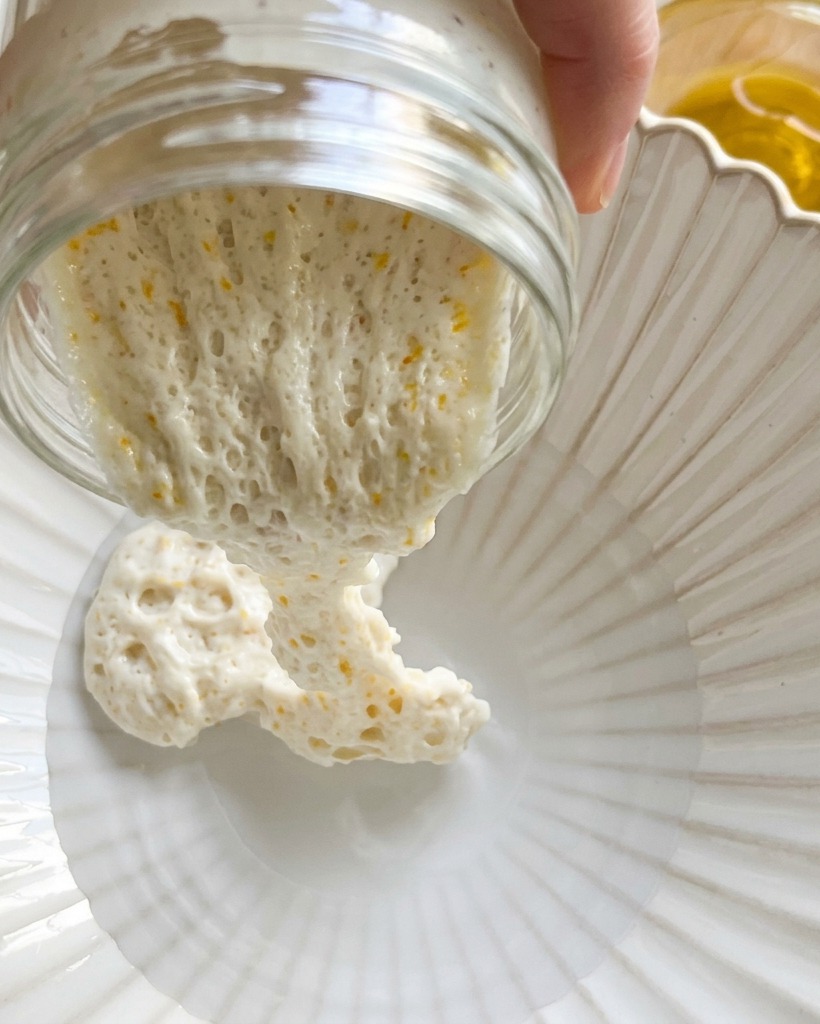
In a large bowl, combine the water and your active levain. Gradually incorporate the 00 flour and salt, stirring until a shaggy, cohesive dough begins to form.
Tip: Using 00 flour is crucial for that authentic Neapolitan texture, as it has the right protein content for a soft, extensible dough. - 3Knead the dough
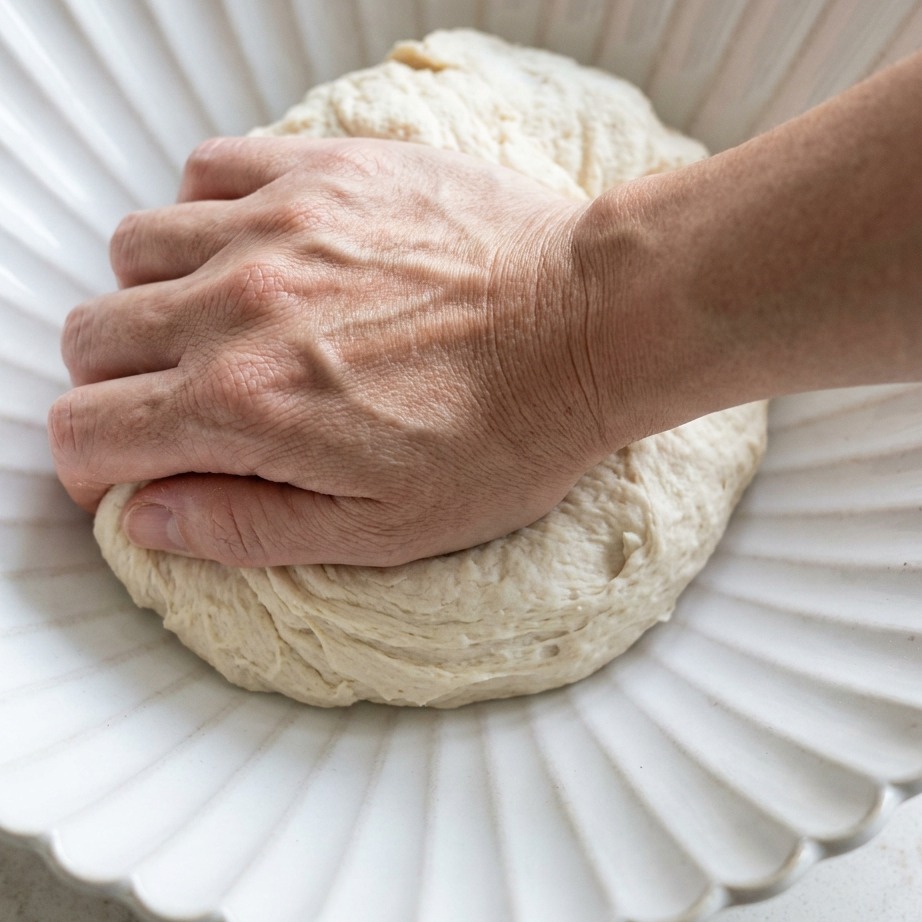
Begin kneading the dough directly in the bowl. Fold and press the dough continuously until it transforms from a shaggy, sticky mass into a smoother, more elastic consistency.
Tip: If the dough feels too sticky, let it rest for 10 minutes to allow the flour to fully hydrate, making it easier to handle. - 4Incorporate olive oil
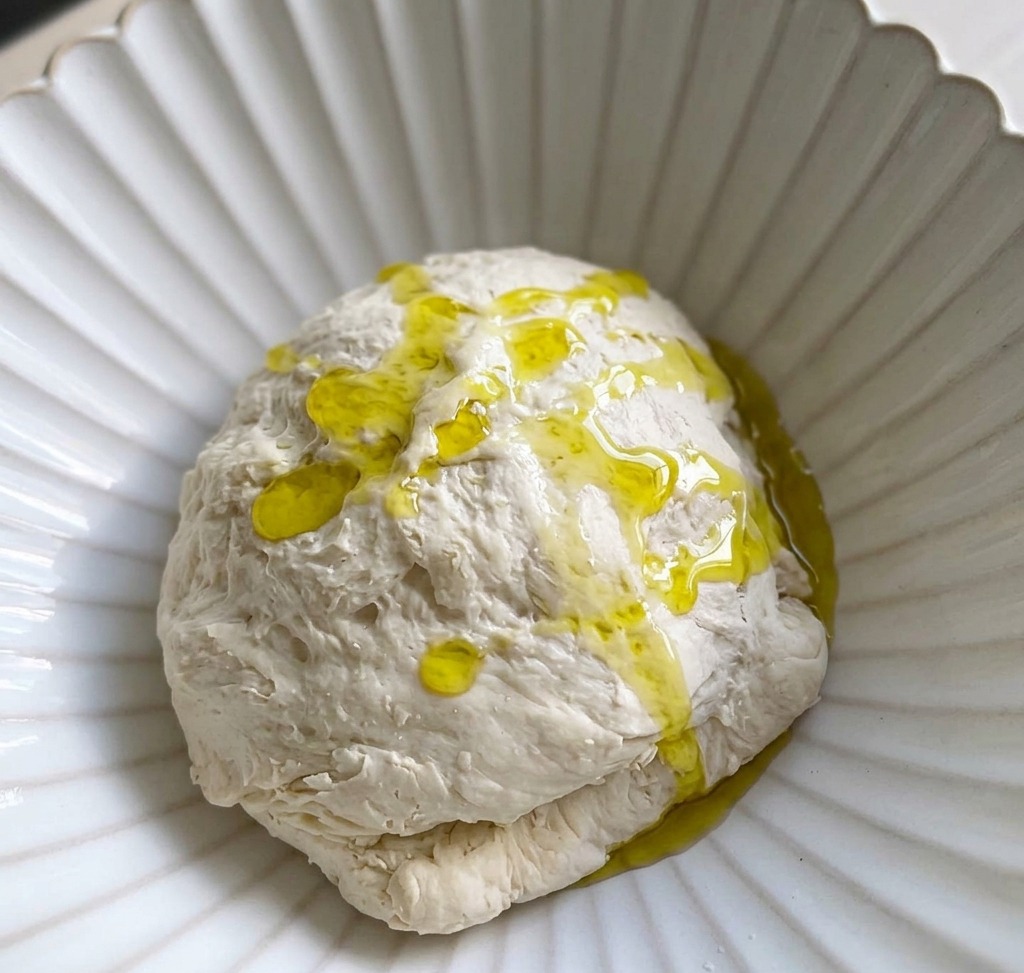
Once the dough has started to come together, drizzle the olive oil over the surface. Continue to knead the dough, working the oil thoroughly into the mixture until it is completely absorbed and the dough is smooth.
Tip: Adding the oil after the initial development helps to soften the crumb and adds a subtle, rich flavor to the crust. - 5Divide the dough
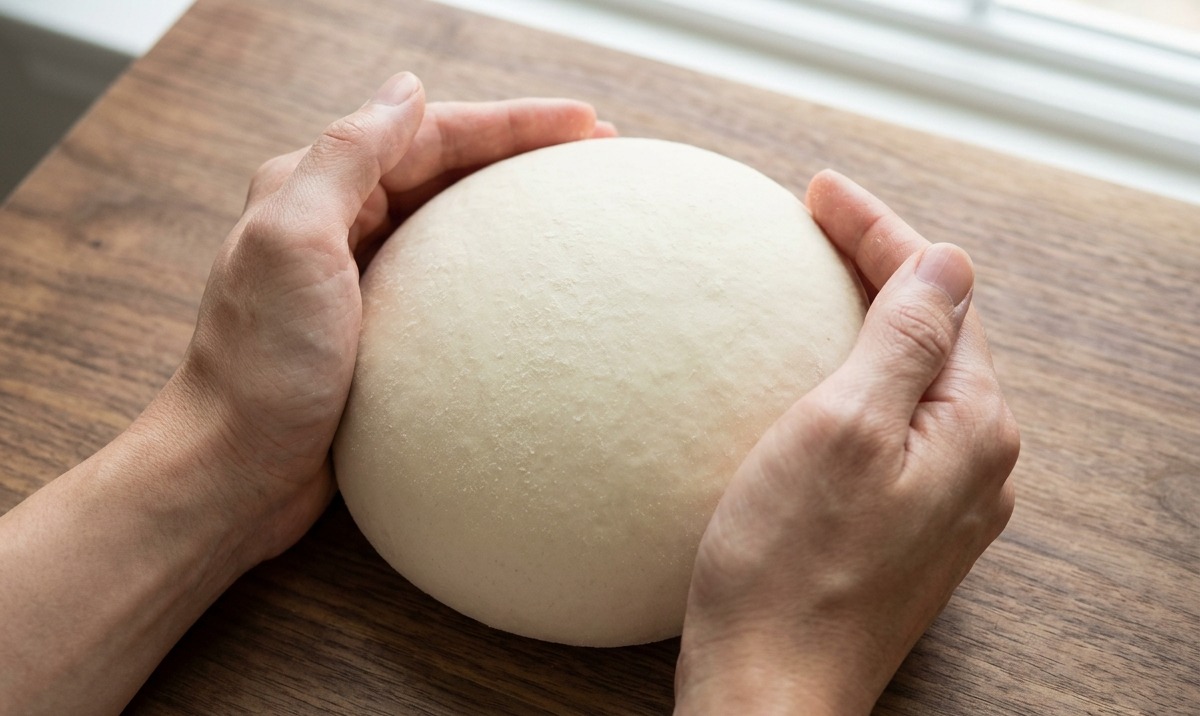
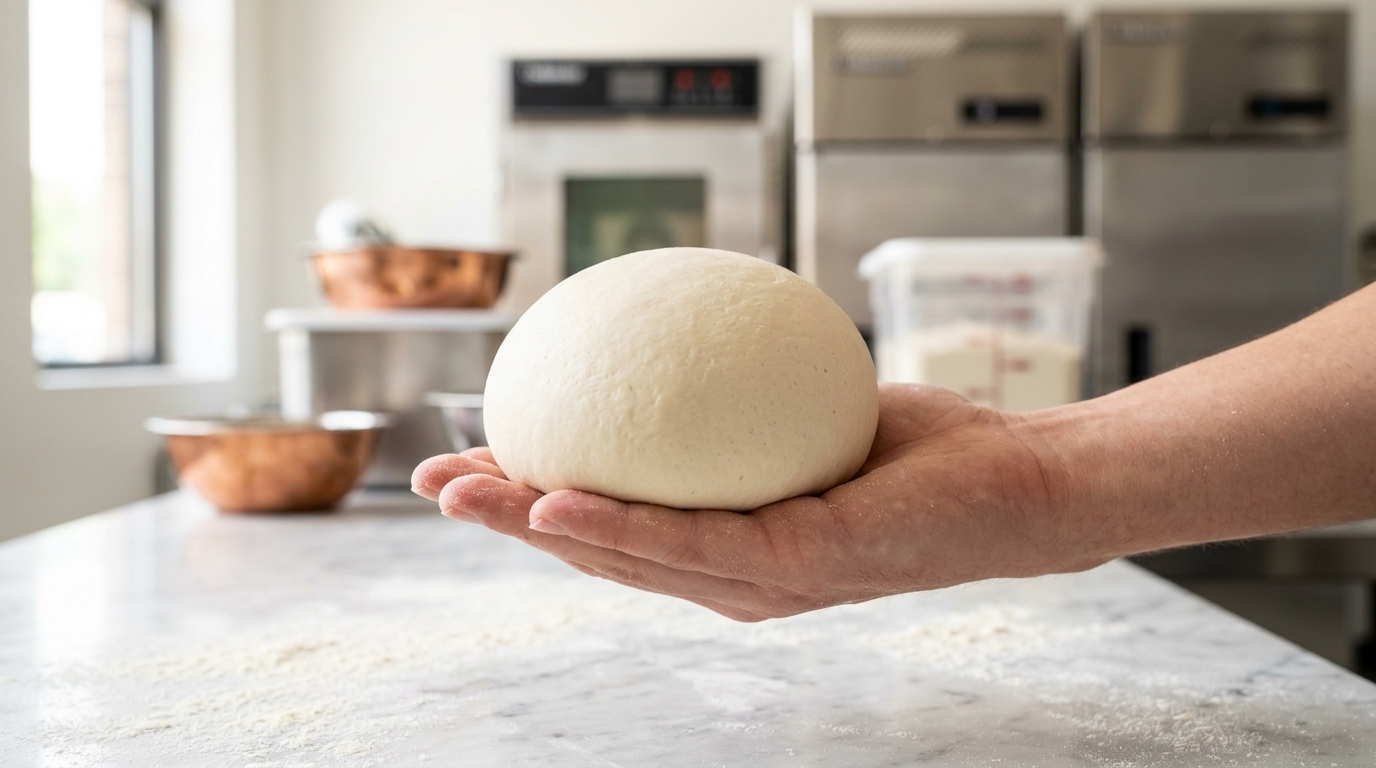
Transfer the rested, smooth dough onto a clean wooden surface. Use a dough scraper to divide the mass into equal-sized portions, ready for final proofing.
Tip: Using a bench scraper prevents the dough from sticking to your hands and ensures clean, precise cuts. - 6Shape the pizza
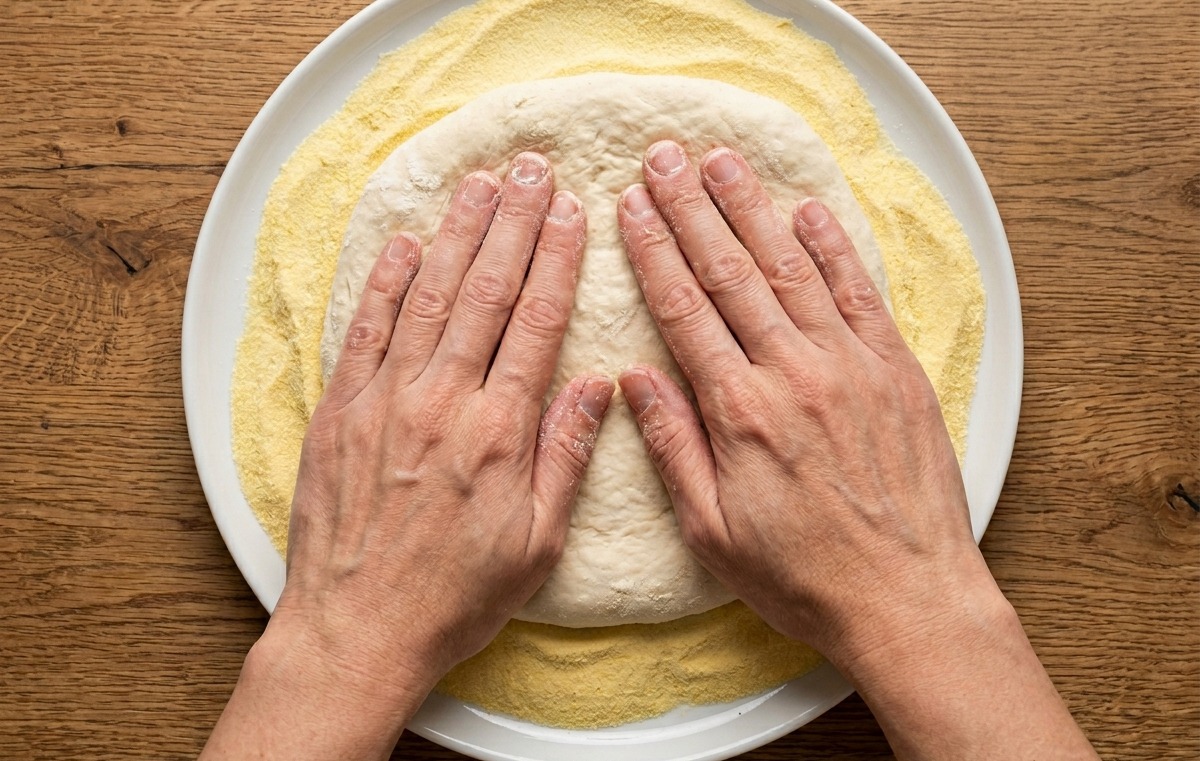
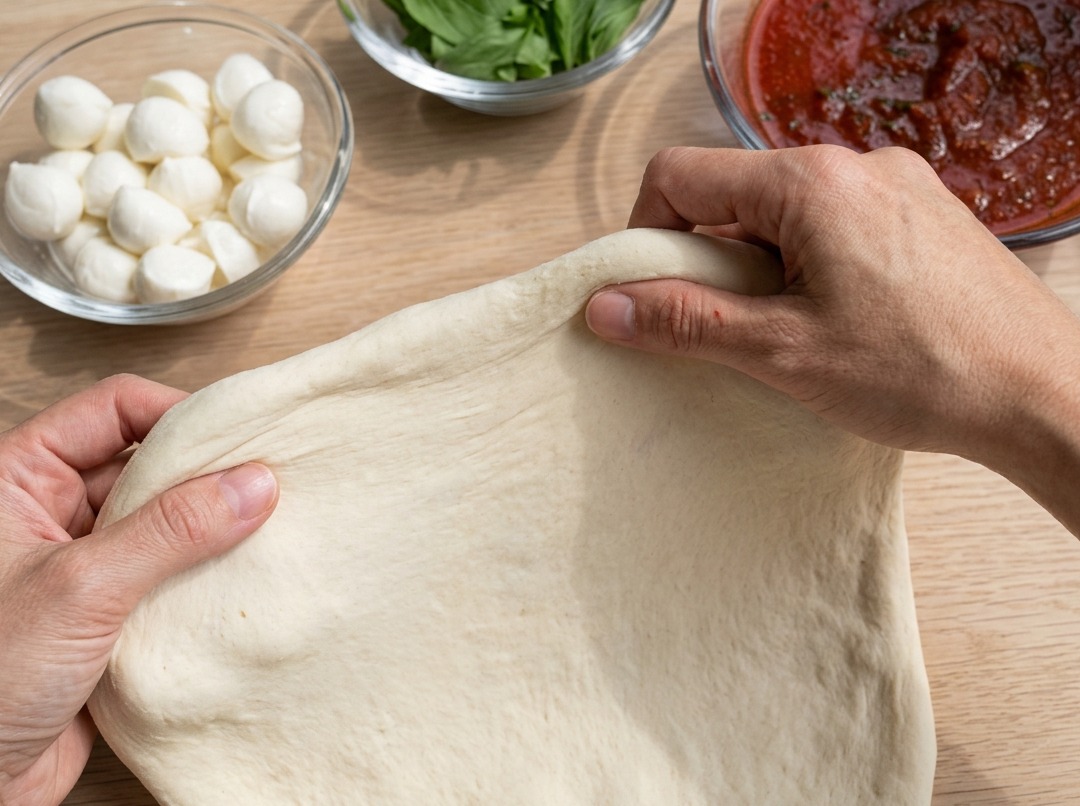
Place a dough ball onto a surface dusted with semolina flour. Using your hands, press gently from the center outwards to push the air toward the edges, creating a defined crust rim while stretching the dough to your desired diameter.
Tip: Work gently to keep those air bubbles in the rim, which will help create the characteristic leopard-spotting after baking. - 7Apply tomato sauce
Using a ladle, spread a thin, even layer of vibrant tomato sauce over the shaped dough, working in a circular motion to ensure consistent coverage while leaving room for the crust at the edges.
Tip: Do not over-sauce the pizza, or the center may become soggy during the quick bake. - 8Add toppings
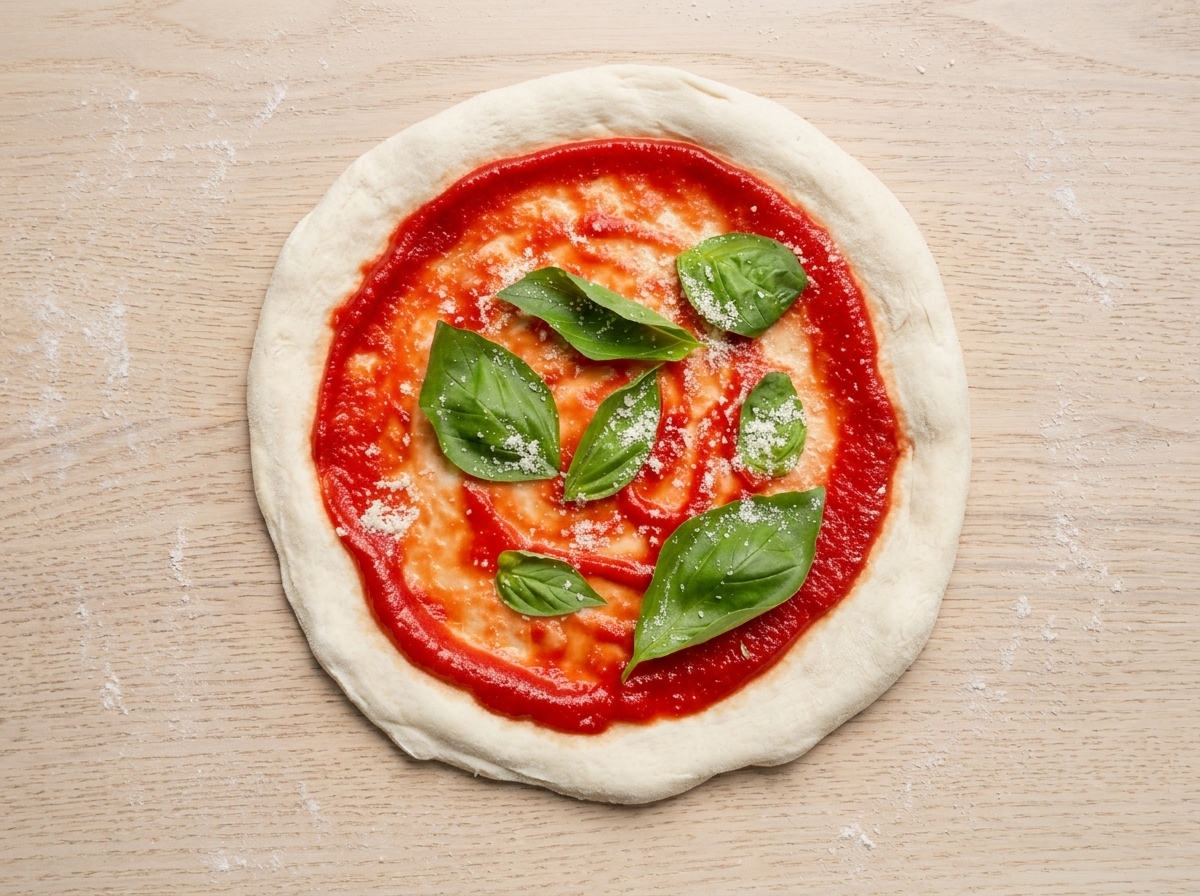
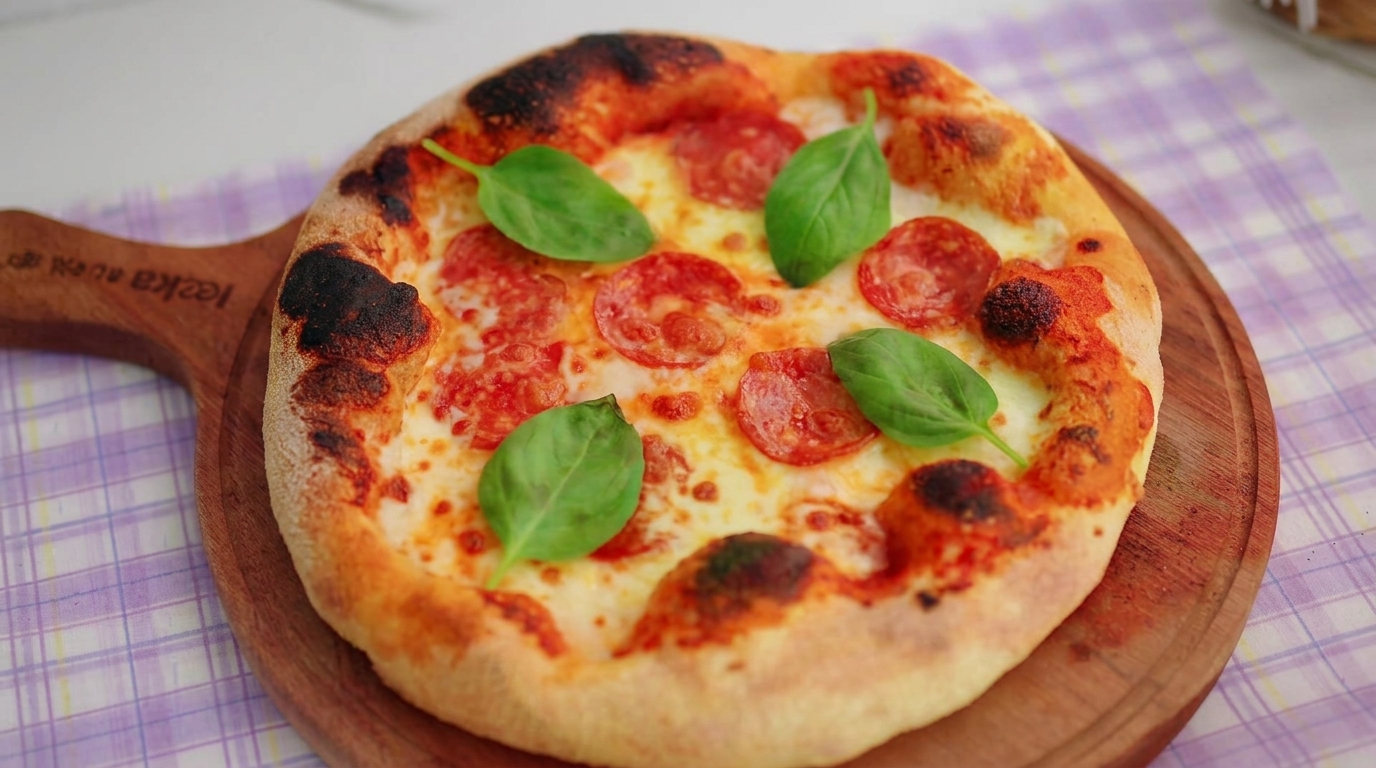
Evenly distribute fresh, vibrant basil leaves and pieces of fresh mozzarella cheese over the sauced dough. Ensure the toppings are spread out to promote even melting and flavor distribution.
Tip: Tearing the basil leaves rather than chopping them helps preserve their fresh aroma and prevents them from bruising. - 9Bake the pizza
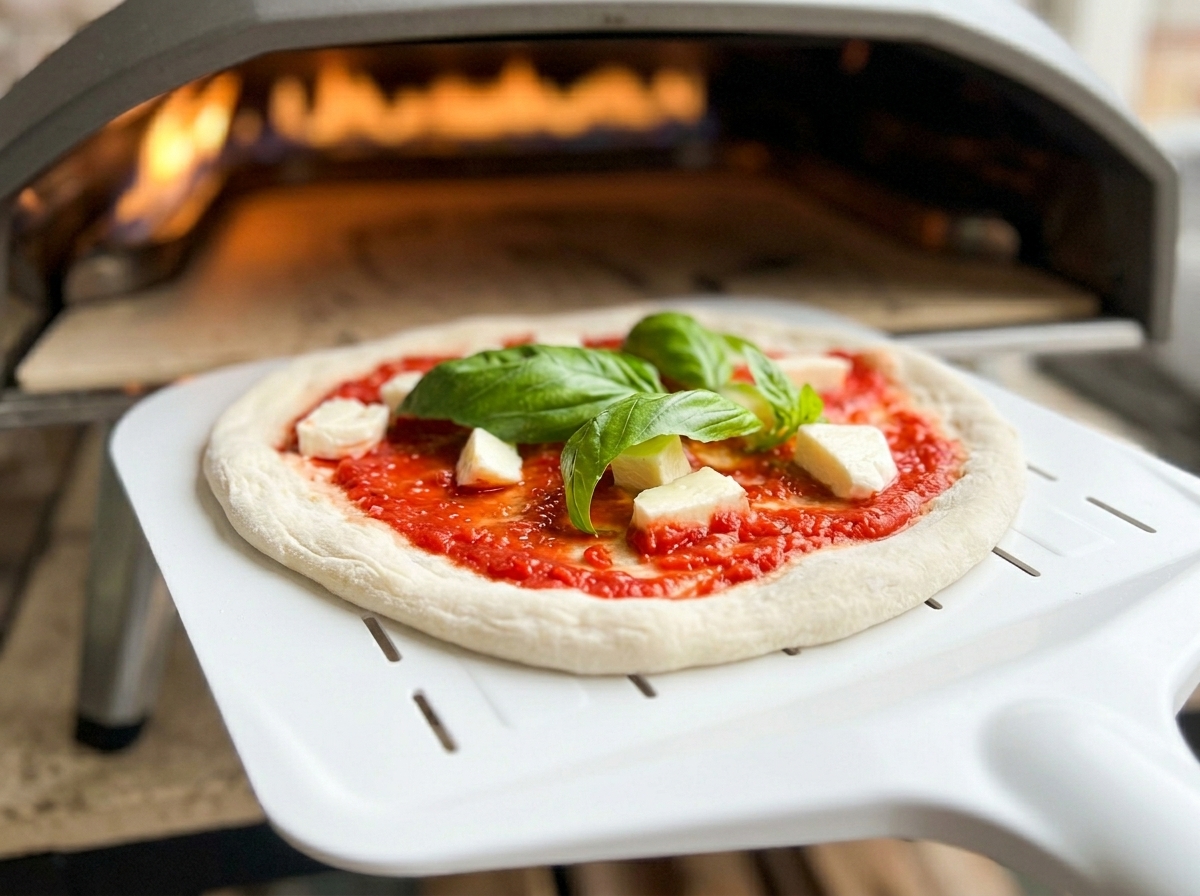
Carefully slide the assembled pizza from the prepared peel into the preheated pizza oven. Ensure the pizza is positioned correctly on the stone to achieve an even bake.
Tip: Give the peel a gentle shake before transferring to ensure the pizza moves freely and wont stick to the surface.