Classic Shoyu Ramen
Homemade Chashu
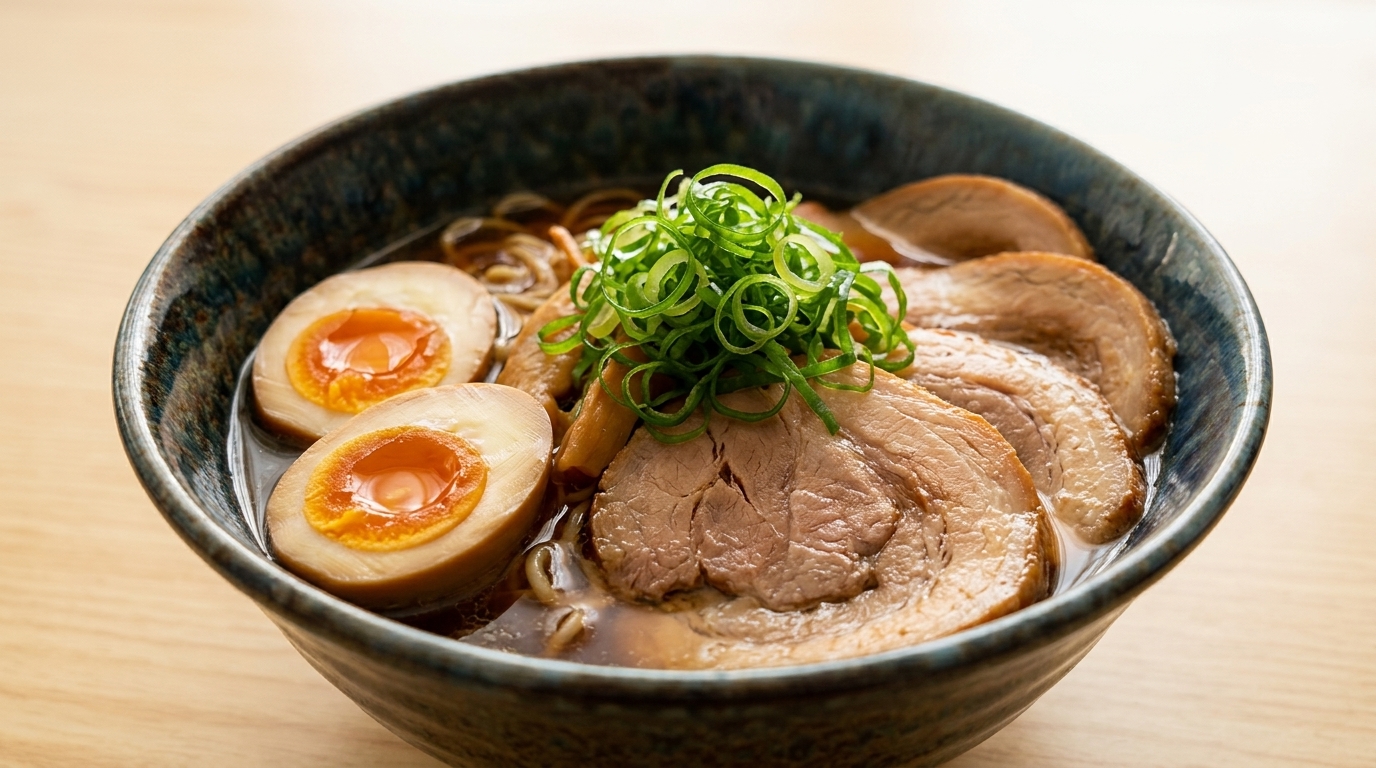
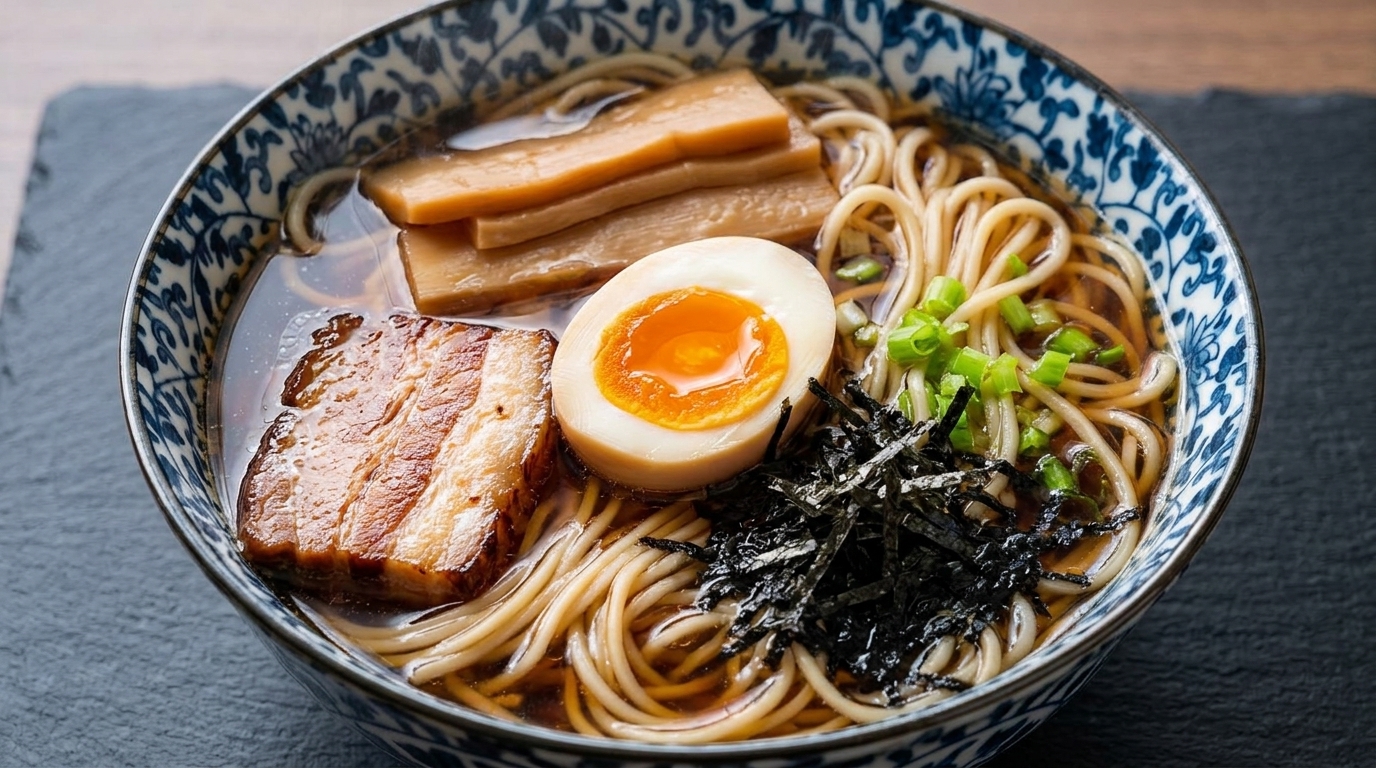
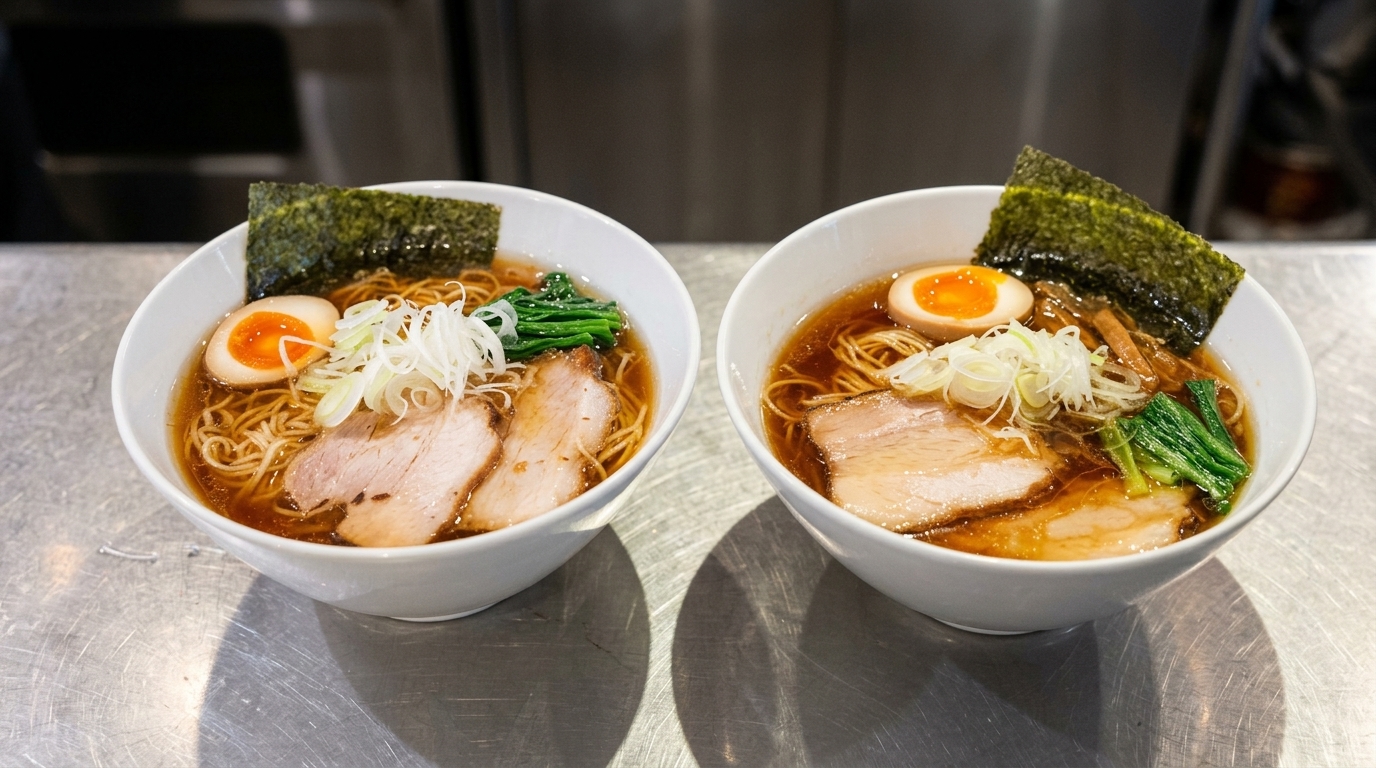
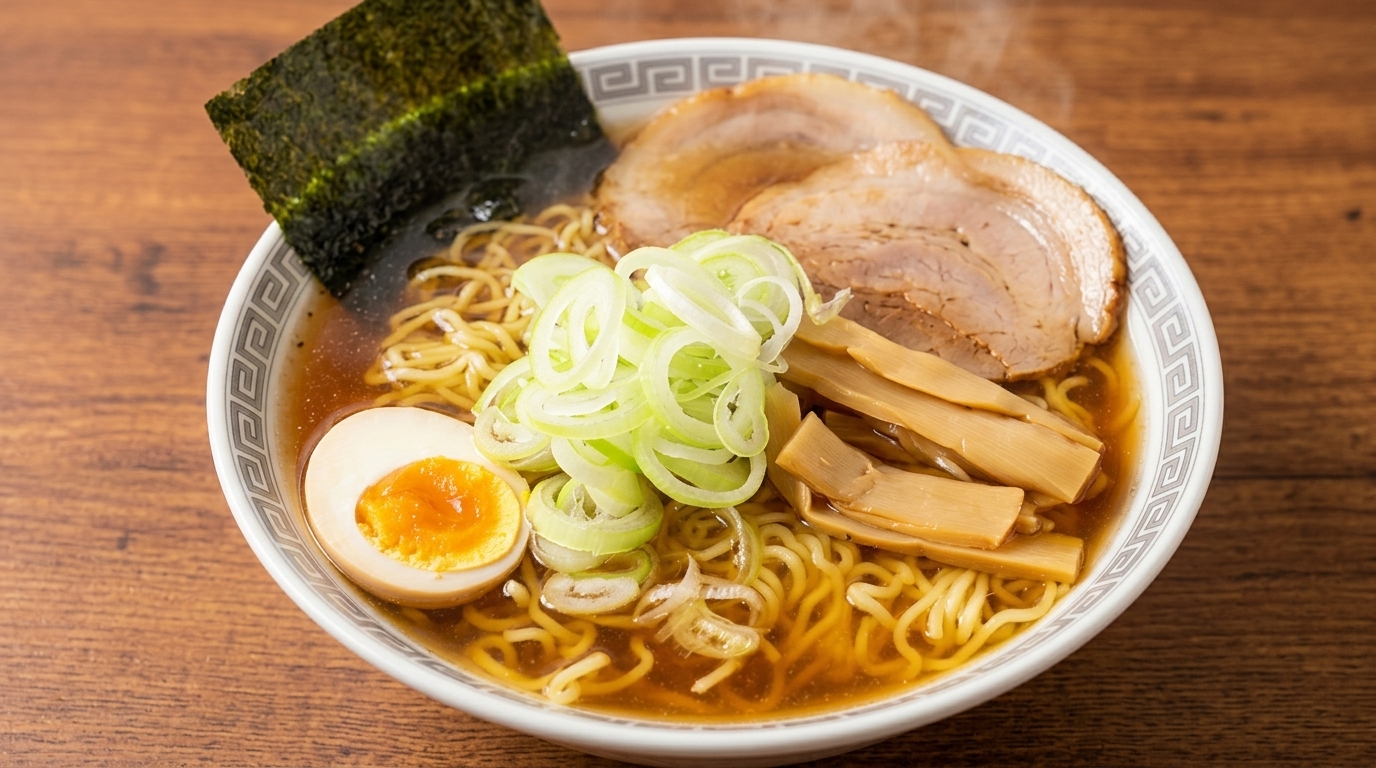
Master the art of homemade Japanese shoyu ramen. This comforting bowl features a savory soy broth, tender braised pork belly, and classic ramen toppings.
Shoyu (soy sauce) ramen is one of Japans most beloved noodle dishes, celebrated for its clear, savory broth and deeply flavorful tare. The heart of this recipe lies in the homemade rolled chashu—pork belly slowly braised in soy, sake, and aromatics until melt-in-your-mouth tender. Assembling the bowls with piping hot broth, fresh noodles, and the sliced pork creates an unforgettable, comforting meal.
Ingredients
- 500 g pork belly block
- 1 clove garlic
- 1 tbsp cooking oil
- 120 ml soy sauce
- 60 ml sake
- 2 tbsp sugar
- 1 piece green onion
- 3 slices fresh ginger
- 2 portions fresh ramen noodles
- 2 tsp chicken bouillon powder
- 1 tsp dashi powder
- 1 tsp grated fresh ginger
- to taste black pepper
- optional soft-boiled egg
- optional bamboo shoots (menma)
- optional nori seaweed sheets
Instructions
- 1Prepare the garlic

Start by peeling a garlic clove and slicing it in half lengthwise. Use the tip of your knife to carefully remove the green inner core, which can sometimes add a bitter flavor to the finished broth.
Tip: Removing the germ (the green core) makes the garlic flavor smoother and less overpowering. - 2Crush the garlic
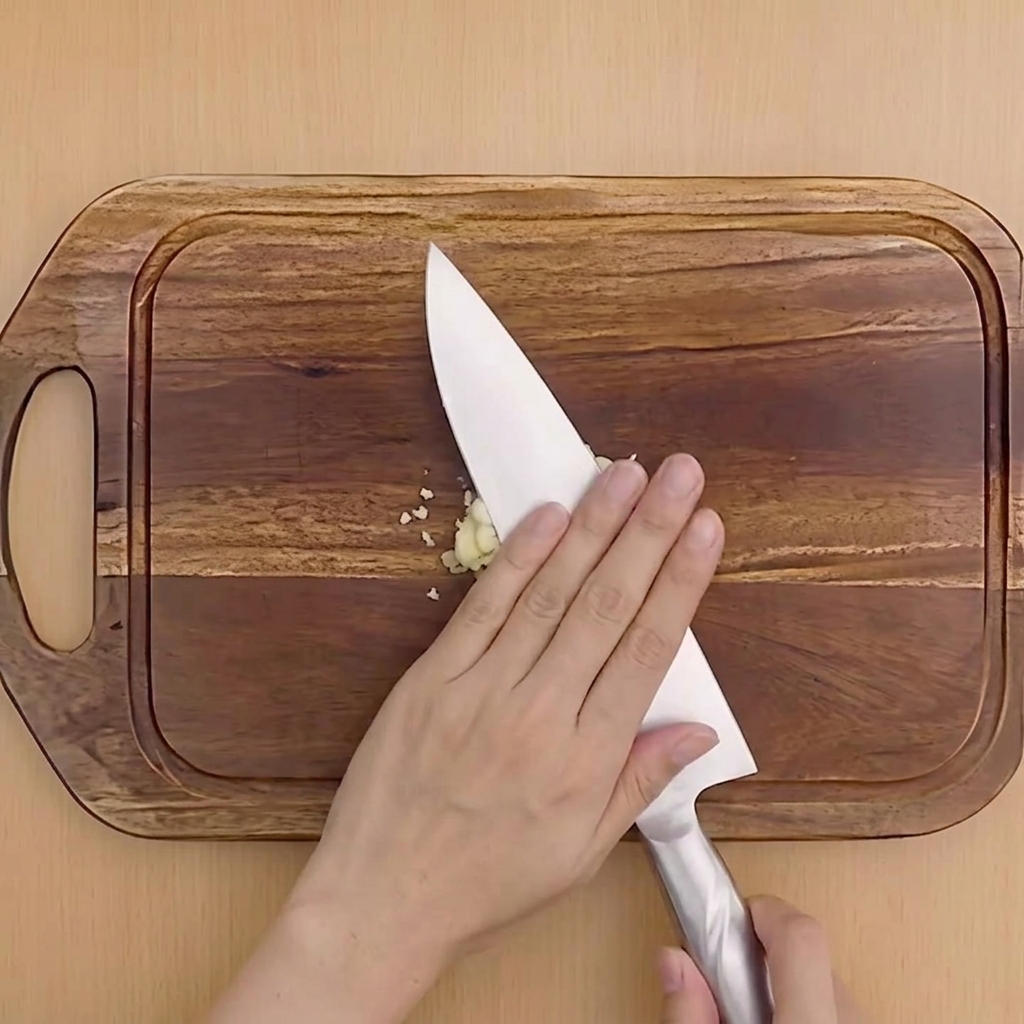
Place the flat side of your chefs knife over the halved garlic clove. Using the heel of your hand, press down firmly to gently crush the garlic. This releases its aromatic oils and allows its flavor to infuse more deeply during the cooking process.
Tip: Keep your fingers pointed away from the blade edge when pressing down on the knife to avoid accidents. - 3Pound the pork belly
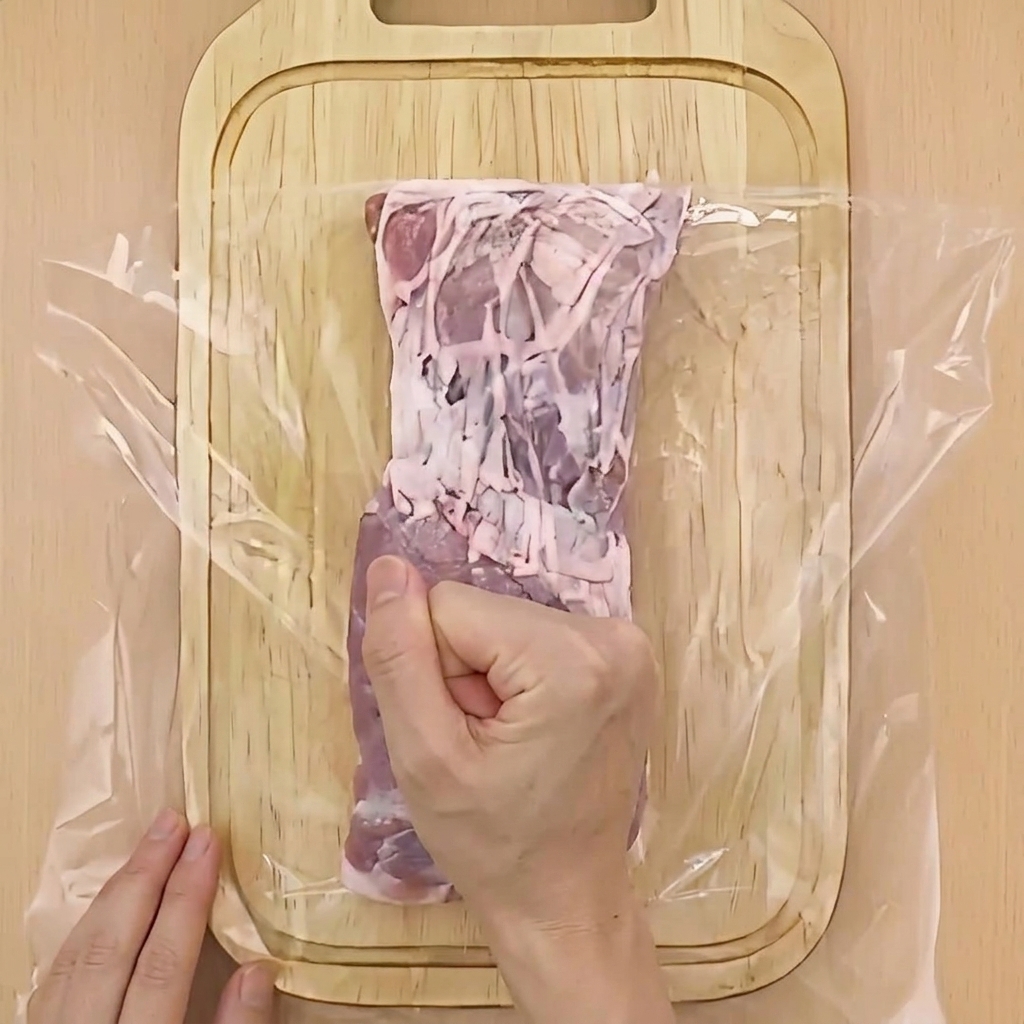
Place the block of raw pork belly on a cutting board, lean-side up. Cover the meat with a piece of plastic wrap and pound it firmly with your fist to flatten it out. This helps tenderize the meat and makes it easier to roll tightly.
Tip: If you have a meat mallet, you can use the flat side instead of your fist for a more even thickness. - 4Score the pork belly
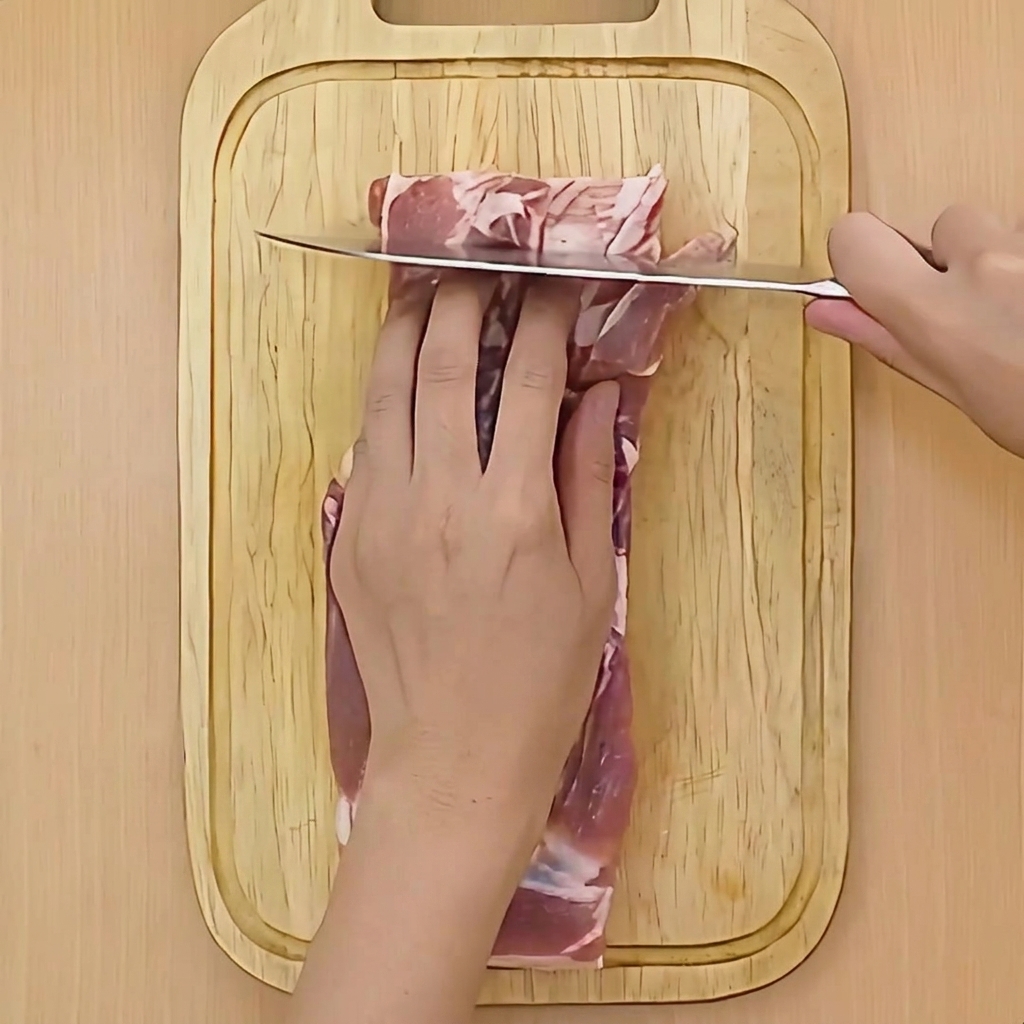
Take your block of pork belly and lay it out flat, lean-side up, on the cutting board. Use a sharp knife to make shallow, evenly spaced cuts across the surface of the meat. This helps the meat roll up more easily and allows the flavors of the simmering liquid to penetrate deeper.
Tip: Be careful to only score the surface; do not cut all the way through the meat. - 5Roll the pork belly
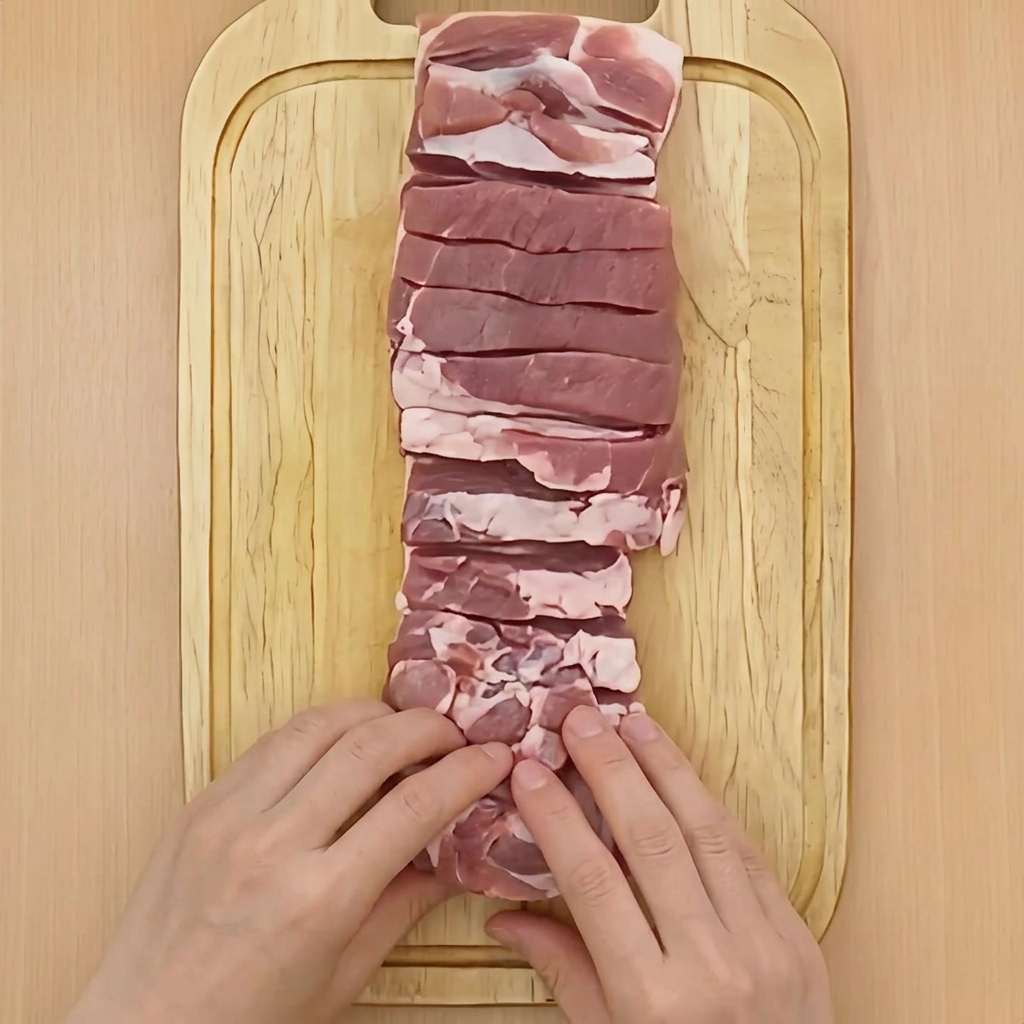
Starting from one end, tightly roll the scored pork belly up into a compact cylinder. A tight roll ensures the meat holds its classic round shape during the long simmering process and looks neat when sliced for serving.
Tip: Roll the meat as tightly as you can, tucking it in as you go, to prevent it from unrolling while it cooks. - 6Tie the pork roll
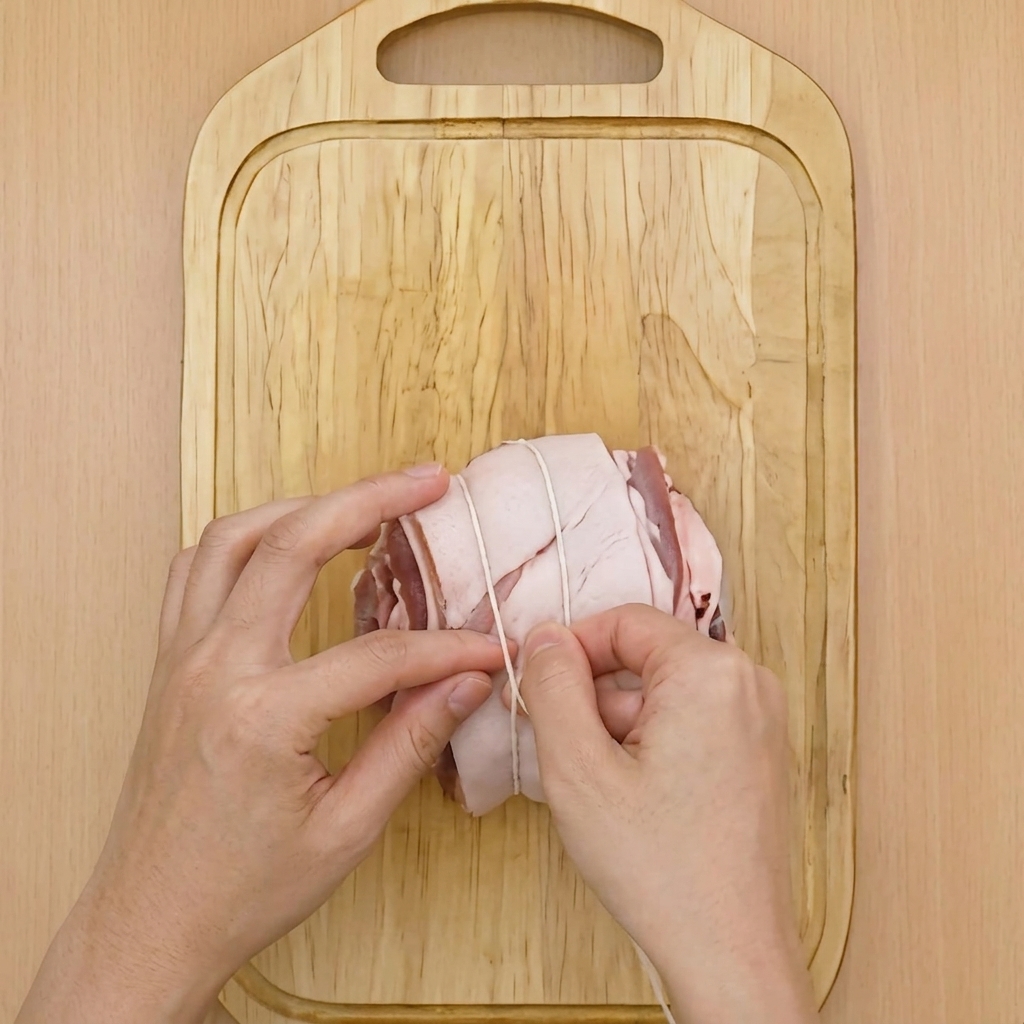
Secure the rolled pork belly by tying it tightly with butchers twine. Tie firm knots at regular intervals along the entire length of the cylinder to keep it firmly together. This prevents the pork from losing its shape or falling apart in the simmering liquid.
Tip: If you dont have butchers twine, make sure any string you use is 100% cotton and not synthetic, as synthetic materials can melt. - 7Sear the pork belly

Heat a small amount of oil in a pot over medium-high heat. Place the tied pork belly roll into the pot to begin searing it on all sides until the exterior is evenly browned. This initial sear helps lock in the meats shape and adds a rich, deep flavor to the final chashu.
Tip: Take your time to brown the pork thoroughly; this creates a flavorful crust that enhances the braising liquid. - 8Wipe away excess fat
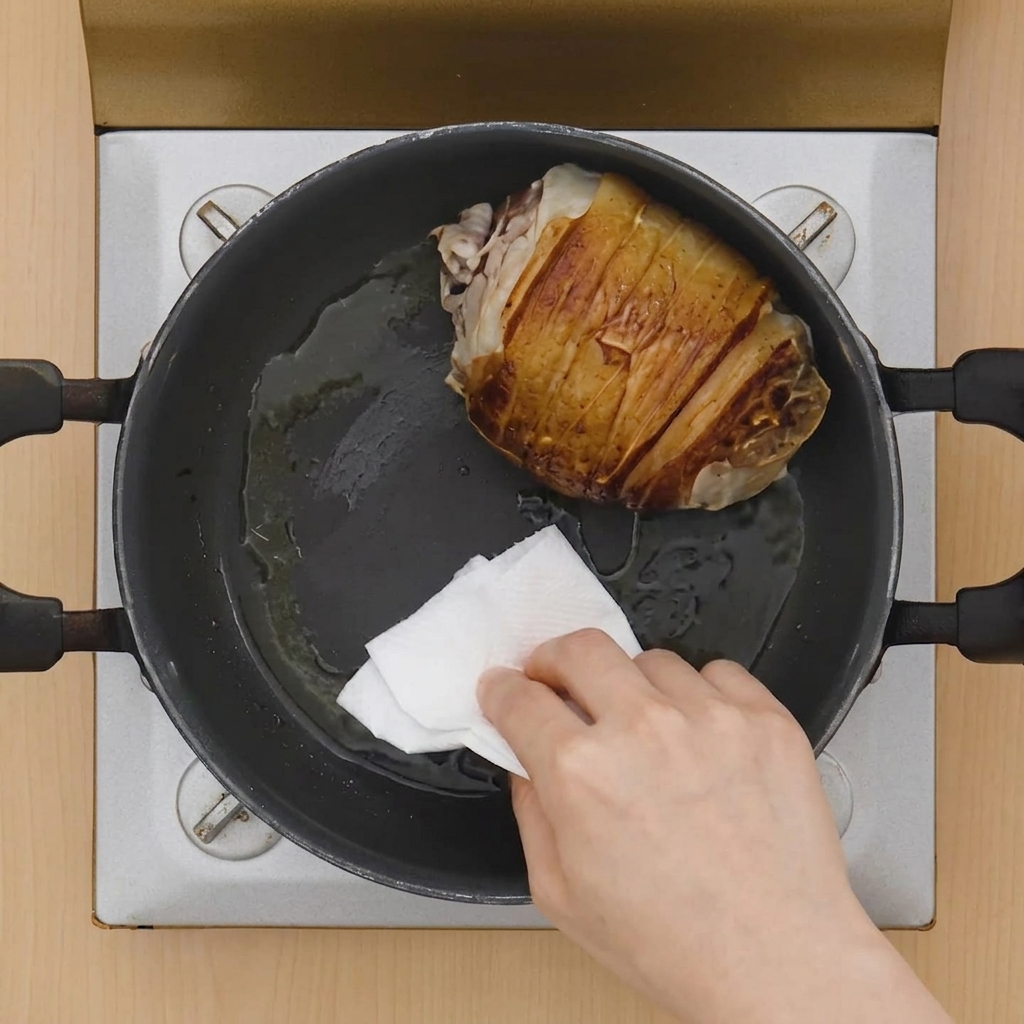
Once the pork belly is nicely browned on all sides, use a folded paper towel to carefully wipe away the excess rendered fat and oil from the bottom of the pot. This prevents the braising liquid from becoming too greasy.
Tip: Using tongs to hold the paper towel can give you better control and keep your hands safe from the hot pot surface. - 9Add the braising liquids
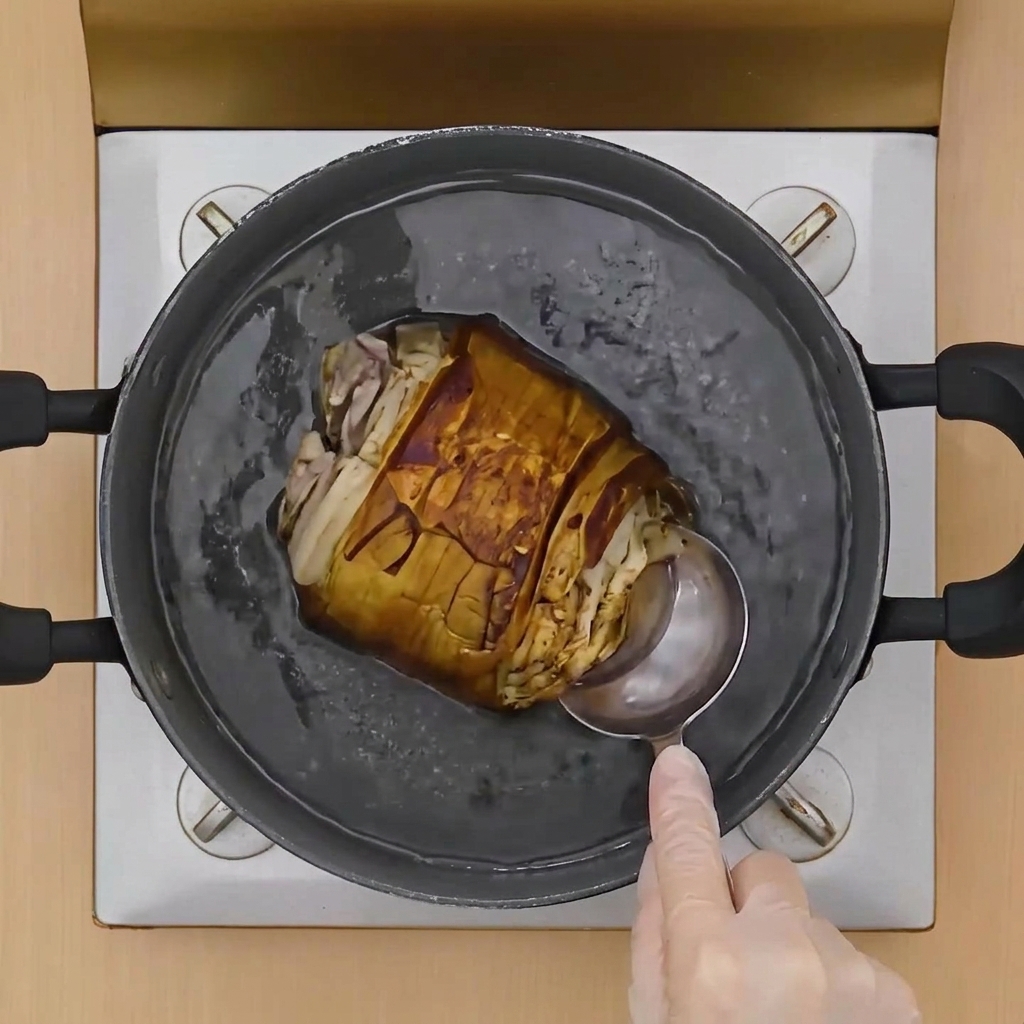
Once the pork is well-seared and any excess rendered fat has been wiped away, add water, sake, and sugar to the pot. Follow this by pouring in the soy sauce. These ingredients will combine to form a savory braising broth for the pork to simmer in.
Tip: Wiping away the excess oil before adding your liquids ensures your final braising liquid wont be overly greasy. - 10Add the aromatics
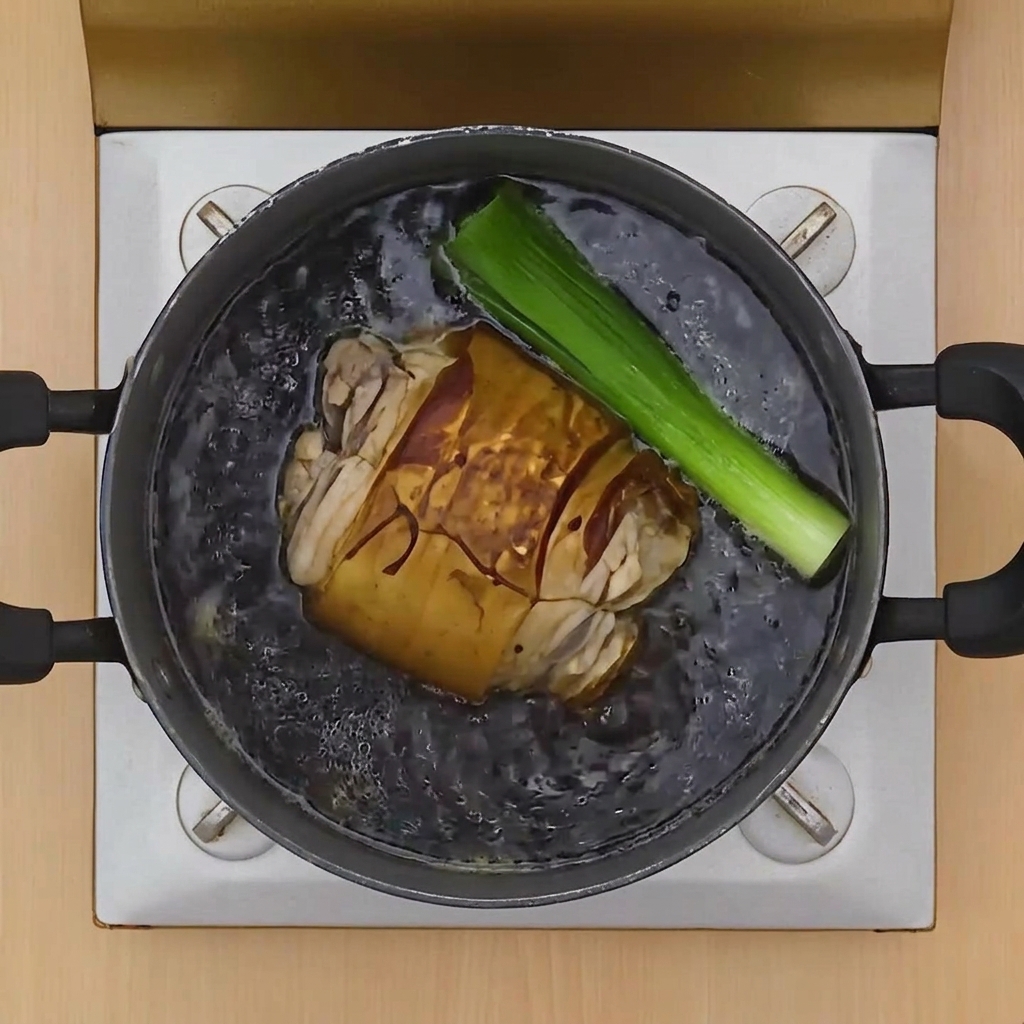
Add the green part of a green onion, the crushed garlic clove, and the ginger slices to the pot with the braising liquid. These aromatics will infuse the pork belly and the broth with a deep, savory flavor as it simmers.
Tip: Smashing the garlic before adding it releases more of its essential oils, enhancing the overall aroma of the braising liquid. - 11Cover and simmer
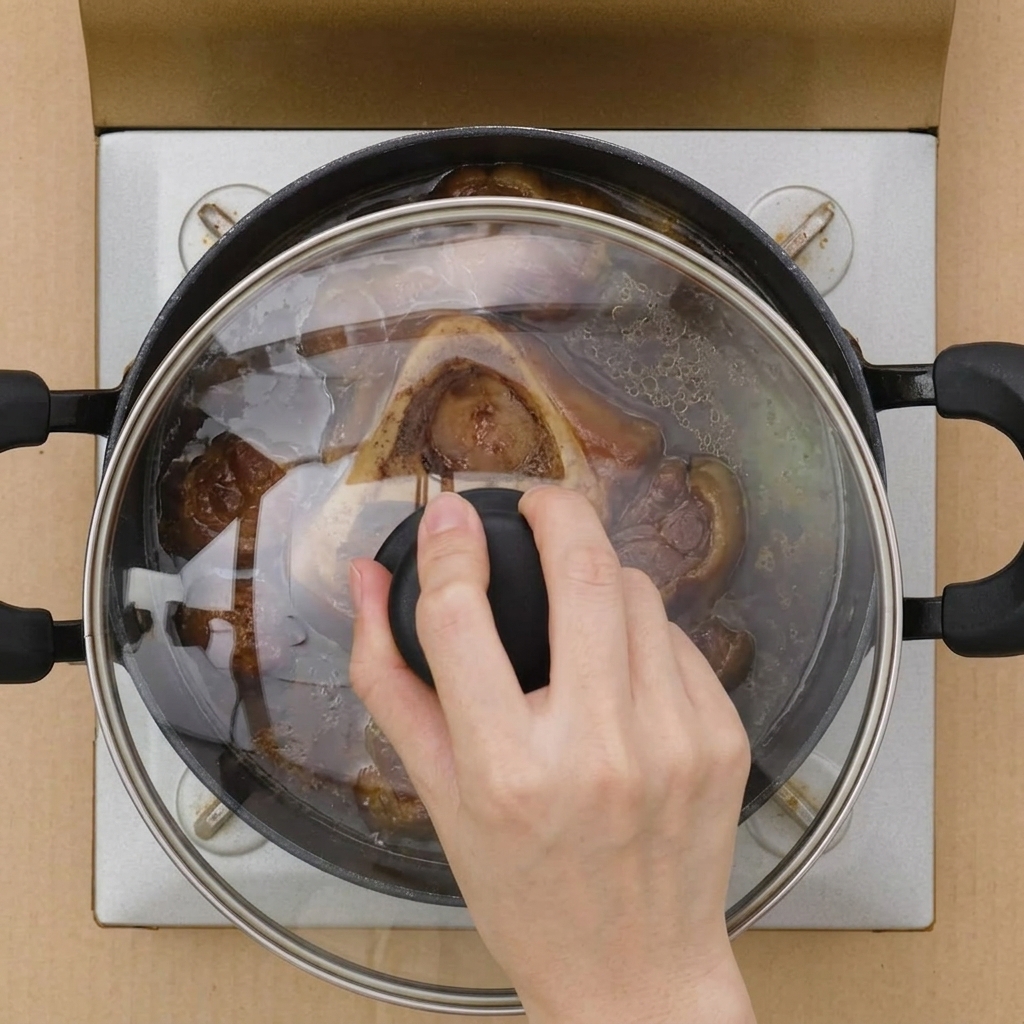
Bring the braising liquid to a steady boil, then lower the heat. Place a lid on the pot and let the pork belly simmer gently for about one hour. Remember to flip the meat halfway through the cooking time to ensure it cooks evenly and absorbs the flavors.
Tip: If the liquid reduces too quickly, add a splash of hot water to keep the pork partially submerged. - 12Remove the twine
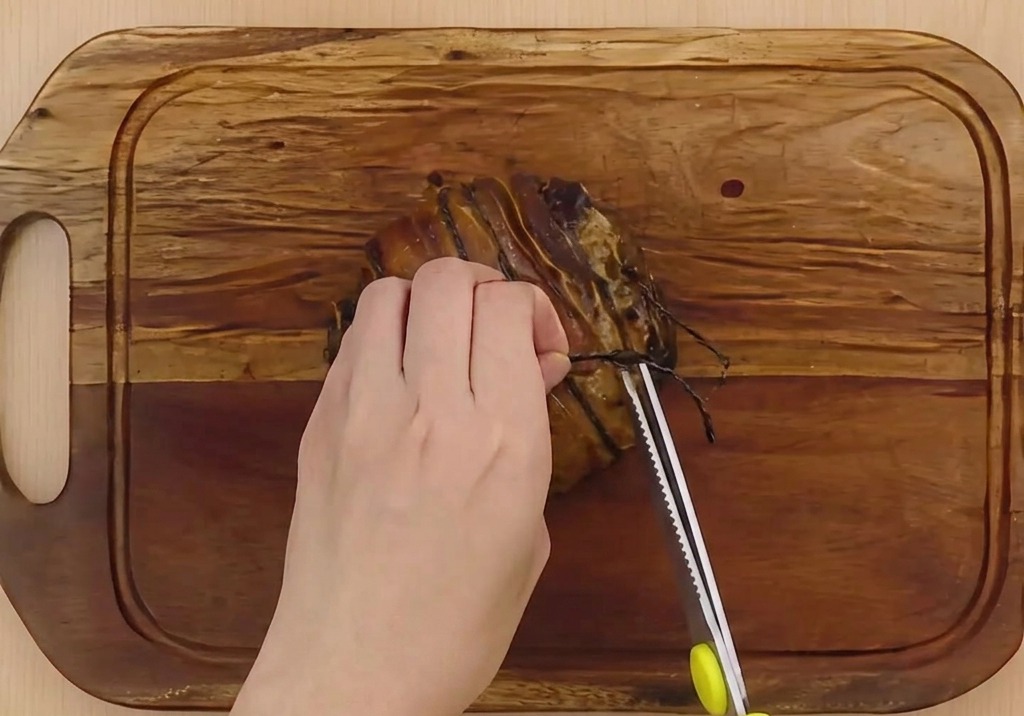
Once the braised pork belly has cooled completely in its cooking liquid, carefully transfer it to a cutting board. Use kitchen scissors to snip and completely remove all the butchers twine from the meat.
Tip: Cooling the pork fully before removing the string is crucial; it helps the meat retain its rolled shape and prevents it from falling apart. - 13Slice the chashu
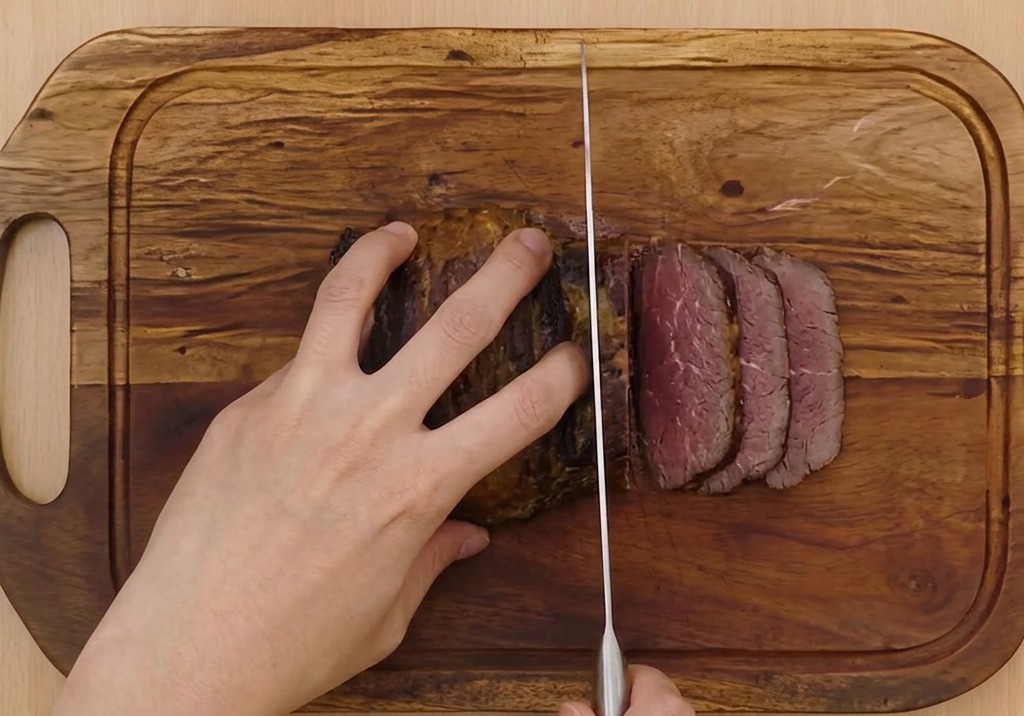
Using a long, sharp carving knife, slice the chilled chashu pork into thin, even rounds. The tight rolling and chilling process ensures the meat holds together beautifully, revealing the classic spiral pattern of the pork belly.
Tip: A very sharp knife is essential to get clean slices without shredding or tearing the tender braised meat. - 14Slice the green onions
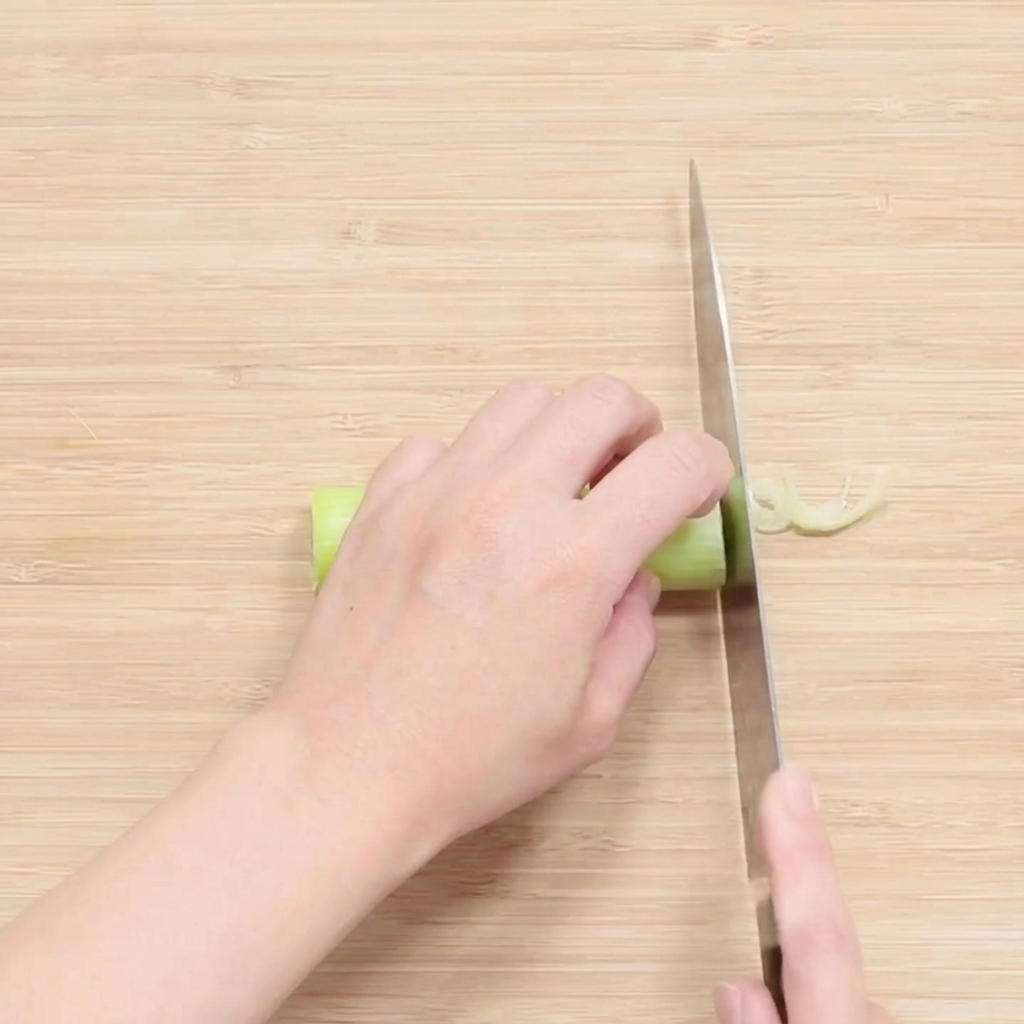
Take a fresh green onion and thinly slice the crisp white and light green sections. These will be set aside and used later to provide a fresh, sharp garnish for the completed bowls of ramen.
Tip: Use a sharp knife to achieve clean, thin cuts without bruising or crushing the delicate layers of the onion. - 15Boil the noodles
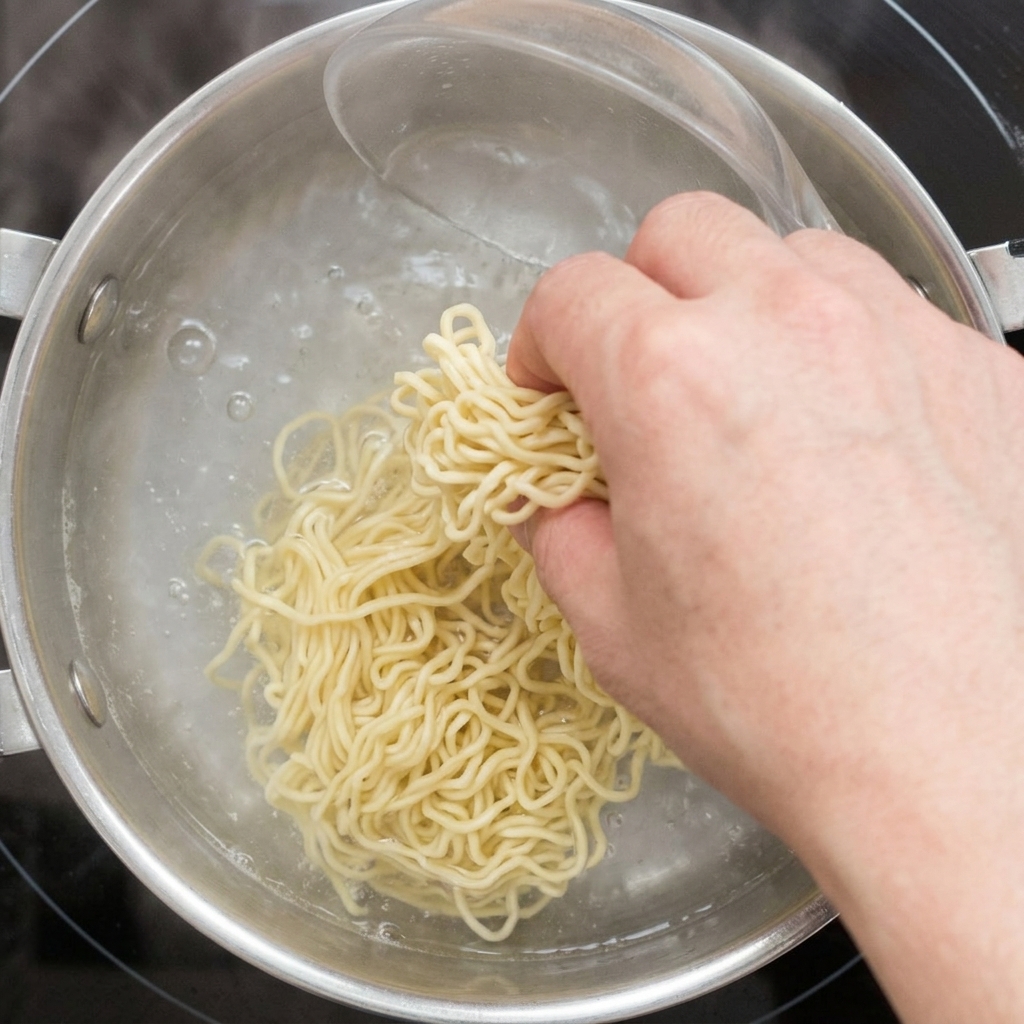
Bring a pot of fresh water to a rolling boil. Carefully drop in your yellow ramen noodles and use chopsticks or a utensil to gently stir them so they do not stick together. Cook the noodles to your desired level of firmness.
Tip: It is best to cook the noodles slightly al dente, as they will continue to soften a bit once you add them to the piping hot ramen broth. - 16Mix the ramen tare

In your ramen serving bowl, combine the soy sauce, chicken bouillon powder, dashi powder, grated ginger, and black pepper. This concentrated seasoning blend forms the base flavor profile for your ramen. When ready to serve, you will pour hot water over this tare to create the broth before adding your cooked noodles and prepared toppings.
Tip: Using freshly grated ginger provides a much brighter and more authentic flavor punch than using ginger powder.