Authentic Japanese Tonkotsu Ramen
Master the art of Japanese tonkotsu ramen at home. This recipe yields a naturally emulsified pork bone broth topped with golden garlic aroma oil and chashu.
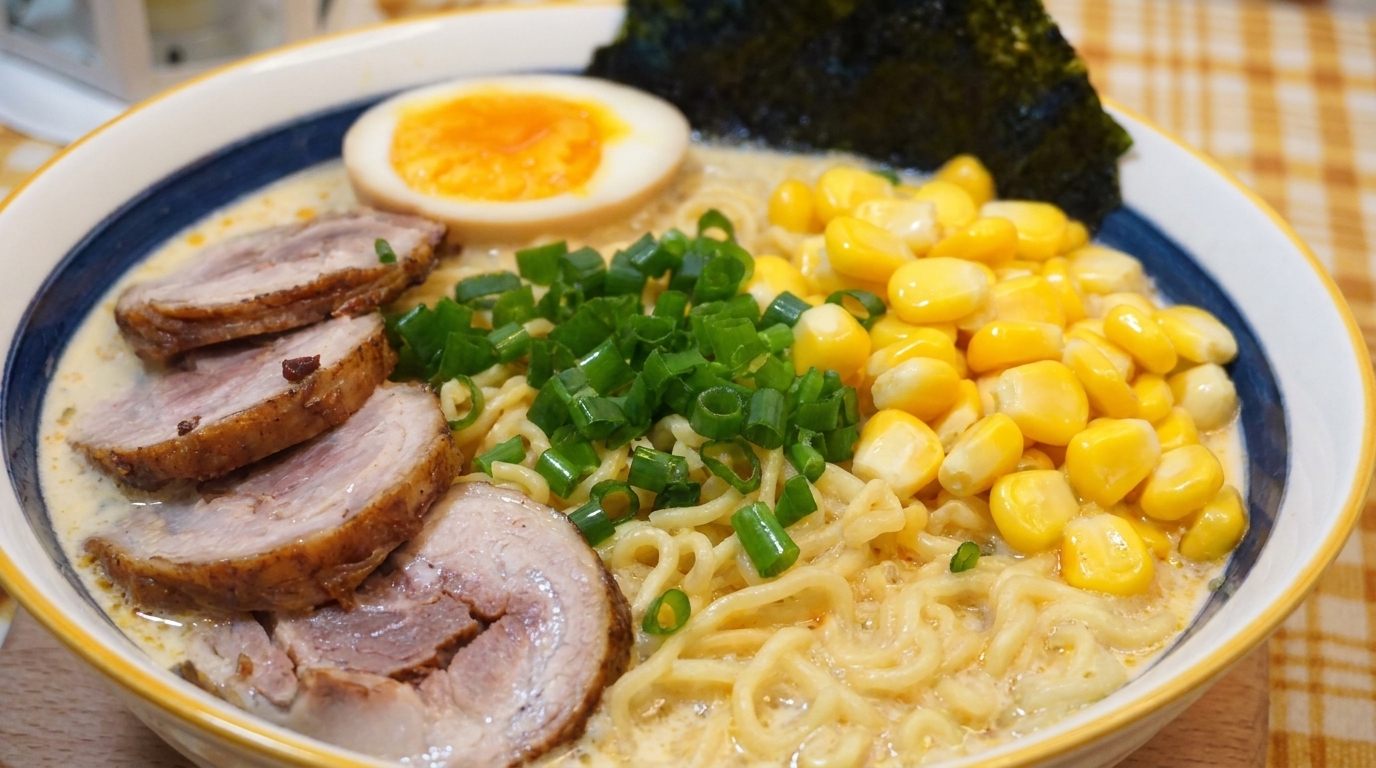
Tonkotsu ramen is a labor of love, relying on time rather than artificial thickeners to achieve its signature milky-white, gelatinous broth. By slow-cooking pork trotters and chicken feet, then finishing with a rolling boil, the fats naturally emulsify into a deeply savory, rich soup. This recipe guides you through building that foundational broth and crowning it with a fragrant homemade garlic aroma oil.

Ingredients
- 1.5 kg pork bones
- 1 whole pig trotter
- 500 g chicken feet
- 1 onion
- 1 potato
- 3 heads garlic, divided
- 1 large piece ginger
- 100 g chicken fat
- 100 g pork fat
- 1 slice apple
- 4 portions fresh ramen noodles
- 4 slices chashu (braised pork belly)
- 2 soft-boiled eggs
- to taste salt
- to taste fish sauce
- to taste chopped scallions
Instructions
- 1Add the bones to the pot
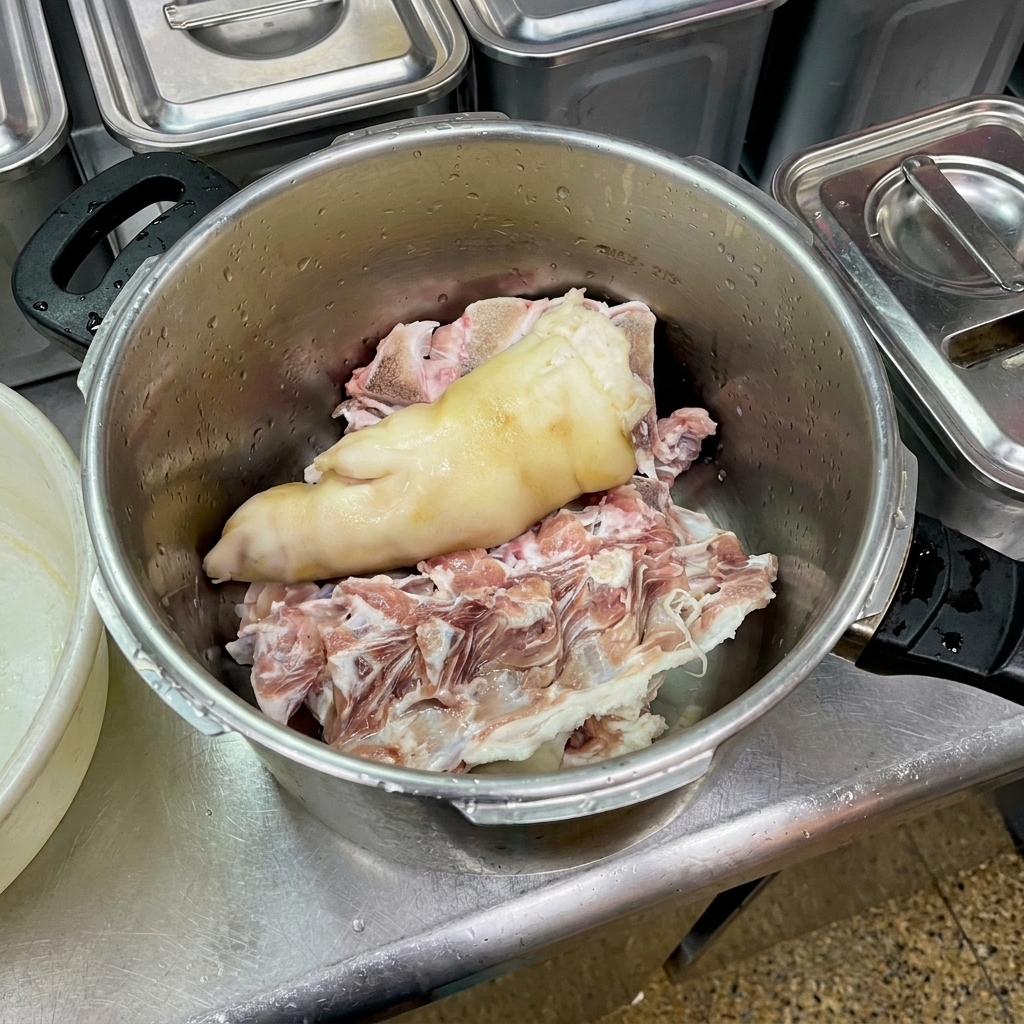
Begin building the tonkotsu broth by placing a generous amount of large pork bones, a whole pig trotter, and a handful of chicken feet into a large, sturdy metal pot. These ingredients provide the collagen and rich flavors essential for a creamy, authentic ramen broth.
Tip: Using a mix of different bones, particularly trotters and chicken feet, is the secret to achieving that signature thick, sticky texture without artificial additives. - 2Submerge in cold water
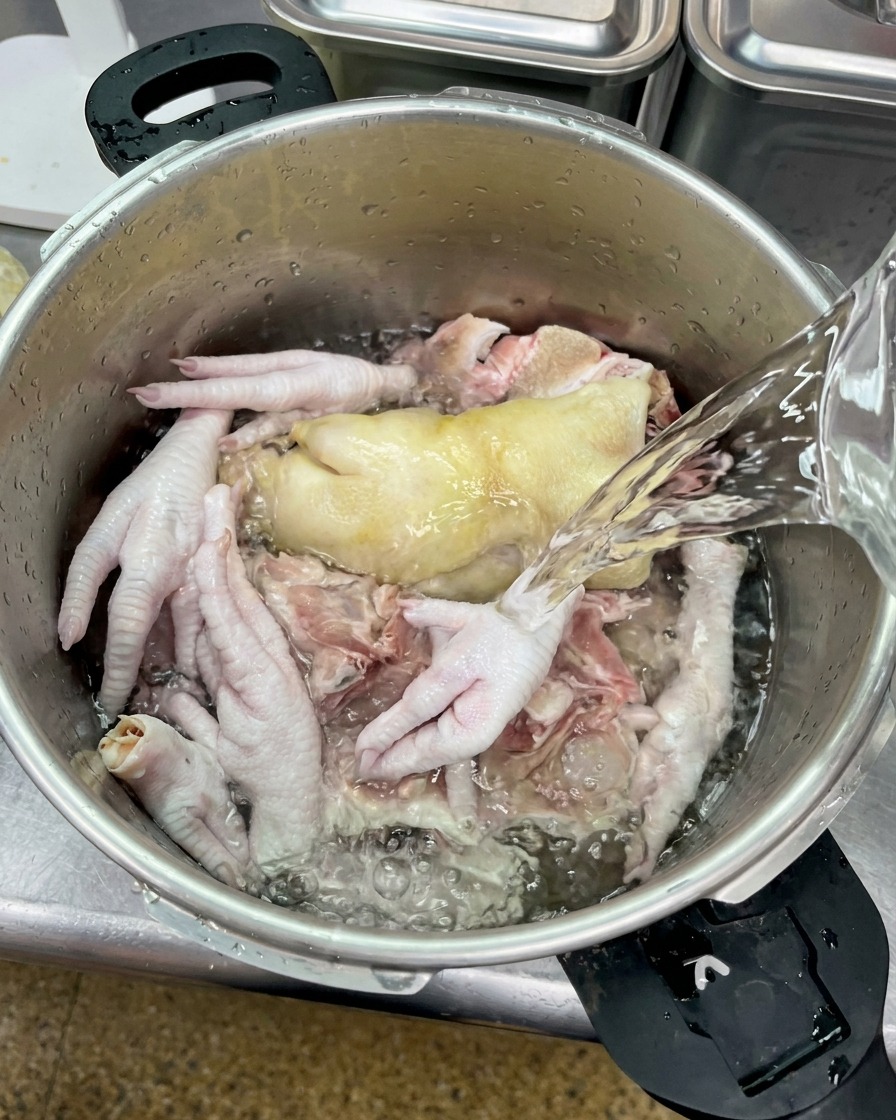
Pour a generous amount of cold, clear water over the raw meat and bones until they are completely submerged. Starting with cold water is crucial as it slowly draws out the blood and impurities from inside the bones as the temperature gradually rises.
Tip: Always start with cold water. Dropping bones directly into boiling water seals the exterior, trapping impurities inside and resulting in a cloudy, unpleasant-tasting broth. - 3Skim the impurities
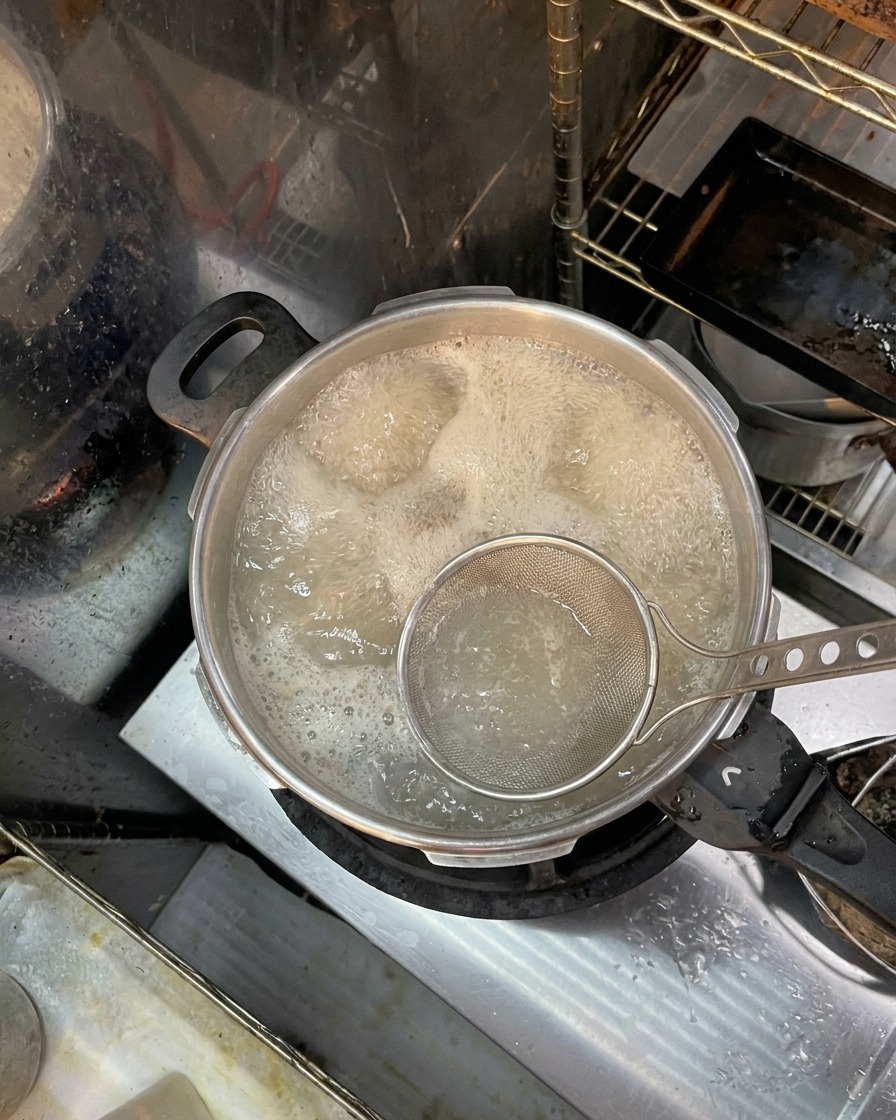
Place the pot over the heat and slowly bring it to a boil. As the water heats up, a layer of dark foam and blood scum will rise to the surface. Use a fine mesh skimmer or ladle to carefully and continuously remove all of this scum until the broth appears relatively clear.
Tip: Be diligent during this step. Failing to remove the scum will leave your finished tonkotsu broth with a muddy color and an off-putting, gamey odor. - 4Pressure cook the bones
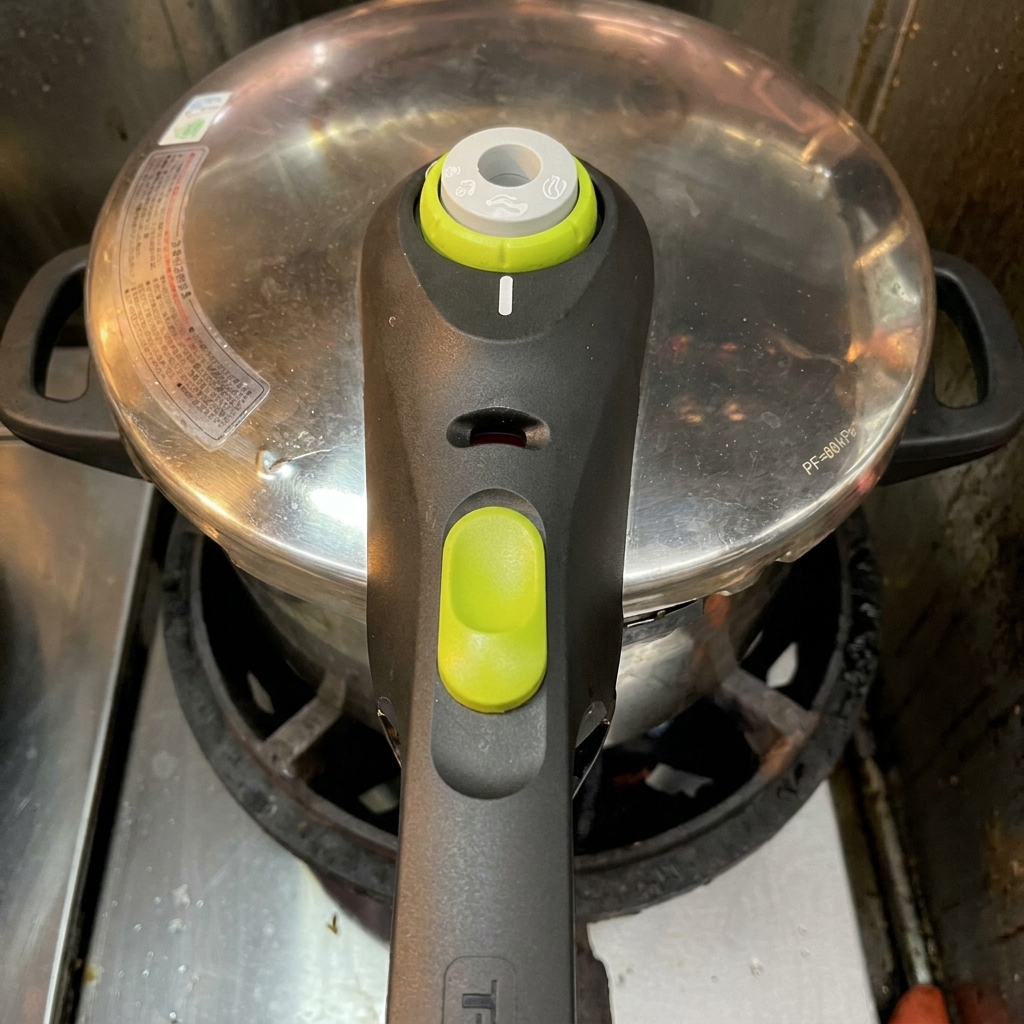
Once the broth is skimmed and boiling cleanly, securely lock the lid onto your pressure cooker. Bring it up to full pressure over high heat, then immediately reduce the heat to low. Let it cook steadily under pressure for 40 minutes to rapidly break down the connective tissues and extract maximum flavor.
Tip: If you dont have a pressure cooker, you can use a standard heavy-bottomed pot, but youll need to simmer the bones for at least 6-8 hours to achieve a similar breakdown of collagen. - 5Add aromatics and vegetables
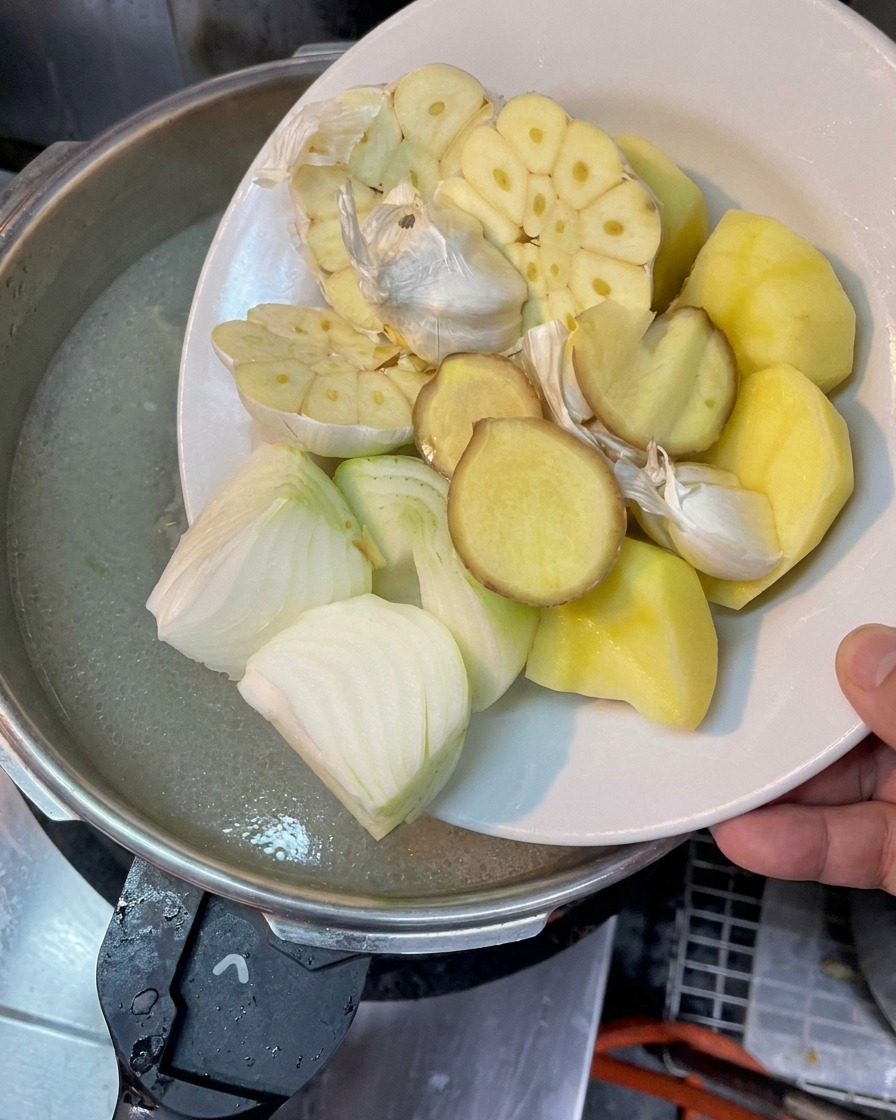
After the initial 40 minutes, carefully release the pressure and open the pot. Add halved heads of garlic, halved onions, thick slices of ginger, and chunks of potato to the boiling broth. Secure the lid back on the pressure cooker and simmer on low heat for an additional two hours to deeply infuse these aromatic and earthy flavors.
Tip: The potatoes act as a natural thickener as they break down during the long cooking process, contributing to the rich, creamy texture characteristic of tonkotsu ramen. - 6Final vigorous boil
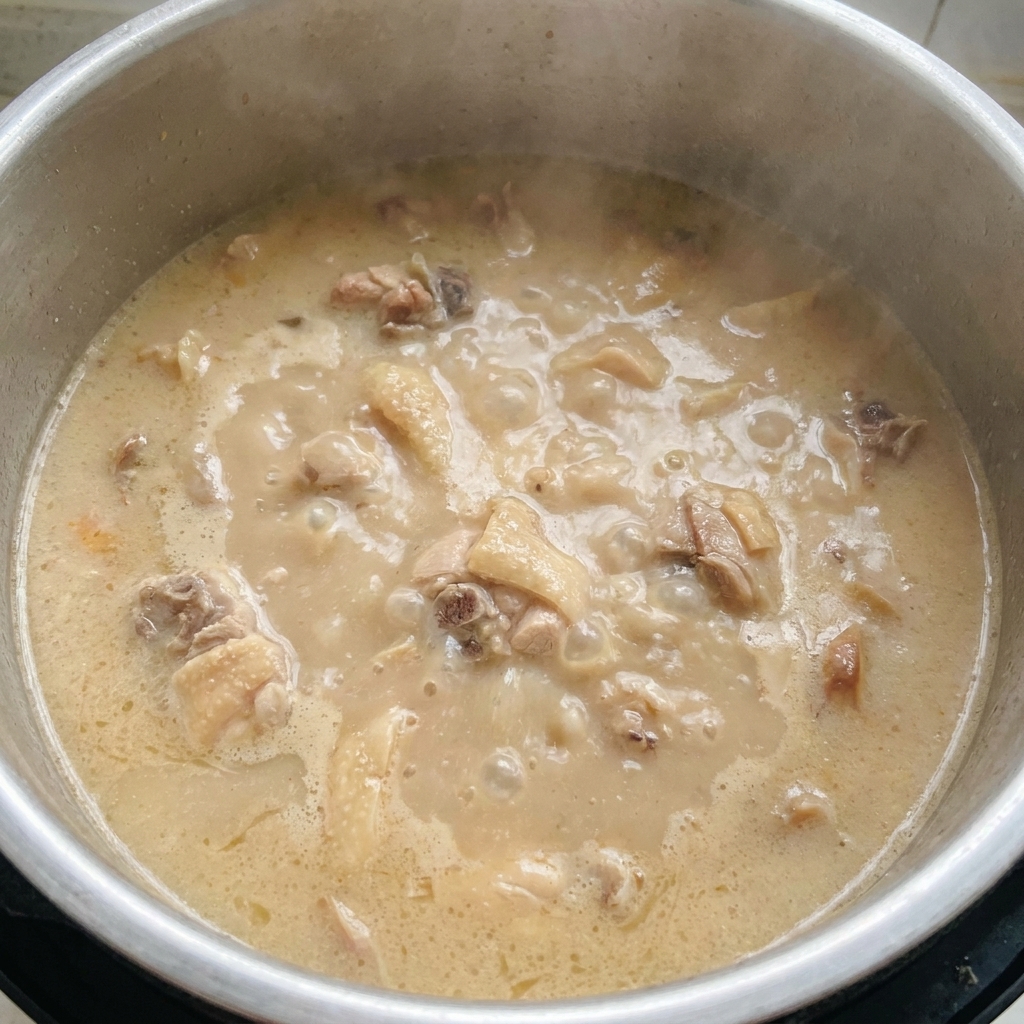
Release the pressure for the final time and uncover the pot. The broth should now be thick, opaque, and milky-white. Turn the stove up to high heat and maintain a vigorous, rolling boil for another 15 minutes. This intense agitation is the final secret step to emulsifying the fats and achieving that perfectly smooth, snow-white tonkotsu consistency.
Tip: A rolling boil physically forces the rendered fats to bind with the water, creating the signature creamy emulsion. Dont skip this final high-heat blast. - 7Strain the tonkotsu broth
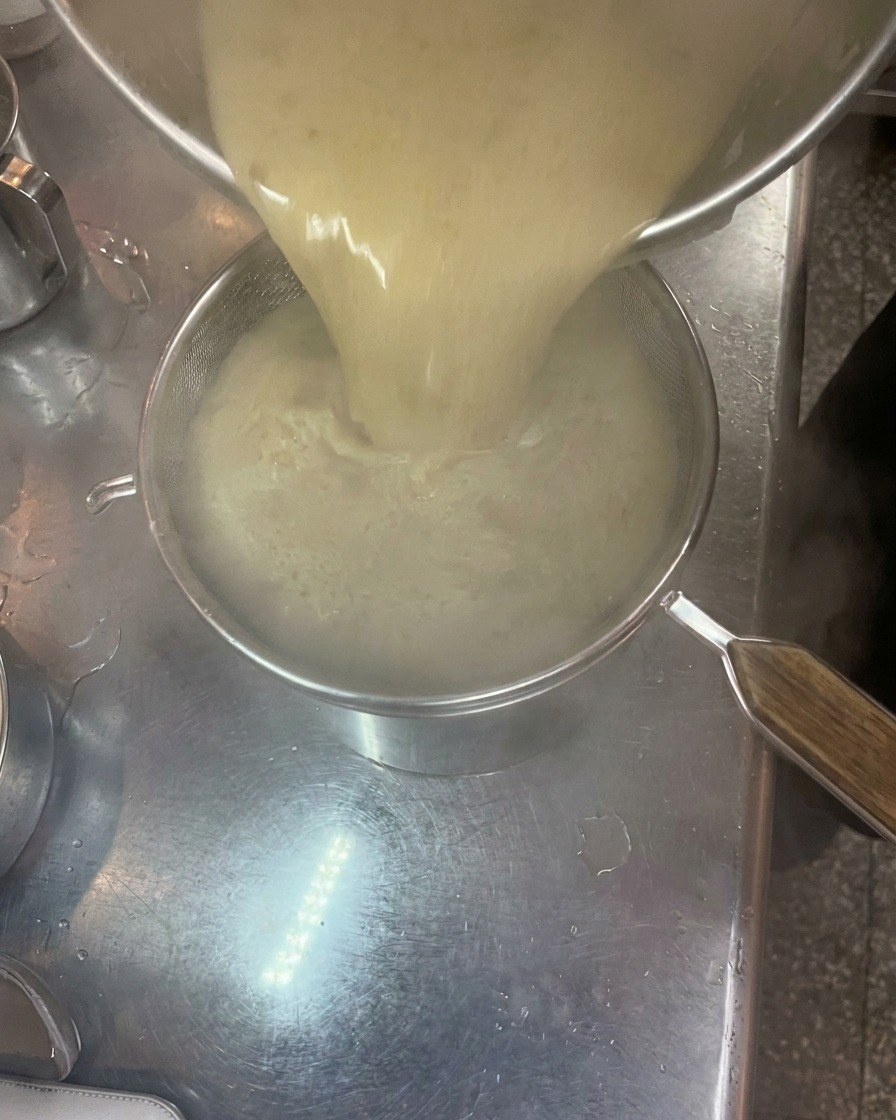
Carefully pour the rich, thick tonkotsu broth through a fine mesh strainer into a clean pot. This removes any bone fragments and vegetable remnants, leaving you with a smooth and creamy soup base for the ramen.
Tip: Use a very fine mesh strainer or even a cheesecloth to ensure the smoothest possible texture for your ramen broth. - 8Render the fats
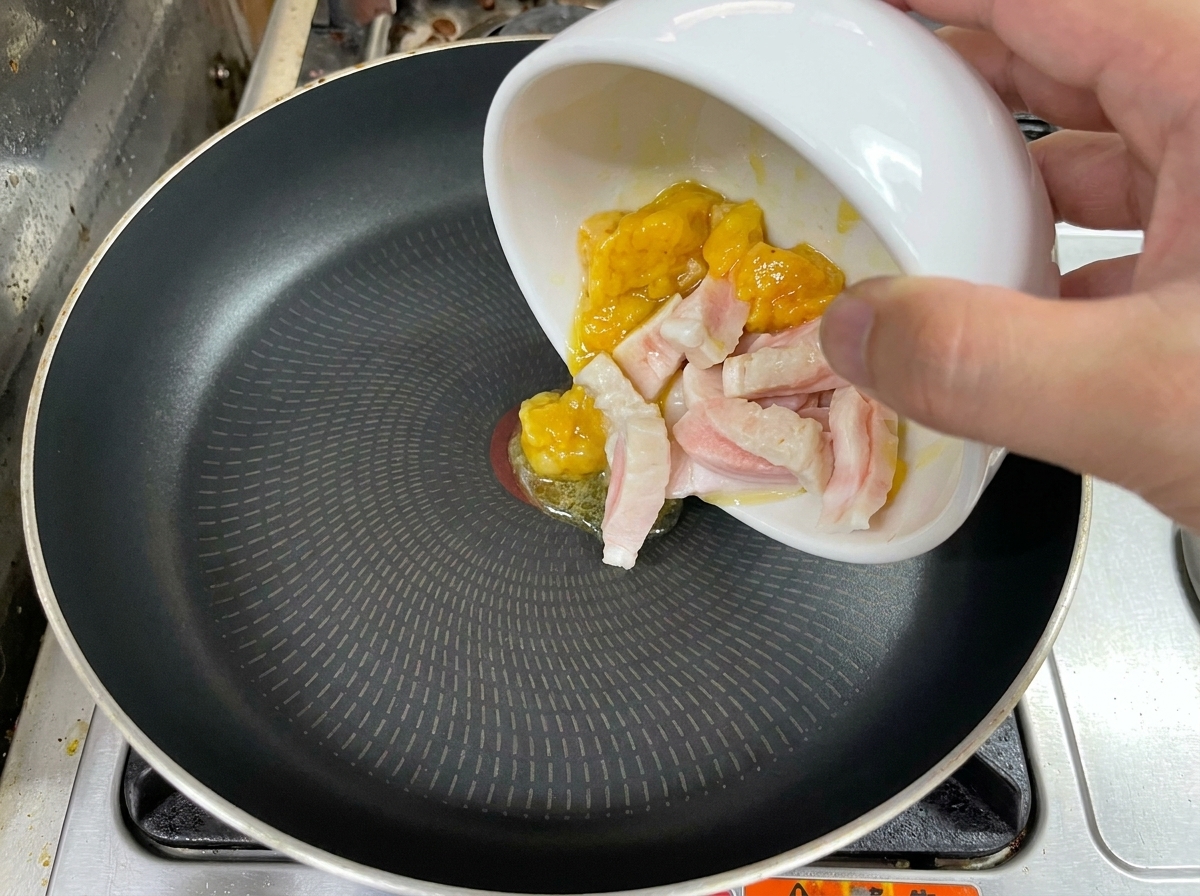
Place the pieces of raw chicken fat and pork fat into a dry frying pan. Heat them slowly to render the liquid fat, which will form the rich and aromatic oil base essential for the ramen.
Tip: Keep the heat low to medium to avoid burning the fat, which would give the aroma oil a bitter taste. - 9Fry the garlic
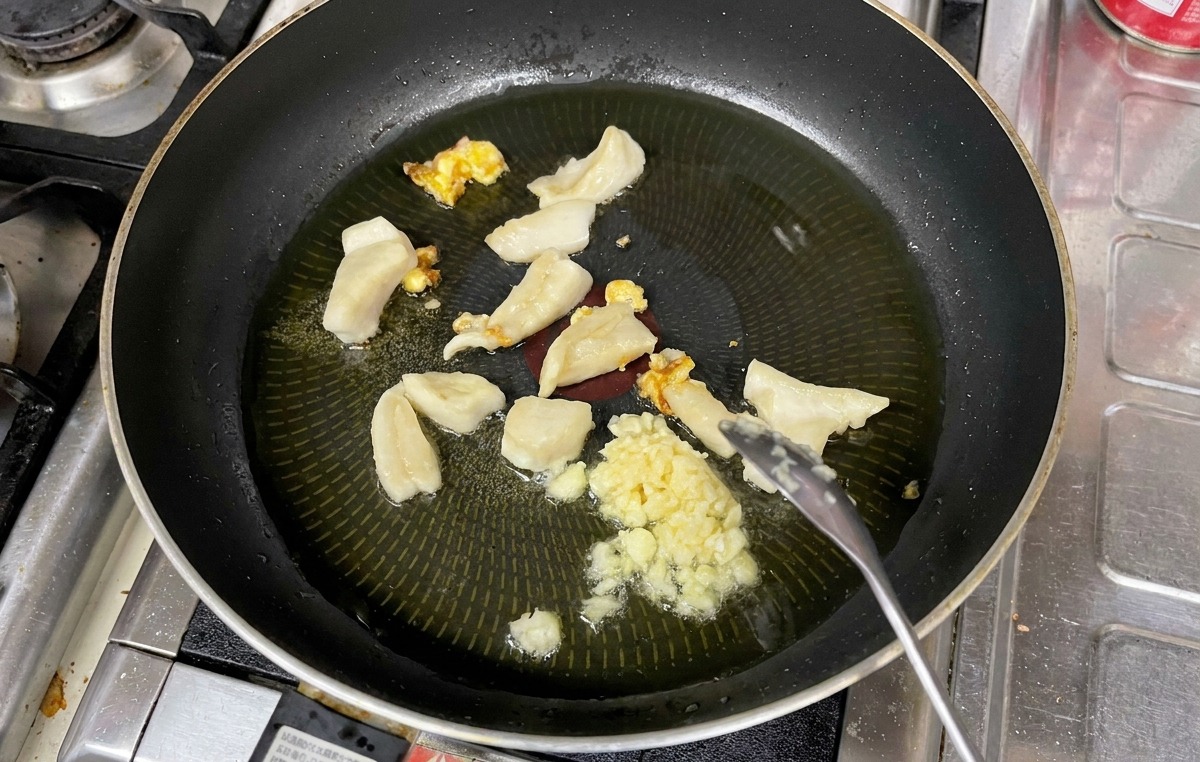
Once the chicken and pork fats have rendered, add the finely chopped garlic to the pan. Fry the garlic over low heat until it becomes fragrant and turns a deep golden brown, infusing the oil with flavor.
Tip: Stir continuously and watch closely, as minced garlic can burn very quickly and turn bitter. - 10Strain the aroma oil
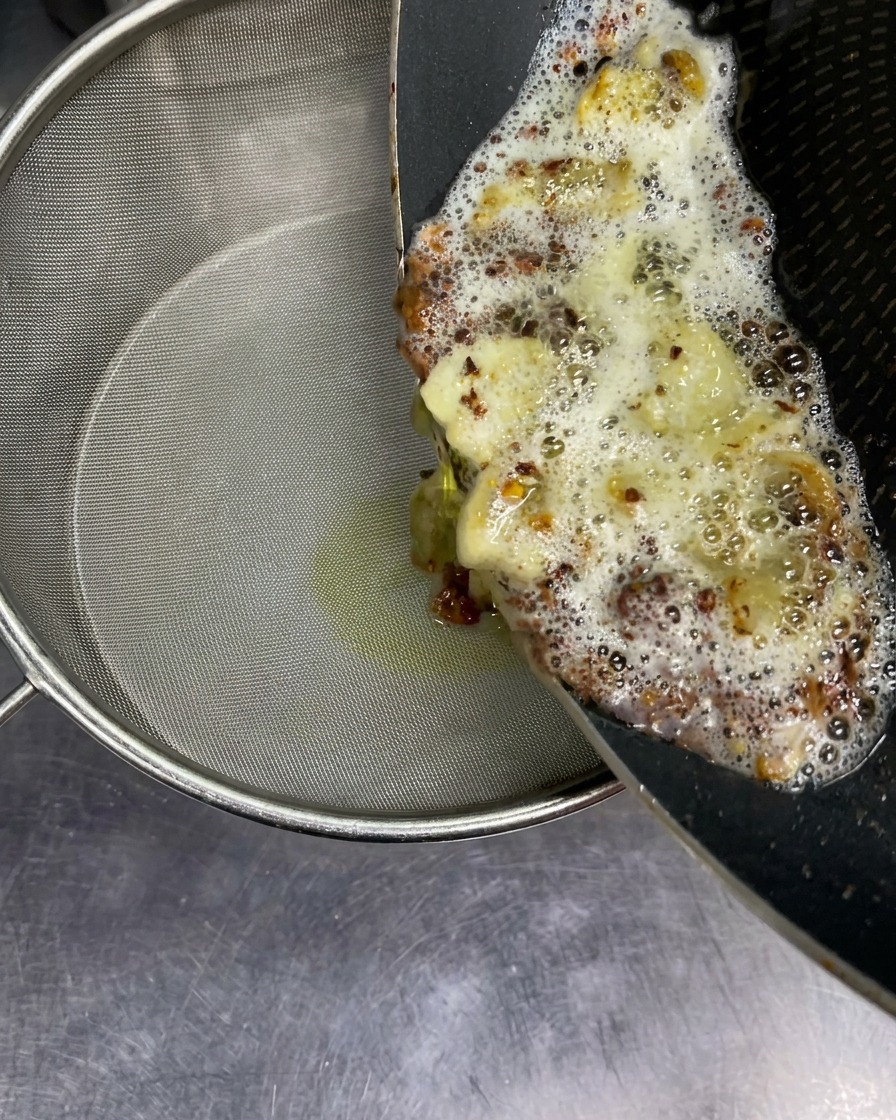
Carefully pour the hot infused oil and fried garlic mixture through a mesh sieve. Straining it over a slice of apple adds a subtle sweetness and helps balance the robust flavors of the garlic and animal fats.
Tip: Ensure the catching bowl is heat-resistant, as the freshly rendered aroma oil will be extremely hot. - 11Slice the chashu
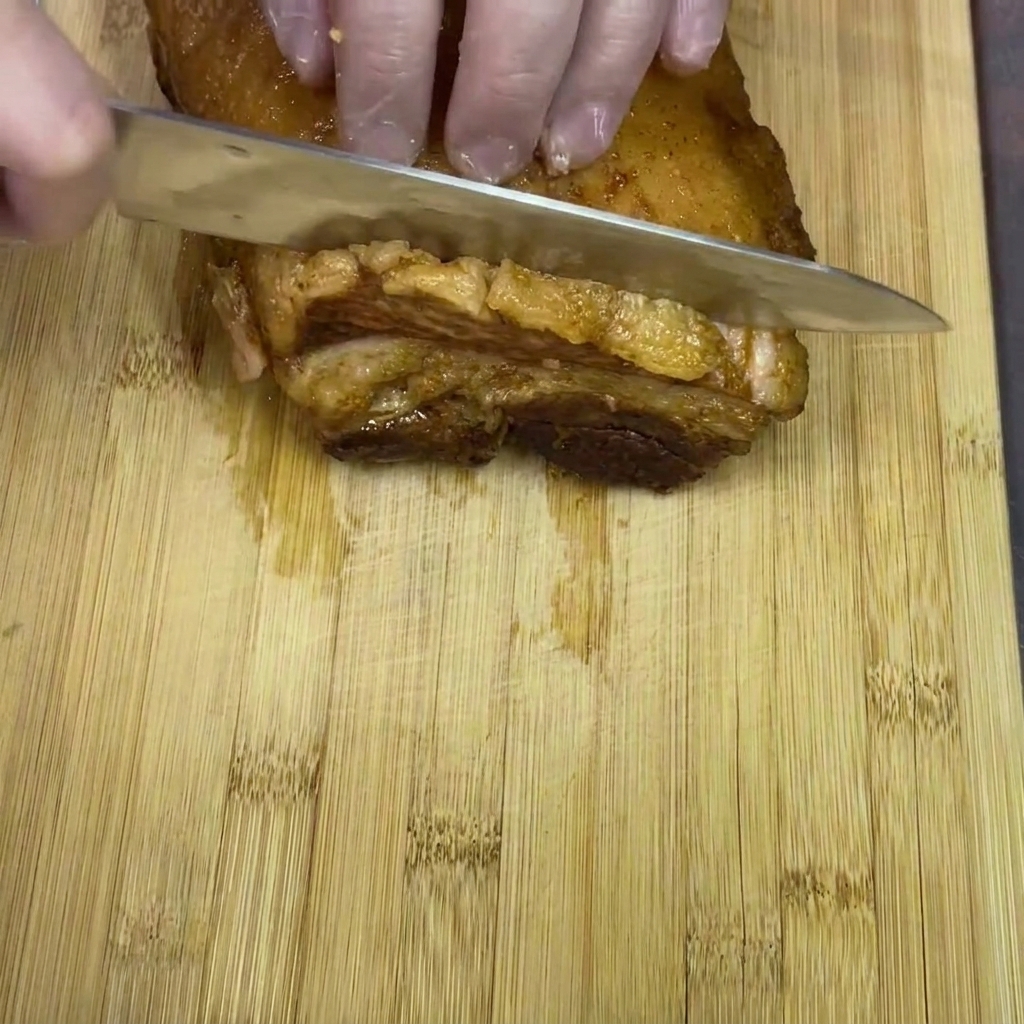
Place the prepared and cooled braised pork belly onto a wooden cutting board. Using a very sharp kitchen knife, carefully cut the meat into thick, even slices. These tender pieces of chashu will serve as the hearty protein topping for your ramen bowl.
Tip: Chilling the braised pork belly slightly before slicing helps the fat solidify, allowing you to cut much cleaner slices without the meat falling apart. - 12Season the serving bowl
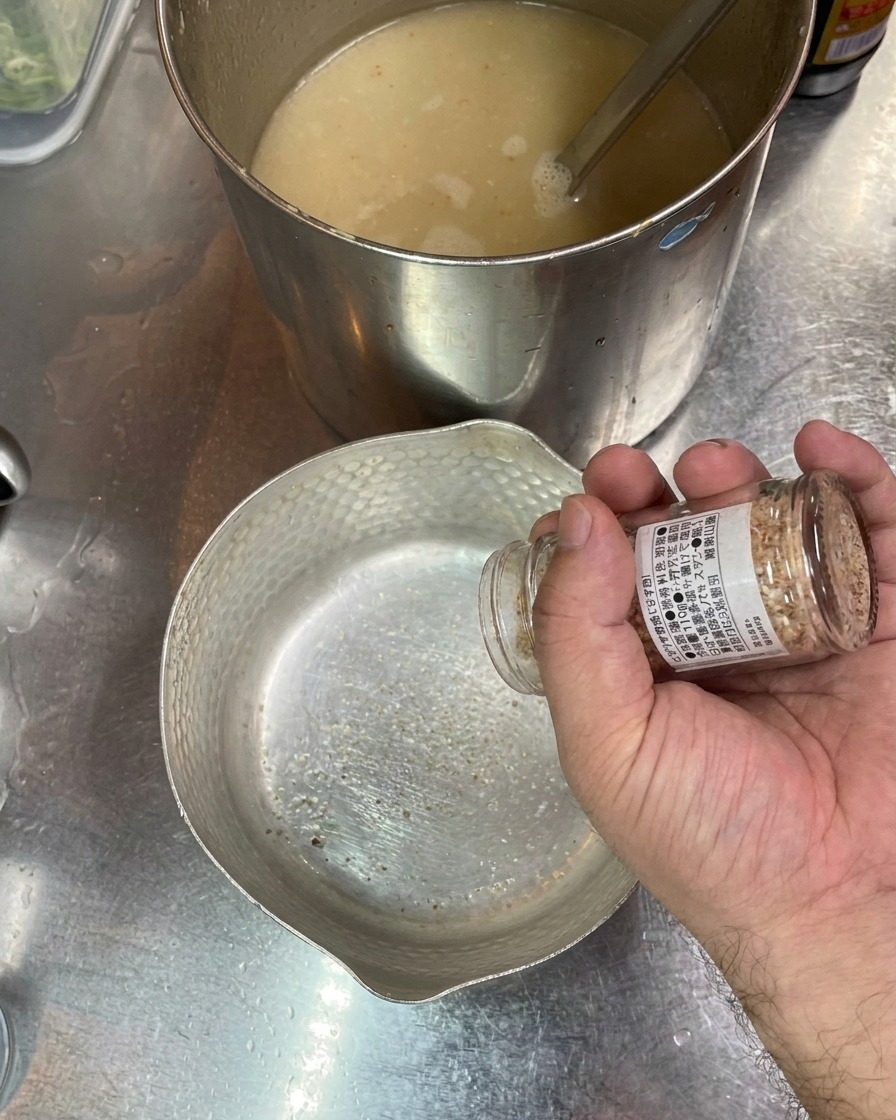
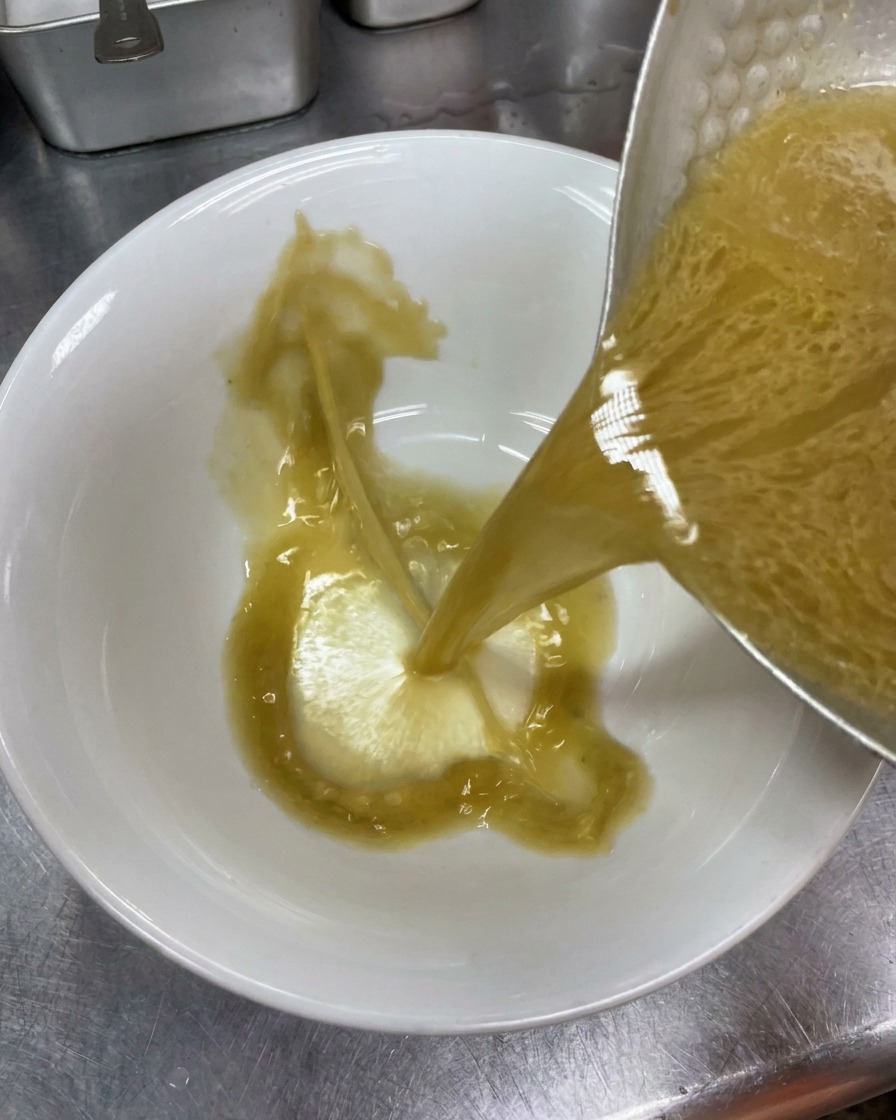
Prepare the ramen bowl by adding your base seasonings. Start with a pinch of salt and a dash of fish sauce to build the foundational flavor profile before pouring in the rich tonkotsu broth.
Tip: Adjust the salt and fish sauce according to your preference, keeping in mind that the broth itself is unsalted. - 13Combine seasonings and broth
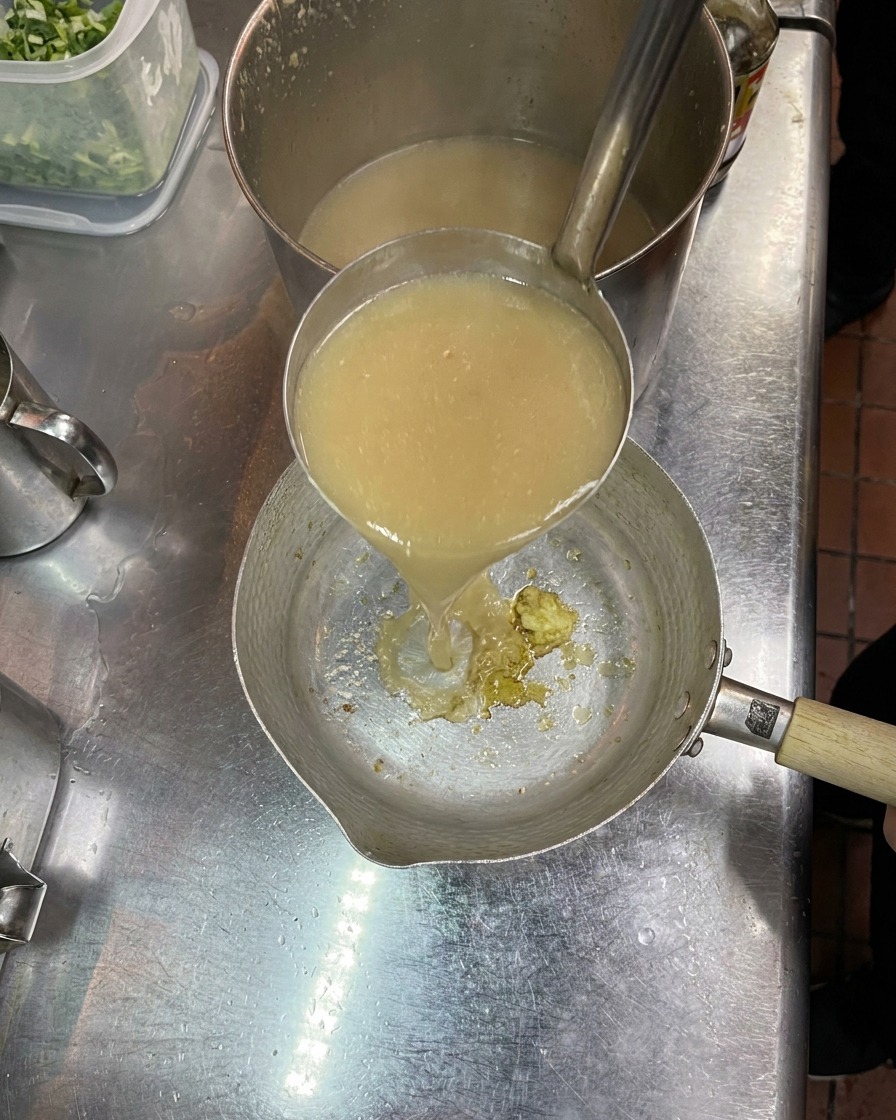
Once your seasonings like salt and fish sauce are prepped in a smaller pot, use a ladle to scoop out the boiling hot tonkotsu broth from the main stock pot. Pour this rich broth over the seasonings to dissolve them completely, creating a concentrated flavor base.
Tip: Mixing the salt and fish sauce with a portion of the hot broth first ensures they dissolve fully, preventing any uneven seasoning in the final serving bowl. - 14Prepare the serving bowl
Take the fully seasoned, rich tonkotsu broth and carefully pour it into your warmed serving bowl. The broth should be steaming hot and thoroughly mixed, providing a deeply flavorful and aromatic base for the noodles.
Tip: Always pre-warm your ceramic serving bowls with a splash of hot water before plating. This keeps your ramen broth piping hot from the first sip to the last. - 15Combine Noodles and Broth
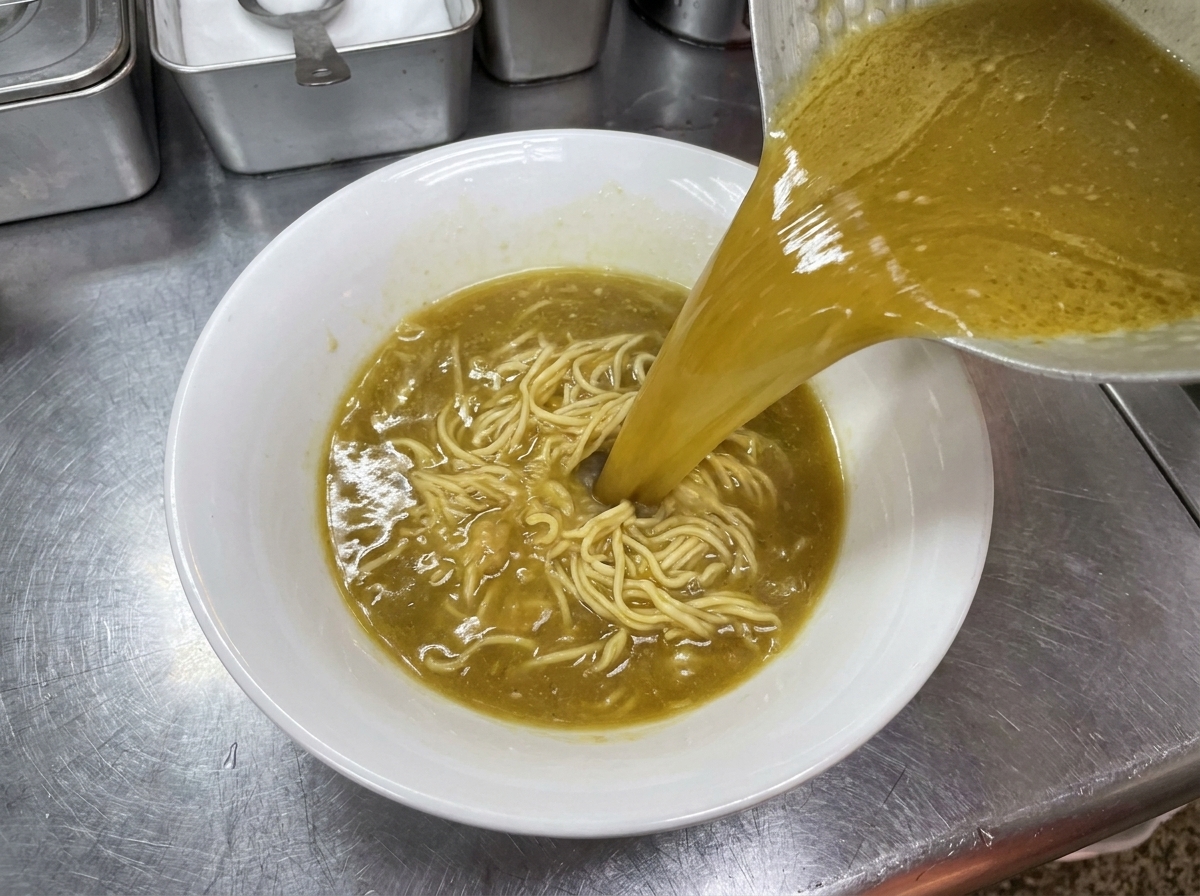
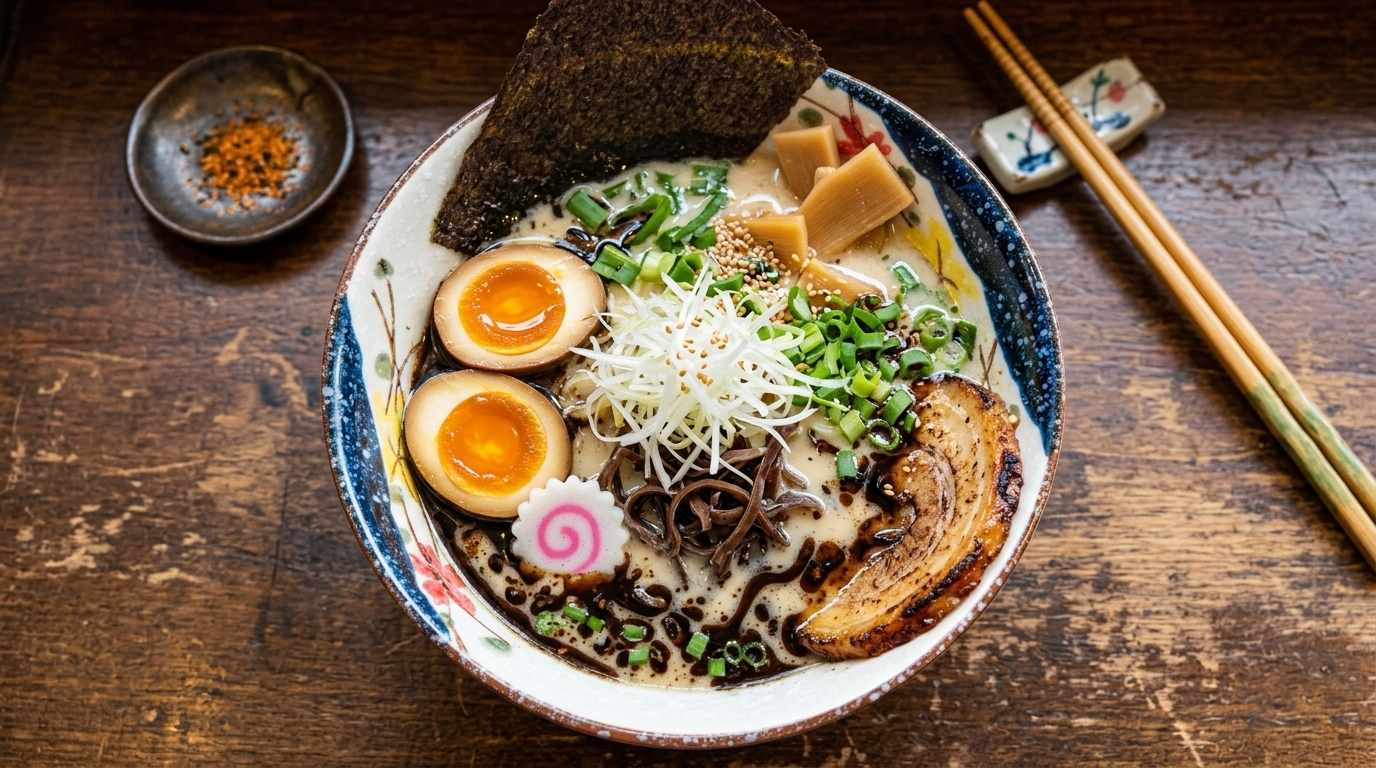
Place the freshly cooked, folded ramen noodles into a warmed serving bowl. Carefully pour the piping hot, thick tonkotsu broth over the noodles, ensuring they are fully submerged to absorb the rich flavors.
Tip: Fold the noodles neatly as they are placed into the broth to create an attractive, authentic presentation before arranging your chashu and eggs.