Oven-Smoked Slow-Roasted Beef Ribs
Homemade BBQ Sauce
Achieve authentic pitmaster flavor right in your oven. These slow-roasted beef ribs feature a deeply caramelized bark, incredibly tender meat, and a zesty homemade jalapeño BBQ sauce.
While a traditional outdoor smoker is a barbecue staple, you dont need one to achieve incredible, fall-off-the-bone ribs. This method uses a smart oven-smoking technique with fruit wood chips and a double-wrap process to mimic classic pitmaster results. The secret lies in patience—a slow, four-hour initial roast followed by a wrapped finish—guaranteeing beautifully rendered fat and melt-in-your-mouth texture without ever stepping outside.
Ingredients
- 1 large rack beef ribs (approx. 1.5 - 2 kg)
- 2 tbsp smoked paprika
- 2 tbsp black pepper
- 1 tbsp cumin powder
- 14 cup brown sugar
- 3 tbsp Worcestershire sauce, divided
- 2 tbsp yellow mustard
- 1 handful fruit wood chips (e.g., apple or cherry)
- 14 cup fruit vinegar (like apple cider vinegar)
- 14 cup water
- 1 tsp garlic powder
- 2 tbsp honey
- 1 tbsp white vinegar
- 12 cup ketchup
- 1 medium onion, diced
- 1-2 jalapeños, sliced
- to serve lettuce and pickles
Instructions
- 1Prepare the dry rub
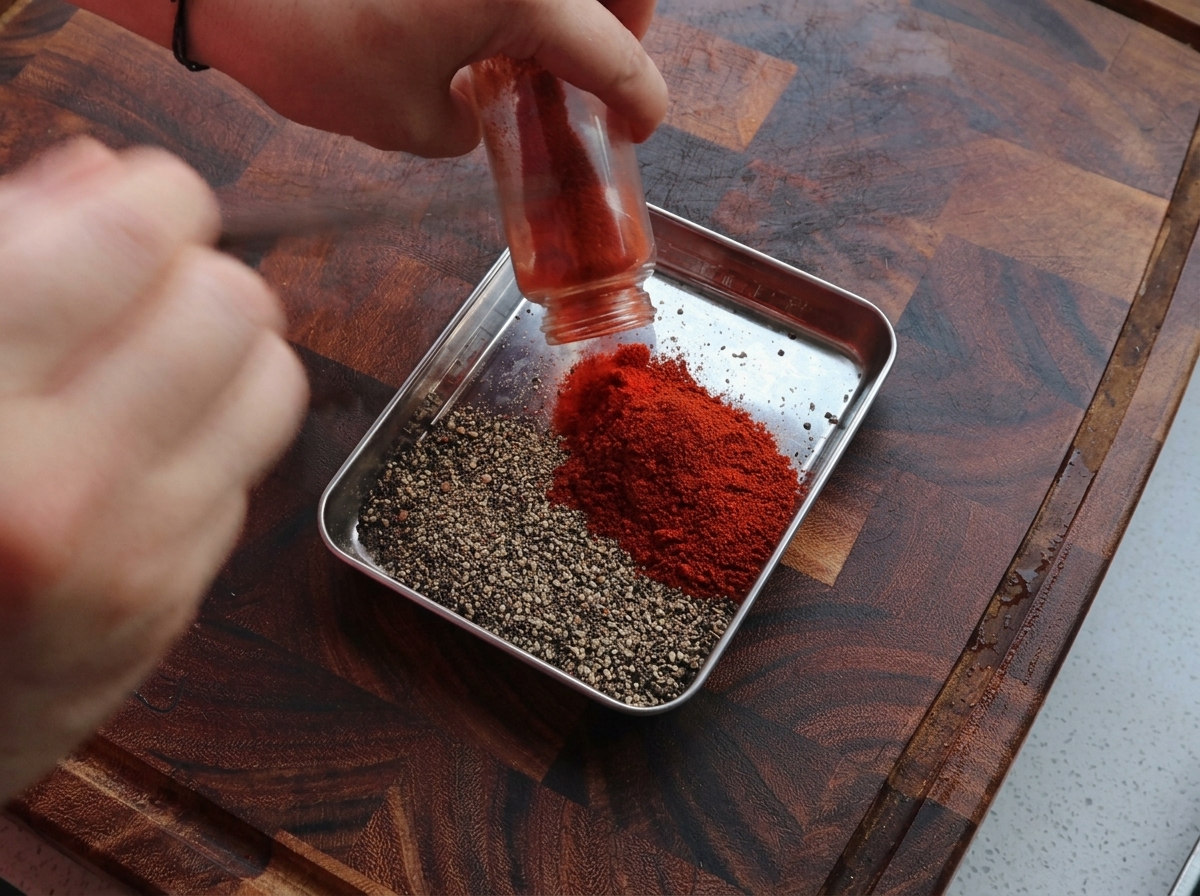
In a small metal tray or bowl, combine smoked paprika, black pepper, cumin powder, and brown sugar. Mix the ingredients thoroughly until the spices are evenly distributed. This sweet and smoky dry rub will provide the foundational flavor and help build a beautiful, caramelized bark on the beef ribs.
Tip: Ensure your brown sugar is soft and free of clumps before mixing so it coats the meat evenly. - 2Apply the Worcestershire sauce
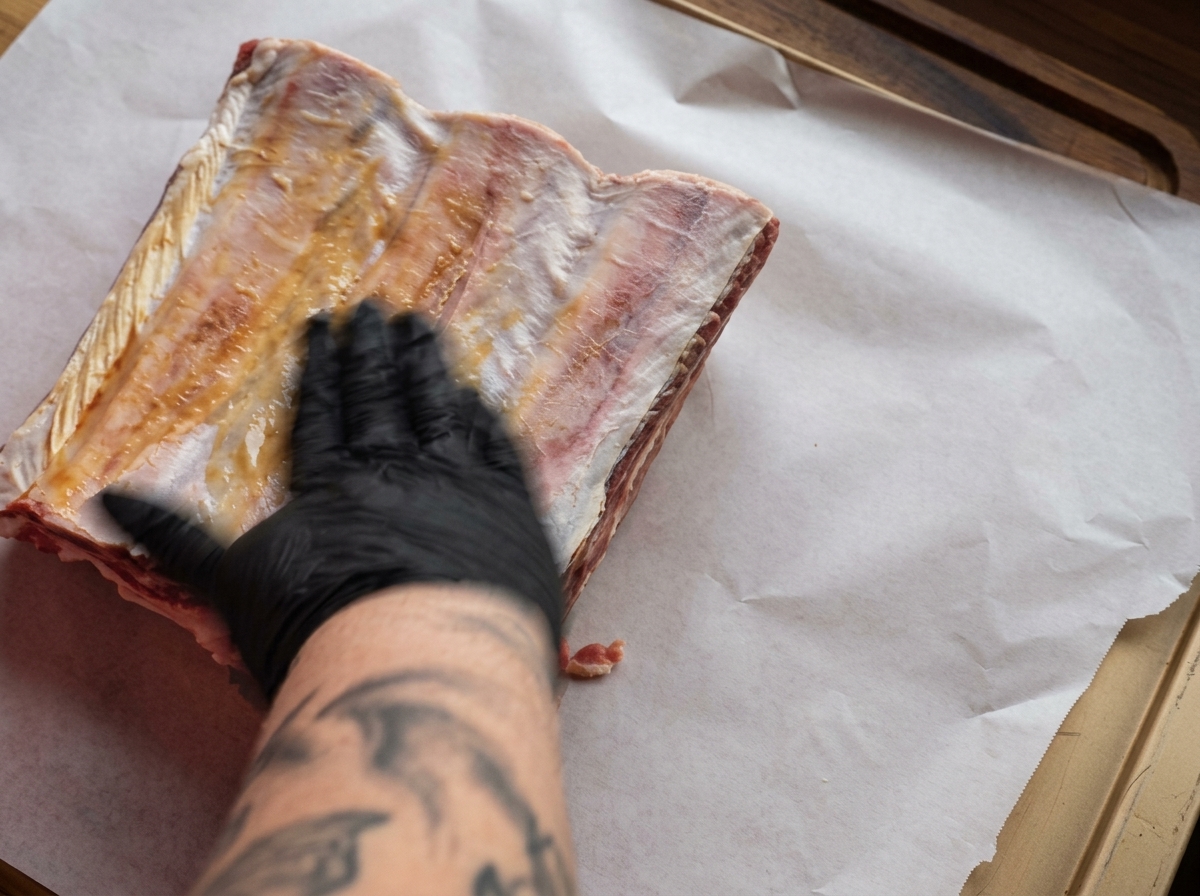
Pat the raw beef ribs dry, then apply a layer of Worcestershire sauce and mustard over the entire surface. Use your hands to rub it in evenly. This acts as a binder to help the dry spices stick to the meat.
Tip: A mustard and Worcestershire binder is essential for helping the dry rub adhere, creating a thick, flavorful crust or bark during the long smoking process. - 3Apply the binder
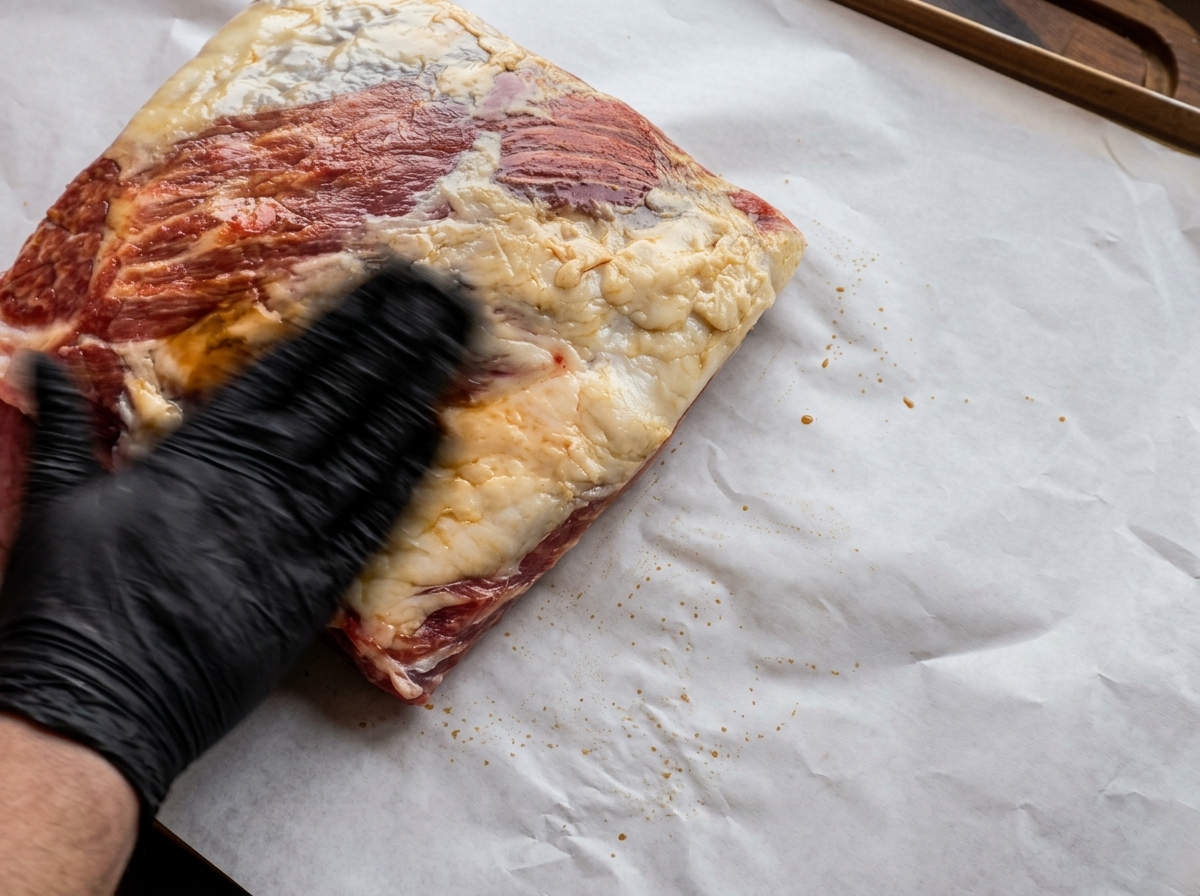
Pat the beef ribs completely dry with a paper towel. Apply a generous splash of Worcestershire sauce followed by a coat of yellow mustard over all sides of the ribs. Rub these liquids evenly across the surface of the meat and fat to help the dry spices adhere perfectly.
Tip: The distinct mustard flavor cooks off completely during the long roasting process, leaving only a savory crust behind. - 4Coat with the dry rub
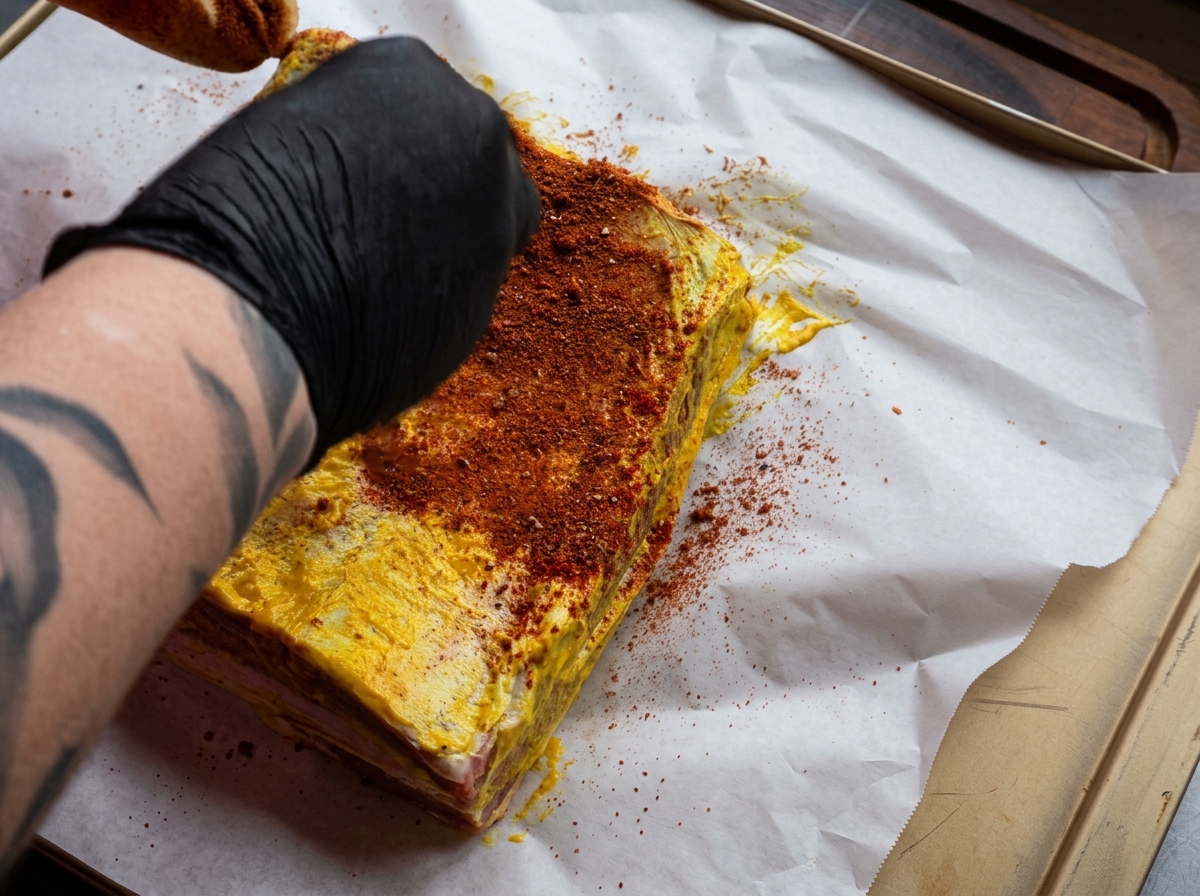
Generously sprinkle your prepared dry rub over the entire surface of the mustard-coated beef ribs. Pat the spices down firmly with your hands to ensure they stick to the binder. Once fully coated, place the ribs fat-side up on a baking tray lined with parchment paper, ready for roasting.
Tip: Always let the ribs sit at room temperature for about 15-20 minutes after applying the rub so the spices can hydrate and adhere firmly to the meat. - 5Prepare the smoke tray
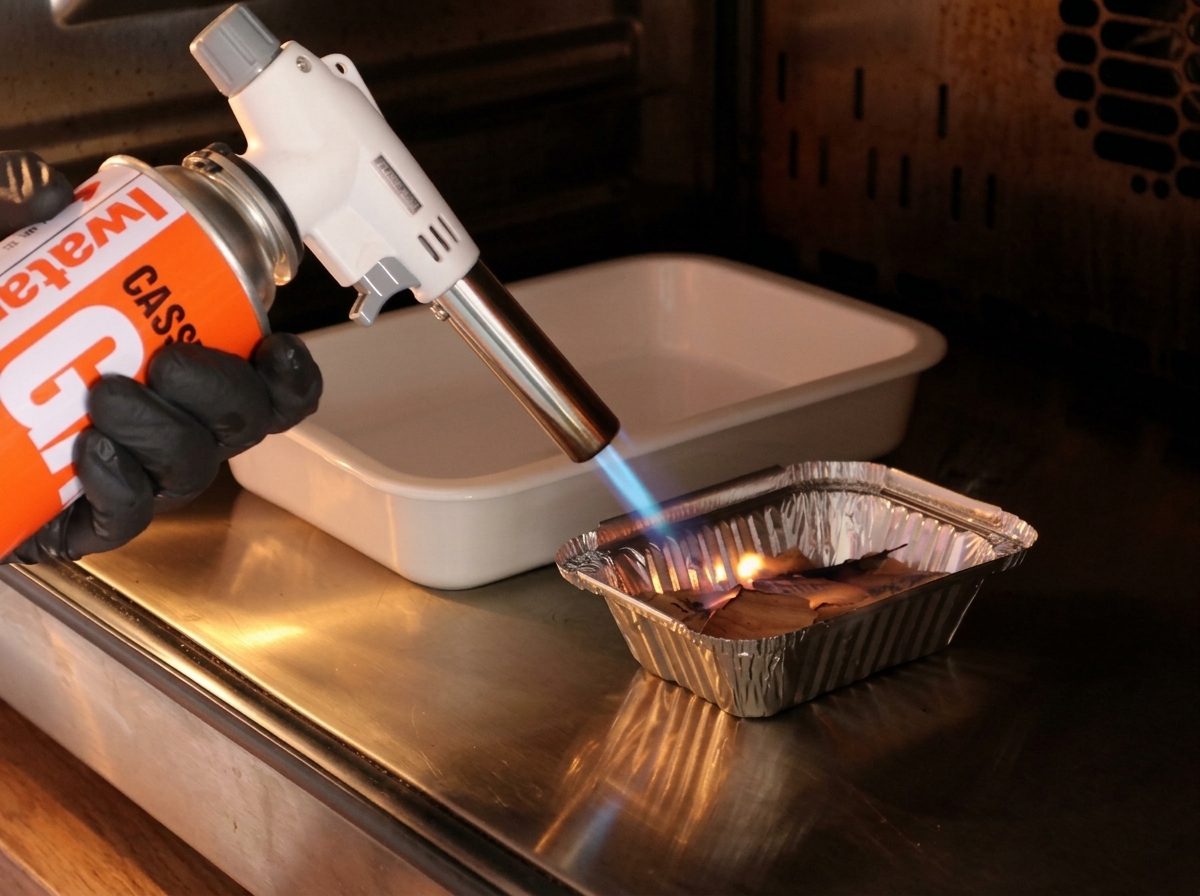
To infuse the ribs with authentic BBQ flavor in a standard oven, place a handful of fruit wood chips into a small aluminum foil tray. Ignite the wood chips using a kitchen blowtorch until they begin to smoke steadily. Place this smoking tray inside the oven alongside a separate heat-proof bowl of hot water to maintain moisture during the slow roast.
Tip: Applewood or cherry wood chips work wonderfully for beef, adding a sweet and subtle smoke profile without overpowering the meat. - 6Prepare the basting spray
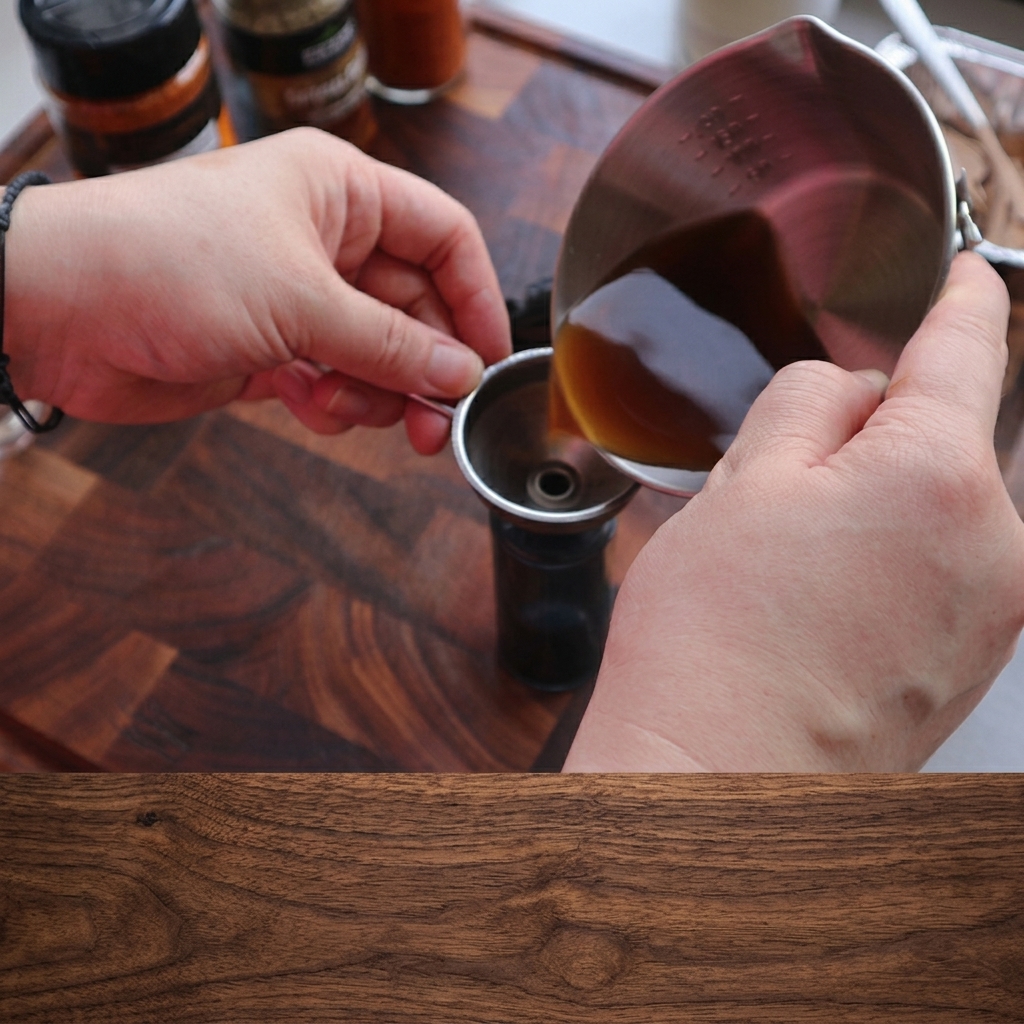
Mix the fruit vinegar, water, and Worcestershire sauce together, then pour the dark liquid mixture through a small metal funnel into a clean spray bottle. You will use this liquid to regularly baste the ribs during the slow roasting process.
Tip: Using a spray bottle ensures an even, light coating of moisture without washing away the dry spice rub on the meat. - 7Spritz the ribs
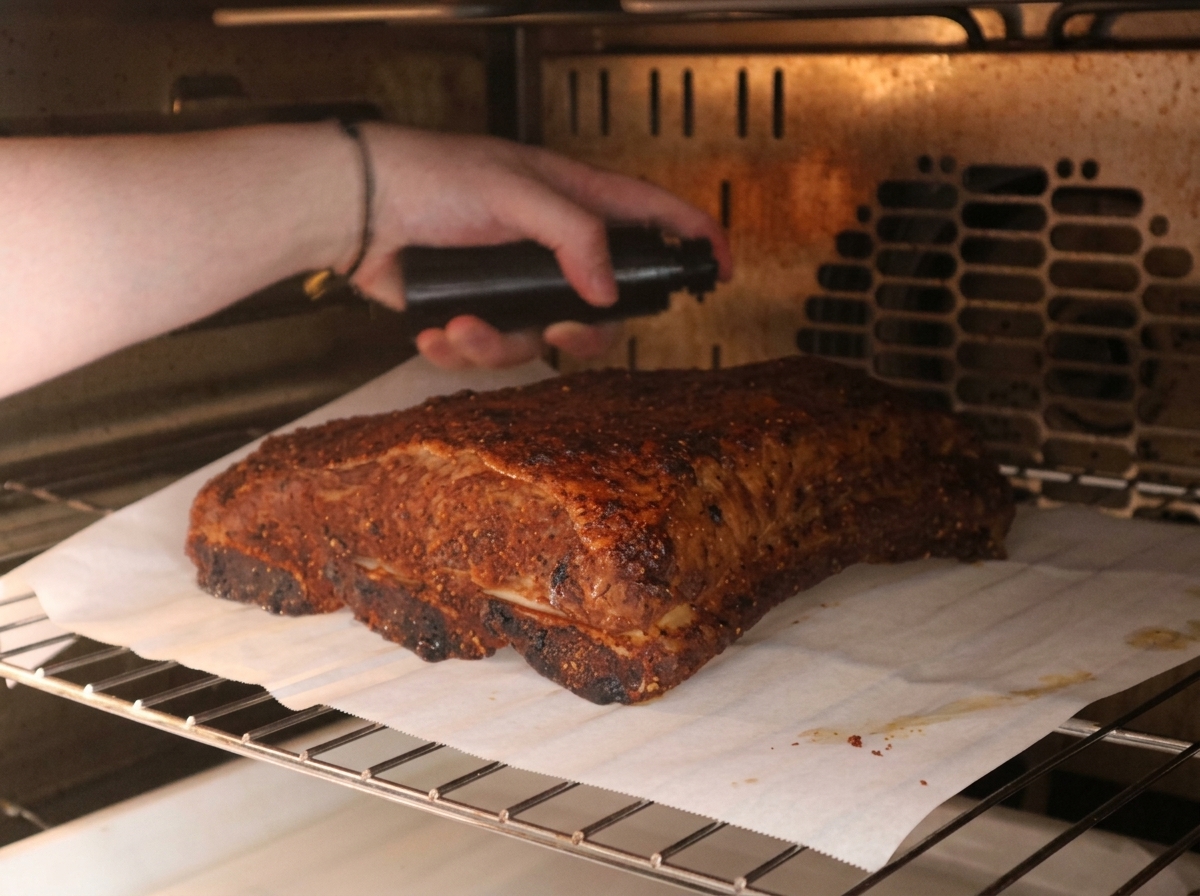
While the beef ribs are slow-roasting in the oven, briefly open the door every half hour to evenly spray the meat with your vinegar, water, and Worcestershire mixture. This keeps the exterior moist and prevents the spices from burning.
Tip: Work quickly when spritzing to prevent too much heat from escaping the oven. Maintaining a consistent temperature is key to tender ribs. - 8Wrap in parchment paper
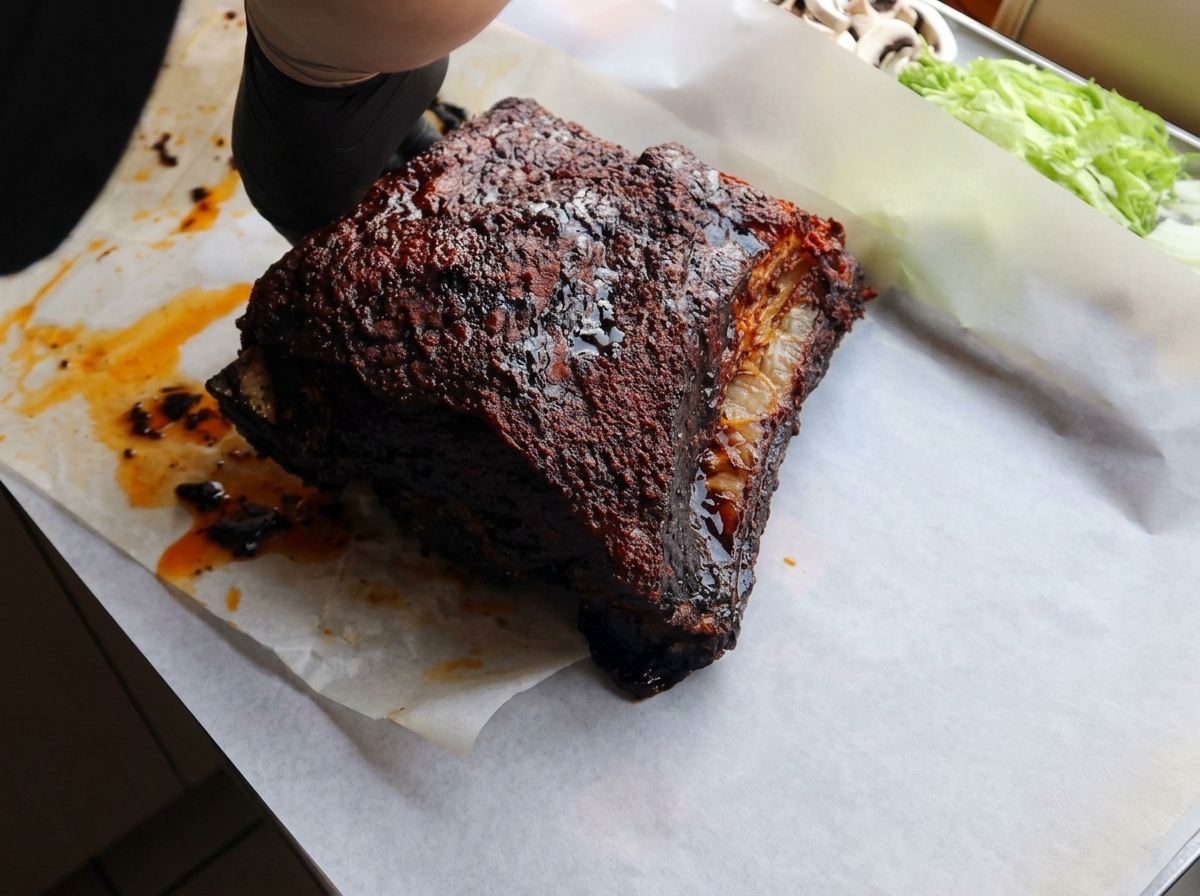
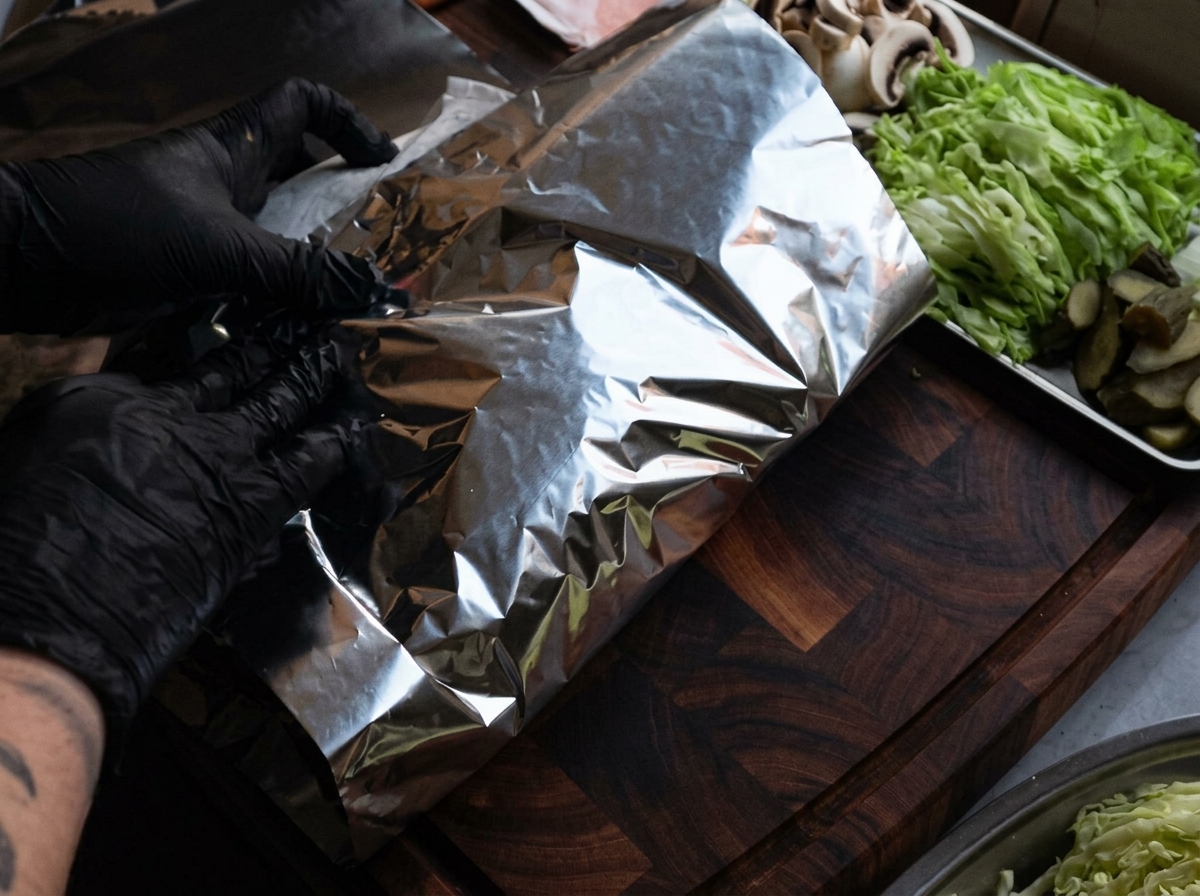
After 4 hours of slow roasting at 120 degrees Celsius, carefully remove the ribs from the oven. The meat should have developed a rich, dark bark. Place the ribs in the center of a large sheet of white parchment paper and wrap them tightly to lock in moisture.
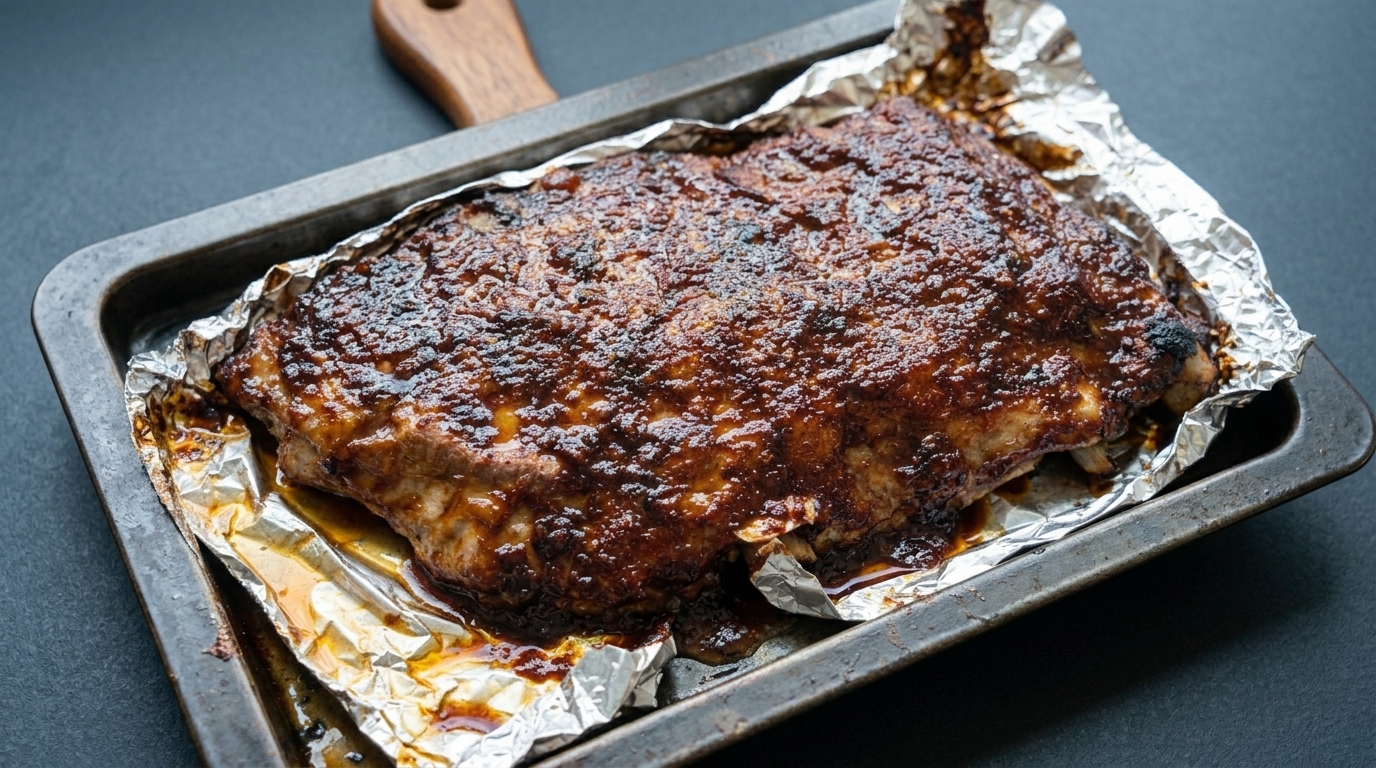
Tip: Wrapping the meat helps power it through the cooking stall, ensuring it becomes perfectly tender without over-darkening the exterior. - 9Seal with aluminum foil
Enclose the parchment-wrapped beef ribs securely in a layer of aluminum foil. Ensure there are no gaps where steam could escape. Return the wrapped package to the oven, increasing the temperature to 140 degrees Celsius for another 2 hours.
Tip: The double wrap of parchment and foil protects the bark from getting soggy while trapping the steam needed to gently break down the tough connective tissues. - 10Prepare the BBQ sauce base

In a small container, begin mixing the base for your homemade BBQ sauce by combining dry spices like garlic powder with a generous spoonful of thick honey. This sweet and savory foundation will later be mixed with white vinegar, ketchup, mustard, and Worcestershire sauce.
Tip: Adjust the amount of honey based on how sweet you prefer your final barbecue glaze to be. - 11Sauté the aromatics
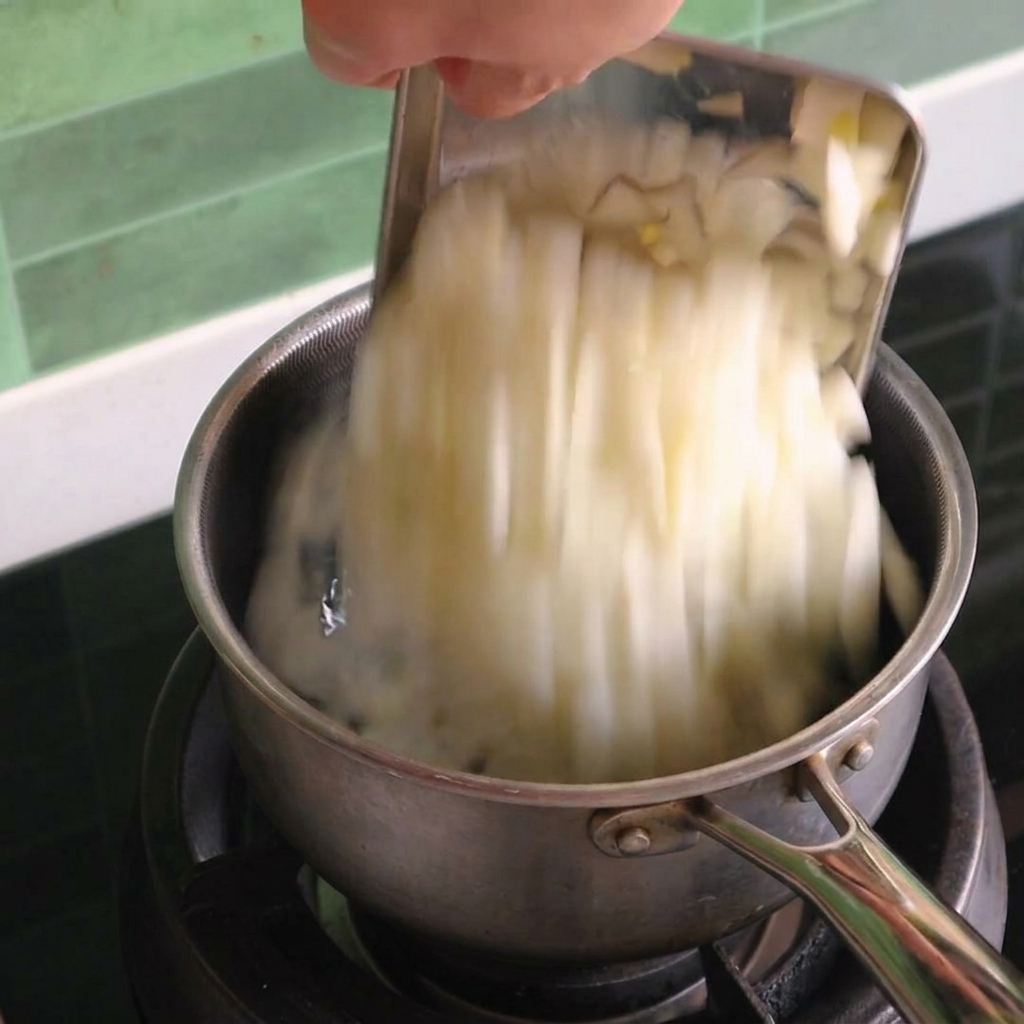
Begin preparing the homemade BBQ sauce by heating a small pot on the stove. Add your diced onions and sauté them until they soften and become fragrant. Follow up by adding the sliced jalapeños and black pepper to build a slightly spicy, aromatic flavor base.
Tip: Sautéing the onions and jalapeños before adding the liquid ingredients helps release their essential oils and deepens the overall flavor of the sauce. - 12Add the sauce mixture
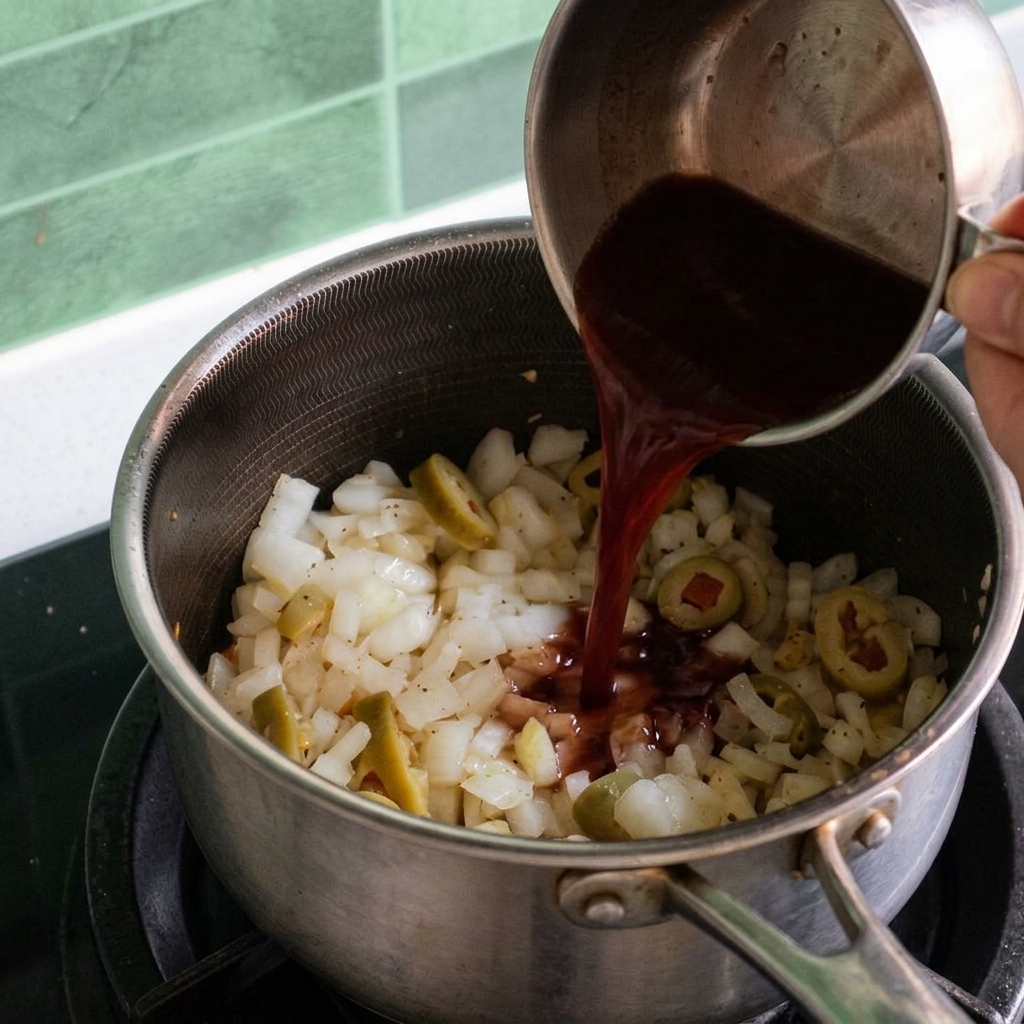
Once the diced onions and jalapeños are gently sautéed and fragrant, pour in the prepared BBQ sauce mixture containing garlic powder, honey, white vinegar, ketchup, mustard, and Worcestershire sauce. Stir everything together over the heat.
Tip: Make sure the aromatics are completely softened before adding the liquid, as the acidity in the sauce will stop the onions from cooking down further. - 13Blend the BBQ sauce

Bring the sauce to a gentle simmer to allow all the flavors to meld together. For a smoother, more refined consistency, use an immersion hand blender directly in the pot to puree the softened onions and jalapeños into the liquid.
Tip: Tilt the pot slightly and keep the blender head fully submerged to prevent the hot sauce from splattering. - 14Rest the ribs
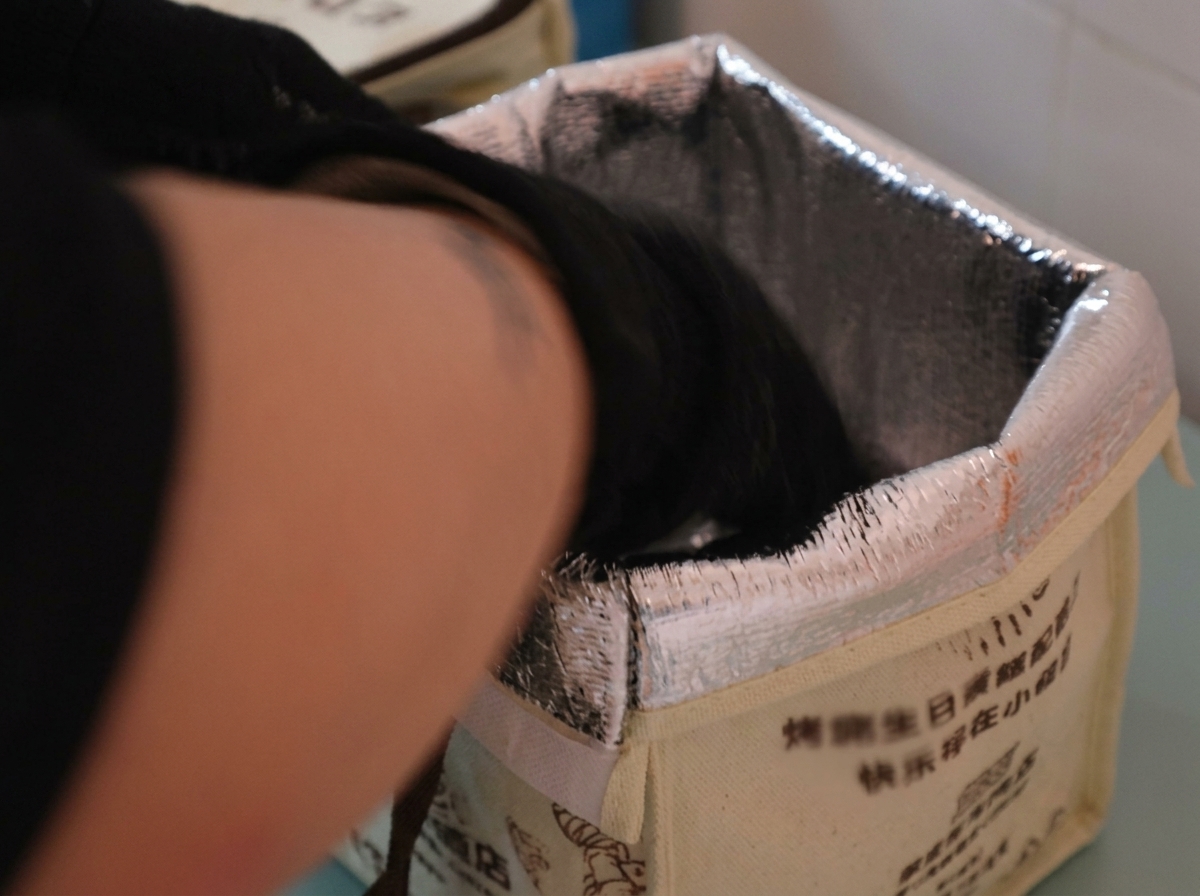
After removing the fully cooked ribs from the oven, keep them securely wrapped in their parchment and foil pouch. Immediately place the wrapped meat into an insulated thermal bag and let it rest for at least half an hour.
Tip: Resting in a thermal bag or a dry cooler keeps the meat piping hot while ensuring the connective tissues finish breaking down for maximum tenderness. - 15Slice and serve
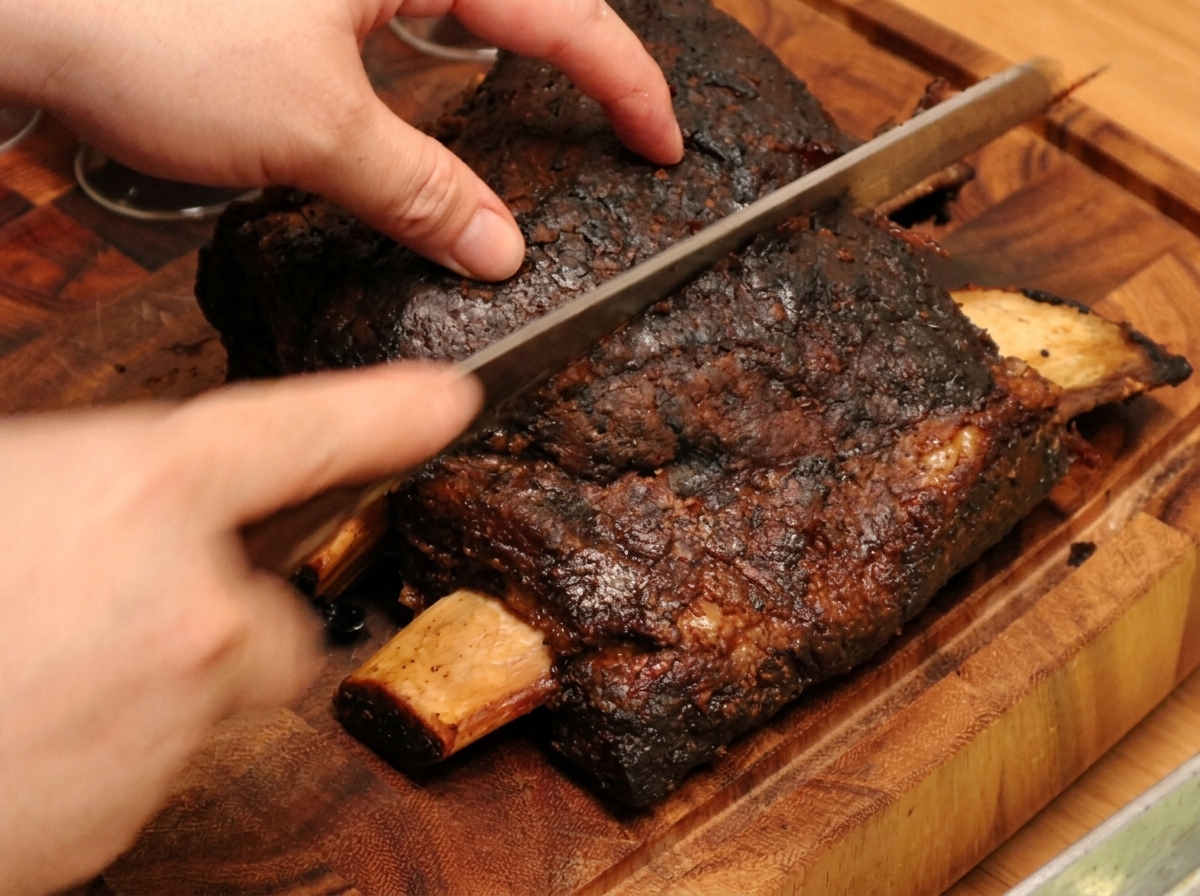
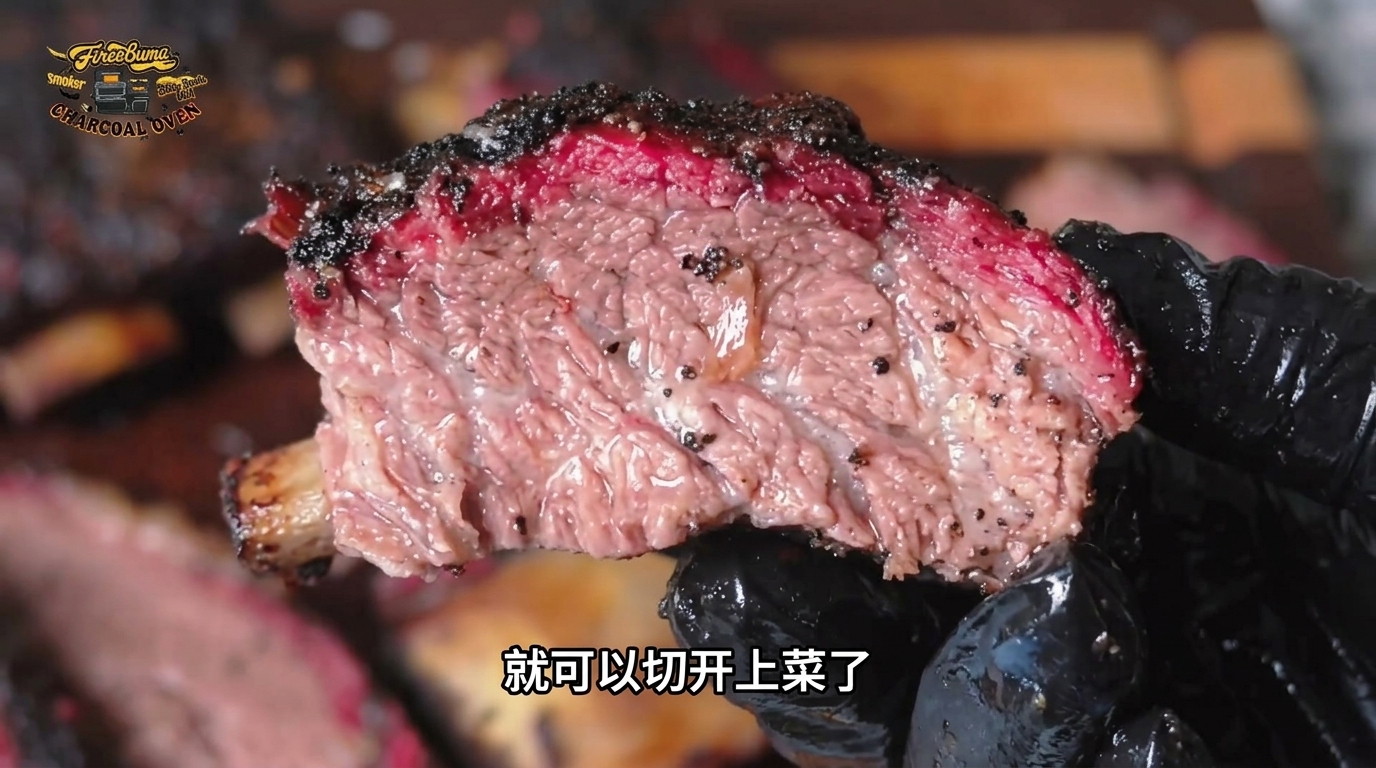
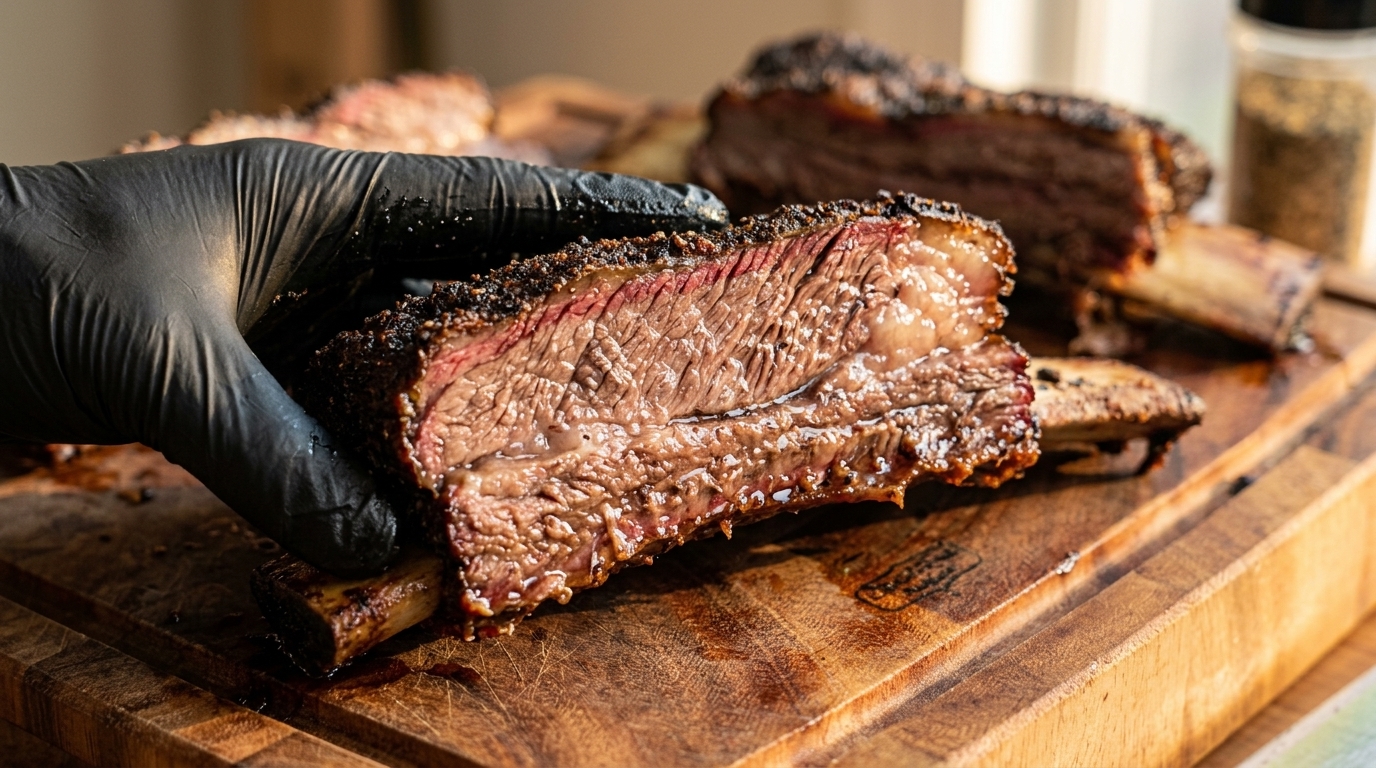
Transfer the rested beef ribs to a sturdy wooden cutting board. Using a long, sharp knife, carefully slice the meat into thick individual portions right off the bone, revealing the tender, juicy interior beneath the dark, flavorful bark.
Tip: Use a sharp, non-serrated carving knife and cut with long, smooth strokes to avoid tearing the tender meat and crust. - 16Plating and accompaniment
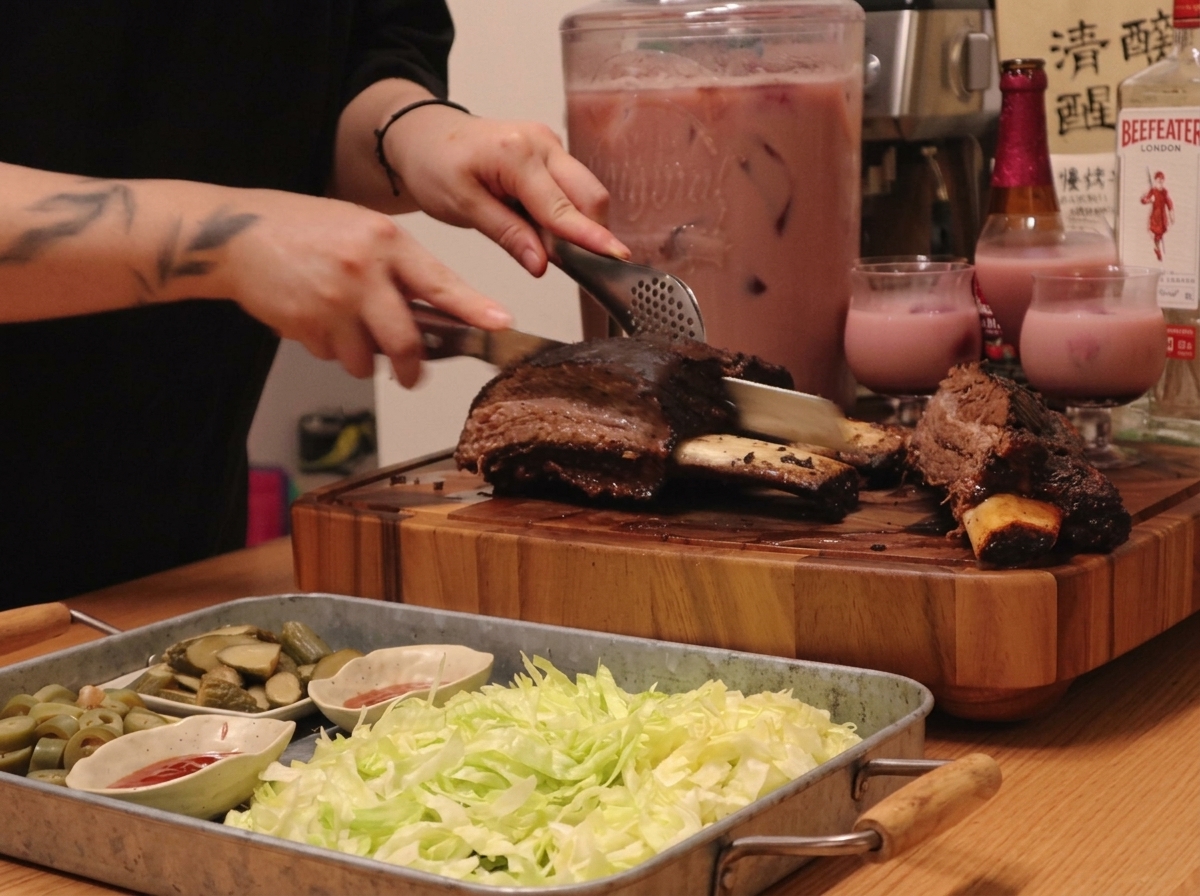
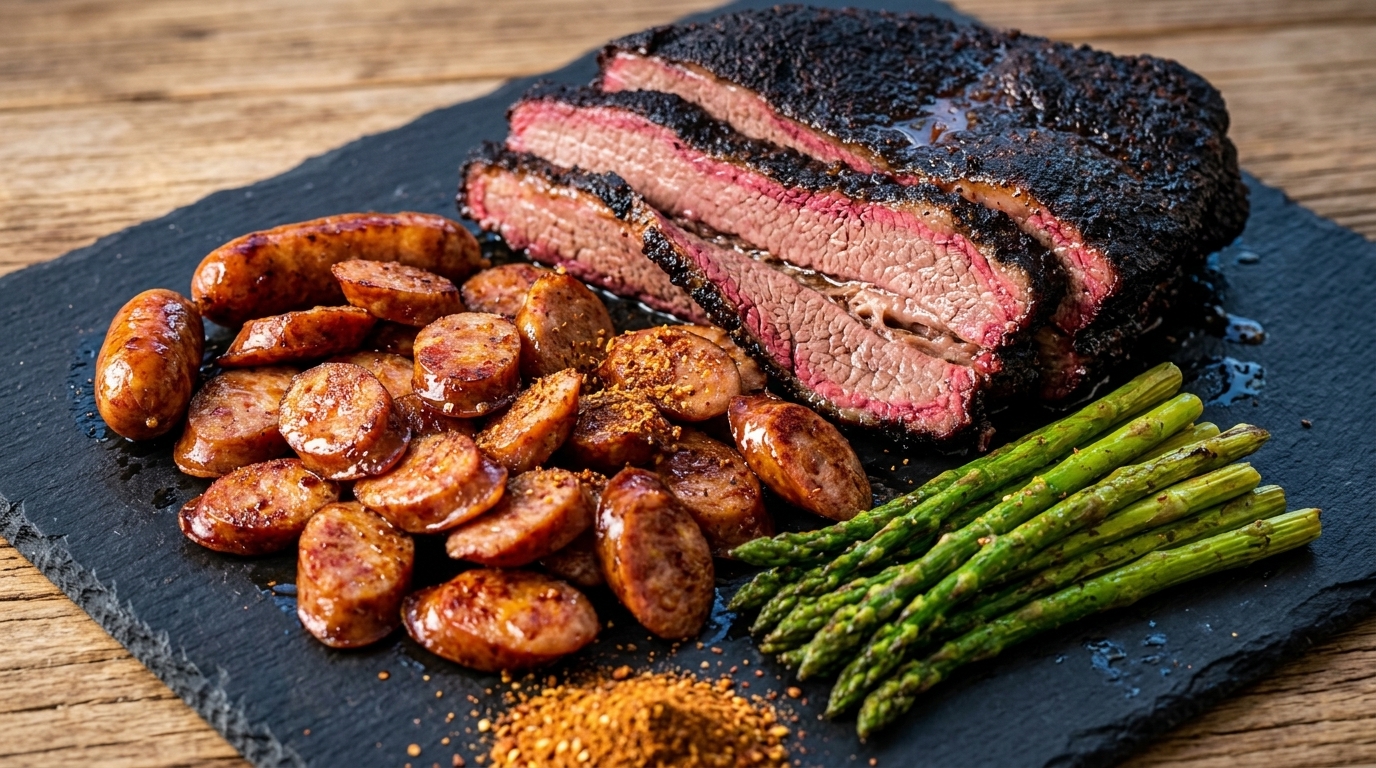
Arrange the sliced ribs on a serving platter or board. Serve the tender meat family-style alongside fresh lettuce, sliced jalapeños, pickles, and the freshly made BBQ sauce for a complete meal.
Tip: Providing fresh, acidic sides like pickles and jalapeños helps balance the richness of the slow-roasted beef fat.