Authentic Japanese Oyakodon (Chicken
Egg Rice Bowl)
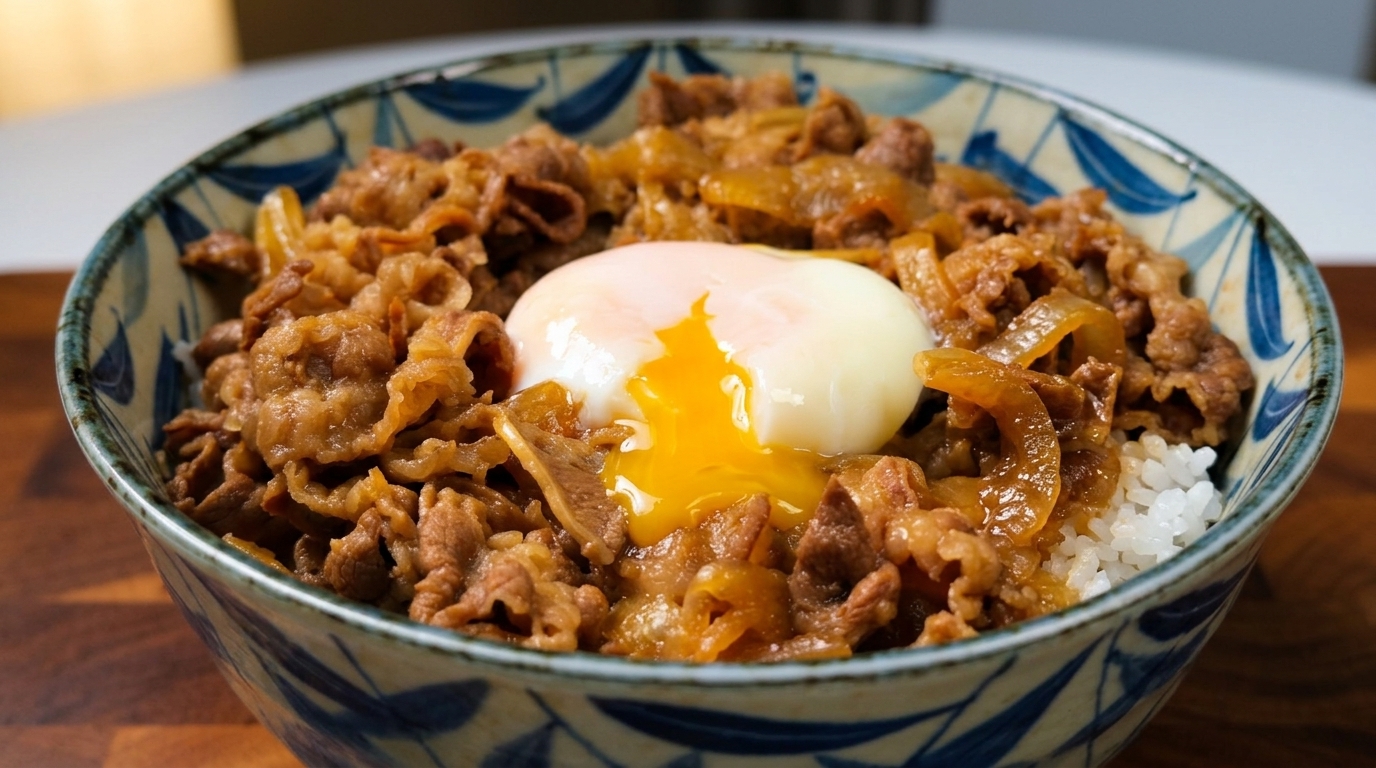
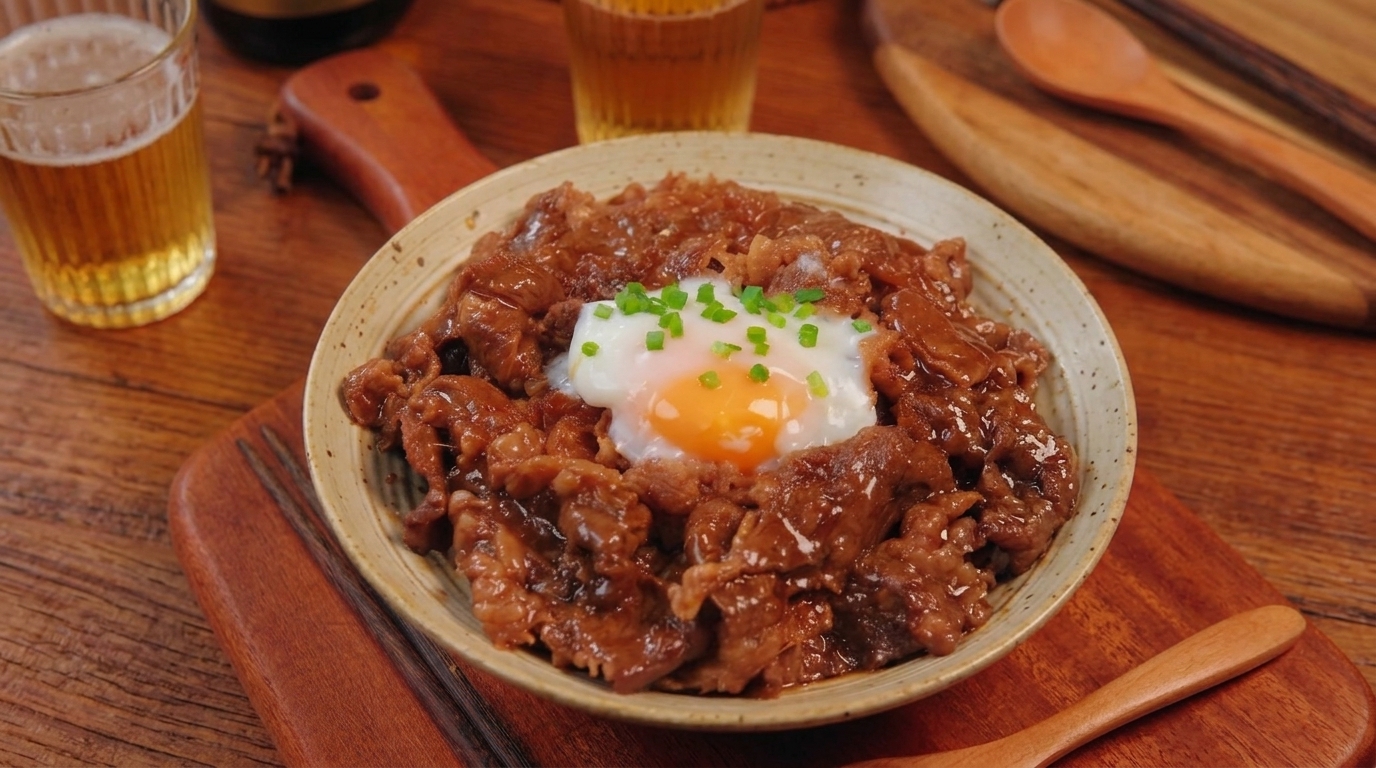
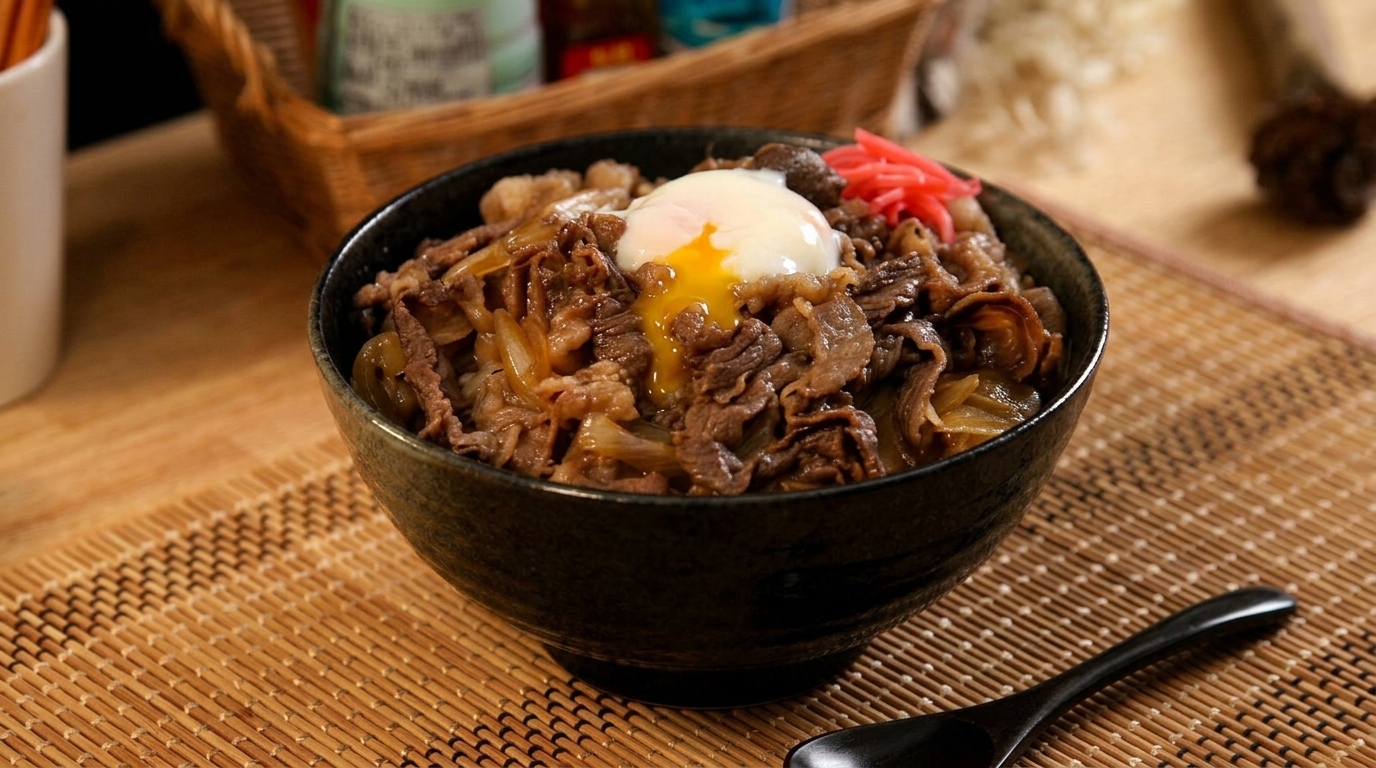
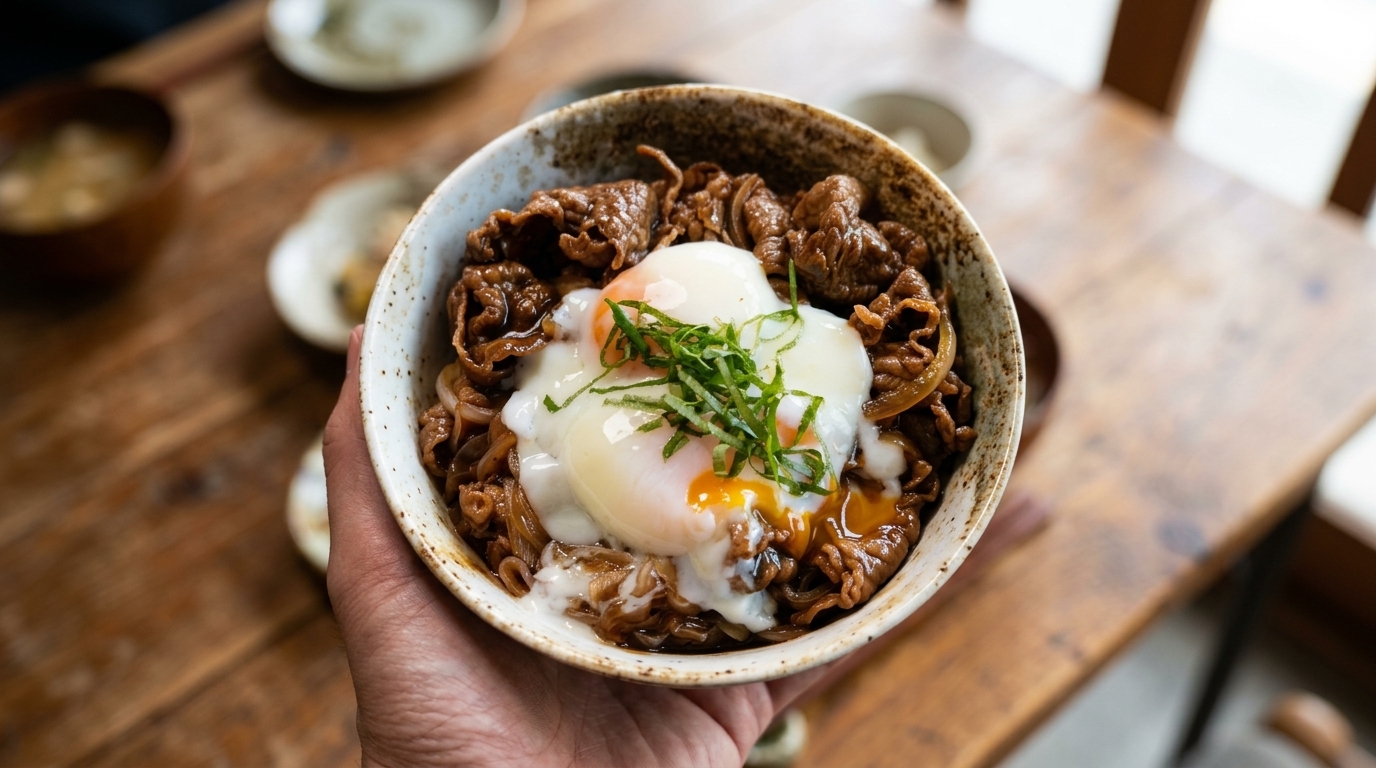
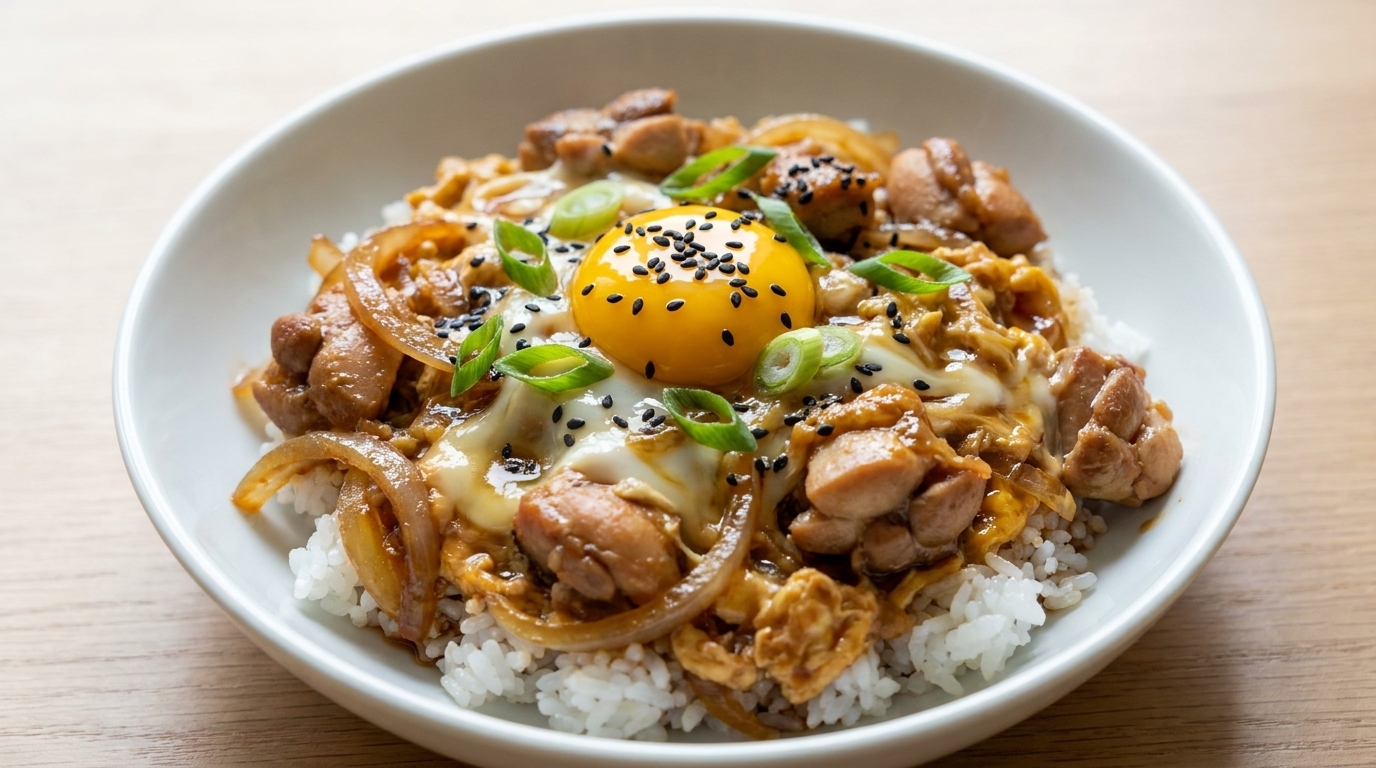
A soul-warming Tokyo classic featuring tender chicken and silky, soft-set eggs simmered in a sweet-savory glaze, served over a steaming bed of fluffy rice.
This beloved Japanese rice bowl dish translates to parent and child bowl as a poetic nod to the chicken and the egg. It is a staple of Japanese home cooking and casual diners alike prized for its simplicity and the comforting custard like texture of the eggs that bind the savory chicken and onions together.
Ingredients
- 2 deboned chicken thighs
- 1 red onion
- 2 large eggs
- 1 raw egg yolk
- 1 tbsp soy sauce
- 1 tbsp oyster sauce
- 1 tsp sugar
- 1 tbsp sake or dry sherry
- 1 tbsp cornstarch
- 1 bowl steamed white rice
- 2 scallions
- to taste salt and black pepper
- optional black sesame seeds
Instructions
- 1Slice the red onion
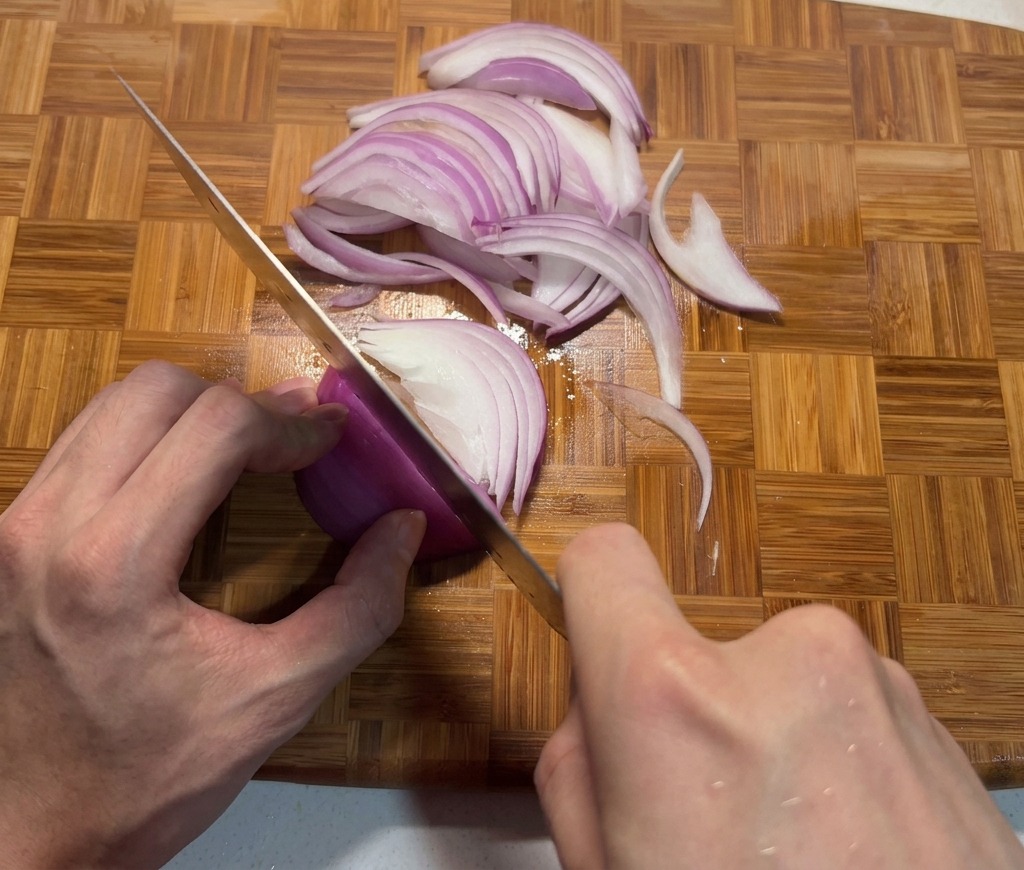
Begin by slicing the red onion into thin, uniform strips. These will be stir-fried later to provide a sweet and aromatic foundation for the Oyakodon, softening beautifully as they cook with the chicken.
Tip: To keep the onion stable while slicing, cut it in half from root to stem first and place the flat side down on the board. - 2Prepare the scallions
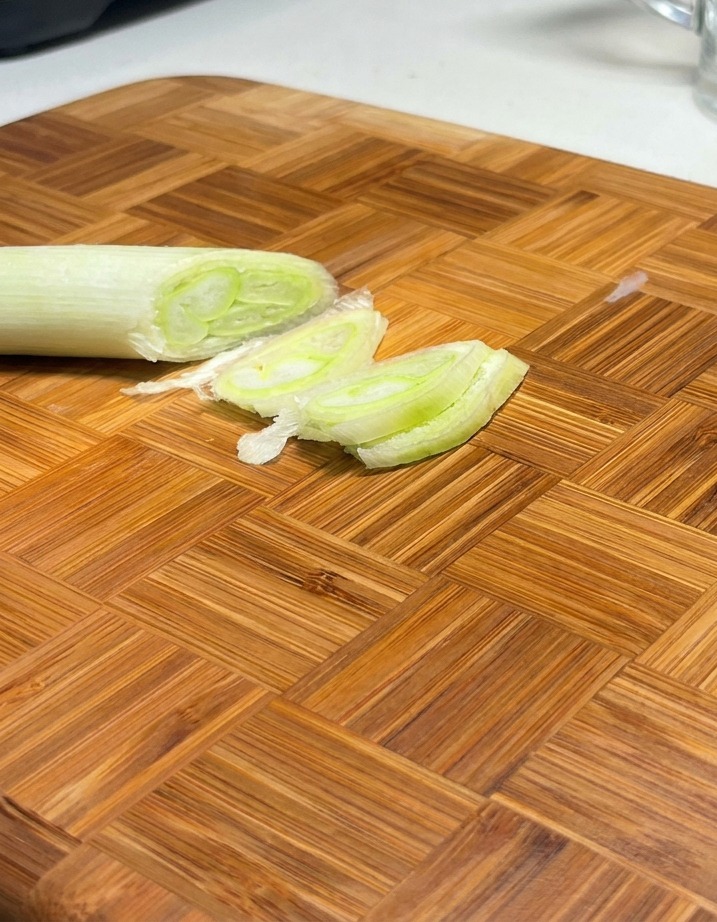
Cut the green scallions into diagonal, bite-sized pieces. These add a fresh crunch and a vibrant pop of color to the final dish, balancing the rich, savory flavors of the sauce and chicken.
Tip: Cutting scallions on a bias (diagonally) creates more surface area, allowing them to release more flavor quickly into the pan. - 3Prep the chicken thighs
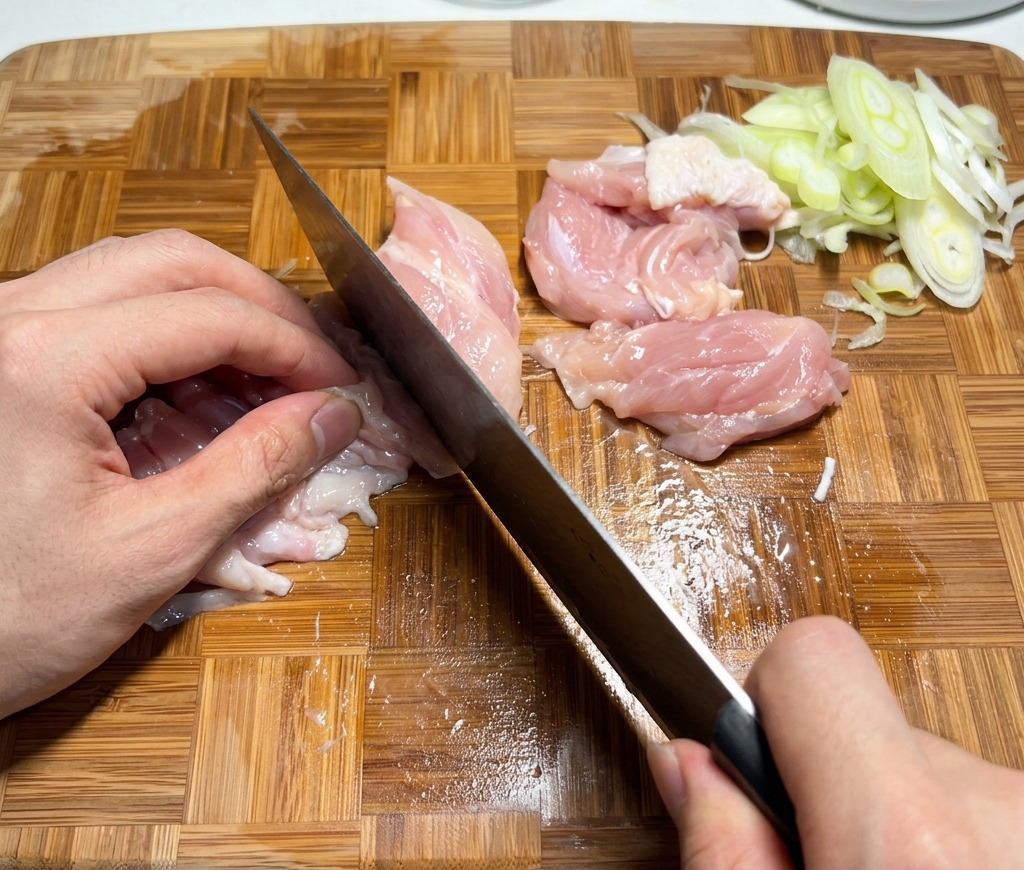
Cut the deboned chicken thighs into bite-sized pieces. Using thighs instead of breast meat ensures the chicken stays tender and juicy throughout the searing and simmering process.
Tip: Try to keep the chicken pieces roughly the same size so they cook evenly later in the pan. - 4Marinate the chicken
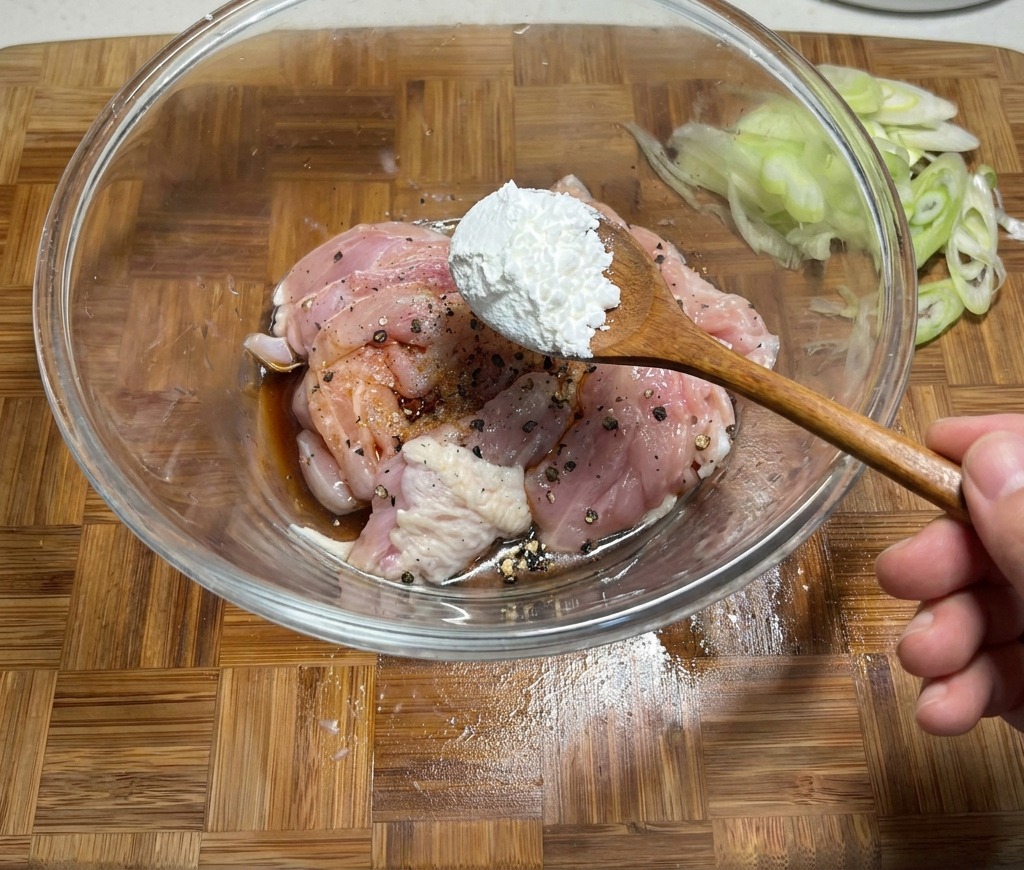
In a glass bowl, mix the chicken pieces with salt, soy sauce, black pepper, and a spoonful of cornstarch. The cornstarch creates a protective barrier that keeps the meat succulent and helps the sauce cling to it.
Tip: Let the chicken sit for at least 5-10 minutes if possible, allowing the marinade to penetrate the meat for better flavor. - 5Whisk the sauce
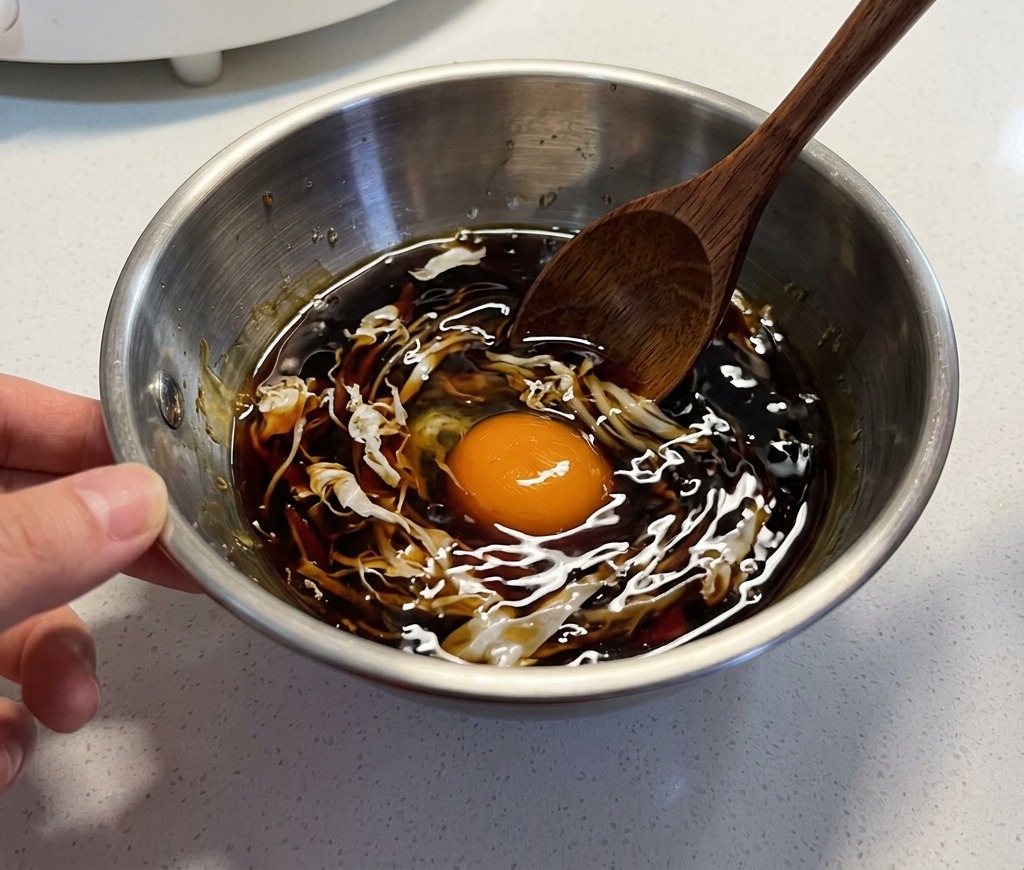
Combine soy sauce, oyster sauce, sugar, sake, and water in a small bowl and stir well. This mixture forms the classic sweet-and-savory base that makes Japanese Oyakodon so comforting and flavorful.
Tip: If you are using Japanese soy sauce, feel free to reduce or omit the sugar, as it often has a more delicate and balanced sweetness. - 6Sear the chicken
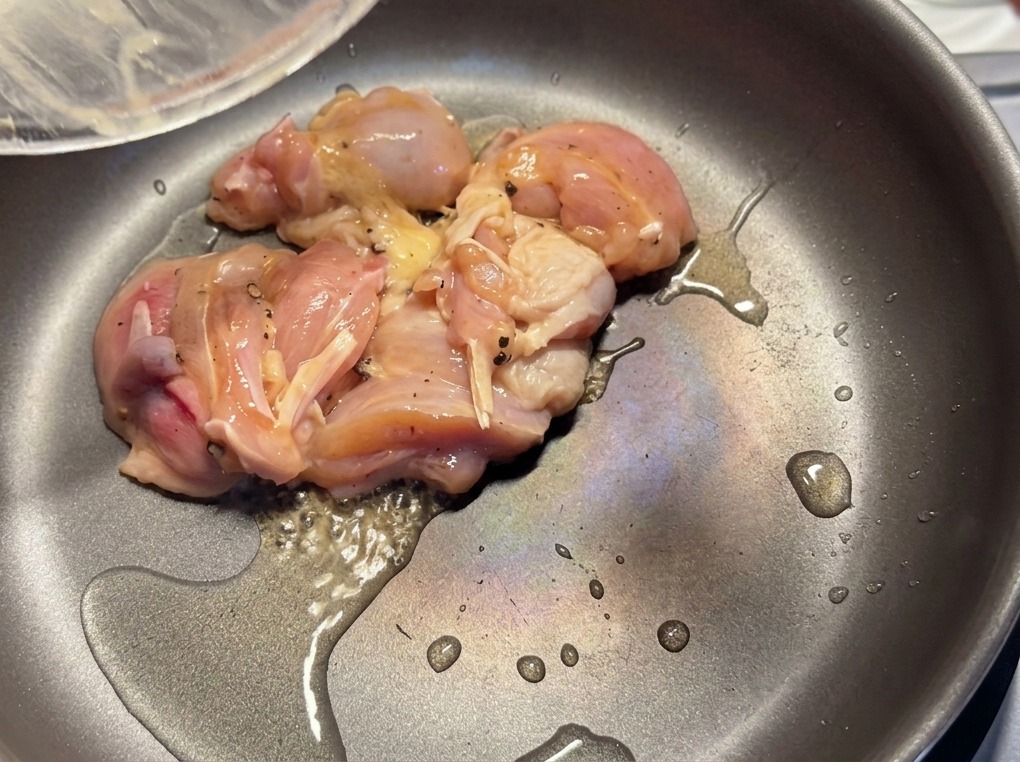
Heat a small amount of oil in a non-stick pan over medium heat. Add the marinated chicken pieces and cook until they are slightly golden on both sides, which develops a deep, savory flavor.
Tip: Use a non-stick pan to prevent the cornstarch coating from sticking and tearing away from the chicken meat. - 7Sauté onions with chicken
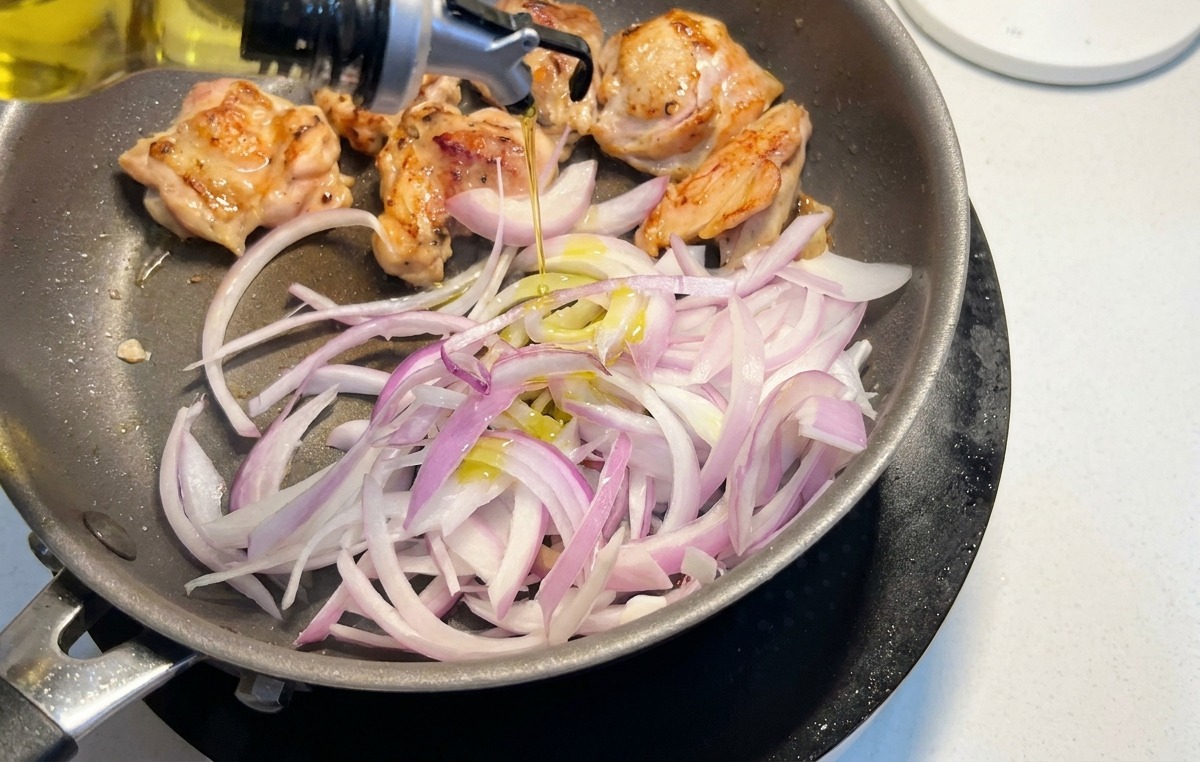
Once the chicken is lightly browned and golden on both sides add the sliced red onions to the pan. Sauté the onions together with the chicken to allow them to soften and absorb the savory juices from the meat. You can add a splash more oil at this stage to help the onions soften faster without burning.
Tip: Avoid over crowding the pan. Keeping the heat high ensures the onions caramelize rather than steam. - 8Pour in the sauce
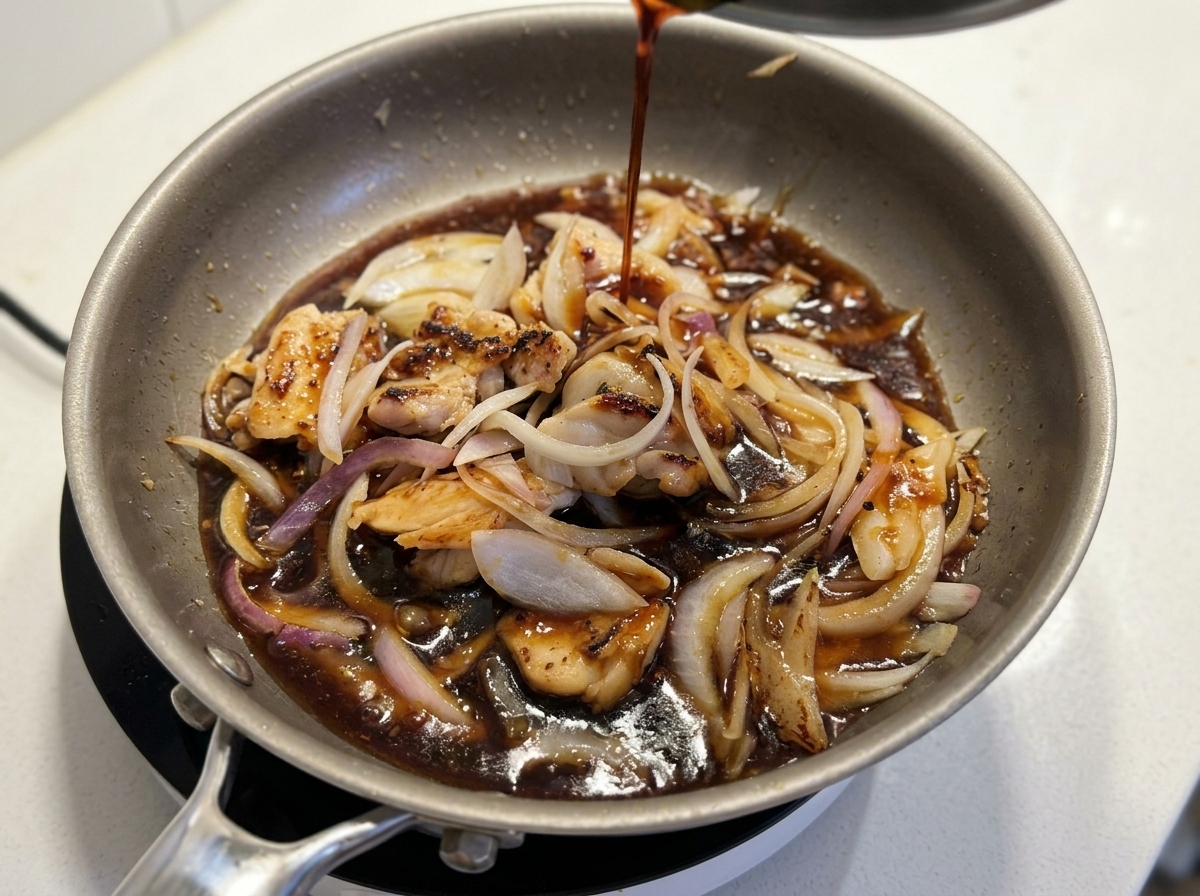
Pour the pre-mixed sauce—made of soy sauce, oyster sauce, sugar, sake, and water—over the chicken and onions. Stir gently to ensure the ingredients are evenly coated so the chicken can begin braising in the savory-sweet liquid.
Tip: Adjust the heat to medium-low after adding the sauce to prevent it from reducing too quickly or burning. - 9Simmer the chicken in the sauce
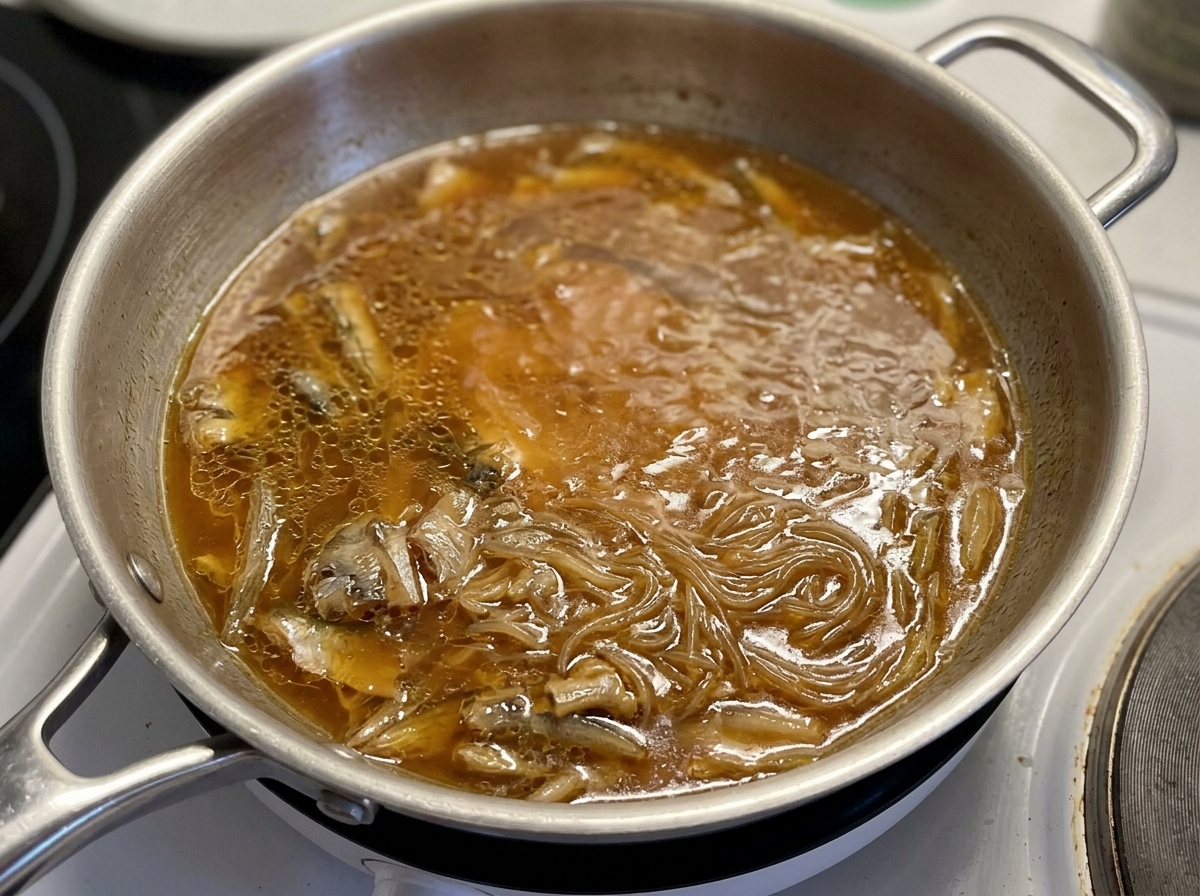
Place the lid on the pan and simmer over medium-low heat for about 2 minutes. This trapped steam ensures the chicken cooks through completely while remaining tender and absorbing the deep flavors of the sauce.
Tip: Simmering with the lid on creates a moist environment that keeps the chicken tender and prevents the sauce from reducing too much. - 10Add scallions
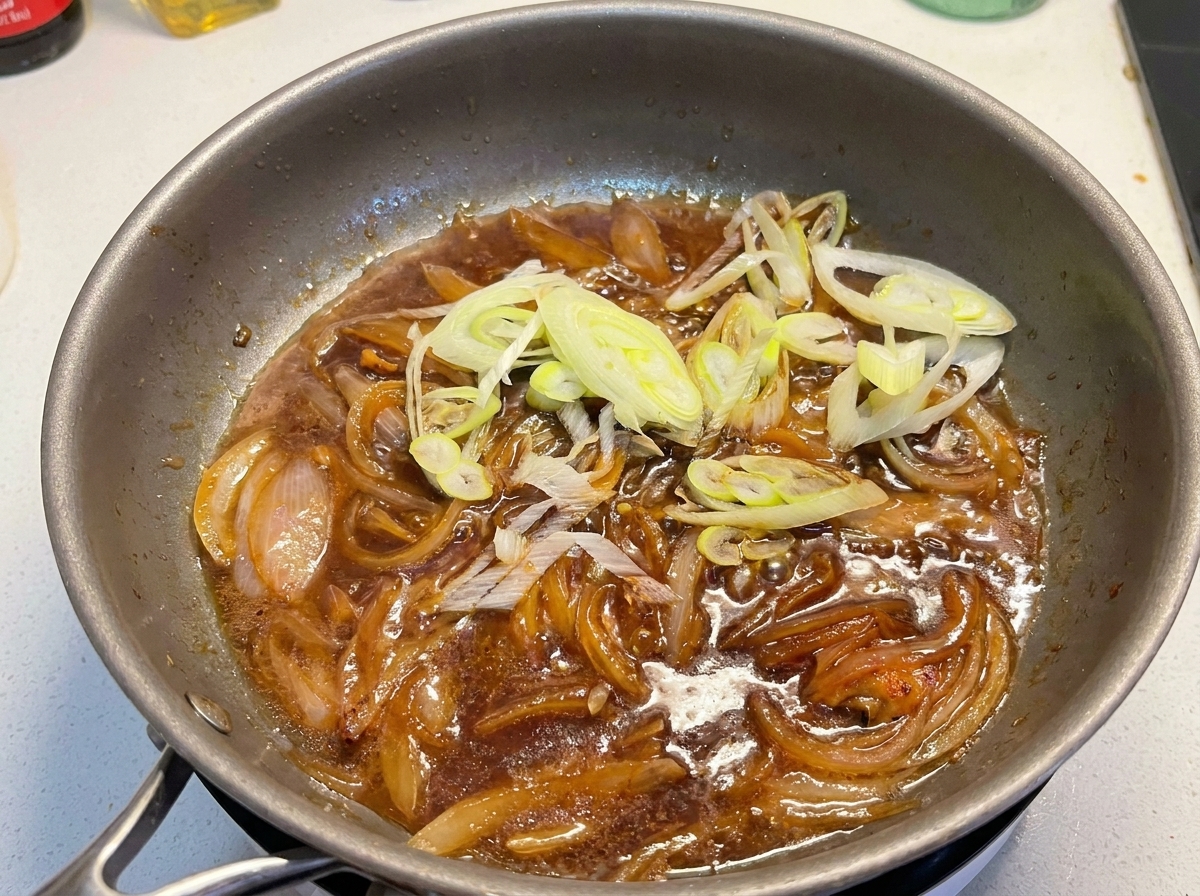
Briefly remove the chicken from the pan and place it over your bowl of rice. Back in the pan add the prepared scallions into the bubbling sauce. The scallions will add a fresh sharp contrast to the sweet and savory onion mixture.
Tip: Keeping the scallions for the final stages preserves their bright color and prevents them from becoming mushy. - 11Pour the egg mixture
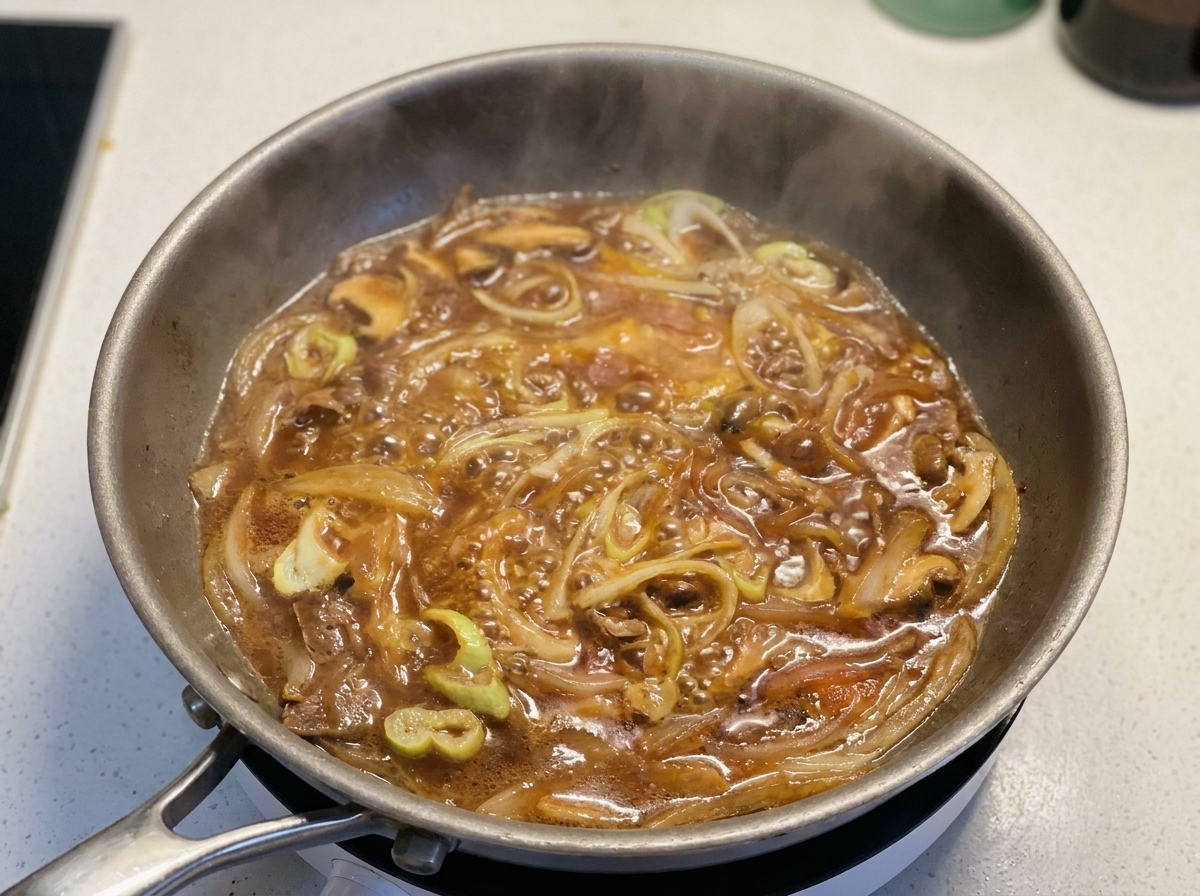
Gently pour two beaten eggs over the simmering onions and scallions in the pan. Do not stir them immediately. Let the eggs set slightly in the hot sauce to create soft silky ribbons that coat the onions.
Tip: For a classic Oyakodon texture aim for a soft scramble where the eggs are still slightly runny when removed from the heat. - 12Plating the Oyakodon
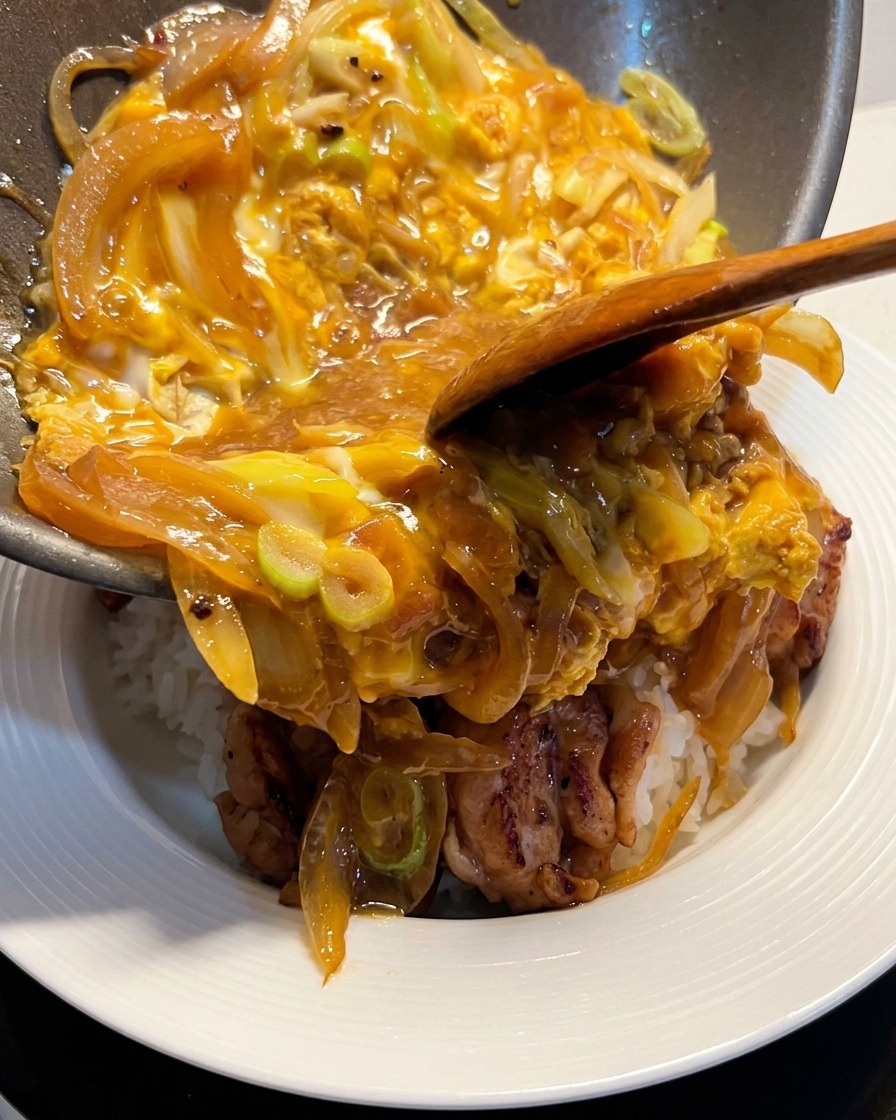
Carefully slide the cooked egg and onion mixture from the pan directly onto the rice and chicken. The sauce and eggs should drape over the chicken, creating a rich and comforting bowl. Serve immediately while hot for the best flavor and texture.
Tip: Tilt the pan at a steep angle and use a spoon or spatula to guide the eggs smoothly onto the rice to maintain the presentation.