Authentic Oyakodon (Japanese Chicken
Egg Rice Bowl)
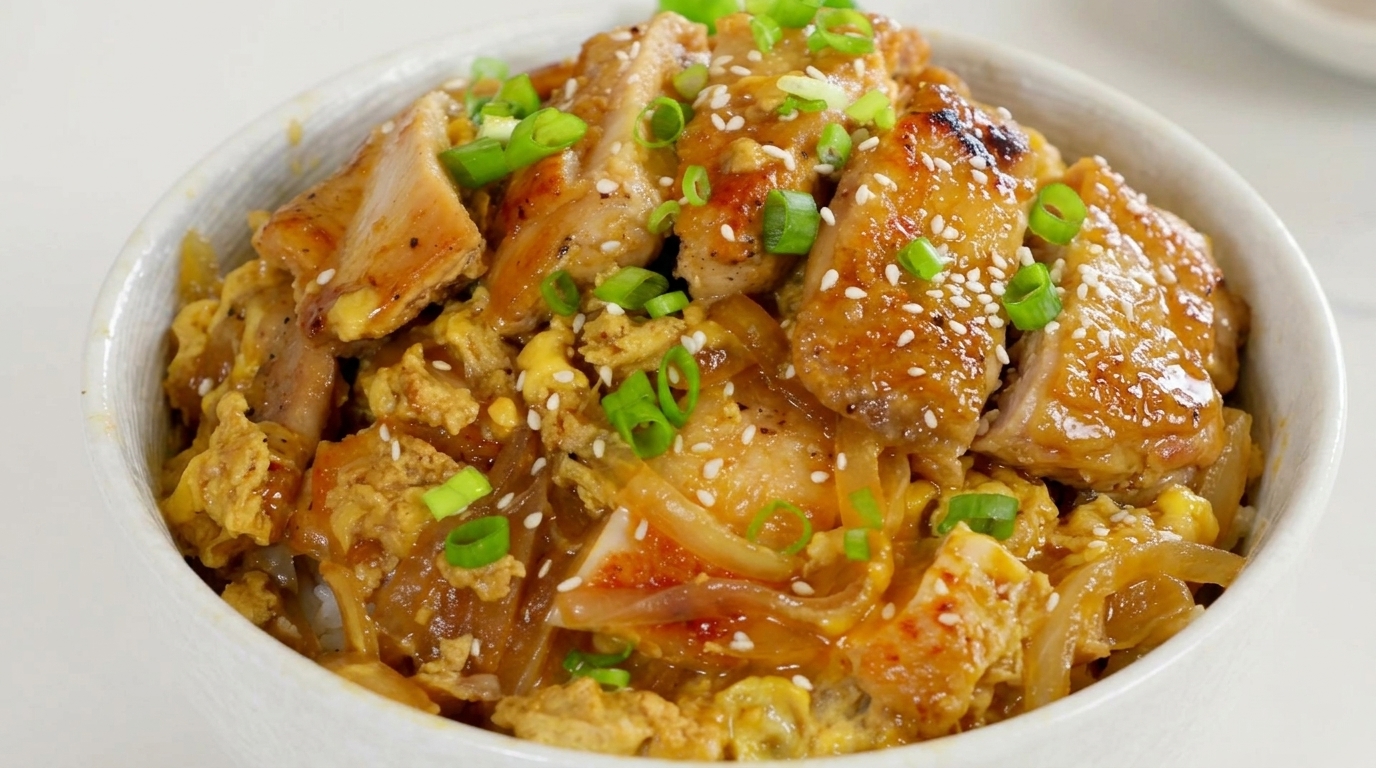
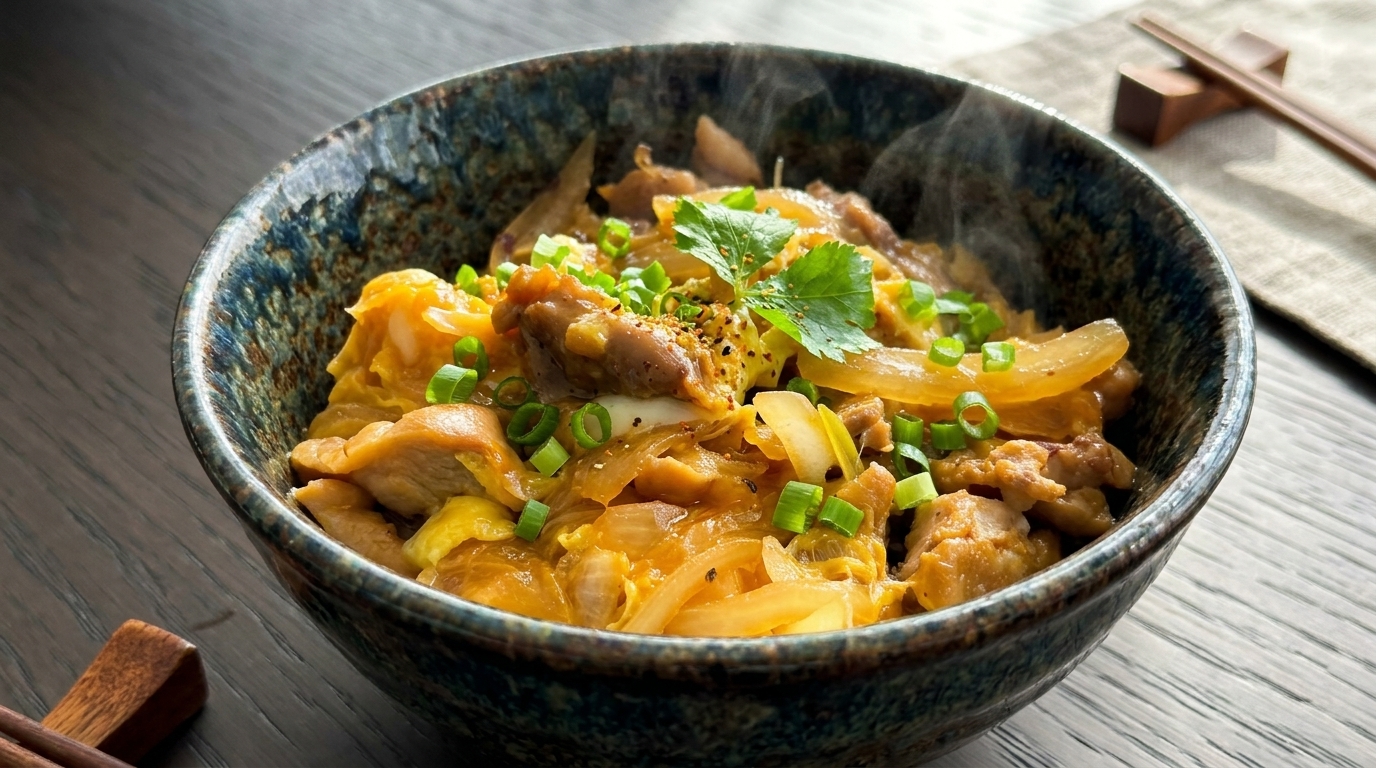
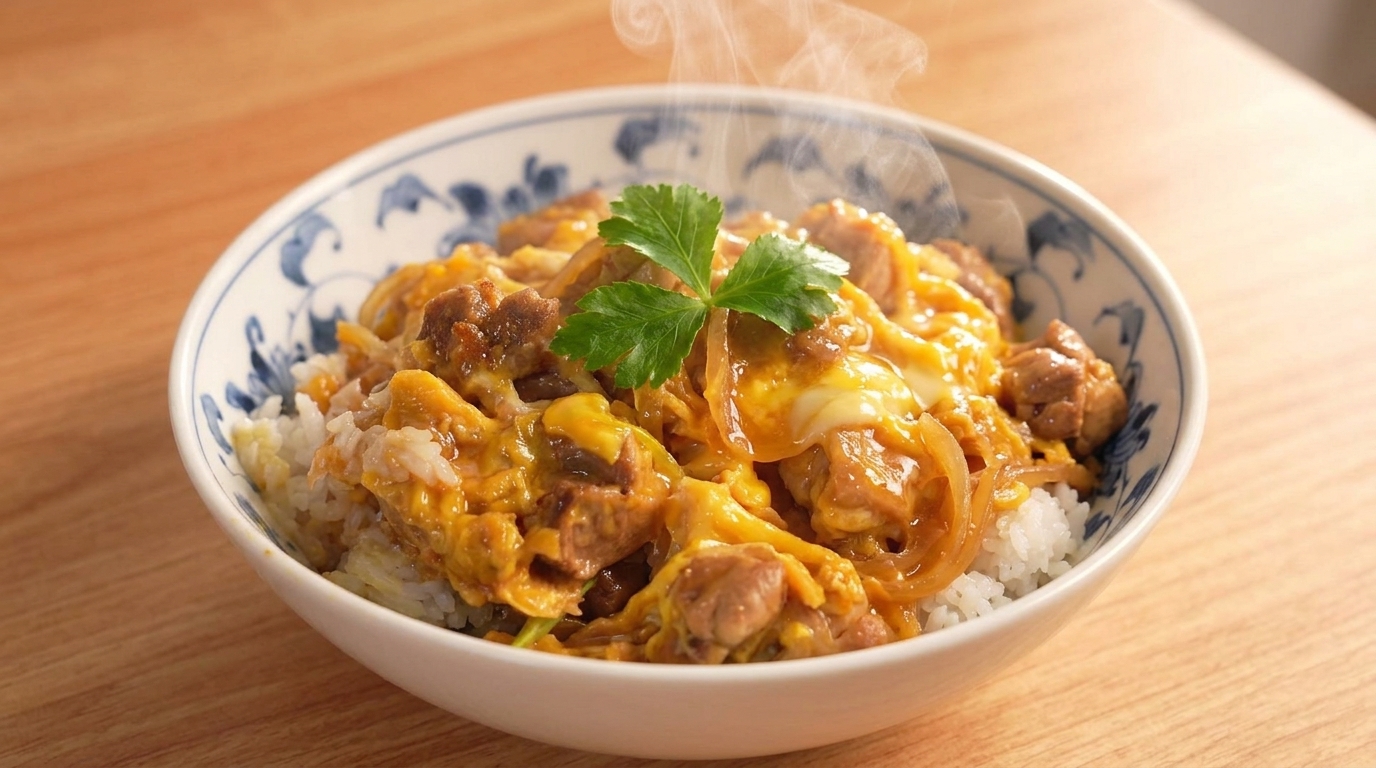
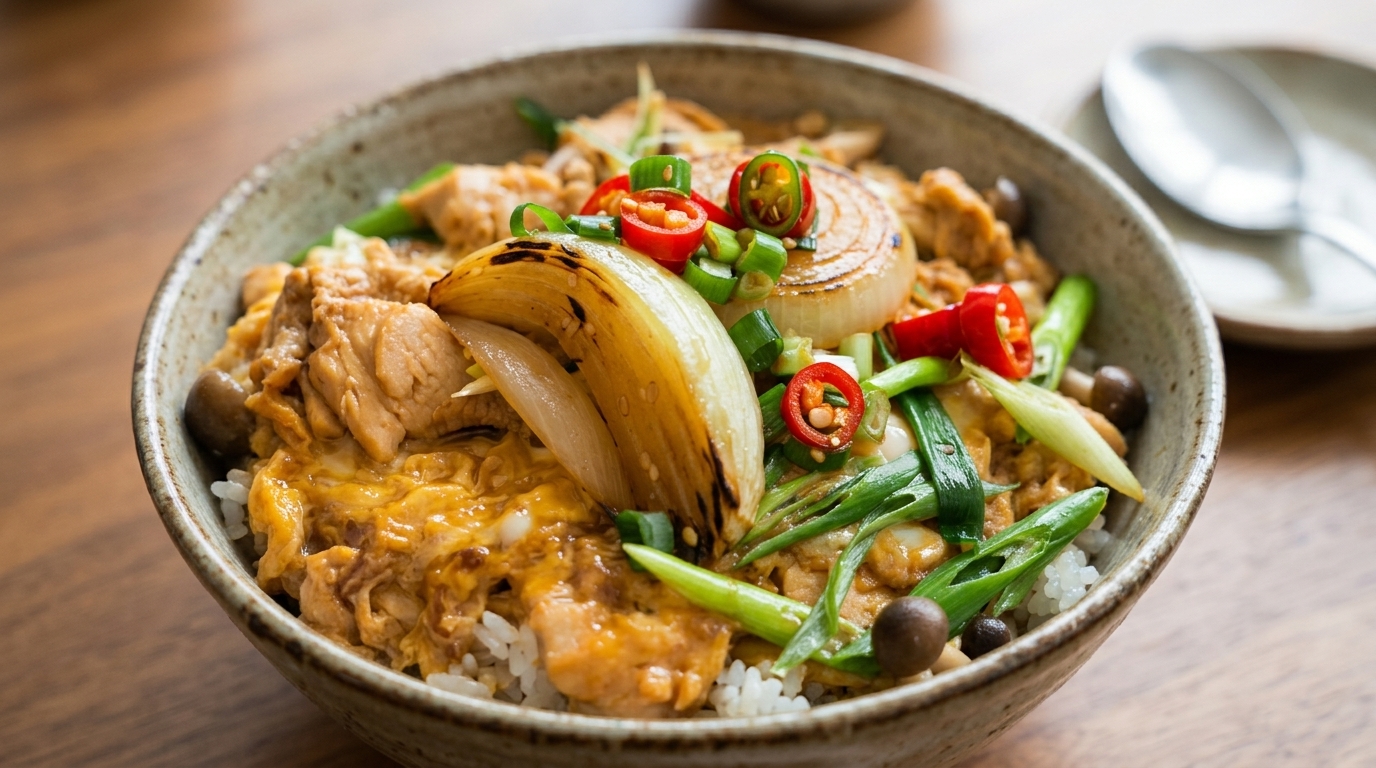
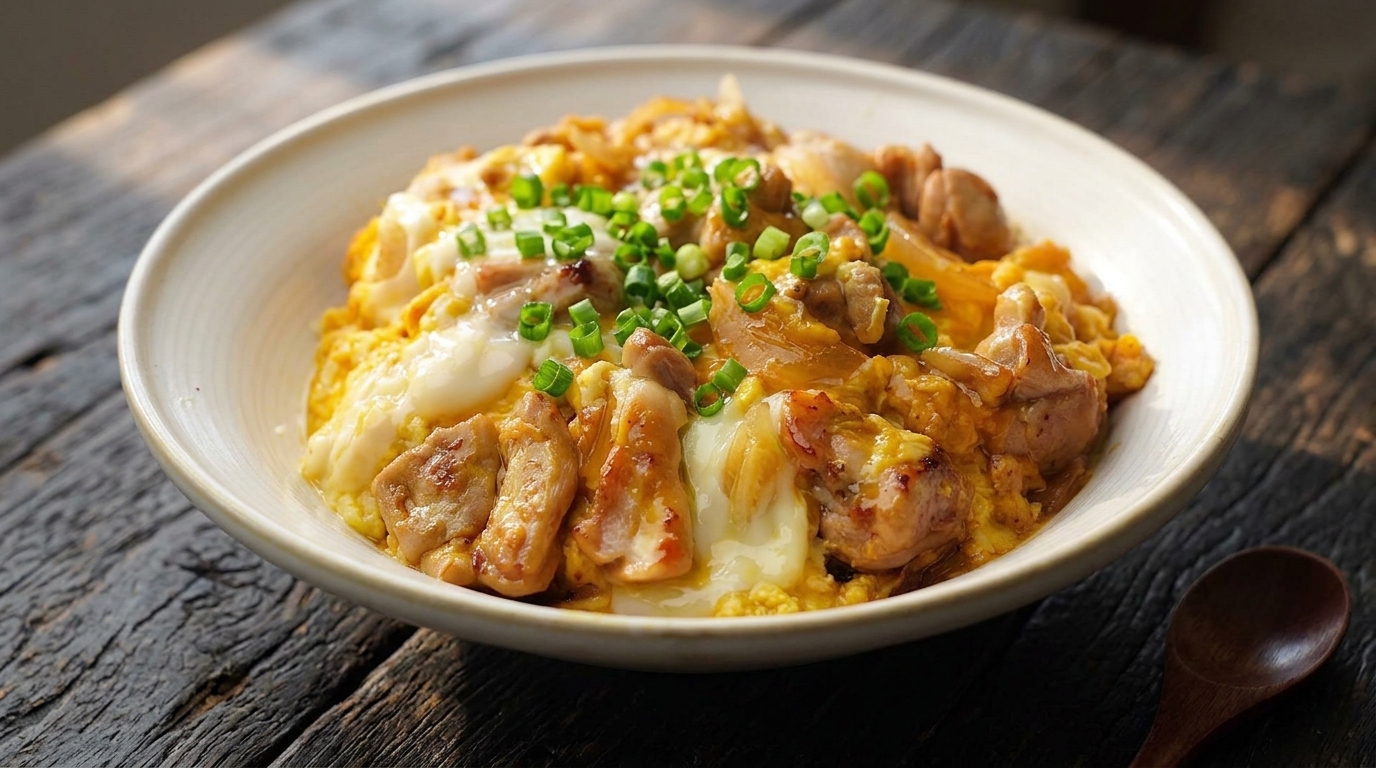
A soul-warming Japanese classic featuring tender seared chicken and silky, half-cooked eggs simmered in a sweet-savory dashi broth over fluffy white rice.
Oyakodon translates literally to parent-and-child bowl, a poetic reference to the chicken and egg that make up its heart. This dish is a cornerstone of Japanese home cooking, prized for its delicate balance of umami and sweetness. While many recipes simmer the meat directly in broth, pan-searing the chicken first—as shown here—creates a modern, savory depth that elevates the entire bowl.
Ingredients
- 1 whole chicken leg (deboned)
- 3 pasteurized eggs
- 12 yellow onion
- 100 ml Japanese simmer sauce (dashi, soy sauce, mirin, sugar)
- 1 bowl steamed white rice
- to taste chopped green onions
Instructions
- 1Debone the chicken
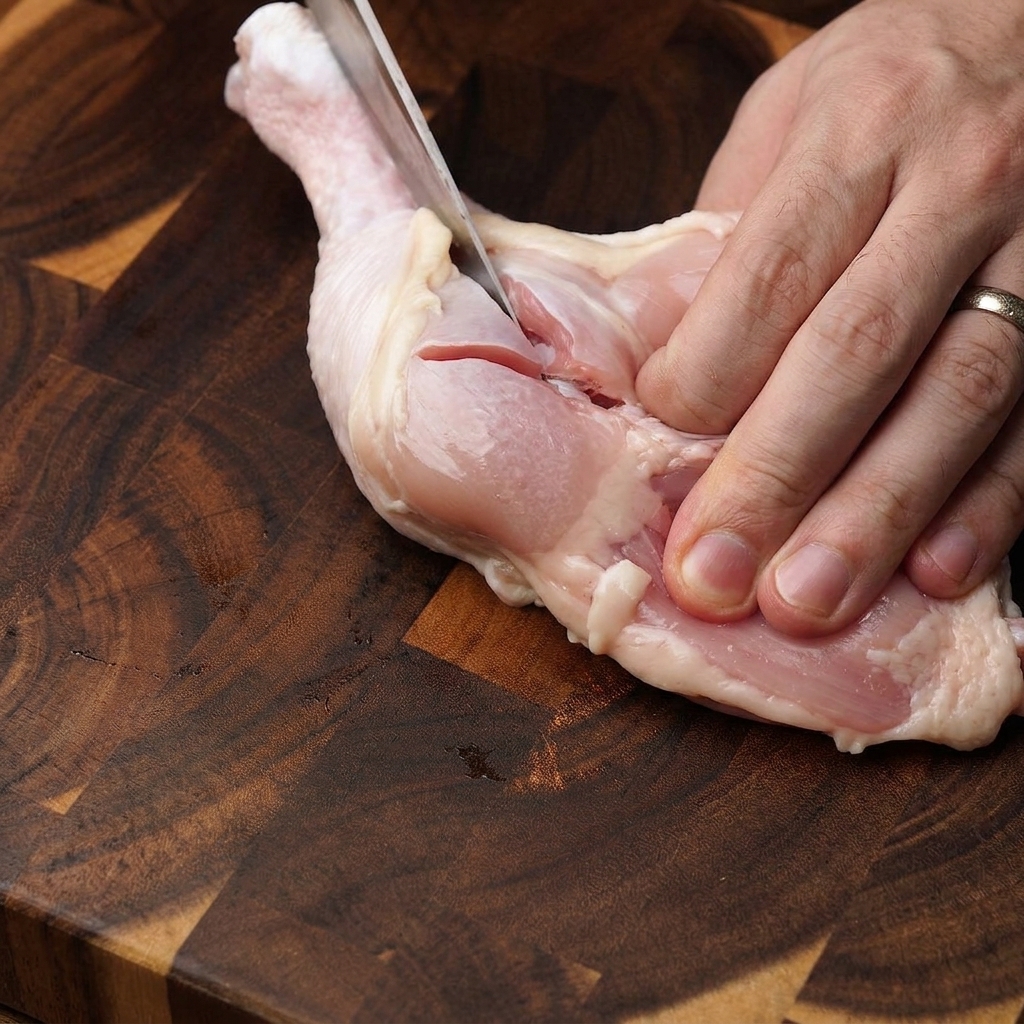
Carefully cut open the whole chicken leg using a sharp knife to separate the meat from the bone. Keep the skin intact, as it will render flavorful fat when pan-fried later and add a delicious texture to the dish.
Tip: Use a sharp boning knife or a smaller utility knife to cut closely along the bone, minimizing any meat waste. - 2Chop into bite-sized pieces
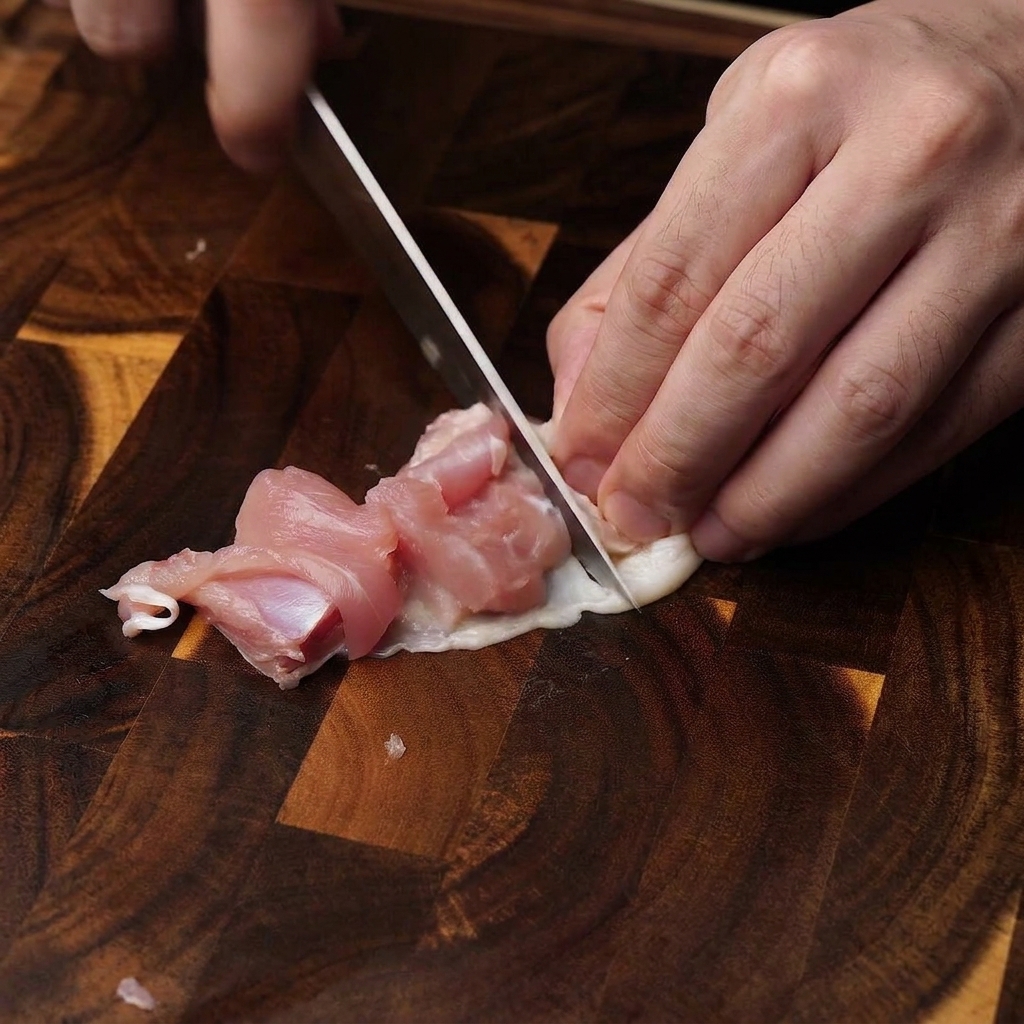
Once the chicken is completely deboned, slice the meat into even, bite-sized chunks. Making the pieces uniform ensures they cook evenly in the pan and are perfectly sized for eating with chopsticks over a bowl of rice.
Tip: Keep the pieces roughly the same size so they pan-fry evenly without some drying out while others remain undercooked. - 3Crack the eggs
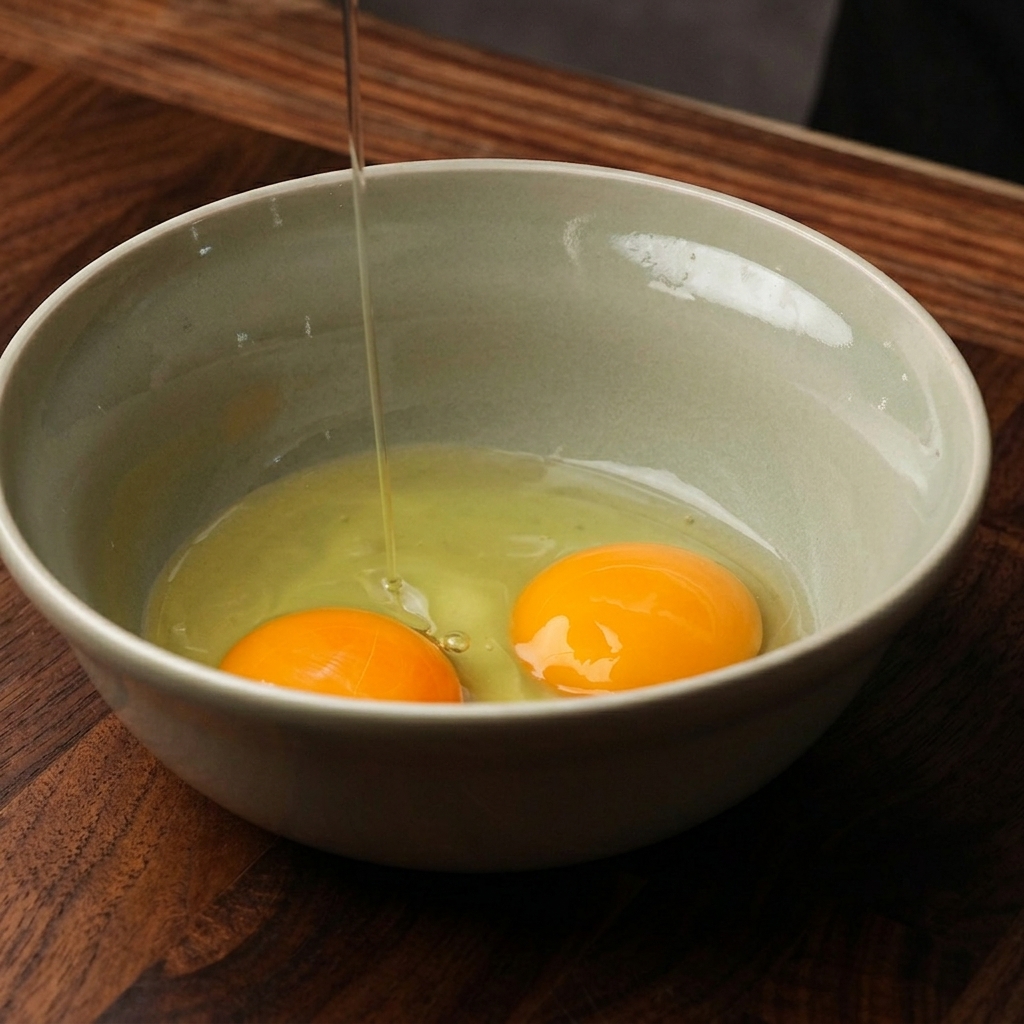
Crack three fresh pasteurized eggs into a small bowl. Using high-quality pasteurized eggs is highly recommended for this dish, as authentic Japanese Oyakodon features a wonderfully rich, partially cooked, and soft egg topping.
Tip: Always crack eggs on a flat surface rather than the edge of the bowl to prevent eggshell shards from being pushed inside. - 4Whisk loosely
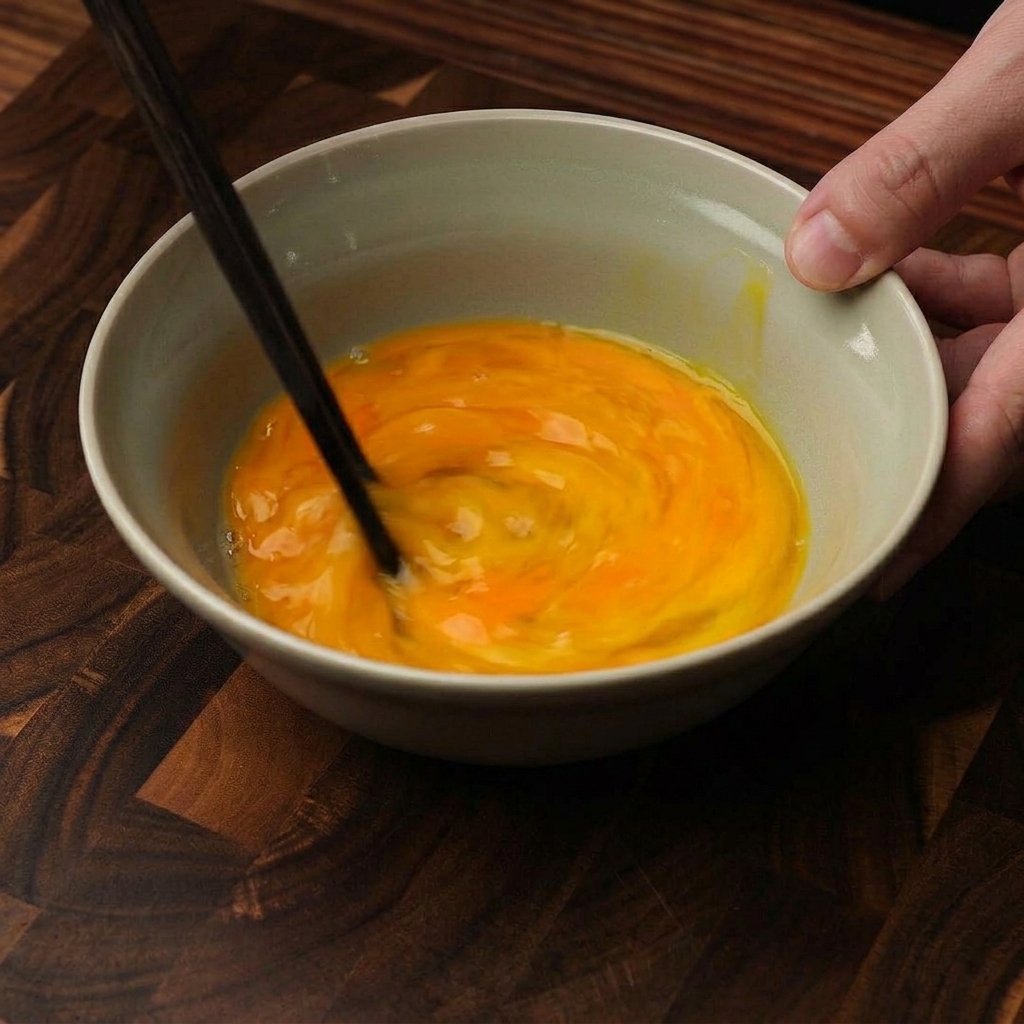
Use chopsticks to lightly break the yolks. The key to a beautiful Oyakodon is to avoid over-whisking; leaving distinct streaks of egg white creates a marbled, custardy texture in the finished bowl.
Tip: Do not whisk the eggs until completely smooth; just a few gentle folds and swirls with chopsticks are enough. - 5Slice the onion
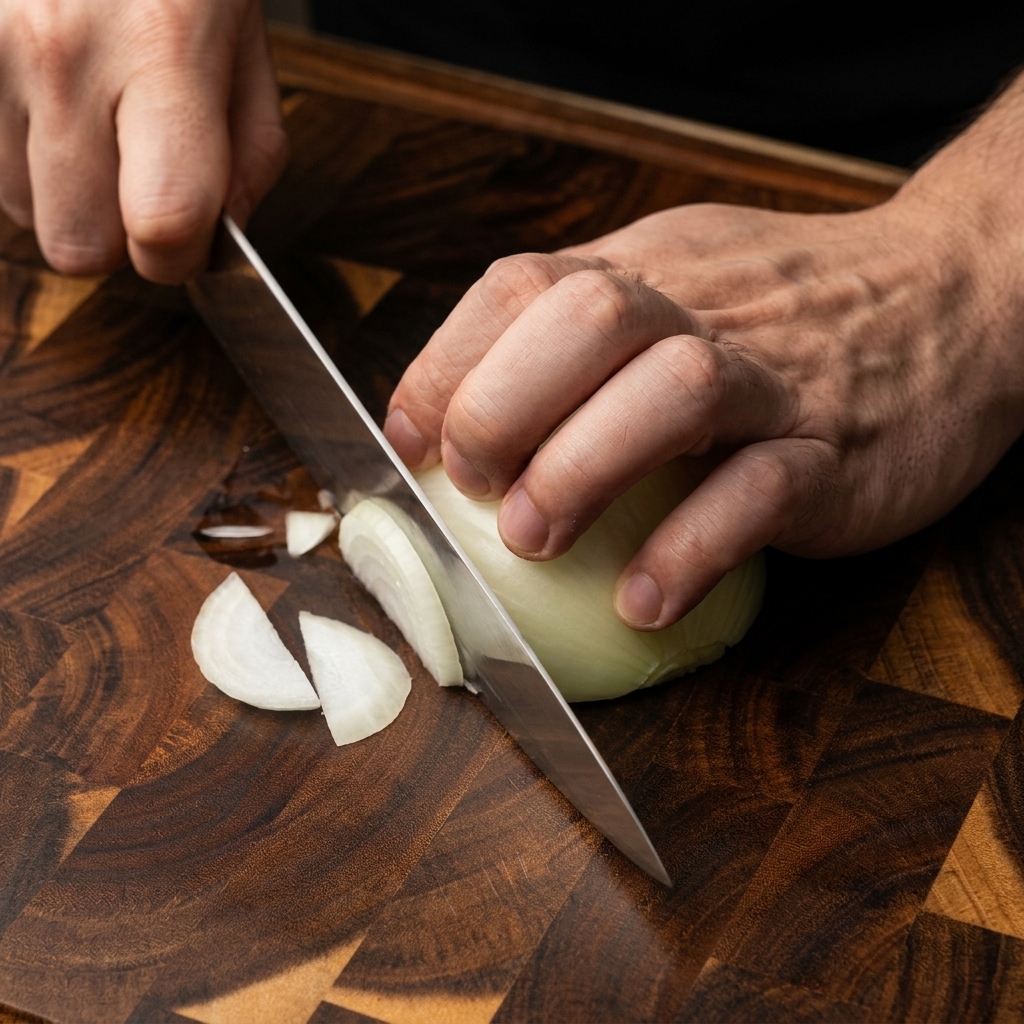
Cut the yellow onion in half and slice it into even strips. The onion will be stir-fried alongside the chicken shortly, absorbing the savory sauce and adding a wonderful natural sweetness to the finished dish.
Tip: Slice the onion along the grain (from root to stem) for pieces that will hold their shape better during the simmering process. - 6Prepare the sauce
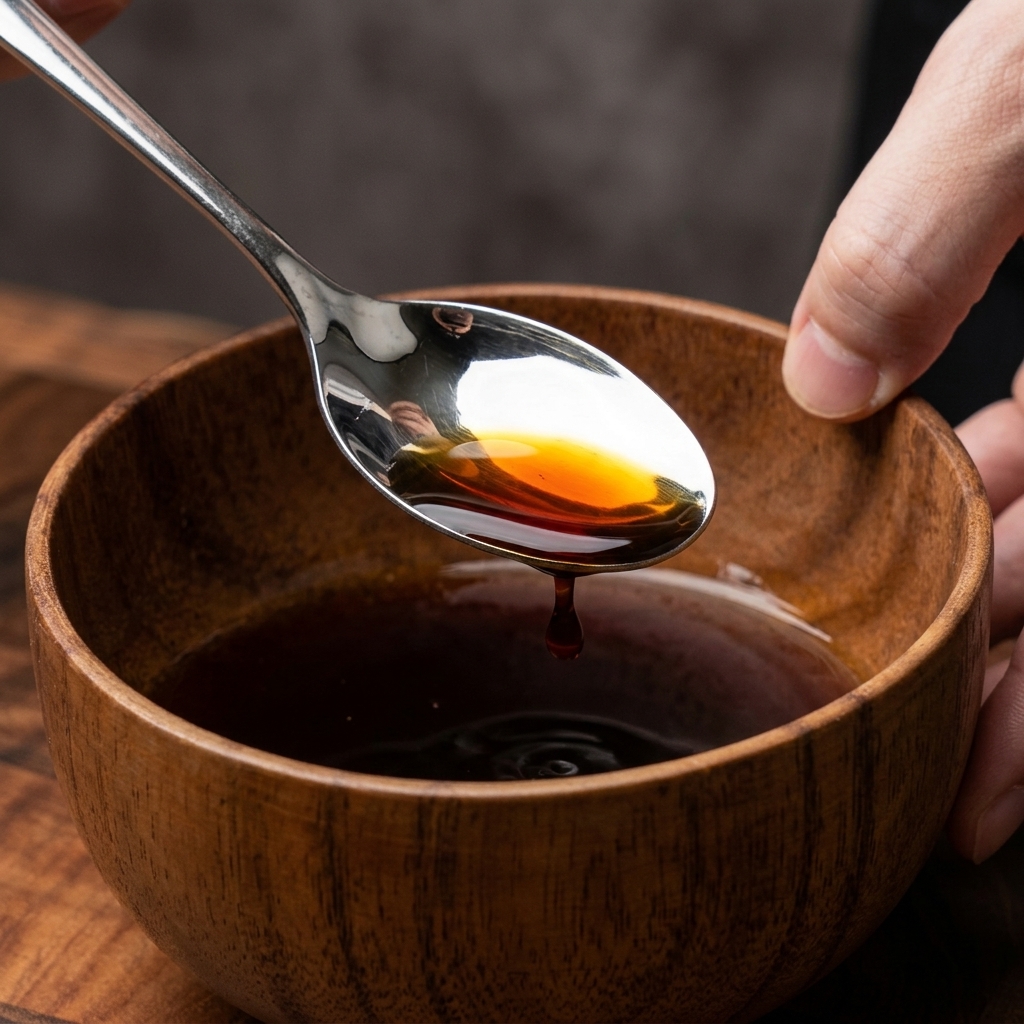
Mix your dark, savory Japanese-style sauce in a small bowl. This liquid will form the flavorful braising base for the chicken and onions, providing that signature sweet and umami profile that pairs perfectly with steamed rice.
Tip: If you dont have a pre-made Japanese simmer sauce, you can easily combine soy sauce, mirin, dashi stock, and a little sugar. - 7Sear the chicken
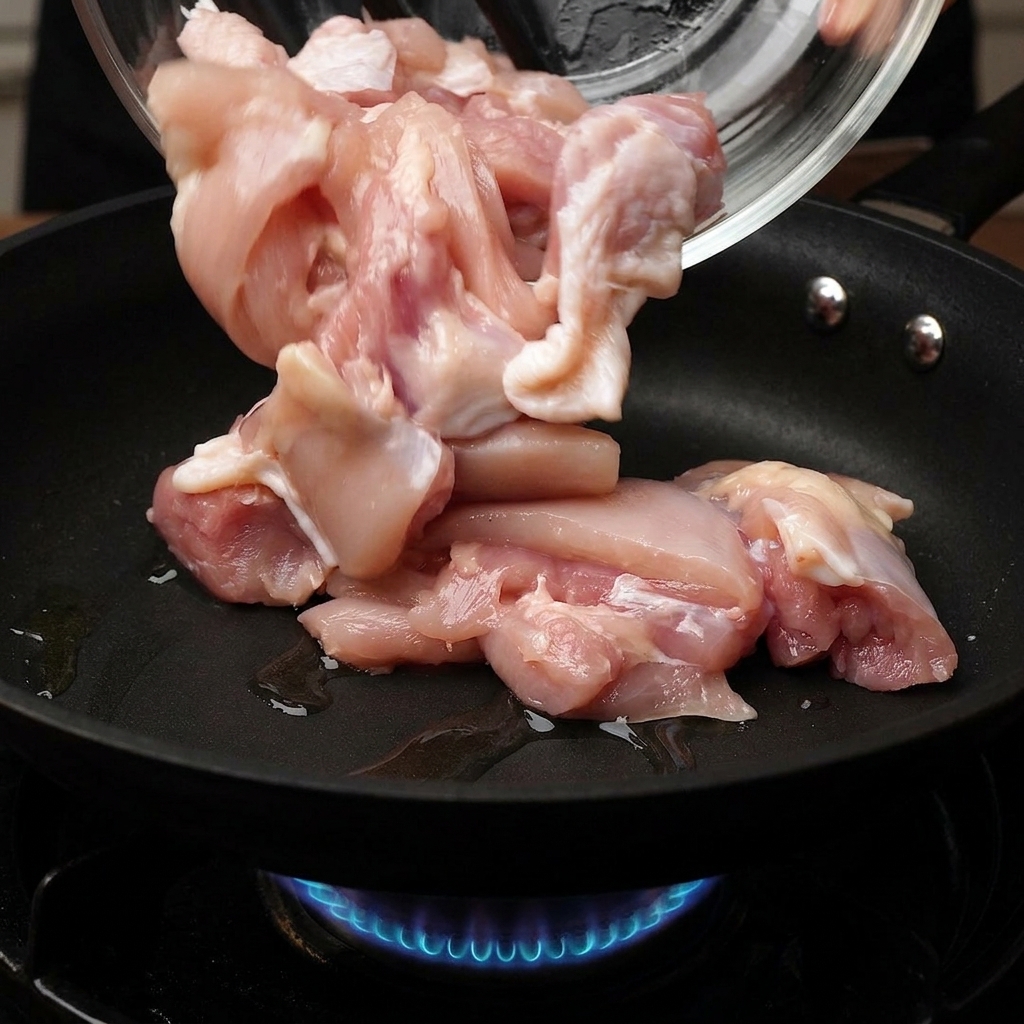
Heat a pan over medium-high heat with a little oil. Carefully add the bite-sized chicken leg pieces. While the traditional Japanese method often involves simmering the raw chicken directly in the sauce, pan-frying it first develops a richer, more savory flavor through caramelization.
Tip: Dont crowd the pan. If the chicken pieces are too close together, they will steam instead of searing. - 8Brown the chicken
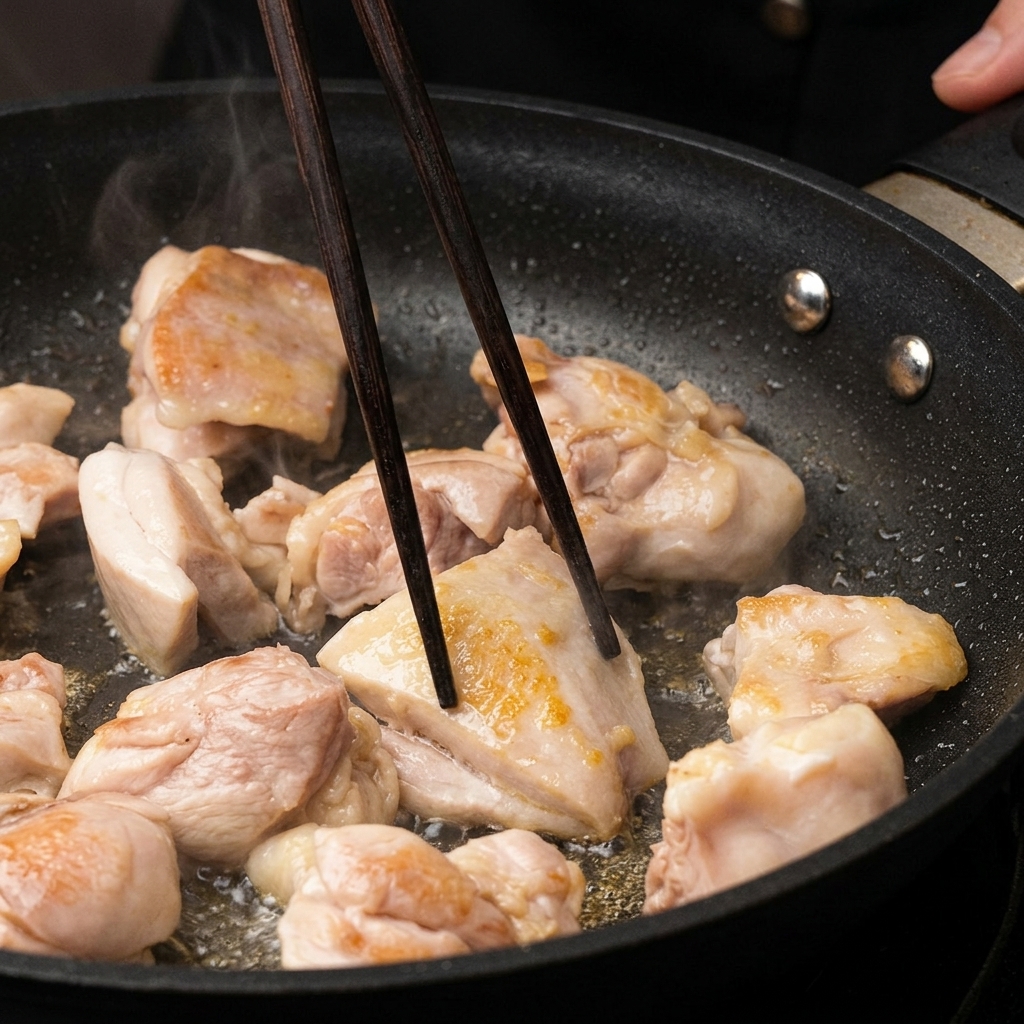
Use chopsticks or tongs to turn the chicken pieces. Cook until they are fragrant and have developed a light golden-brown crust on the surface. They dont need to be fully cooked through at this stage as they will continue to simmer later.
Tip: Wait for the chicken to release naturally from the pan before flipping; if it sticks, it hasnt formed a proper crust yet. - 9Introduce the onions
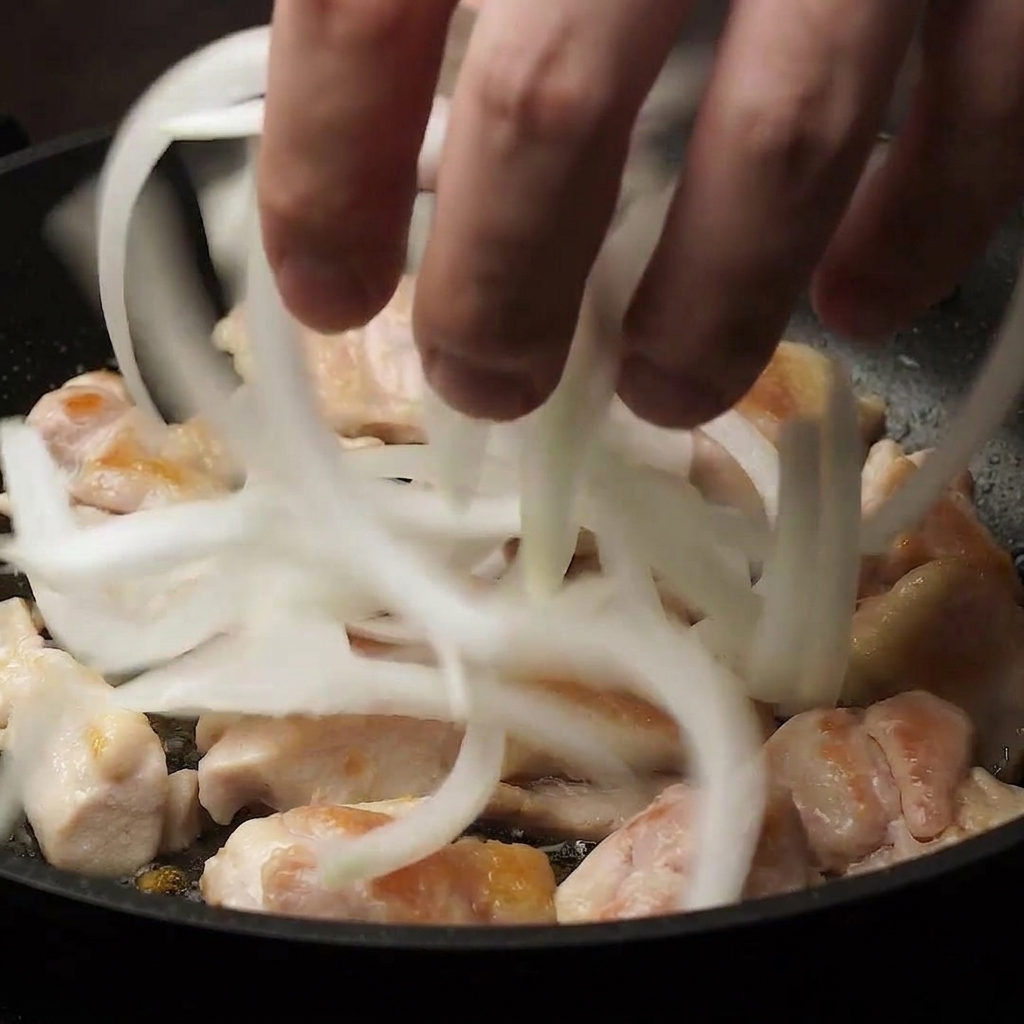
Once the chicken has developed a golden crust, toss in the sliced yellow onions. They will soften and begin to absorb the rendered fat from the chicken, laying the foundation for a sweet and savory base.
- 10Sauté the chicken and onion
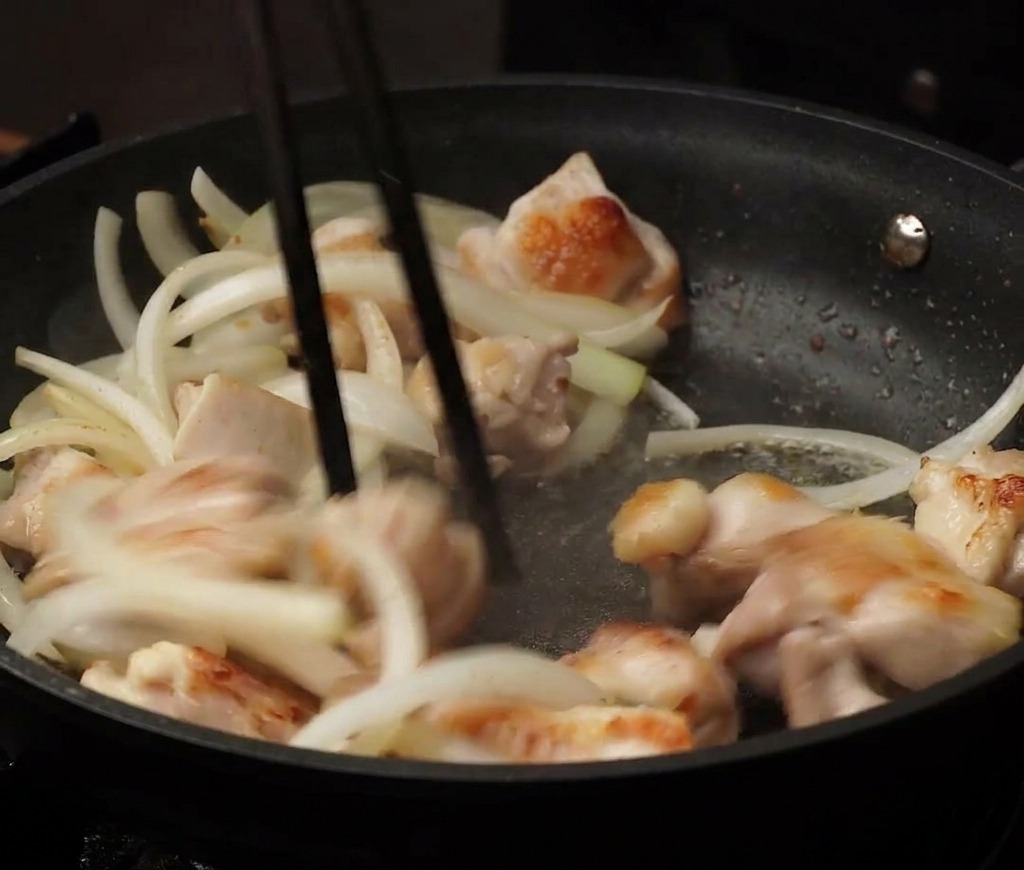
Continue to stir-fry the meat and vegetables together so the onions soften completely and the chicken absorbs the initial heat. This step ensures the textures are consistent before adding the liquid base.
Tip: Pat the chicken dry before adding it to the pan to ensure it sears properly rather than steaming in its own moisture. - 11Pour in the sauce
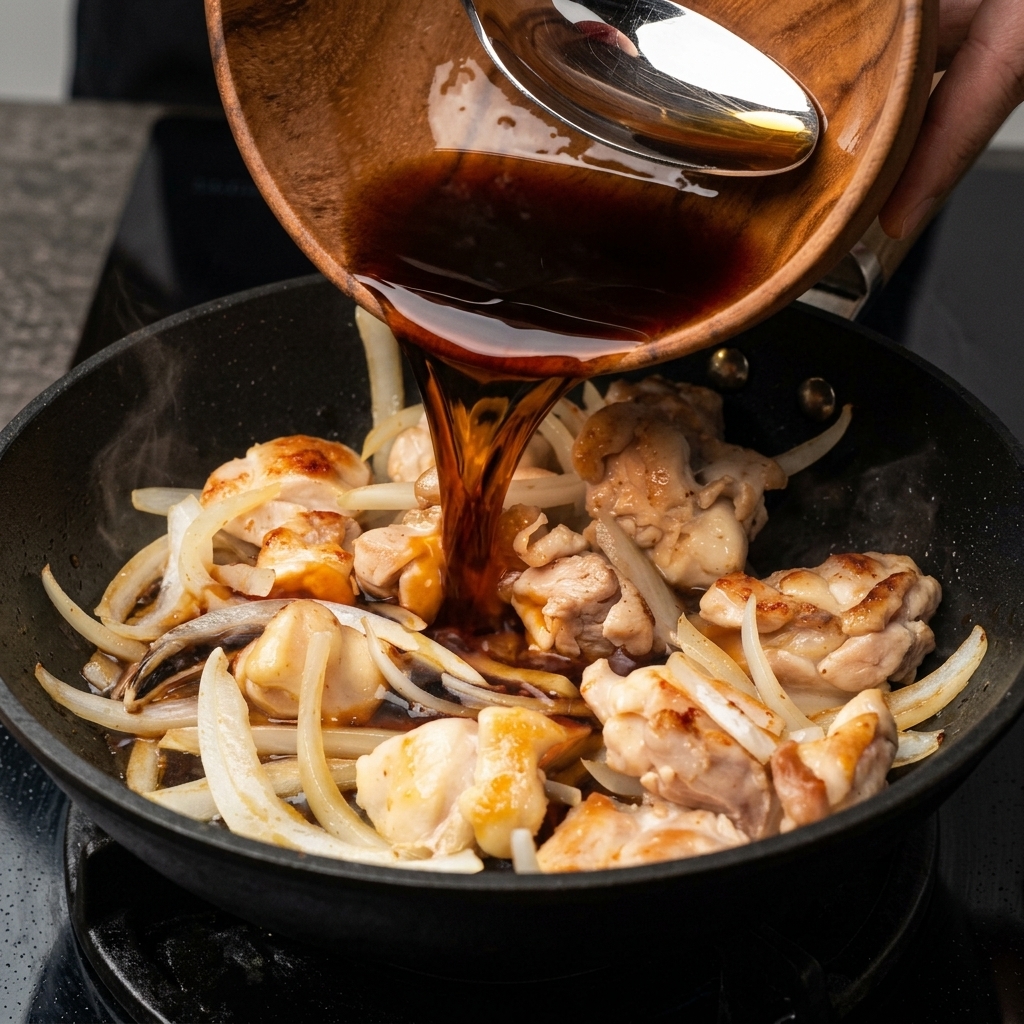
Carefully pour the prepared savory Japanese sauce over the mixture in the pan. Ensure the liquid covers the base evenly so the chicken and onions can simmer in the flavorful dashi and soy blend.
Tip: If you do not have pre-made Japanese sauce, a simple mix of soy sauce, sugar, and a splash of water or stock works as a quick substitute. - 12Cover and simmer
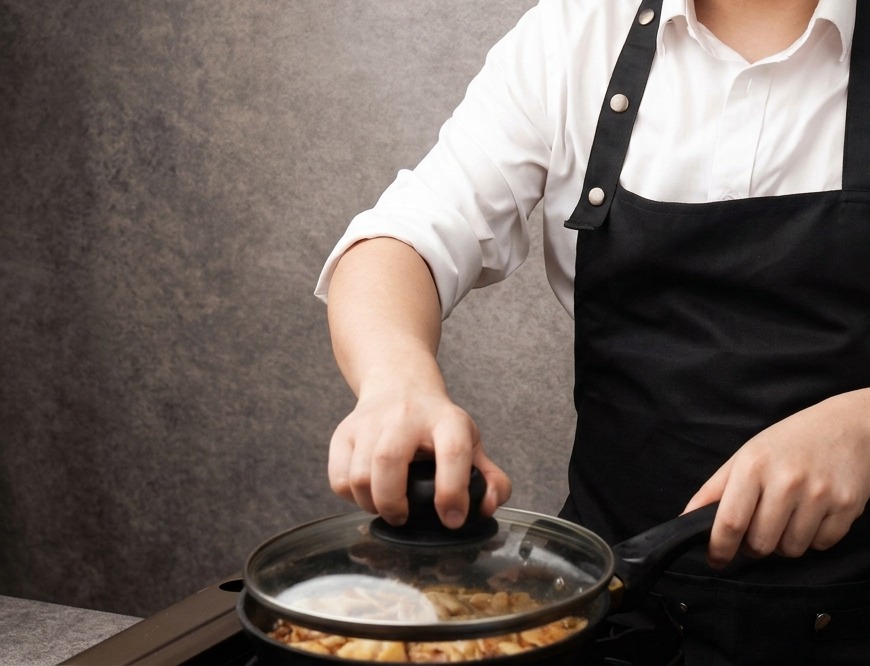
After adding the Japanese sauce to the sautéed chicken and onions, place a lid on the pan. Turn the heat down to low and let the mixture simmer for about 5 minutes. This step is crucial for the chicken to absorb the sweet and savory flavors while becoming tender and juicy.
Tip: A glass lid is ideal here so you can monitor the bubbling sauce and ensure it doesnt reduce too quickly without needing to lift the lid and lose heat. - 13Pour the egg liquid
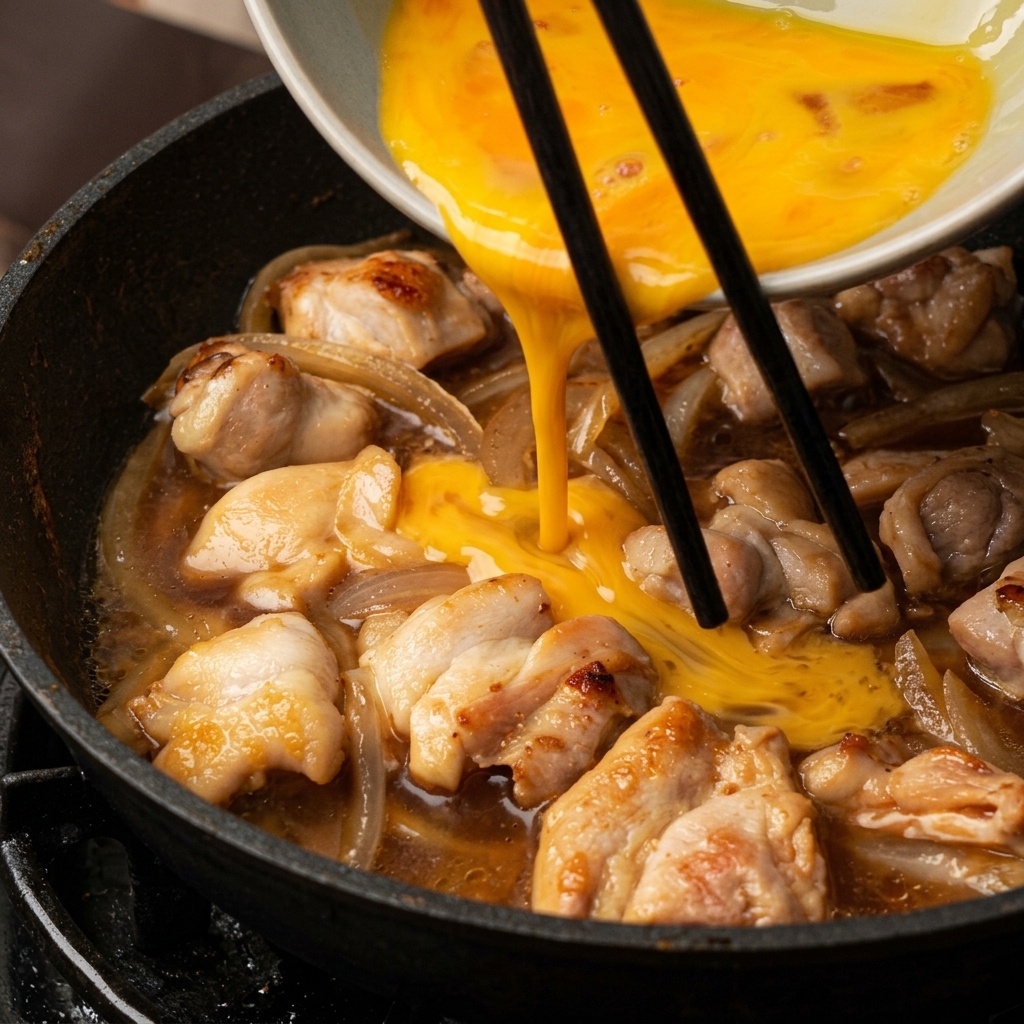
Slowly pour the lightly beaten eggs over the simmering chicken and onions in a circular motion. This ensures the eggs coat the ingredients evenly for a uniform topping.
Tip: Pour the egg in a circular motion starting from the center and moving outwards to ensure even coverage over the meat. - 14Cover and steam the eggs
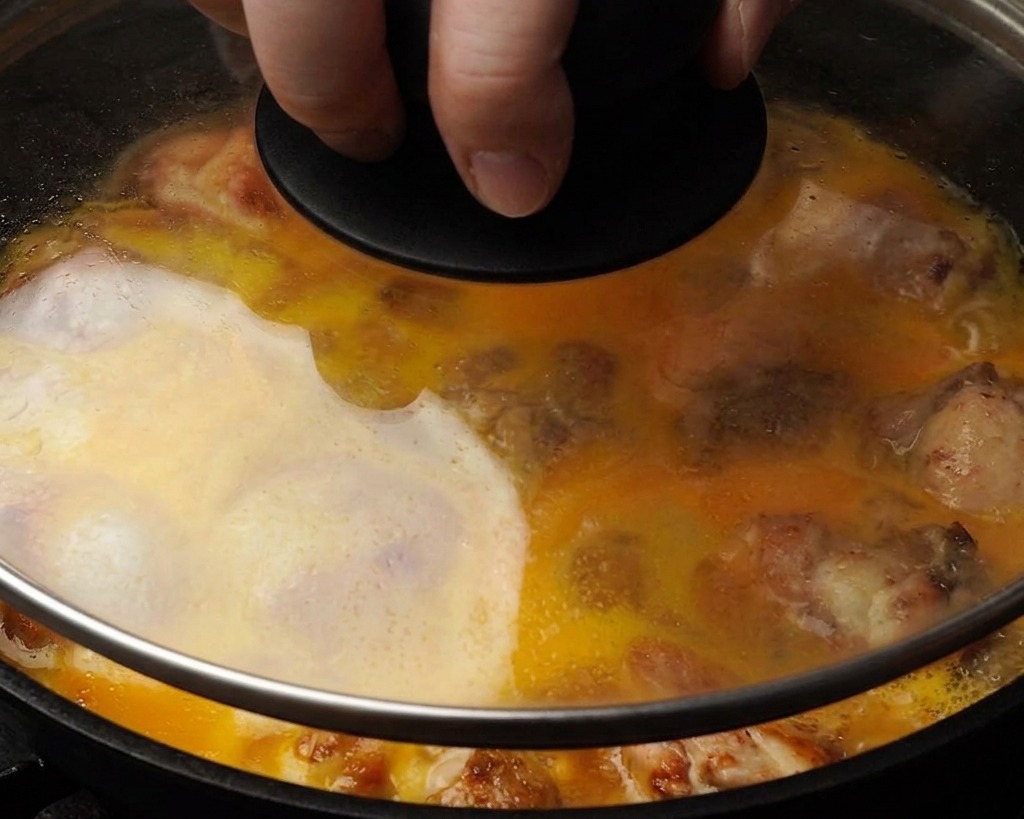
Immediately cover the pan with a lid once the eggs are added. Let the mixture steam for roughly 90 seconds. This method uses trapped heat to create a silky and custardy egg texture that defines a high-quality rice bowl.
Tip: Avoid over-whisking the eggs, as leaving visible streaks of egg white provides a better texture and a more authentic appearance to the final dish. - 15Finish the eggs
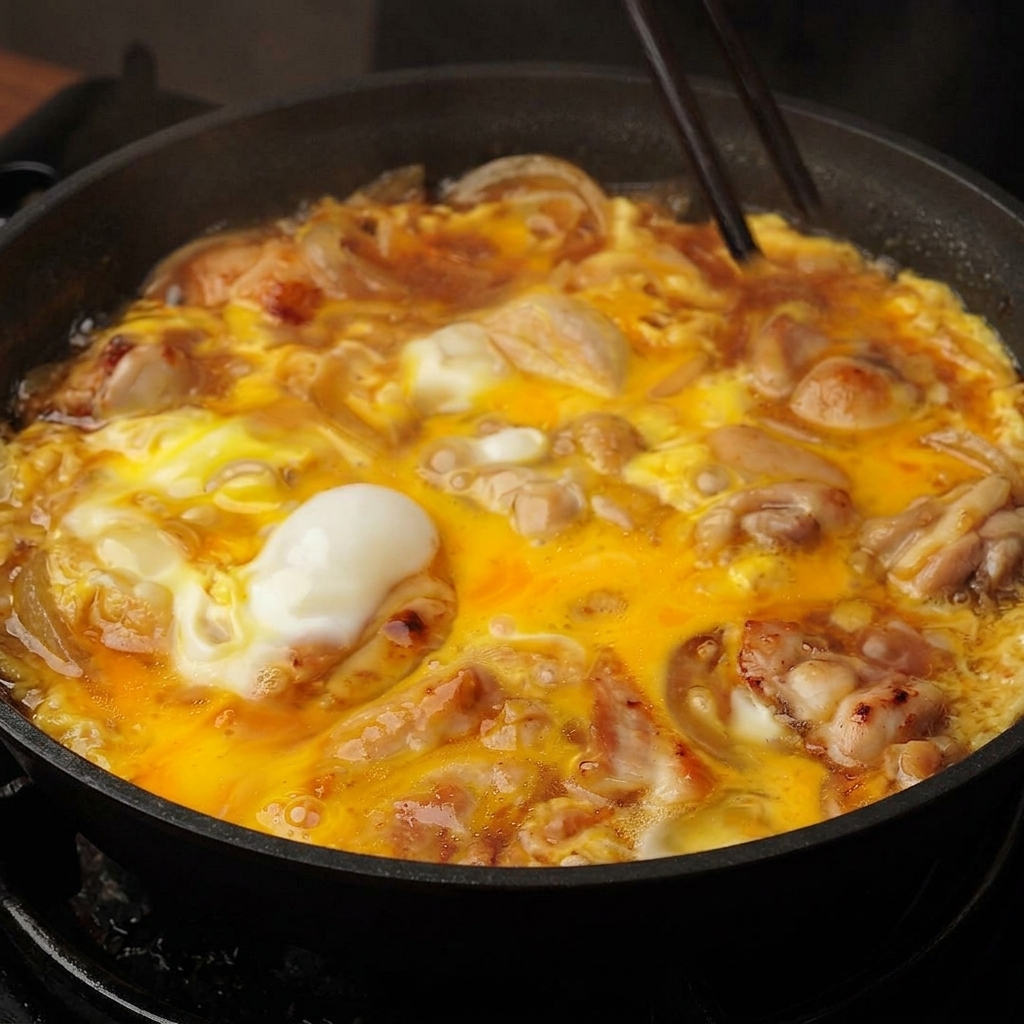
Use your chopsticks to gently swirl the setting eggs. You want them to be barely cooked—soft and slightly runny—which is the hallmark of a professional-grade rice bowl.
Tip: Turn off the heat slightly before you think the eggs are done; the residual heat from the pan will finish cooking them to a perfect consistency. - 16Serve over rice
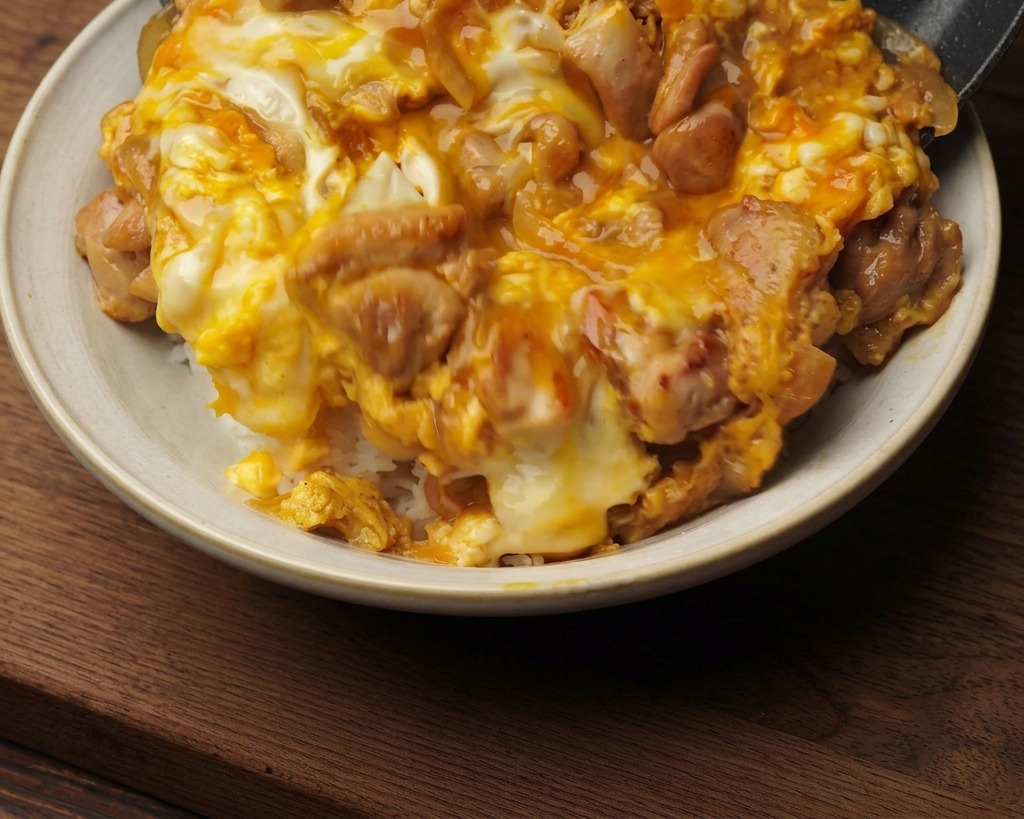
Carefully slide the tender chicken and creamy egg mixture directly from the pan onto a bowl of hot steamed white rice. Ensure all the savory sauce is drizzled over the top to soak into the rice for maximum flavor.
Tip: Tilt the pan at a steep angle and use a gentle shaking motion to help the topping slide out in one piece without breaking the eggs.