Traditional Japanese Oyakodon (Chicken
Egg Rice Bowl)
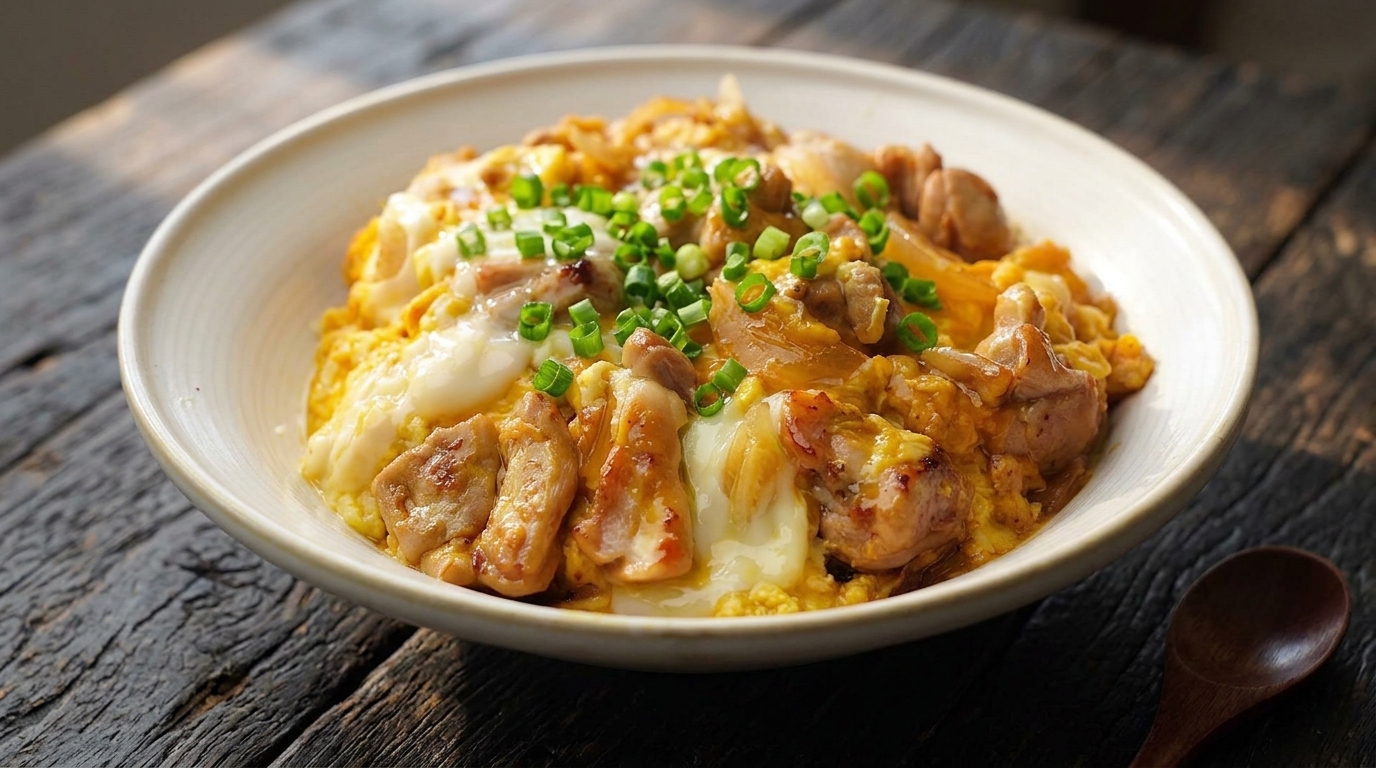
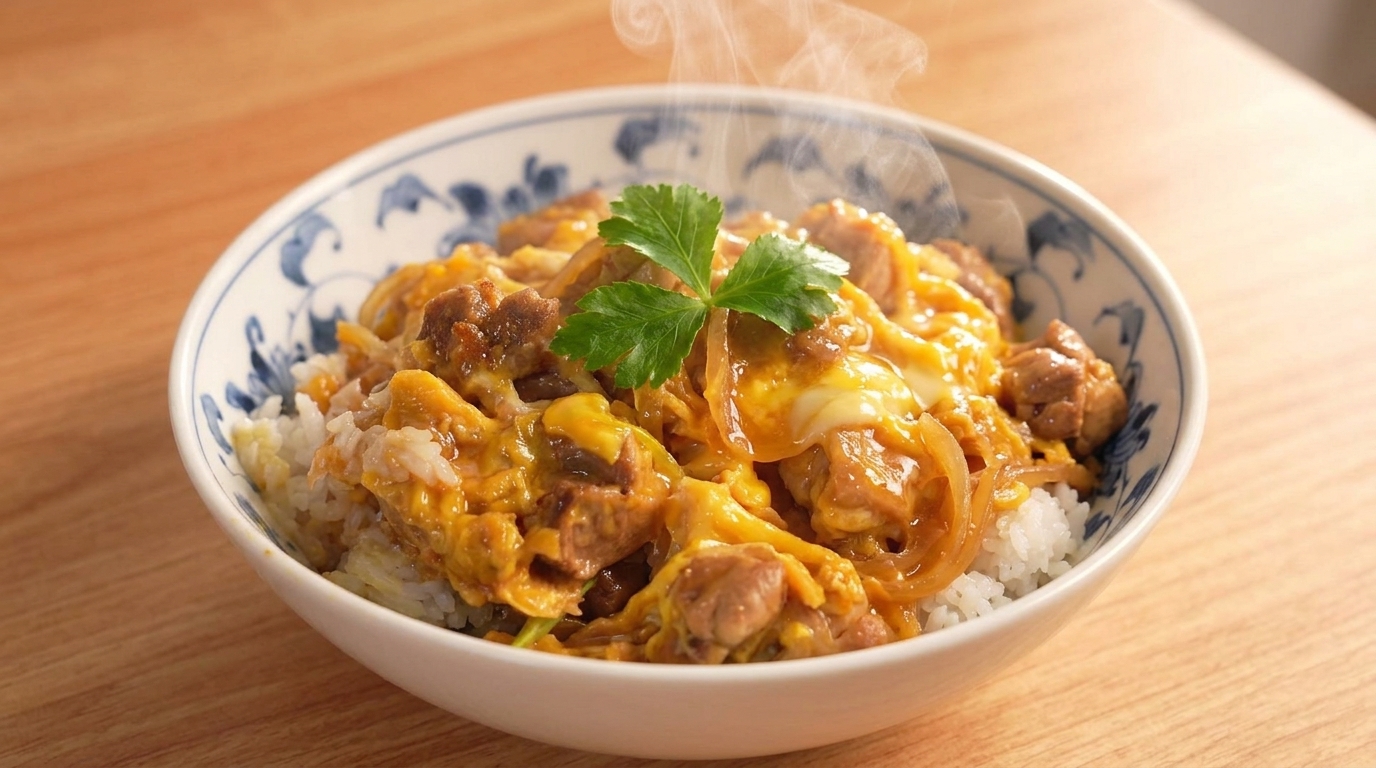
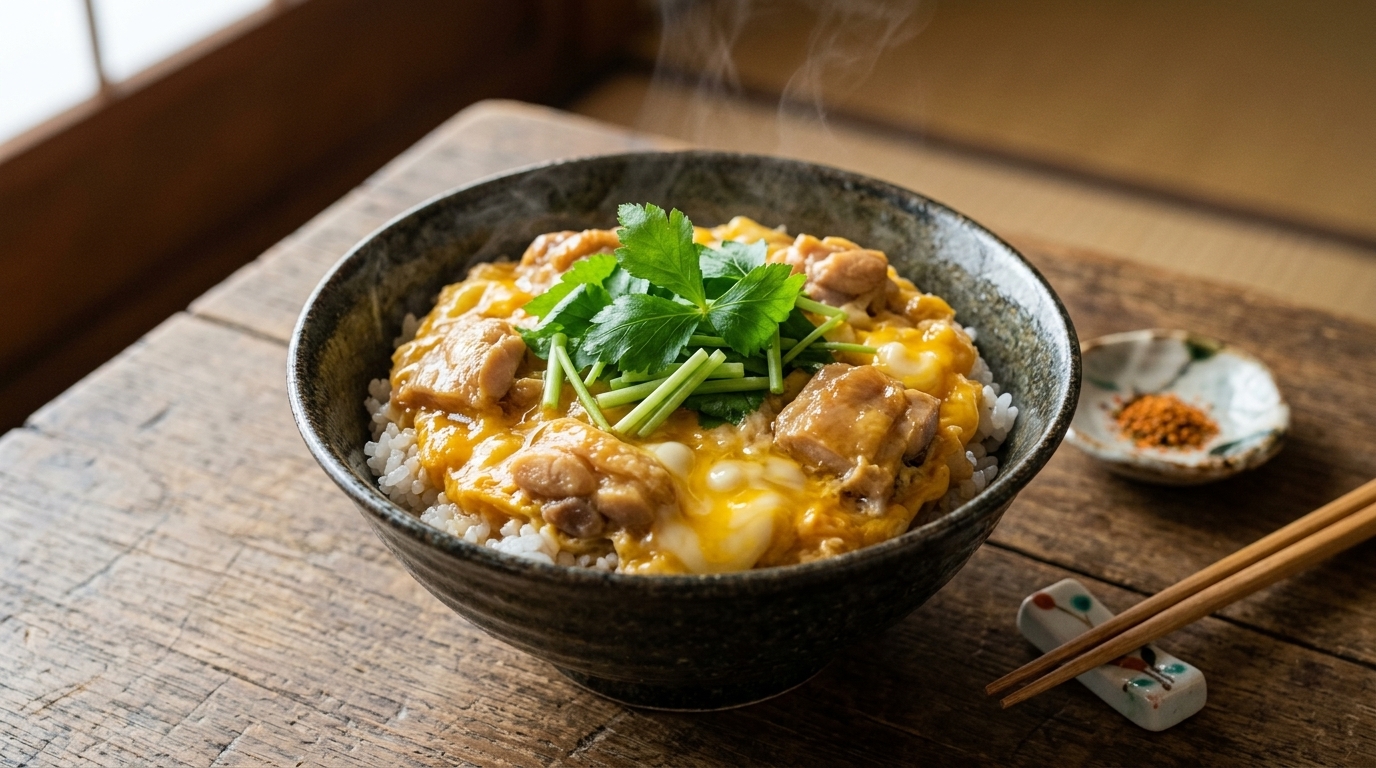
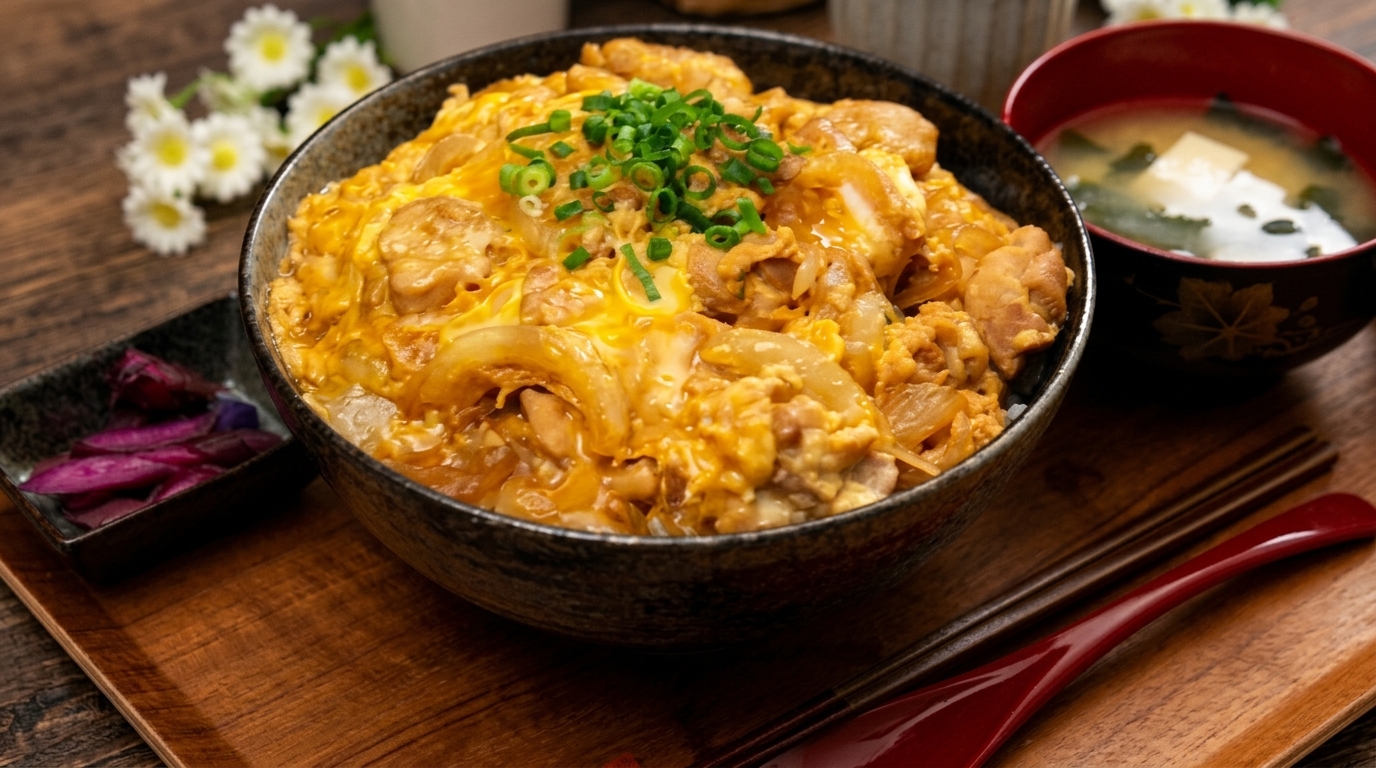
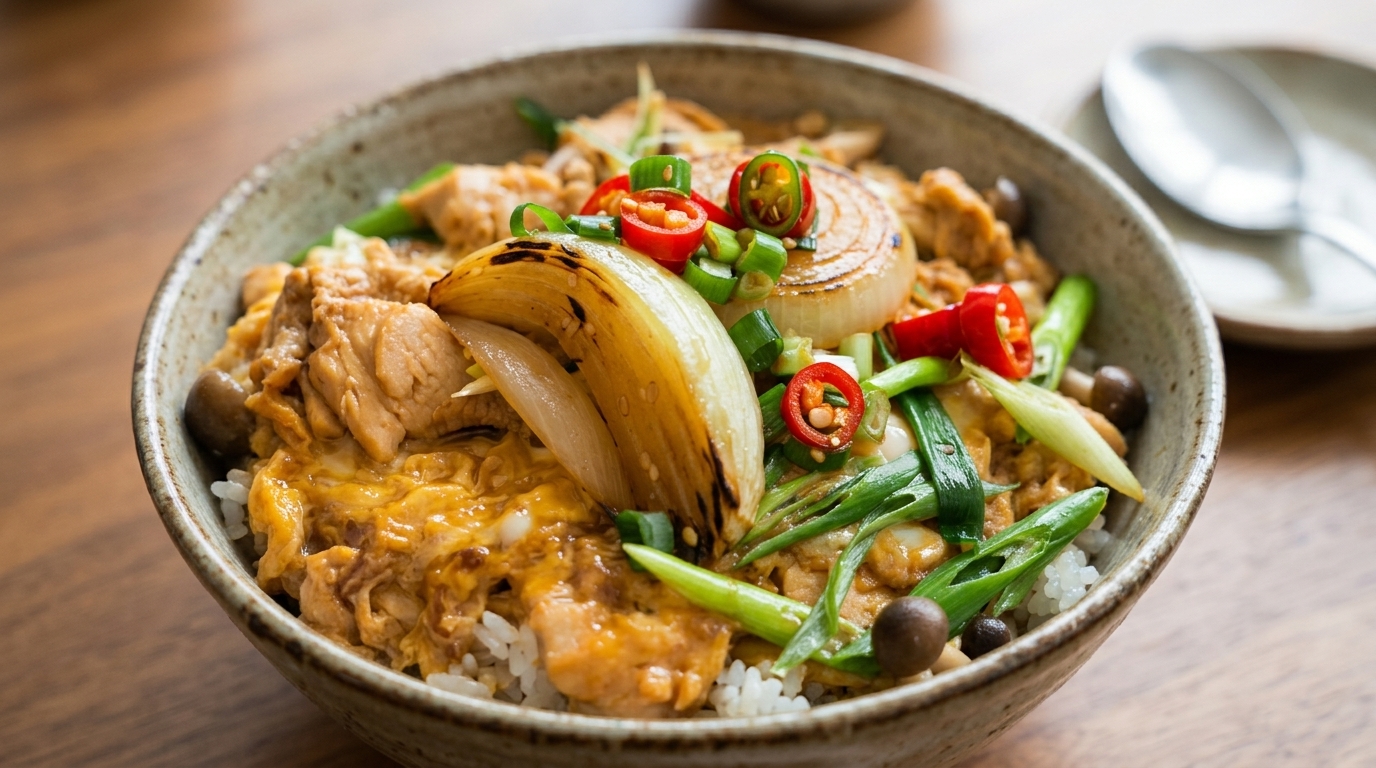
A comforting Japanese soul-food classic featuring tender chicken and silky, semi-set eggs simmered in a savory dashi-based sauce over a bed of fluffy steamed rice.
Oyakodon literally translates to parent and child bowl, which is a poetic nod to the use of both chicken and egg. This version utilizes a professional two-stage egg pouring technique to achieve a perfect balance of fluffy cooked curds and a silky, sauce-like finish. While traditional recipes often simmer onions directly in the sauce, this variation uses charred marinated onions to add a sophisticated layer of texture and sweetness.
Ingredients
- 250 g chicken breast
- 2 large eggs
- 100 ml water
- 2 tbsp soy sauce
- 1 tbsp mirin
- 1 tsp sugar
- 0.5 tsp dashi seasoning powder
- 50 g shimeji mushrooms
- 14 onion (for marinating)
- 1 stalk green onion
- 1 bowl steamed white rice
Instructions
- 1Slice the chicken breast
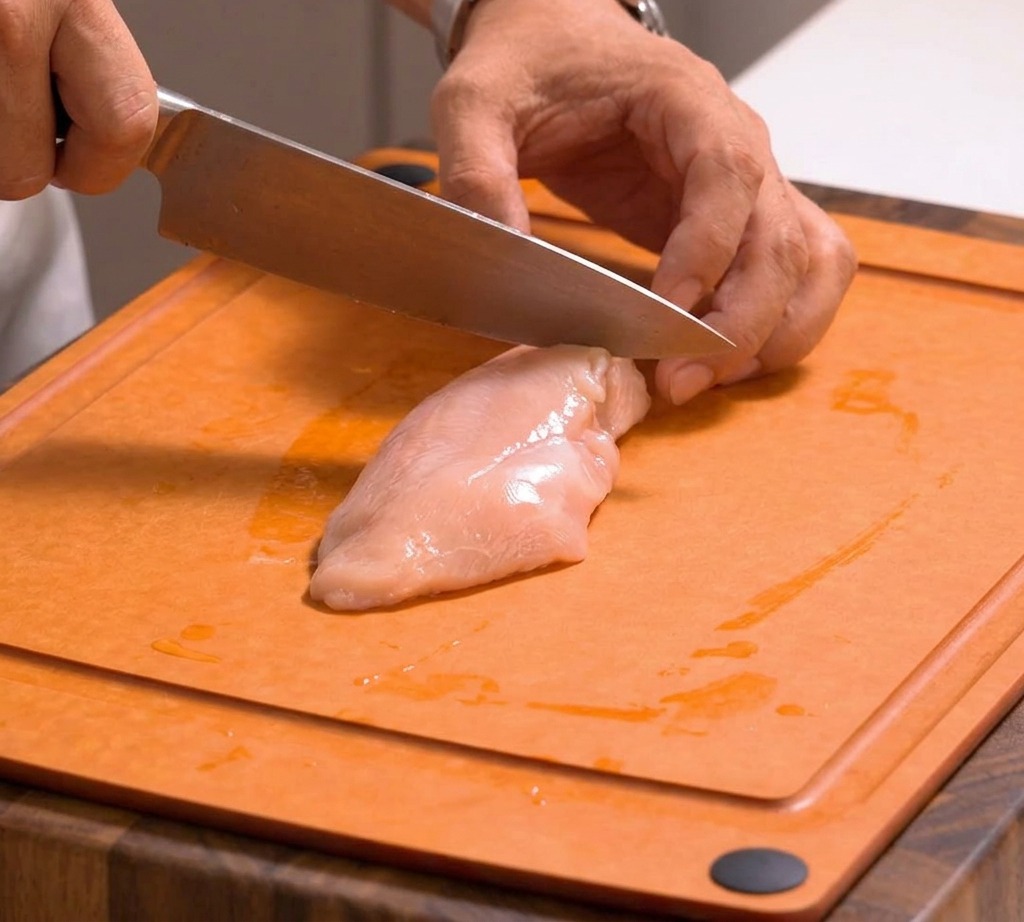
Slice the chicken breast into thin bite-sized pieces. Cut along the grain into three equal parts first then slice those into thinner pieces suitable for the bowl. This preparation ensures the meat remains tender and cooks quickly during the simmering process.
Tip: Uniform slicing is key so try to keep the pieces a similar thickness so they all finish cooking at the same time. - 2Prepare the Oyakodon sauce
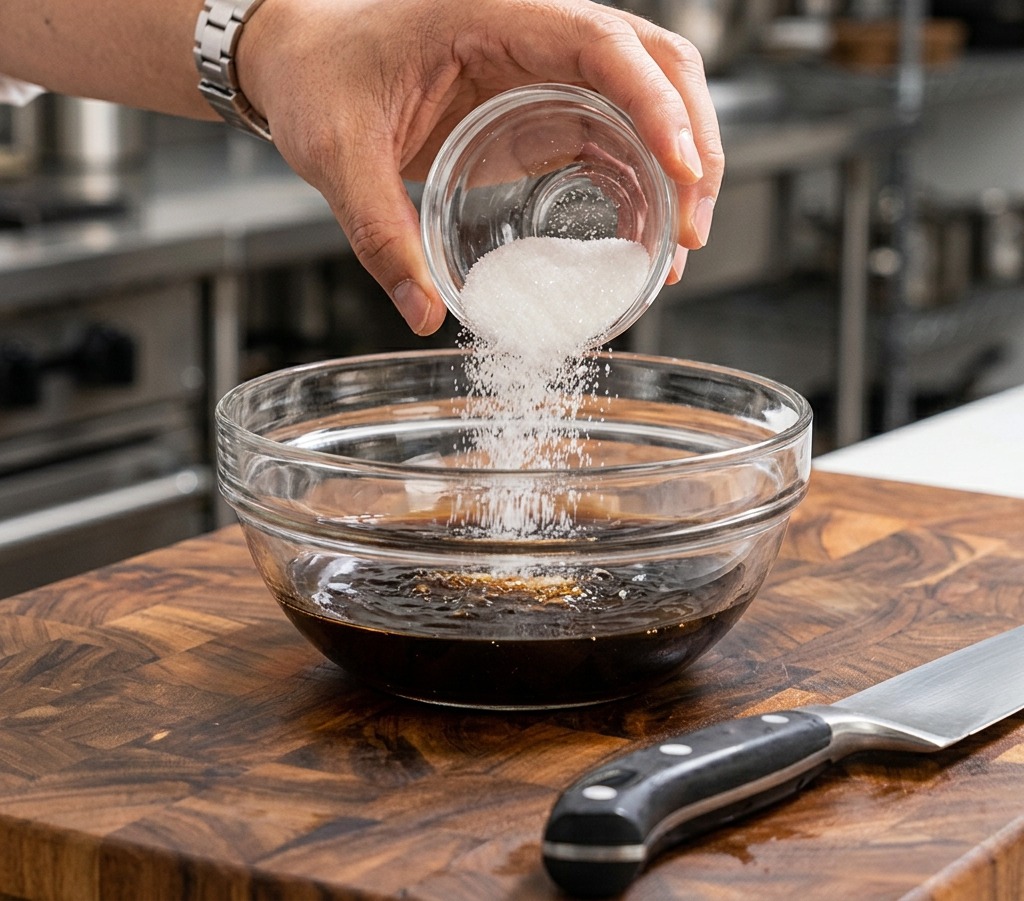
In a glass bowl, combine water, soy sauce, sugar, and mirin. Add a small amount of seasoning powder to enhance the savory depth. This mixture provides the classic sweet and salty flavor profile that defines a good Oyakodon.
Tip: Whisk the sauce well to ensure the sugar and seasoning powder are fully dissolved before adding it to the pan. - 3Simmer the sauce
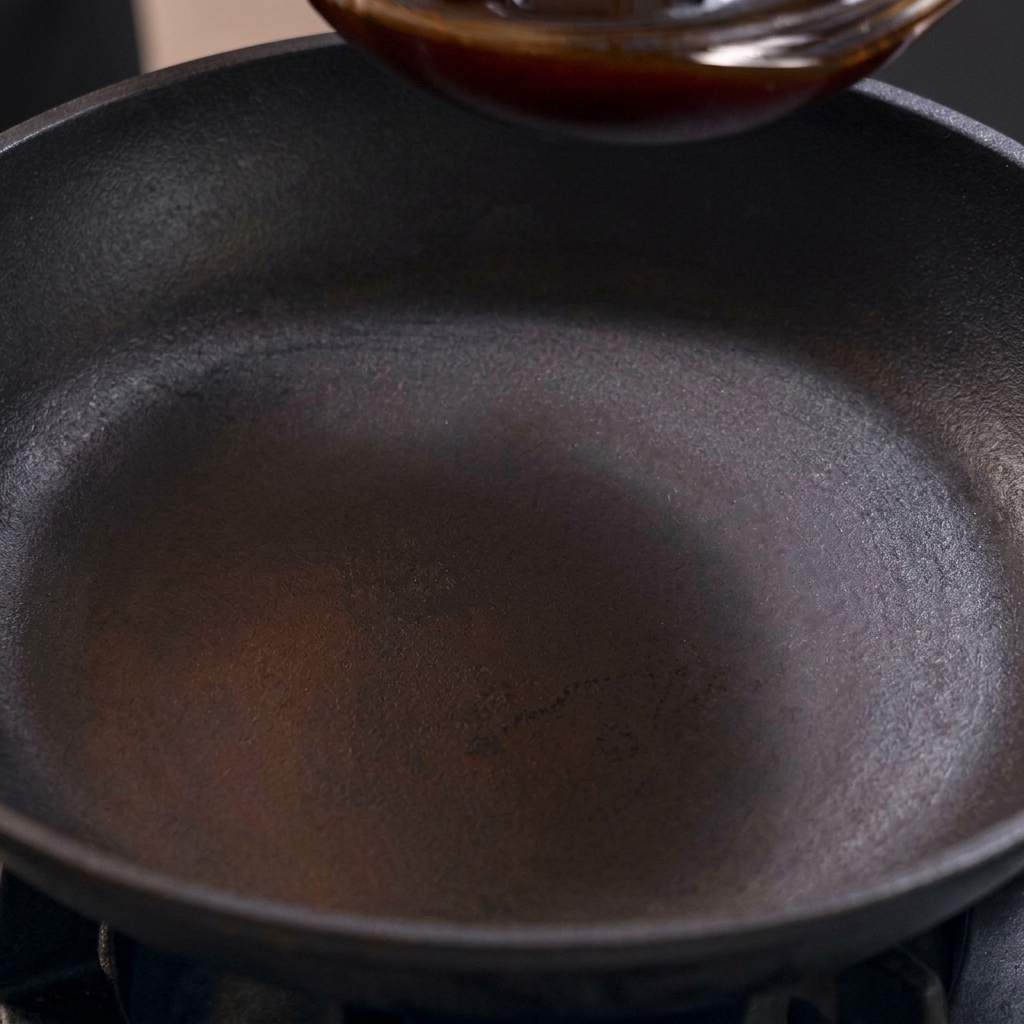
Turn on the heat and pour the prepared sauce mixture into a small frying pan. Allow the liquid to come to a gentle simmer. This creates the poaching environment for the chicken and mushrooms.
Tip: Using a small, round pan specifically for Oyakodon helps the eggs set in a perfect circle for serving over rice. - 4Add chicken and mushrooms
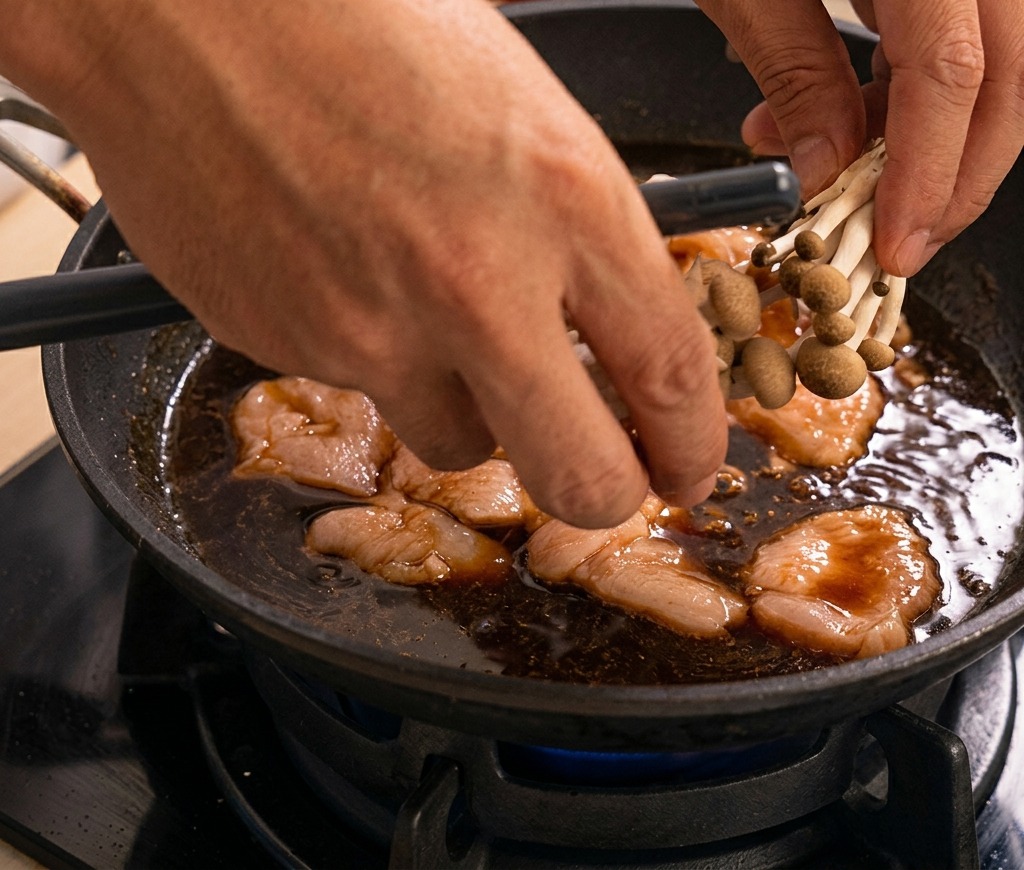
Place the sliced chicken pieces into the simmering sauce, followed by a handful of fresh shimeji mushrooms. Spread them out evenly in the pan so they poach uniformly in the savory liquid.
Tip: Shimeji mushrooms add a great earthy texture; just trim off the base and separate the stalks before adding them. - 5Pour the first egg layer
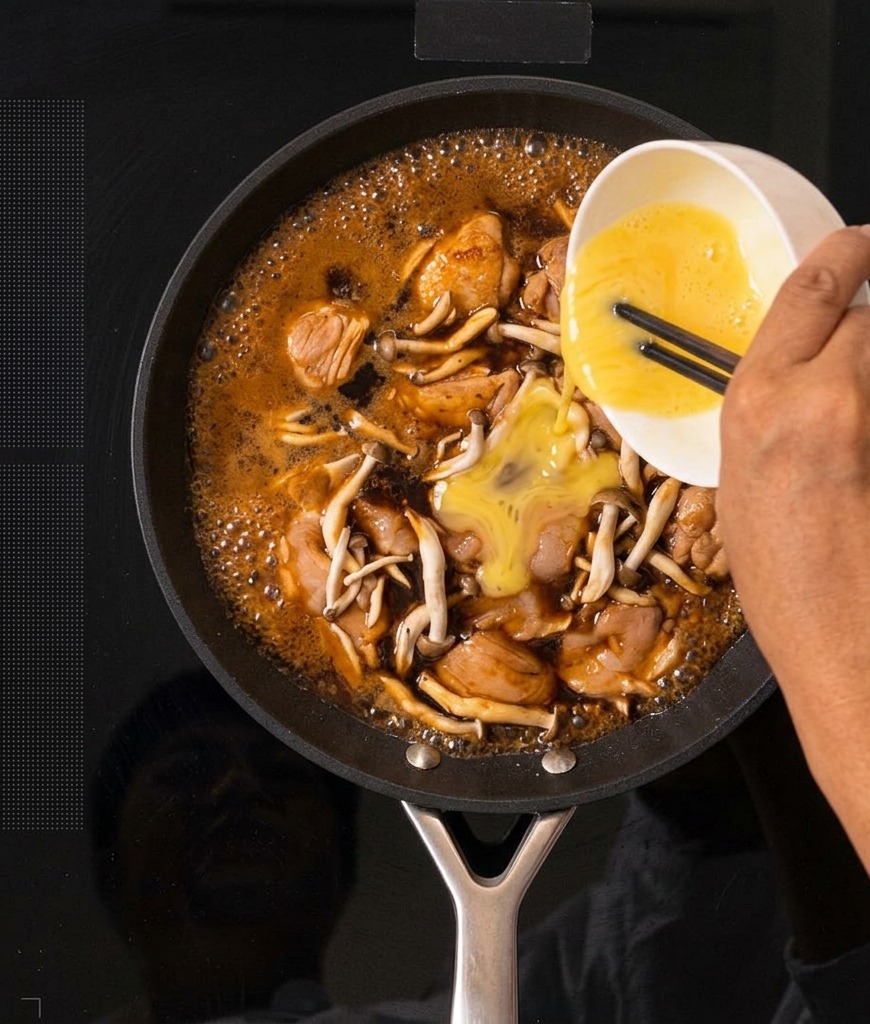
Once the chicken is almost fully cooked, pour in the first of two beaten eggs. Drizzle it in a circular motion over the chicken and mushrooms, allowing it to start setting in the bubbling sauce.
Tip: Dont stir the eggs once theyre in; letting them set naturally creates the desired fluffy and marbled texture. - 6Add the green onions
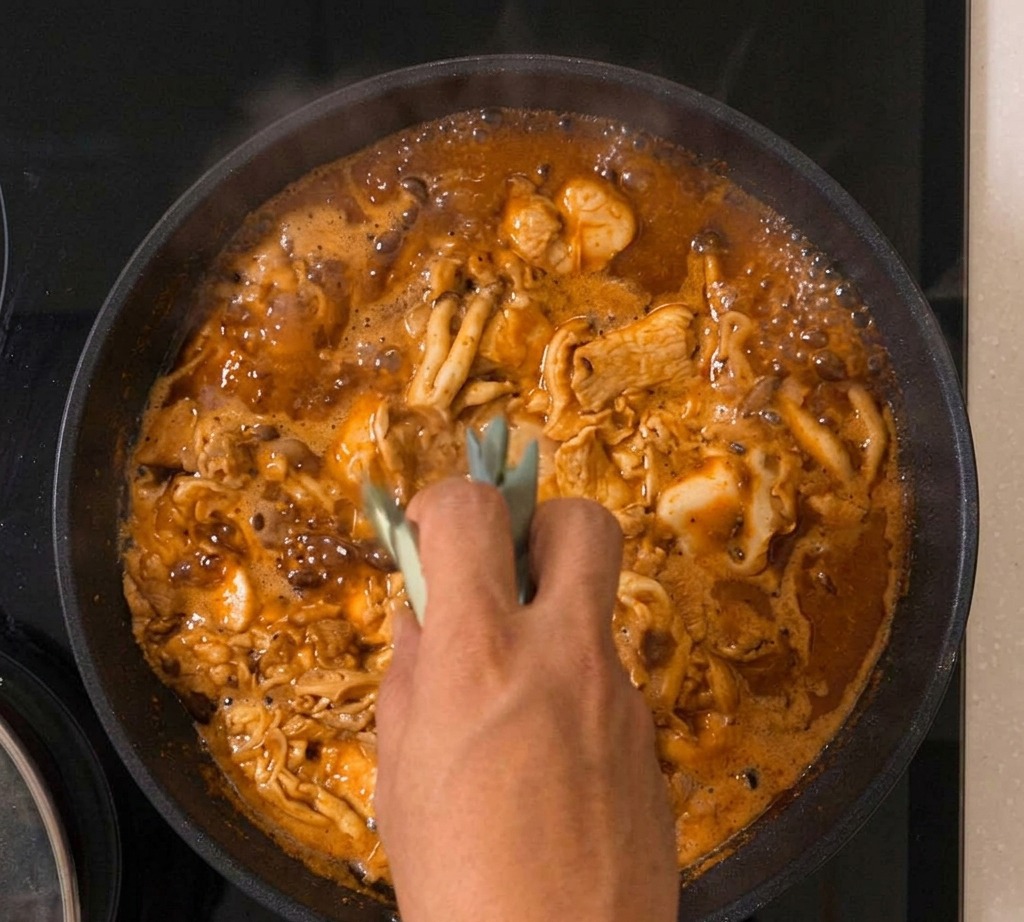
Scatter the fresh green onions over the mixture as the first layer of egg begins to set. The steam from the sauce will gently wilt the onions without losing their vibrant green color or mild crunch.
Tip: Residual heat will continue to cook the eggs, so its best to turn off the flame just before they look completely set. - 7The second egg pour
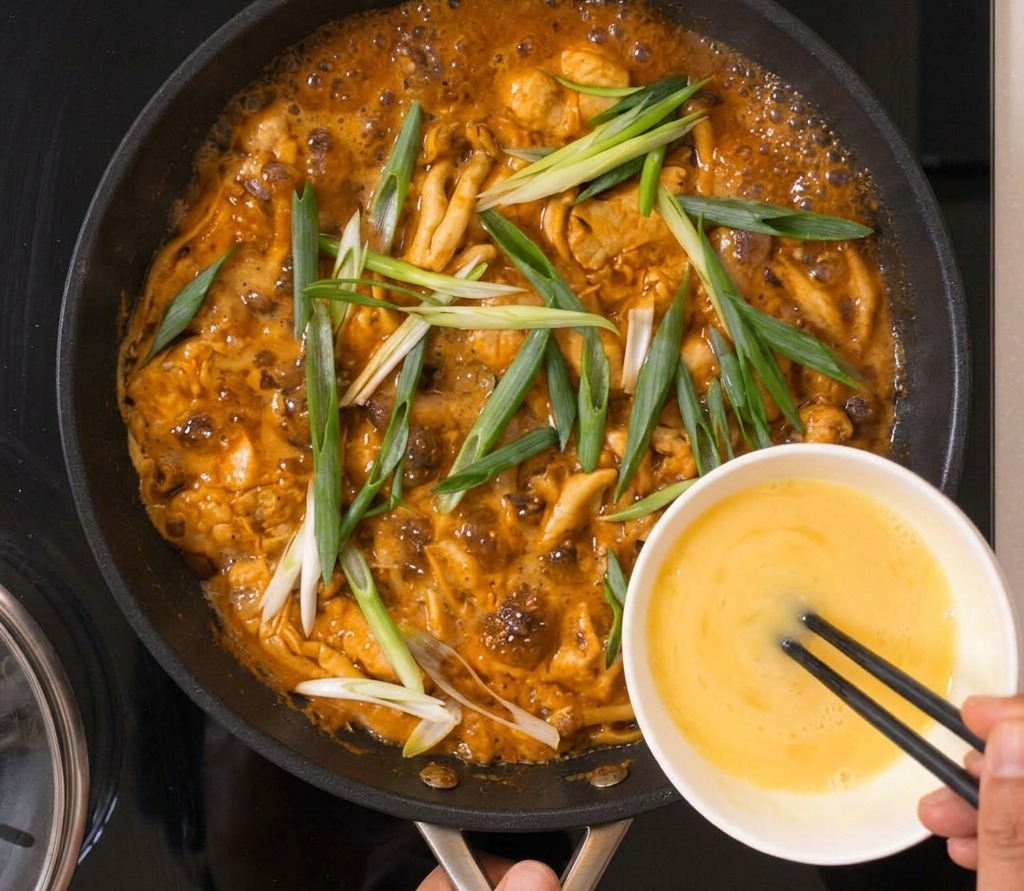
Drizzle the remaining beaten egg in a circular motion over the pan. This second addition creates the signature creamy semi-set texture. Turn off the heat almost immediately after pouring to maintain a silky finish.
Tip: Keep the heat low at this stage. You only want to barely set the second egg wash to maintain that signature soft-scrambled texture. - 8Assemble the Oyakodon
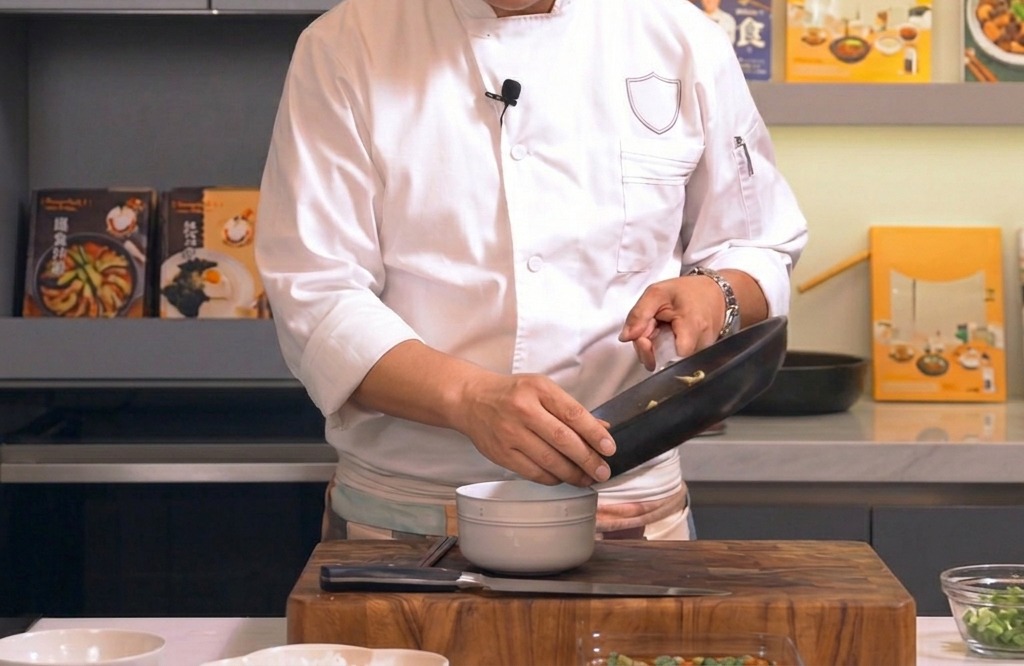
Carefully pour the finished chicken and egg mixture directly from the pan over a bowl of hot, steamed white rice. Top with the prepared marinated onions and include all the extra sauce from the pan to achieve the signature wet consistency that makes this dish so comforting.
Tip: Pouring a little bit of the sauce onto the rice first before adding the chicken can help ensure the flavor reaches every grain.