Quick Authentic Oyakodon (Japanese Chicken
Egg Bowl)
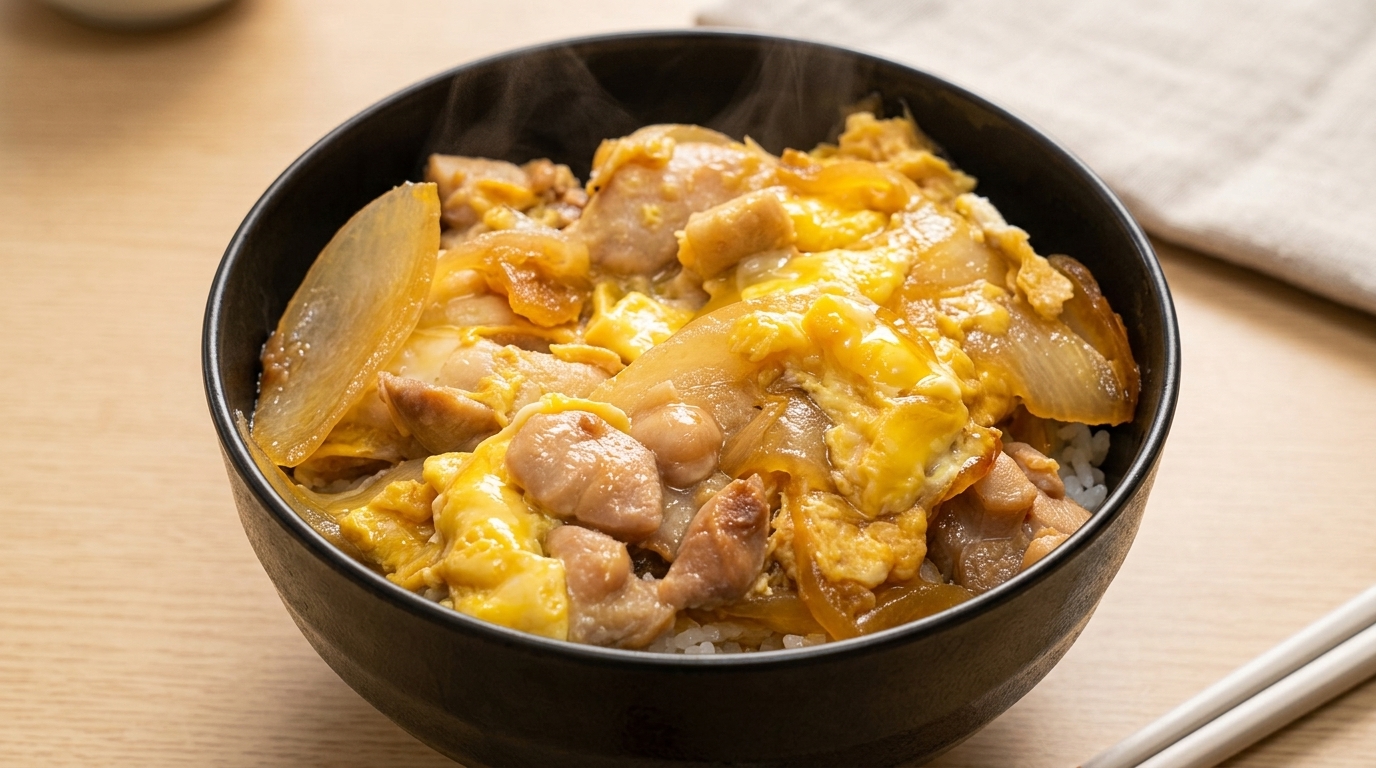
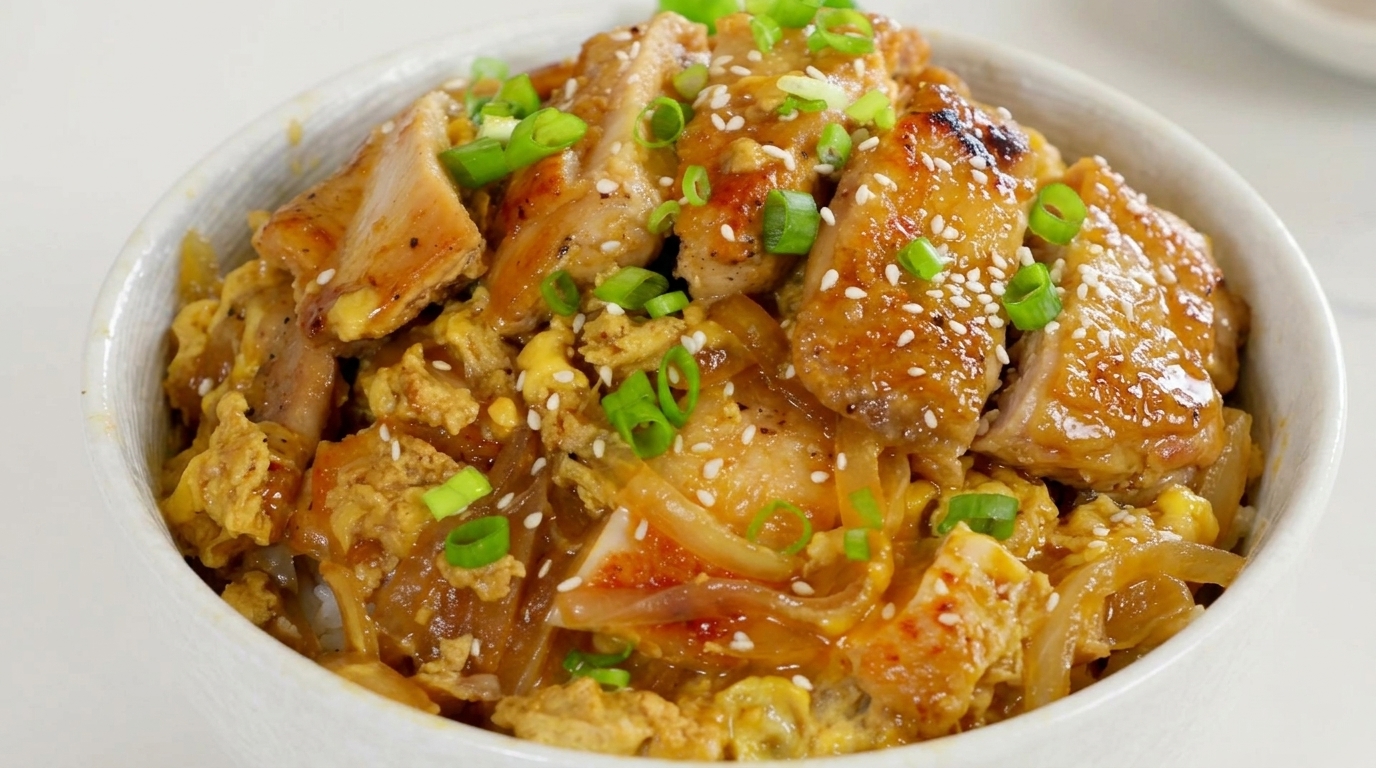
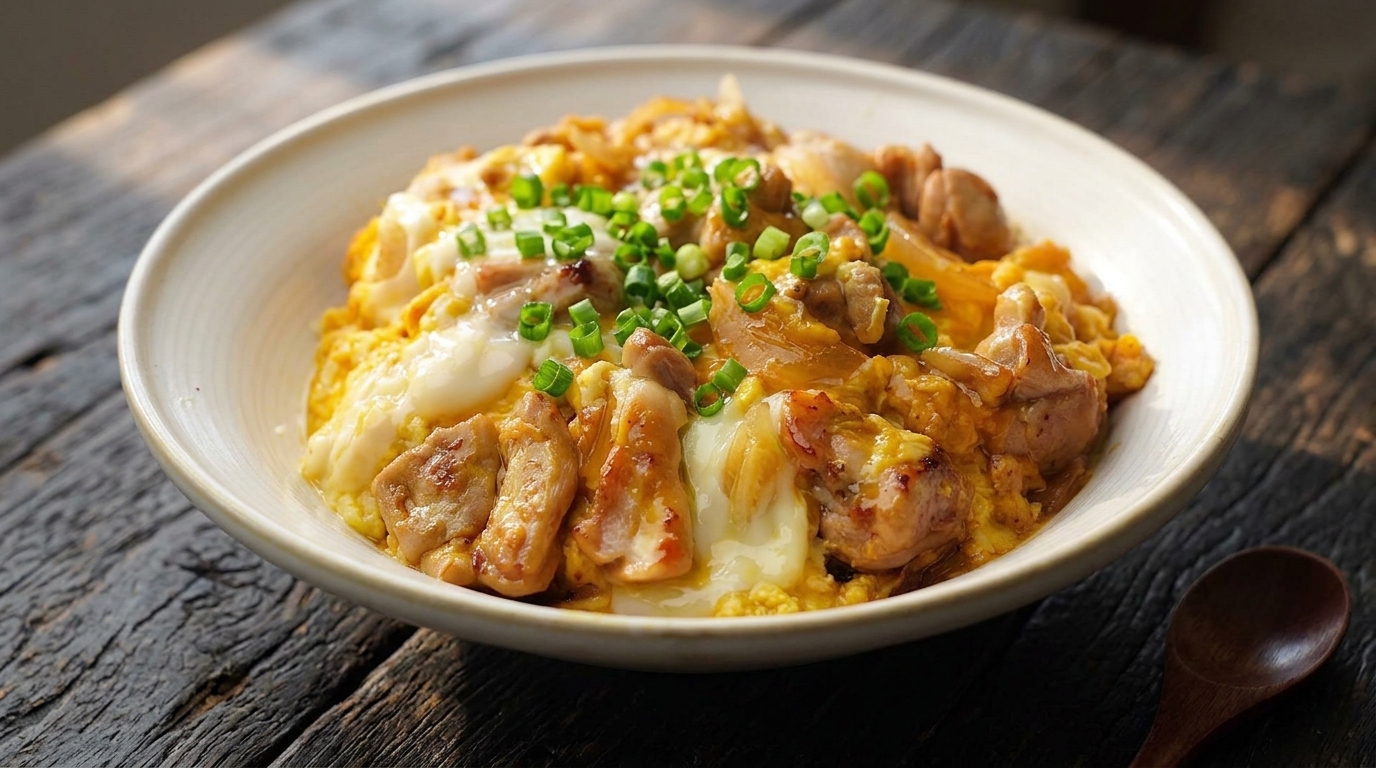
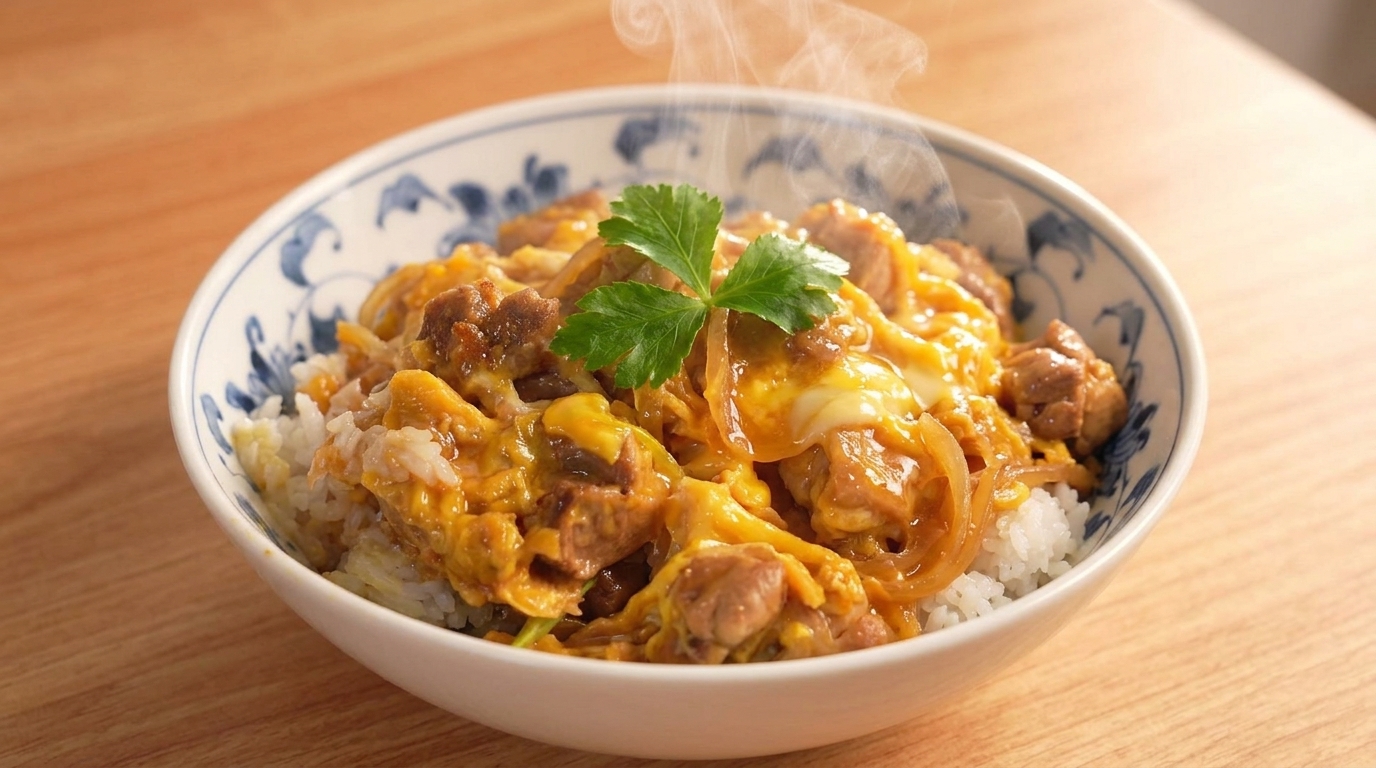
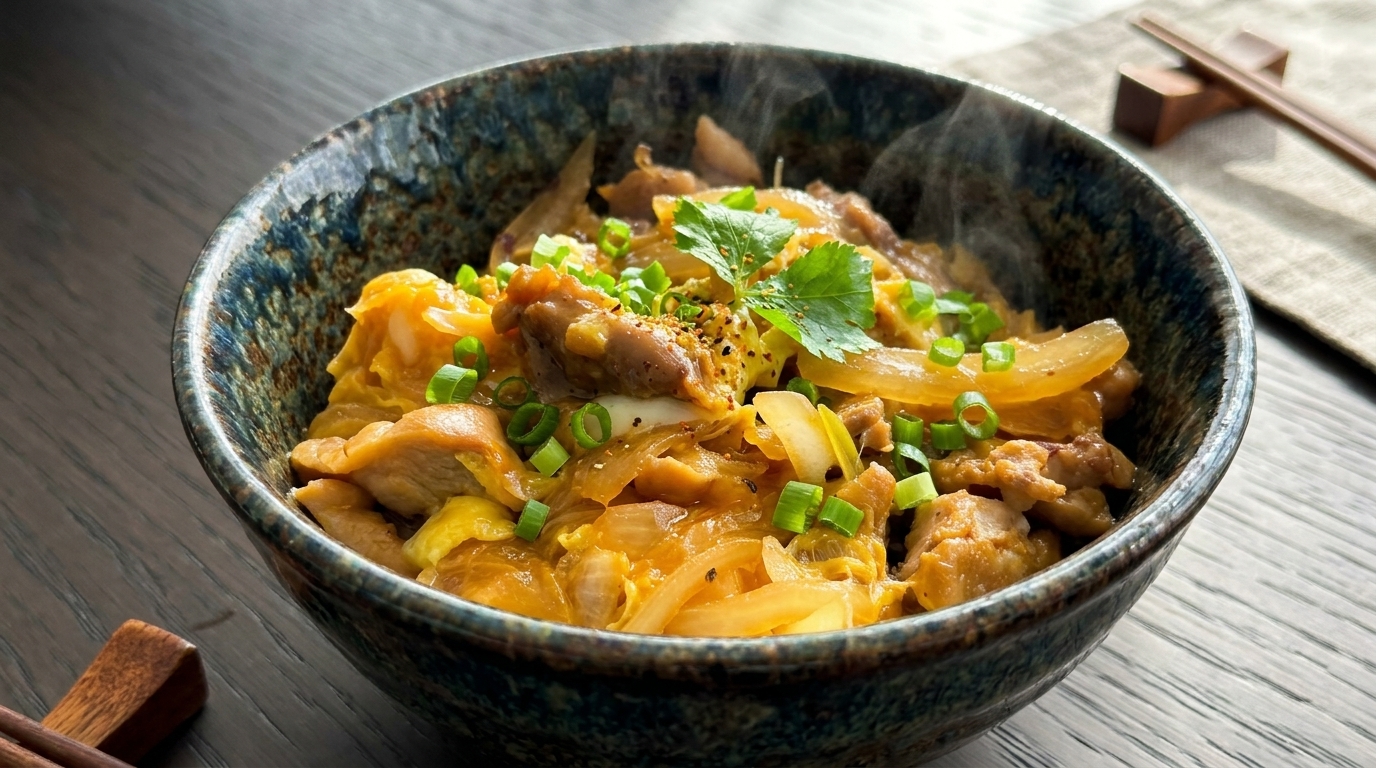
Master the ultimate Japanese comfort food with this fast 20-minute Oyakodon recipe. Tender chicken and caramelized onions are simmered in a sweet soy broth, then bound with a silky, softly set egg.
Oyakodon, translating poetically to parent and child in reference to the chicken and egg, is a beloved staple of Japanese home cooking. The magic of this dish lies in its comforting simplicity and signature texture—a delicately sweet and savory broth topped with a barely-set, custardy egg that drapes beautifully over a warm bowl of rice. Its an effortlessly quick meal that tastes like it took hours of preparation.
Ingredients
- 1 boneless chicken thigh
- 1 pinch salt
- 1 pinch black pepper
- 12 white onion
- 1 stalk green onion
- 1 tbsp cooking oil (optional)
- 2 tbsp soy sauce
- 2 tbsp mirin
- 1 tbsp sugar
- 2 tbsp chicken broth or water
- 2 large eggs
- 1 serving steamed white rice
Instructions
- 1Season the chicken thighs
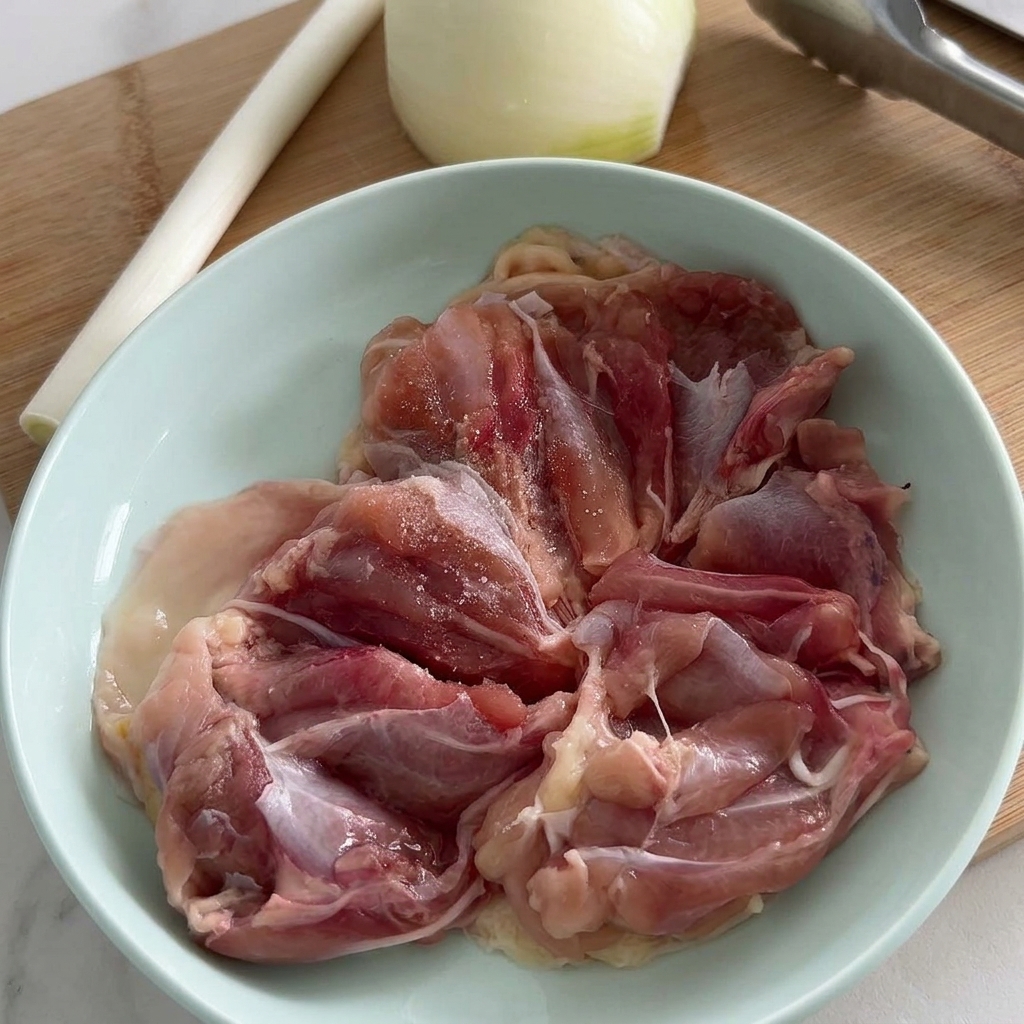
Prepare the chicken thighs by sprinkling a pinch of salt and black pepper over them in a bowl. This simple seasoning helps to draw out the natural flavors of the meat and ensures the dish is well-balanced from the very first layer of preparation.
Tip: Pat the chicken thighs dry with a paper towel before seasoning to help the salt and pepper adhere better and ensure a better sear later. - 2Slice the onion
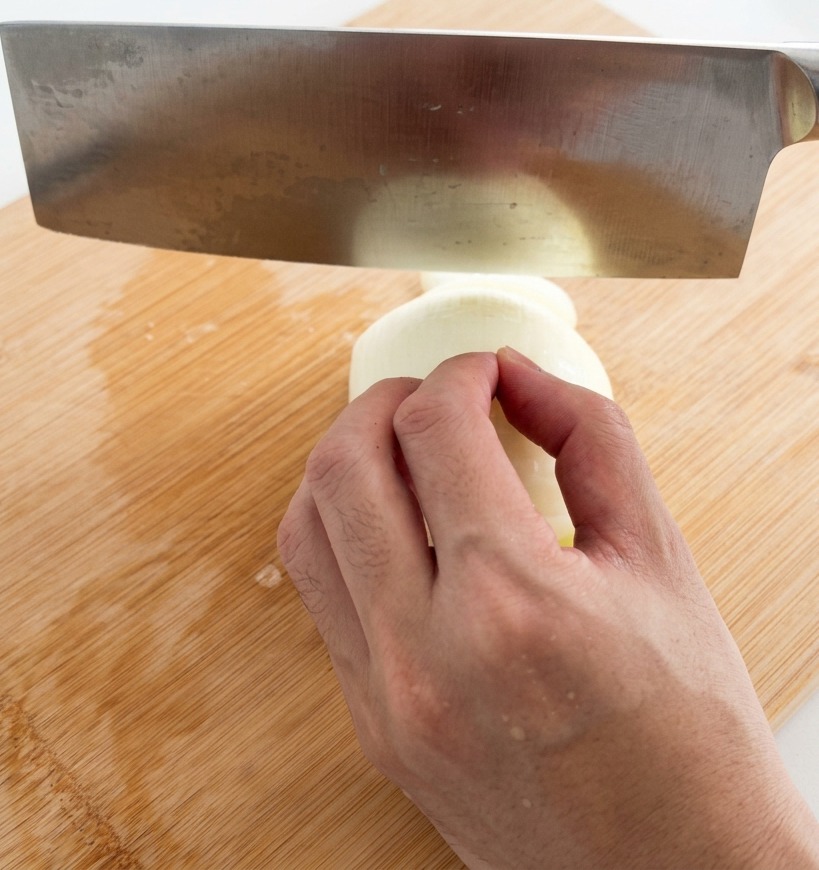
Take half of a white onion and slice it into thin, even strips on a wooden cutting board. These onion slices will provide a sweet, savory base for the Oyakodon, caramelizing slightly during the cooking process to add depth to the sauce.
Tip: For a softer texture in the final dish, slice the onion against the grain. If you prefer a bit more bite, slice with the grain. - 3Sear the chicken thighs
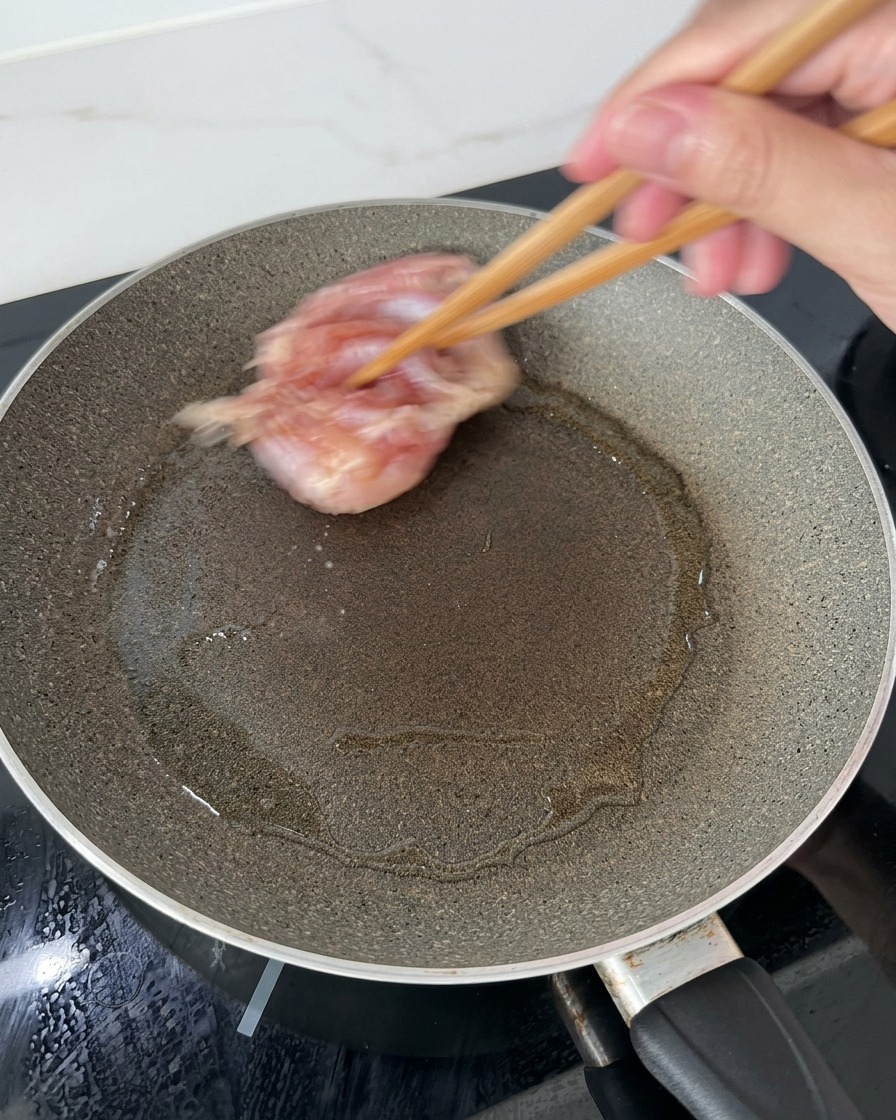
Heat a small amount of oil in a pan over medium heat. Using chopsticks, carefully place the seasoned chicken thighs into the pan skin-side down. This allows the fat to render and the skin to become crispy and fragrant.
Tip: If you are using skinless thighs or chicken breast for a leaner version, you can skip the oil and cook them directly with the onions and sauce. - 4Prepare the Oyakodon sauce
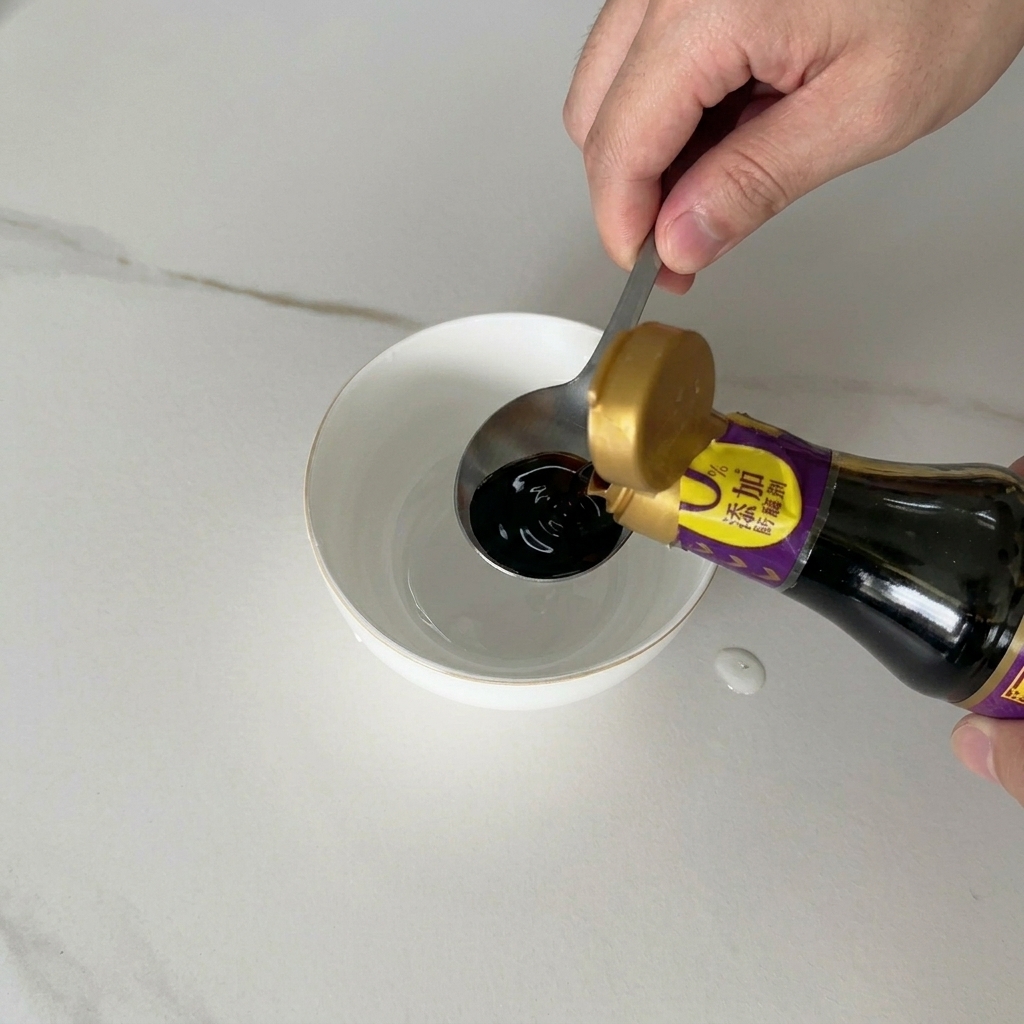
In a small bowl, combine two spoons of soy sauce, two spoons of mirin, and one spoon of sugar. Add a splash of broth or water to complete the sauce. This classic Japanese mixture provides the perfect balance of salty, sweet, and umami flavors.
Tip: You can adjust the ratio of sugar or soy sauce to suit your taste, or add a pinch of dashi powder for a more authentic Japanese flavor. - 5Brown both sides
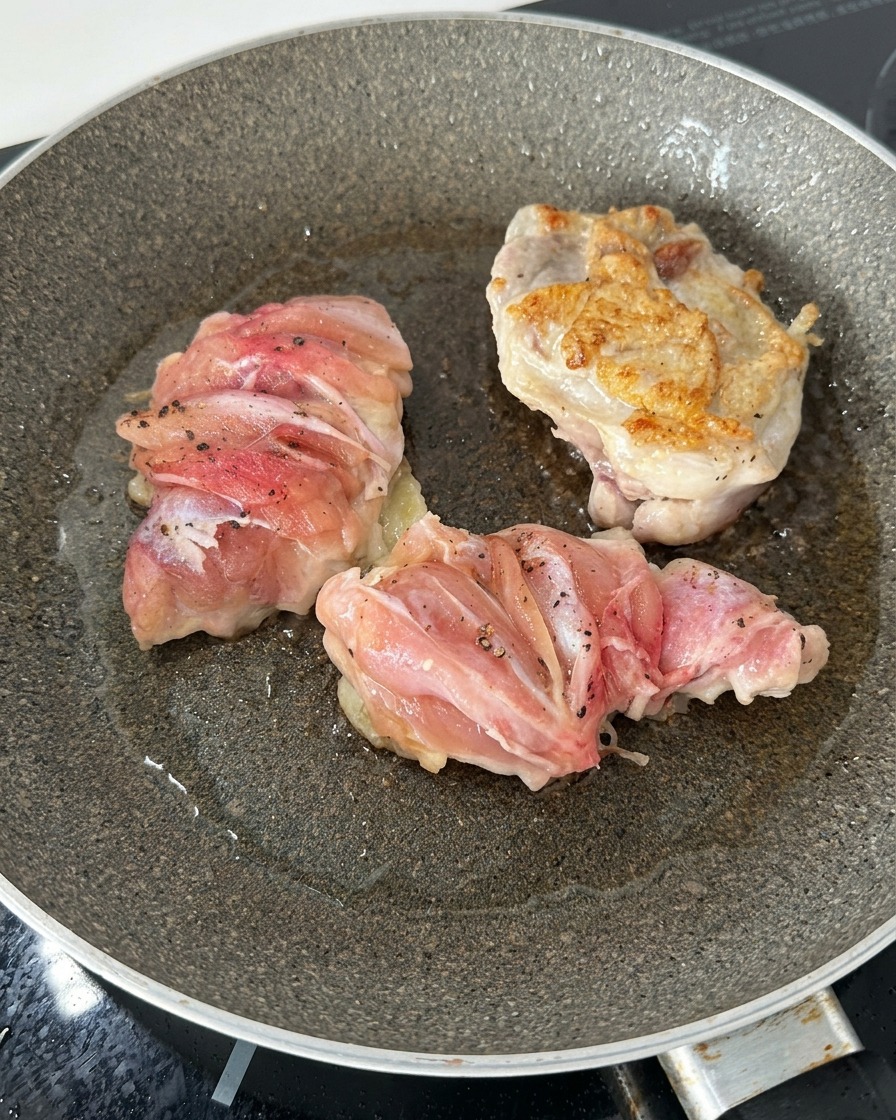
Once the first side of the chicken is golden and fragrant, flip the thighs over to sear the other side. You dont need to cook the chicken all the way through at this stage; focus on developing a nice crust and locked-in flavor.
Tip: Wait until the chicken releases easily from the pan before flipping to ensure you dont tear the skin. - 6Sauté the onions
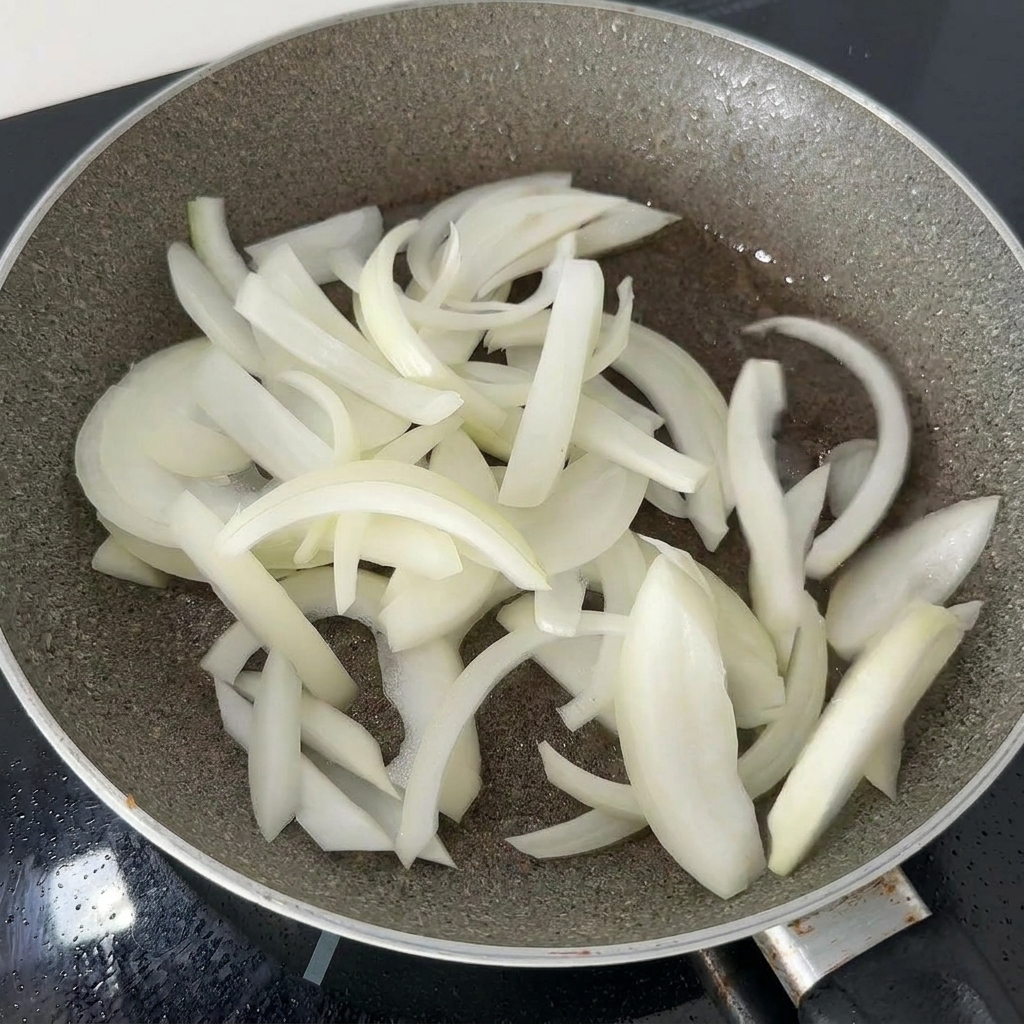
Remove the partially cooked chicken and set it aside to slice. In the same pan, using the rendered chicken fat and drippings, sauté the sliced onions. Cook them over medium heat until they become translucent and start to take on a light golden color.
Tip: The browned bits left in the pan from the chicken are called fond and contain concentrated flavor—make sure to scrape them up as the onions cook. - 7Combine chicken and onions
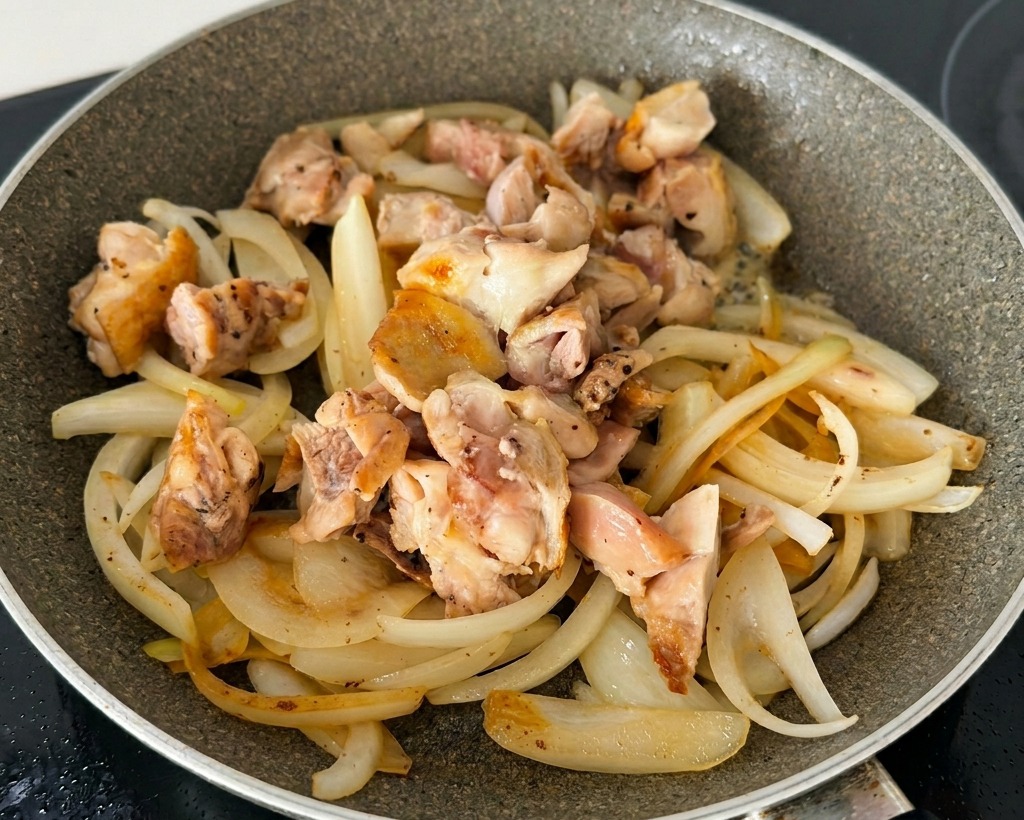
Add the sliced, partially cooked chicken pieces and chopped green onions into the pan with the golden sautéed onions. Stir them together over medium heat so the chicken begins to absorb the flavors from the onions while the pan reheats for the sauce.
Tip: Keep the chicken in bite-sized pieces to ensure they cook evenly and are easy to eat with rice. - 8Simmer with the savory sauce
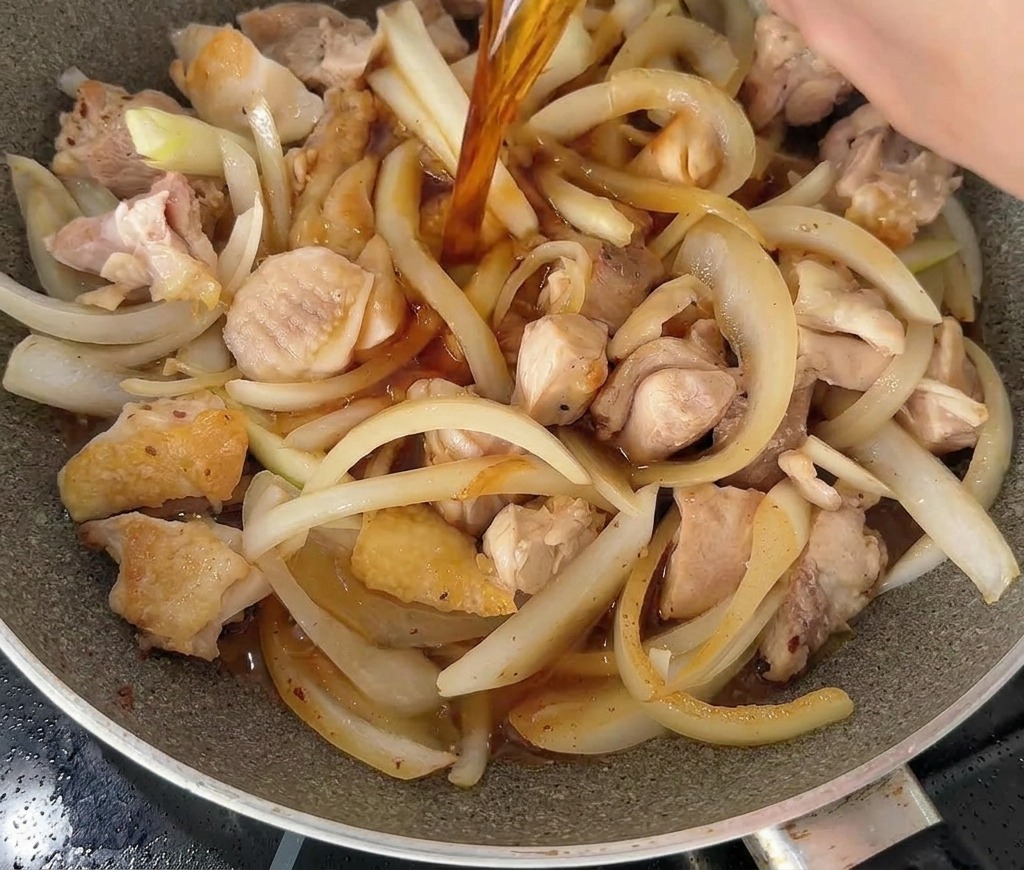
Pour the prepared mixture of soy sauce, mirin, and sugar over the chicken and onions. Let the liquid come to a gentle simmer. This allows the chicken to finish cooking through and become tender while the onions soak up the savory and sweet notes of the sauce.
Tip: If you want a deeper color and richer taste, you can let the sauce reduce slightly for a minute before adding the eggs. - 9Lightly beat the eggs
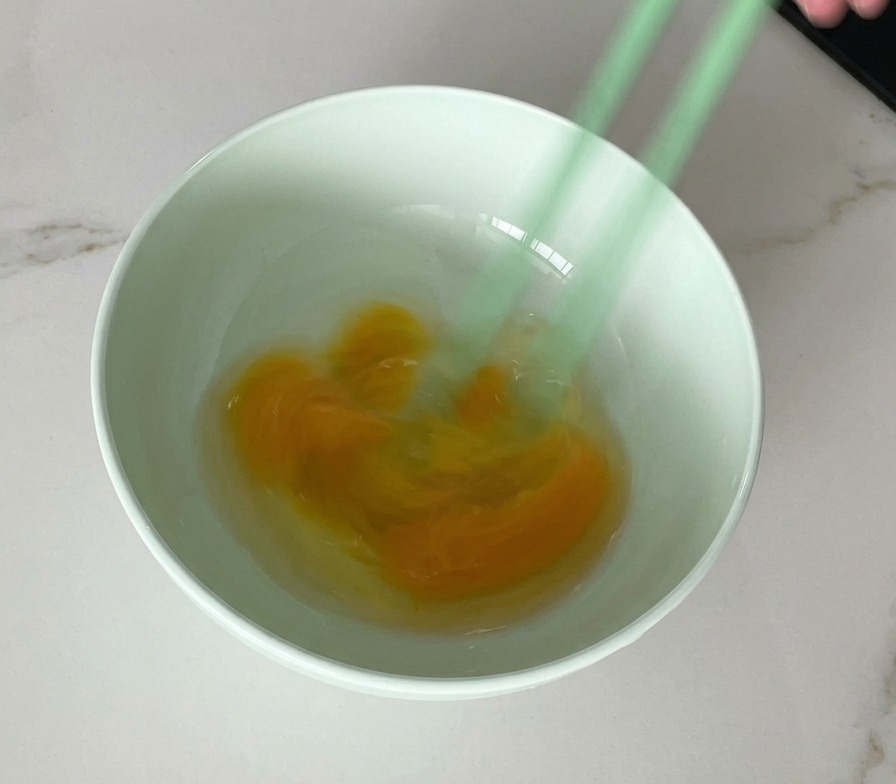
While the chicken is simmering, crack two eggs into a bowl and beat them lightly with chopsticks. Do not over-mix; you want to see distinct streaks of white and yellow. This lazy whisking technique creates a beautiful marbled texture and varied mouthfeel in the final dish.
Tip: Avoid using a whisk; chopsticks are perfect for achieving the desired coarse texture without incorporating too much air. - 10Add the first egg layer
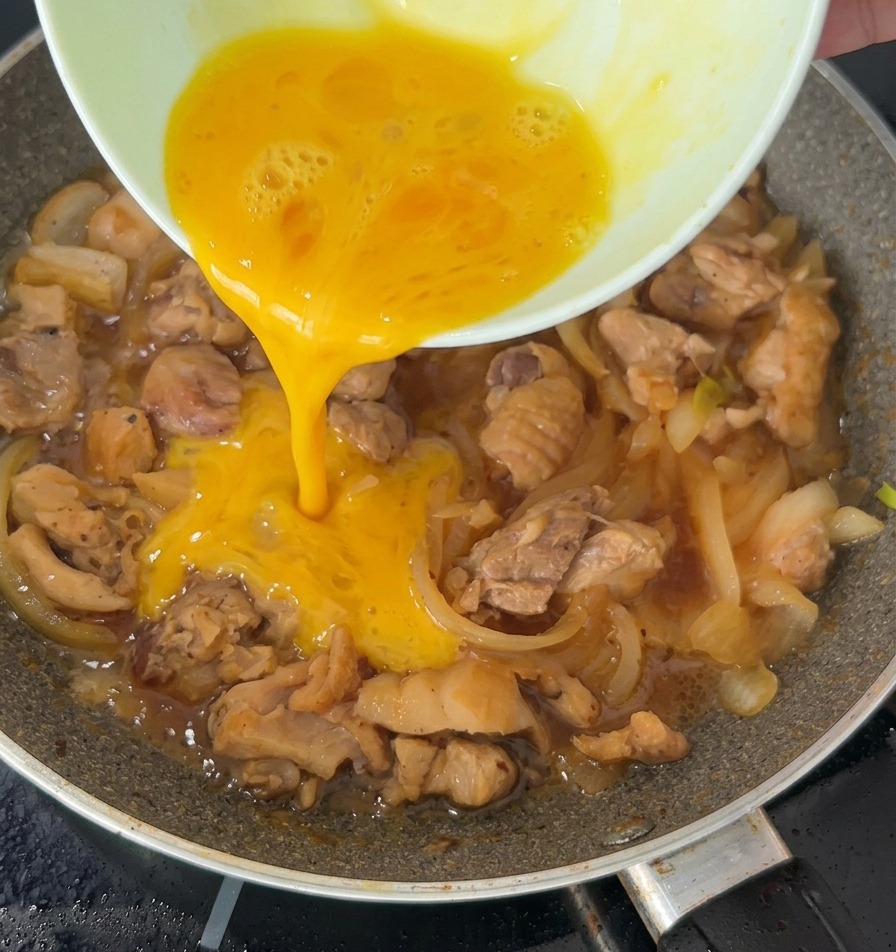
Pour approximately half of the beaten egg mixture over the simmering chicken and onions. Aim to cover the ingredients evenly. The high heat will cause this first layer to set relatively quickly, forming a soft, fluffy base that binds the ingredients together.
Tip: Pour the egg in a slow, circular motion starting from the center and moving outwards to ensure full coverage. - 11Distribute the egg evenly
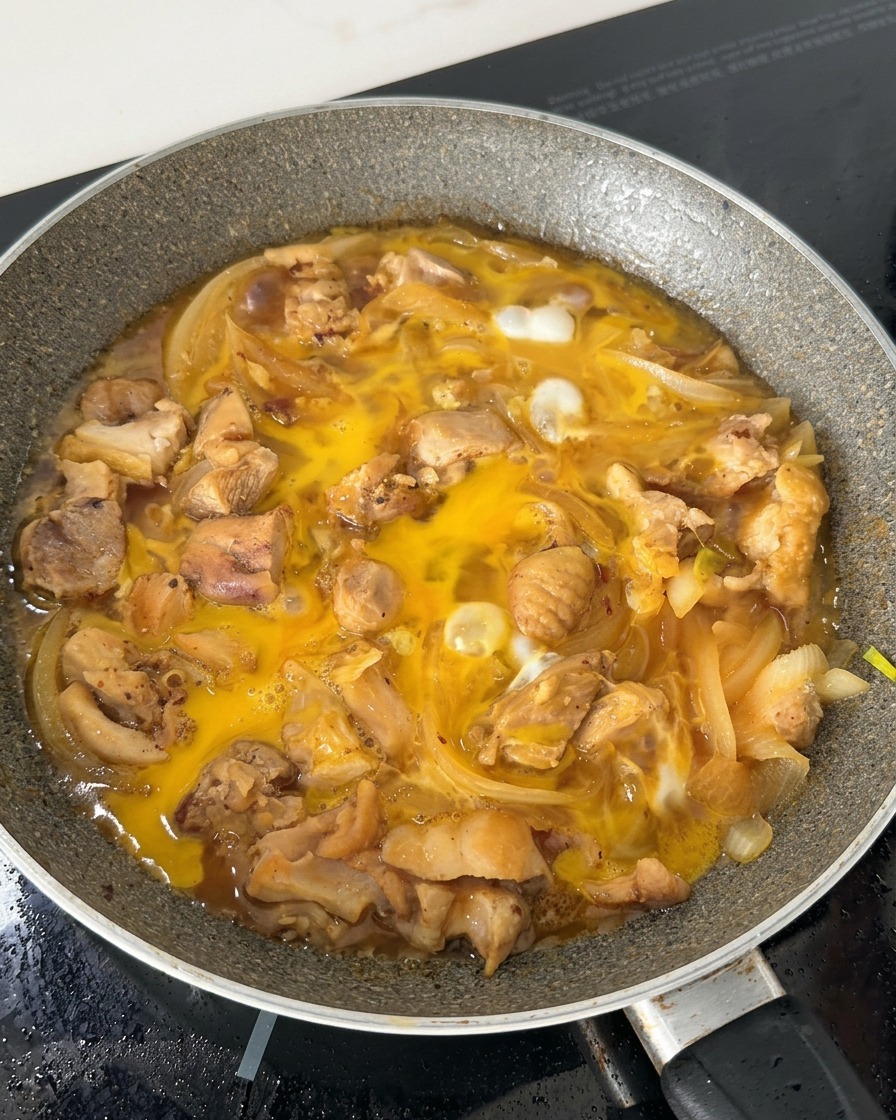
Using your chopsticks, gently move the chicken pieces and onions around the pan. This allows the egg mixture to flow into the gaps and cook evenly in the savory broth without scrambling.
Tip: Avoid over-mixing the eggs; you want them to form a delicate, cohesive blanket over the chicken rather than scrambling them. - 12Add the final egg layer
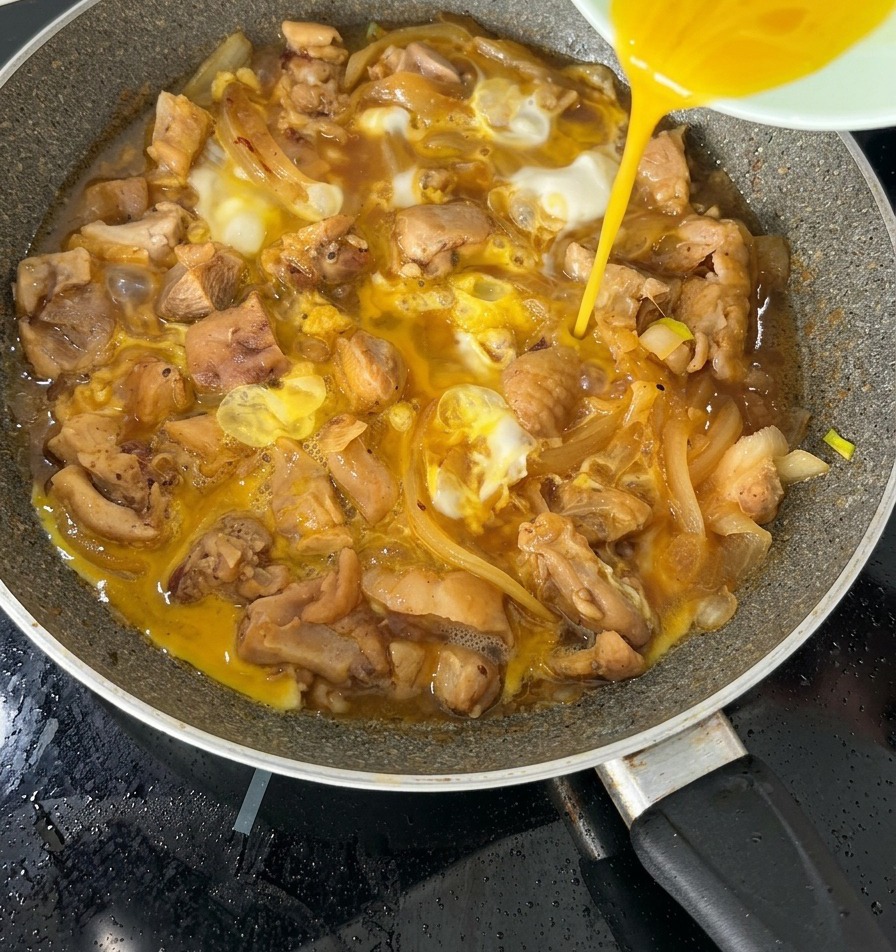
Pour the remaining beaten egg evenly over the pan, blanketing the chicken and onions. Once the egg is added, turn off the heat immediately to preserve its delicate consistency.
Tip: Do not cook the second layer of egg with the heat on, or it will become dry and lose its characteristic silkiness. - 13Cover and steam
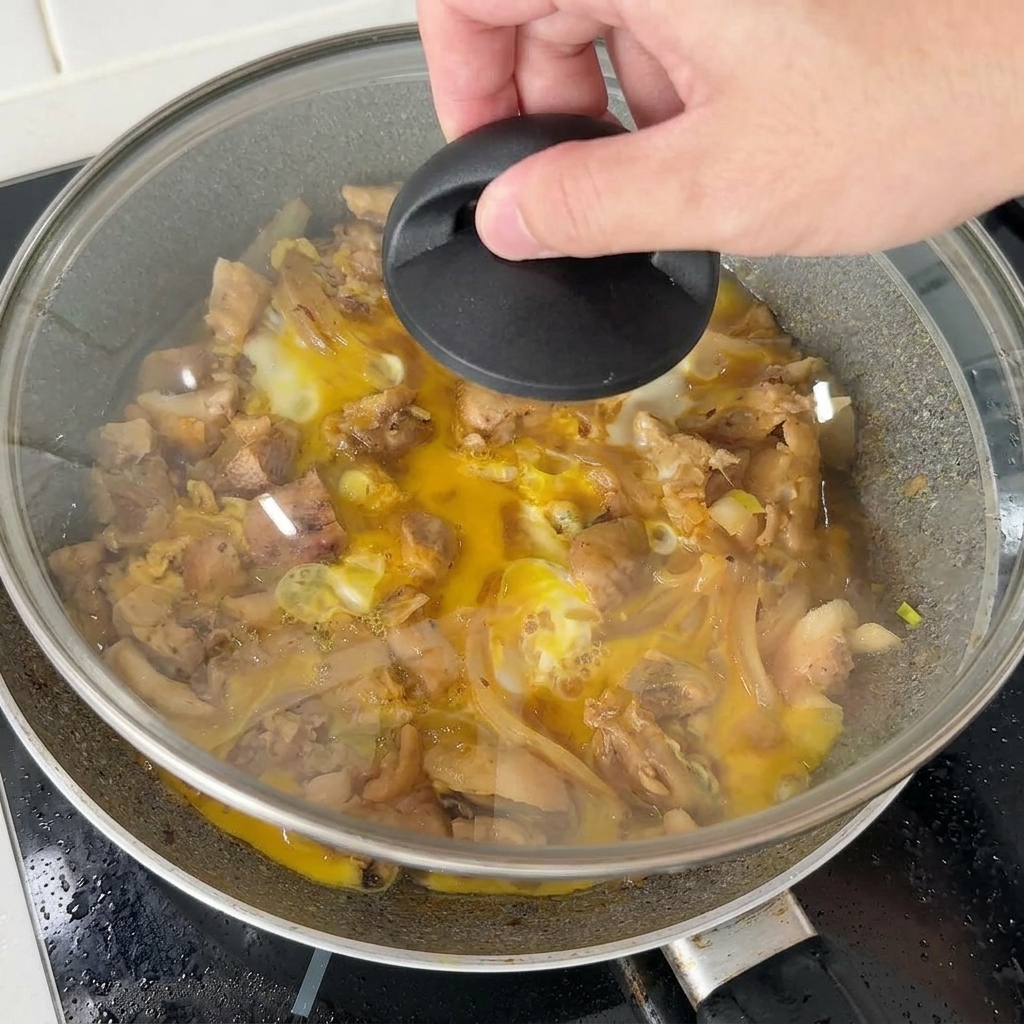
Immediately cover the pan with a tight-fitting lid and let it rest undisturbed for one to two minutes. The trapped residual heat and steam will gently set the eggs, creating a perfectly soft, bouncing custardy texture before sliding the entire mixture over a warm bowl of rice.
Tip: Turning off the heat before covering is the key to preventing rubbery eggs and achieving that signature silky, bouncy texture.