Japanese Oyakodon (Classic Chicken
Egg Rice Bowl)
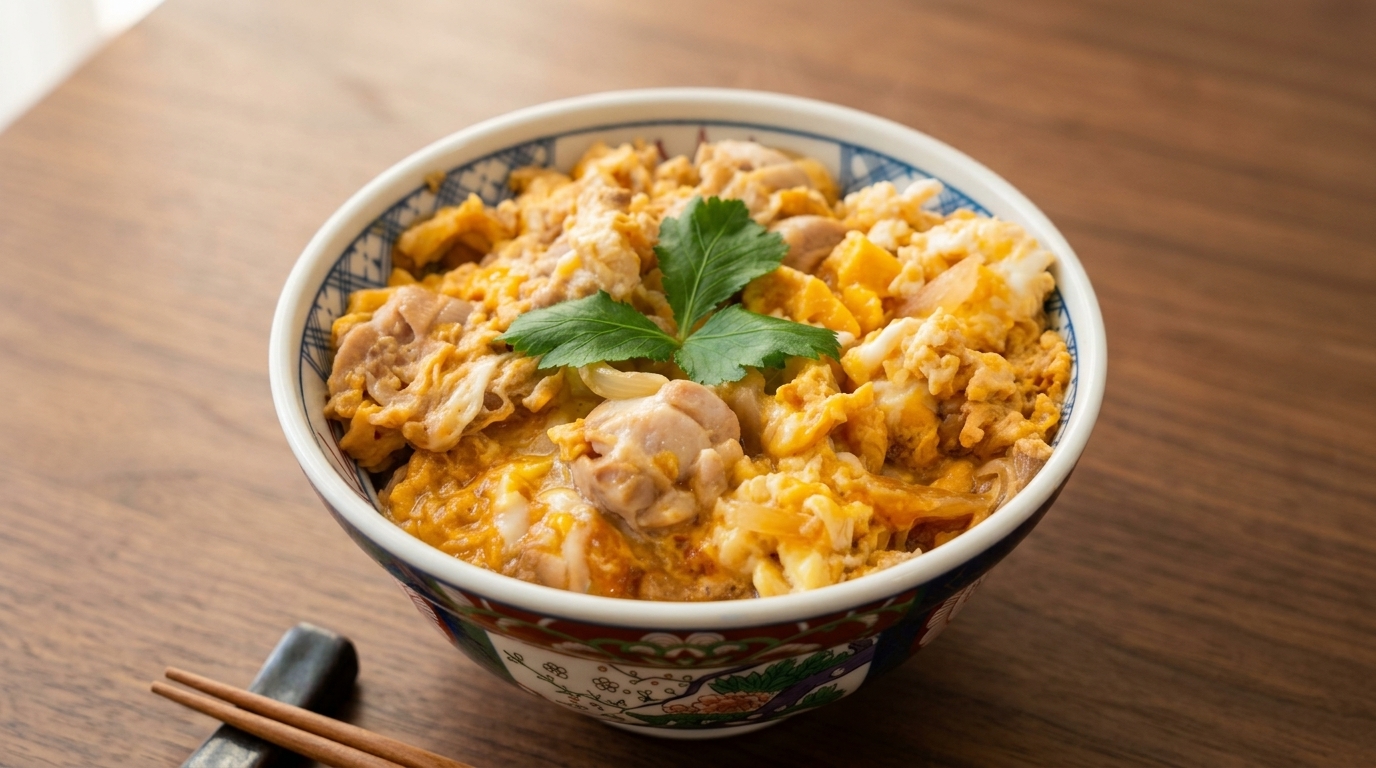
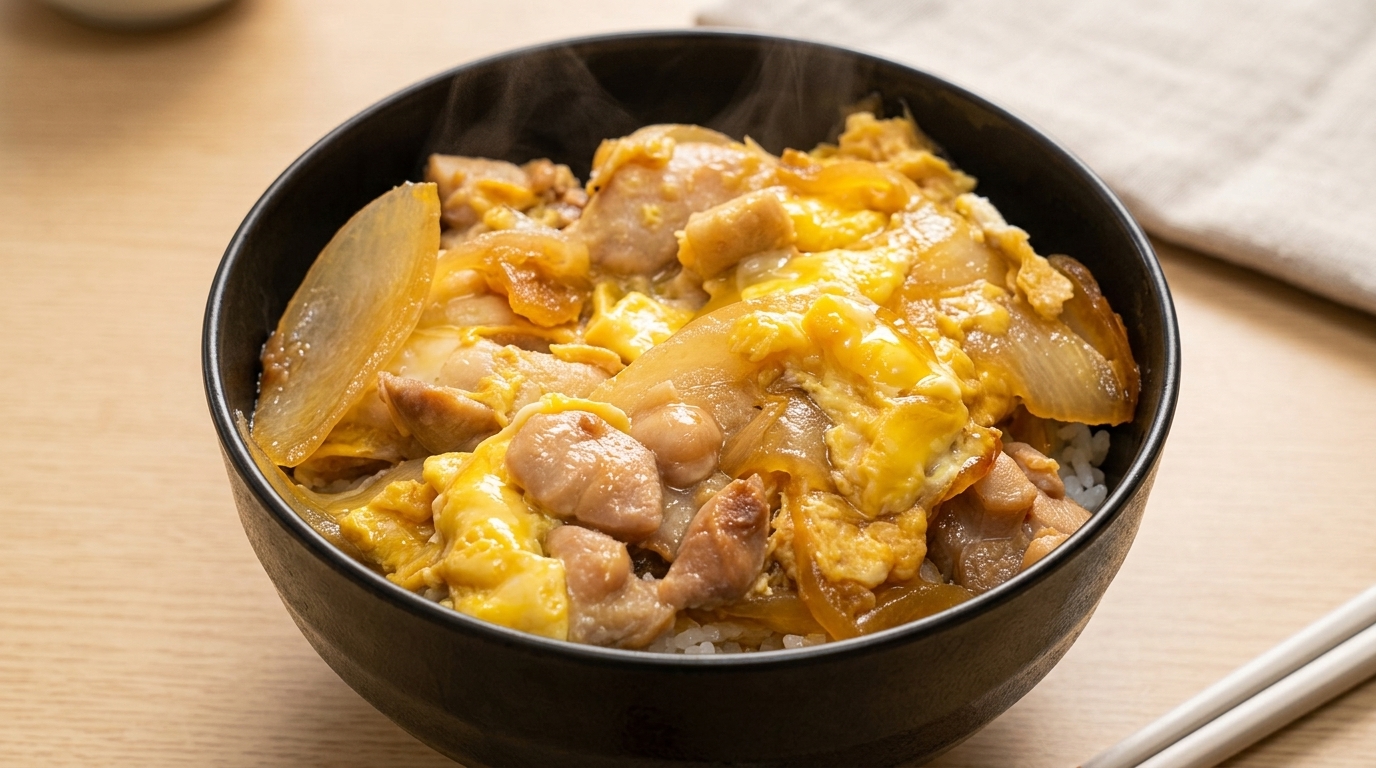
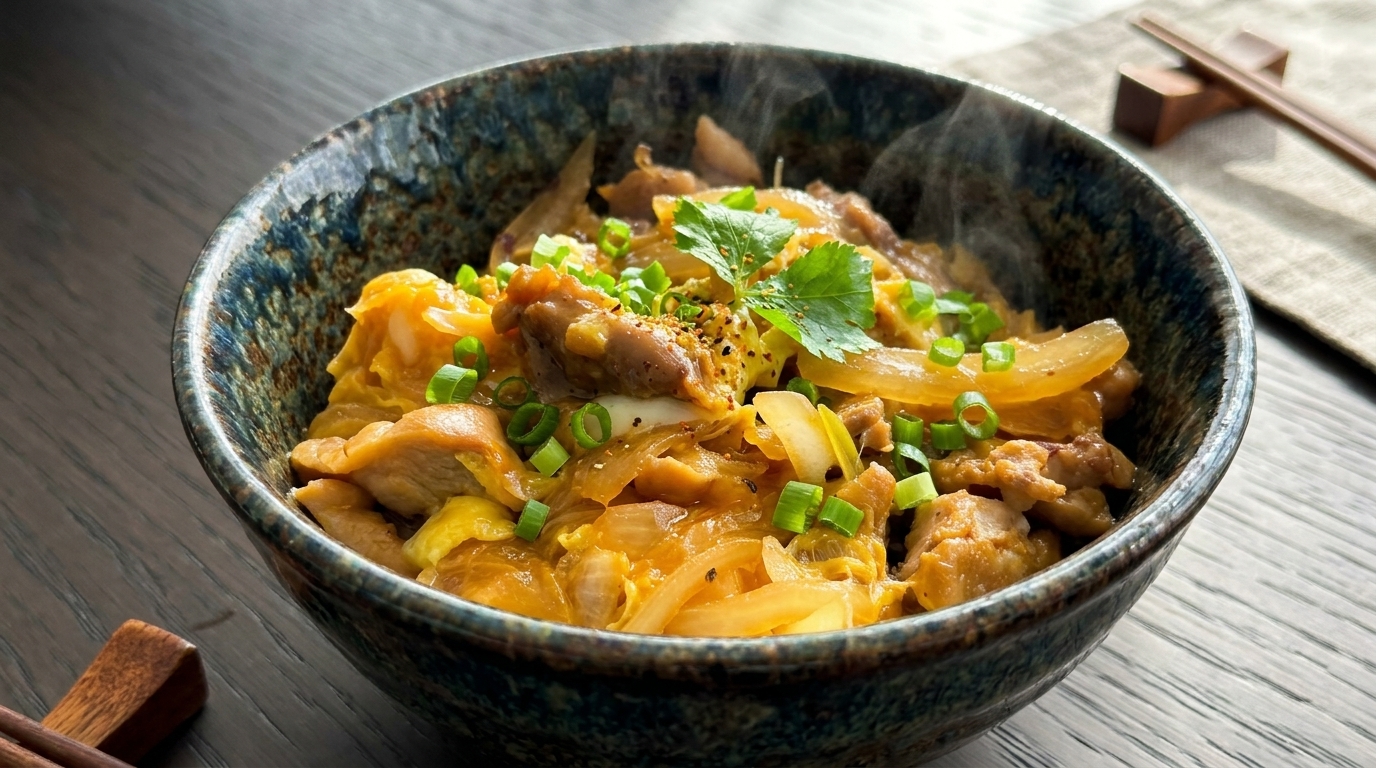
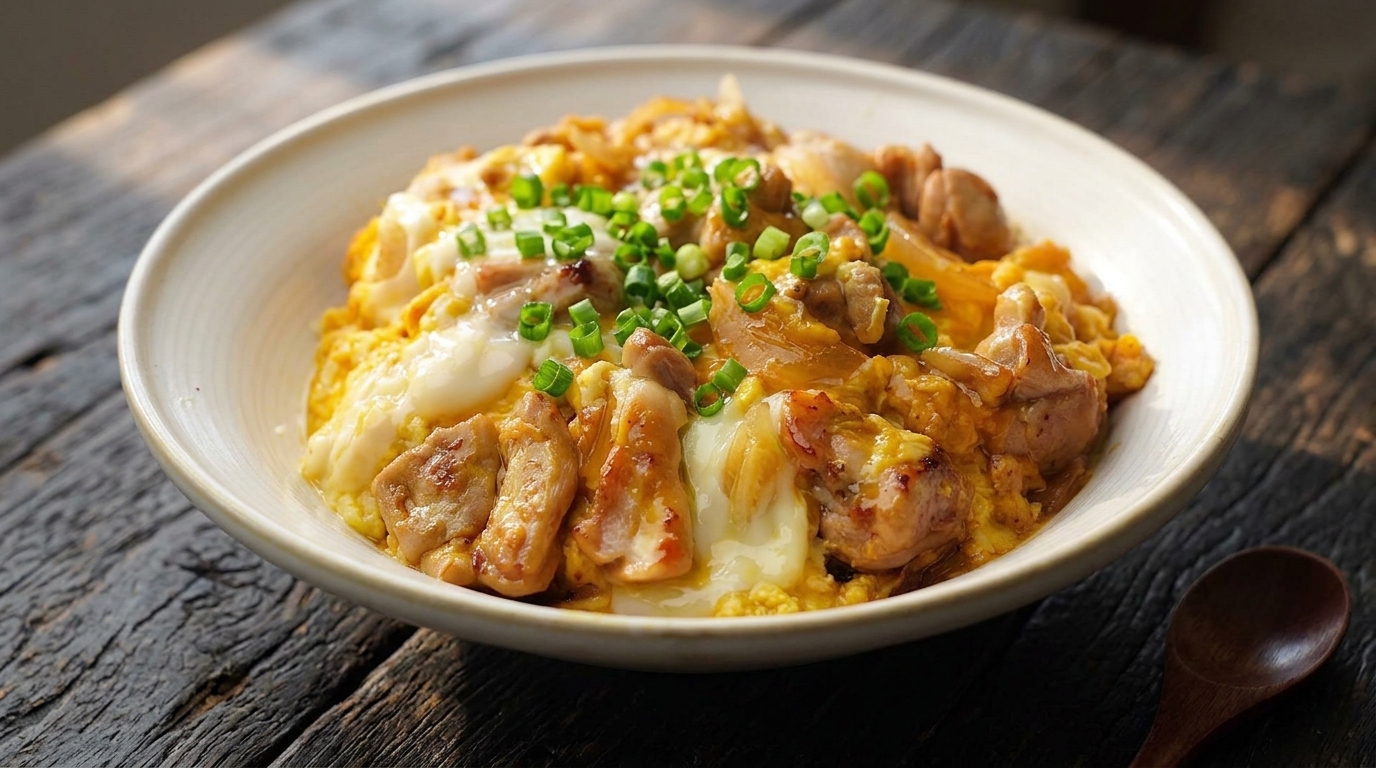
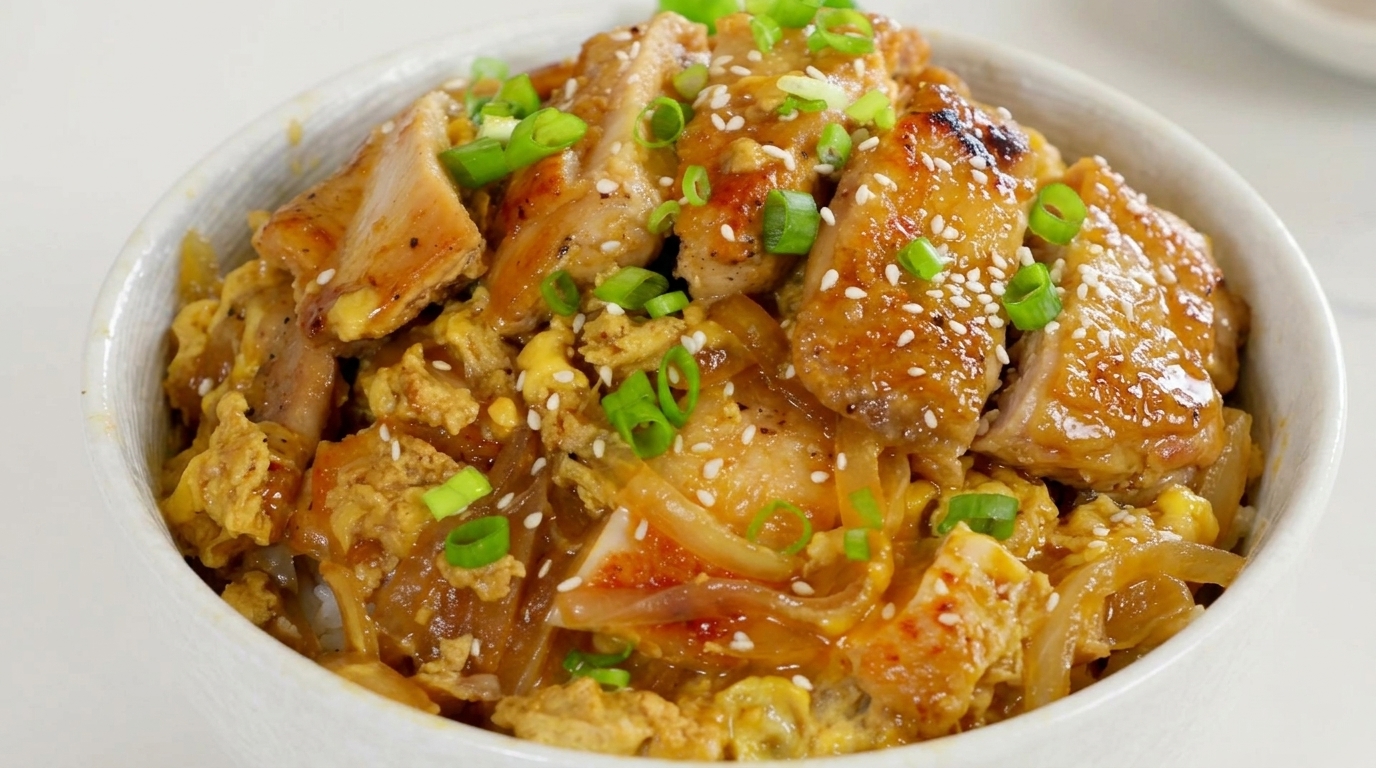
A comforting Japanese staple featuring succulent pan-seared chicken and silken eggs simmered in a sweet-savory sauce, achieved without a single drop of added oil.
Oyakodon, which literally translates to parent-and-child bowl, is the ultimate Japanese comfort food. This version focuses on a healthy, oil-free technique where the chicken thigh renders its own fat to create a crispy, golden skin, followed by a delicate two-stage egg pour for a perfect custard-like texture.
Ingredients
- 300 g boneless chicken thighs
- 12 white onion, thinly sliced
- 3 large eggs
- 2 tbsp mirin
- 2 tbsp Japanese soy sauce
- 6 tbsp water
- 2 bowls cooked white rice
- to taste salt and black pepper
- optional white sesame seeds
- to taste chopped green onions
Instructions
- 1Score the chicken
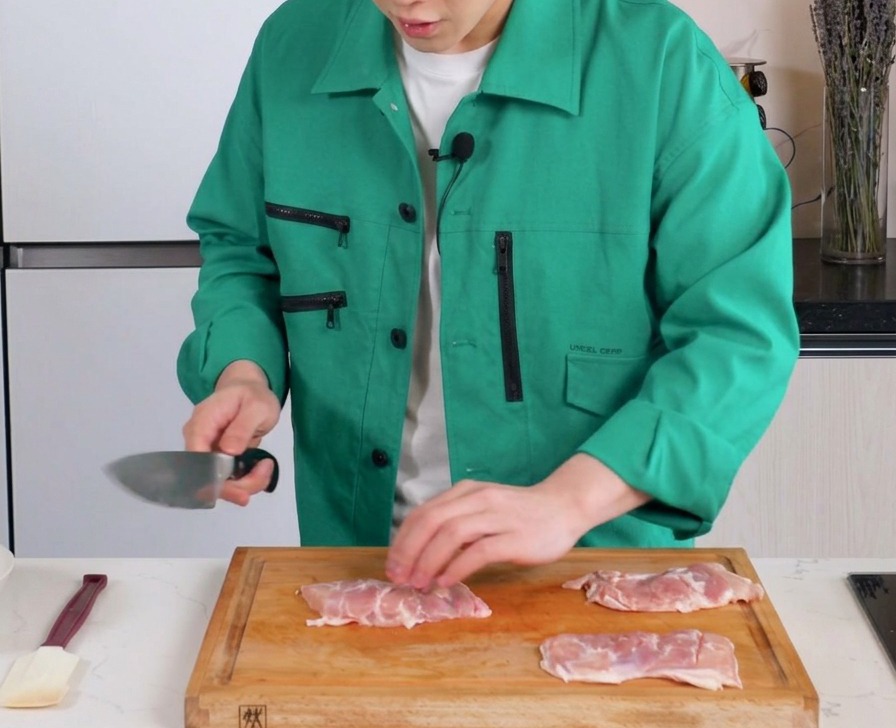
Place the boneless chicken thighs on a cutting board and make shallow slits on the meat side. Ensure you only cut through the meat and leave the skin completely intact. This essential step prevents the chicken from shrinking or curling up when it hits the hot pan.
Tip: Keep your knife strokes gentle so you dont accidentally pierce the skin, which we want to keep intact for maximum crispiness. - 2Season the meat side
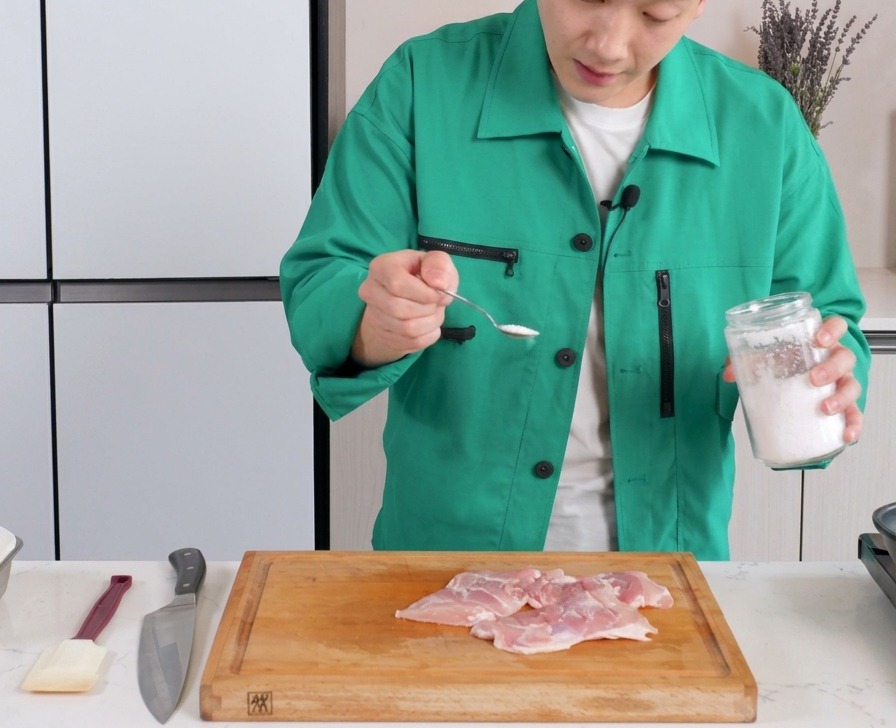
Season only the meat side of the chicken evenly with a pinch of salt and some black pepper. Since the skin side will be pan-fried directly against the pan to release its natural oils, it doesnt need to be marinated or seasoned at this stage.
Tip: Seasoning just before cooking prevents the salt from drawing out too much moisture, keeping the chicken tender. - 3Pan-fry skin-side down
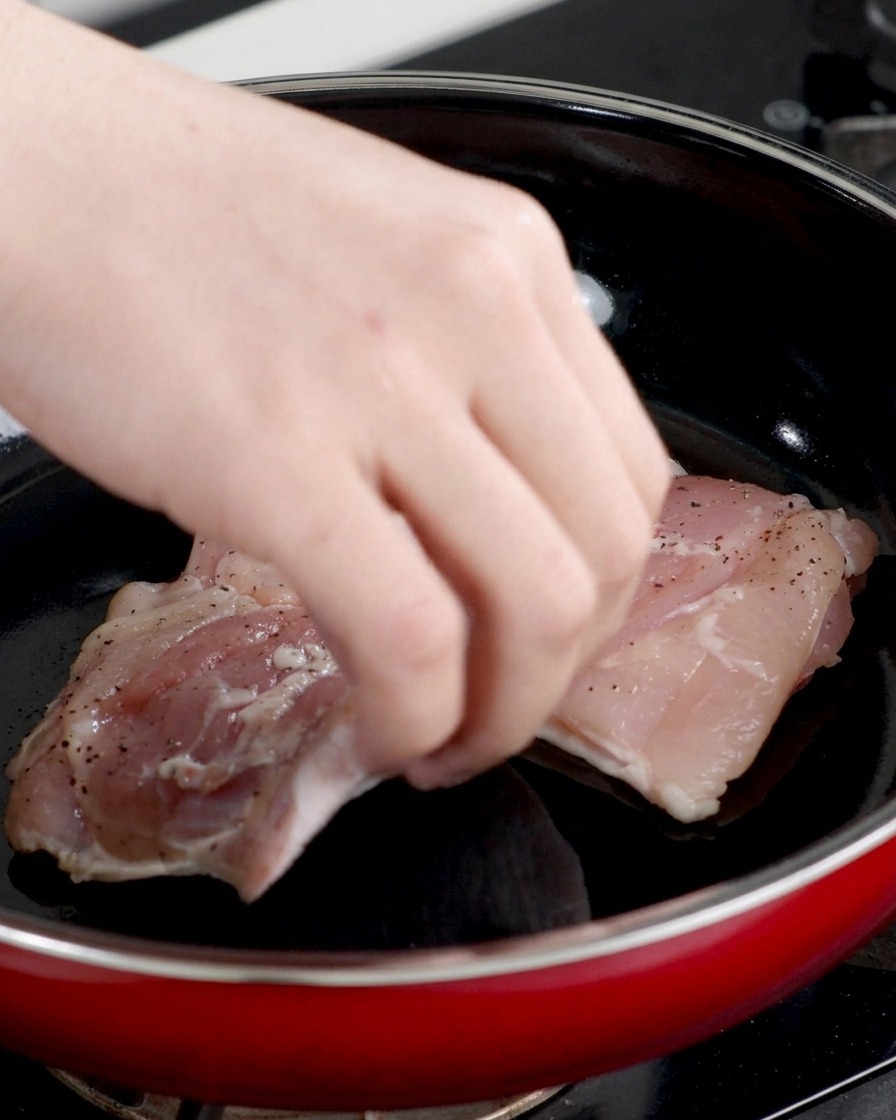
Without adding a single drop of oil, place the chicken thighs skin-side down directly into the pan. Slowly pan-fry the chicken over low heat; as the pan heats up, the natural fat from the chicken skin will slowly render out and flavor the dish.
Tip: Starting with a dry pan allows the chickens own fat to render out beautifully without becoming overly greasy. - 4Render until golden
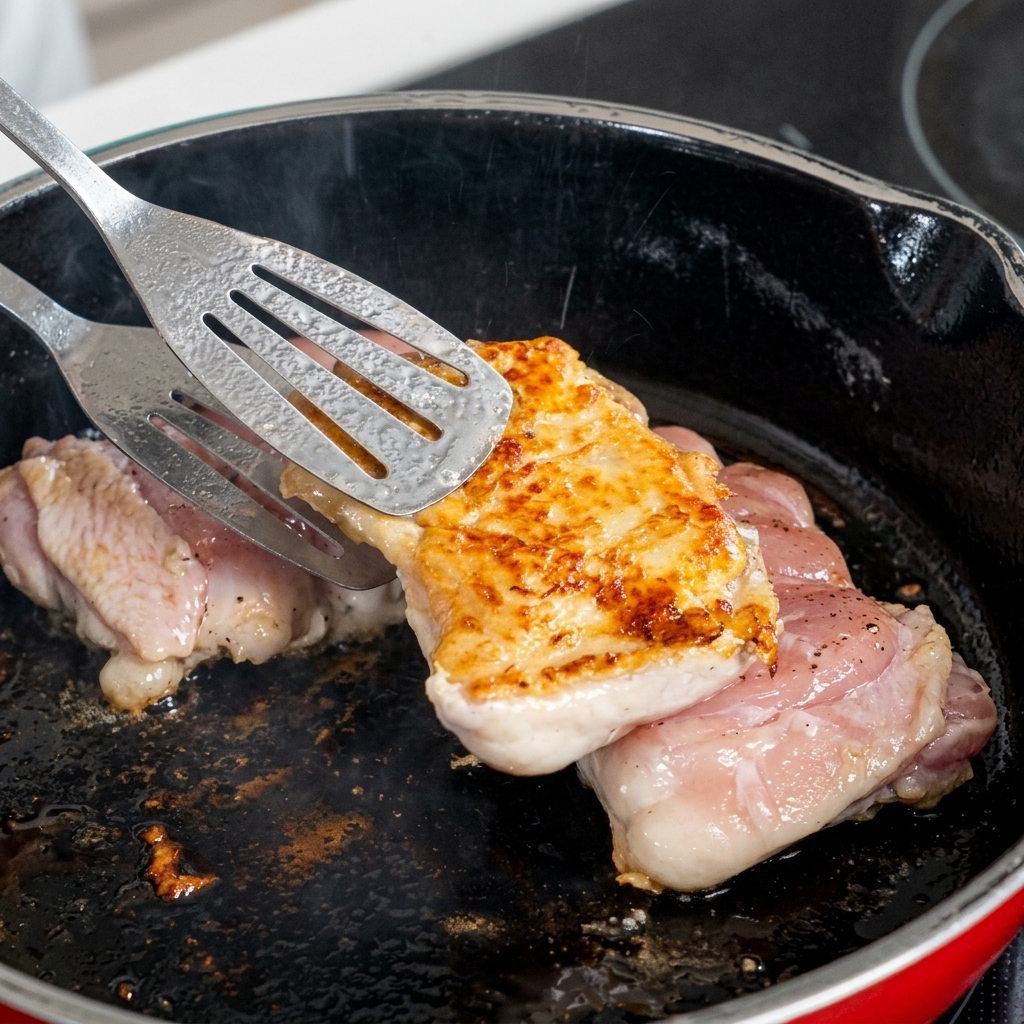
Continue cooking over low heat until the chicken skin develops a rich, golden brown color and becomes crispy. Wait for that beautiful Maillard reaction to occur; the rendered chicken fat will make the skin incredibly fragrant and deeply savory.
Tip: Resist the urge to move the chicken around too much while its skin-side down, allowing it to develop an even, unbroken crust. - 5Sear the meat side
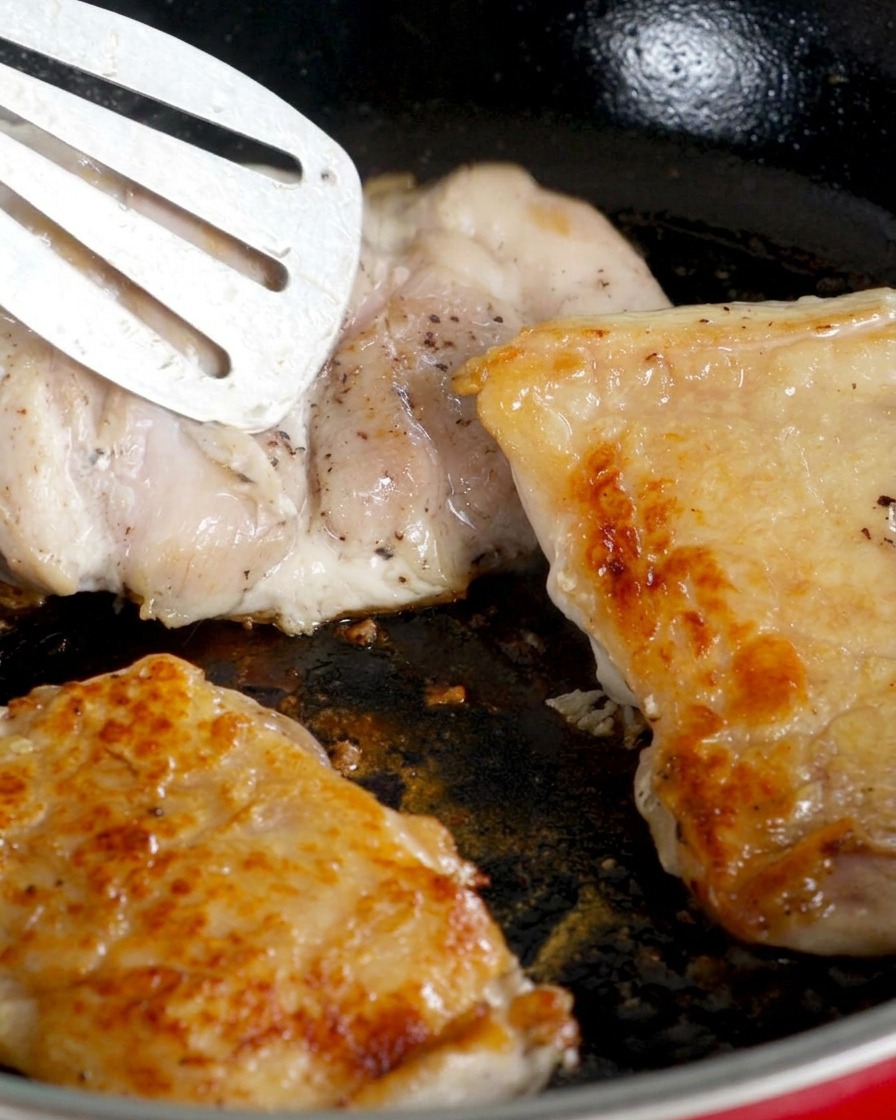
Once the skin is fully crisped and fragrant, flip the chicken thighs over to cook the meat side. Fry for an additional 2 minutes in the rendered chicken fat until its fully cooked. After searing, remove the chicken from the pan and set it aside.
Tip: Dont wash or wipe out the pan after removing the chicken; that leftover golden fat is the secret to rich, flavorful onions. - 6Sauté the onions
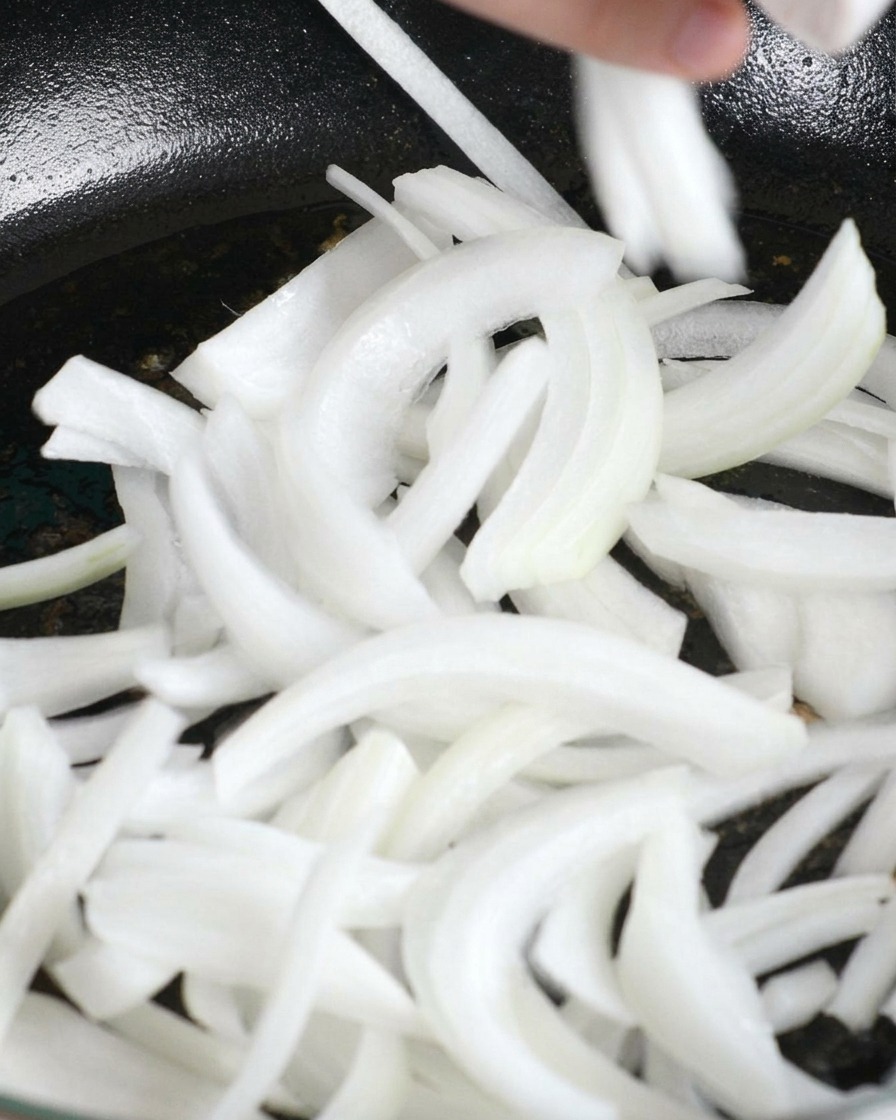
Add the sliced white onions directly into the pan using the leftover chicken fat. Stir-fry them gently over low heat until they soften and begin to turn translucent, absorbing all the savory flavors left behind by the perfectly seared chicken.
Tip: If the pan is too hot after cooking the chicken, let it cool for a few seconds before adding the onions to prevent them from burning. - 7Prepare the Oyakodon sauce
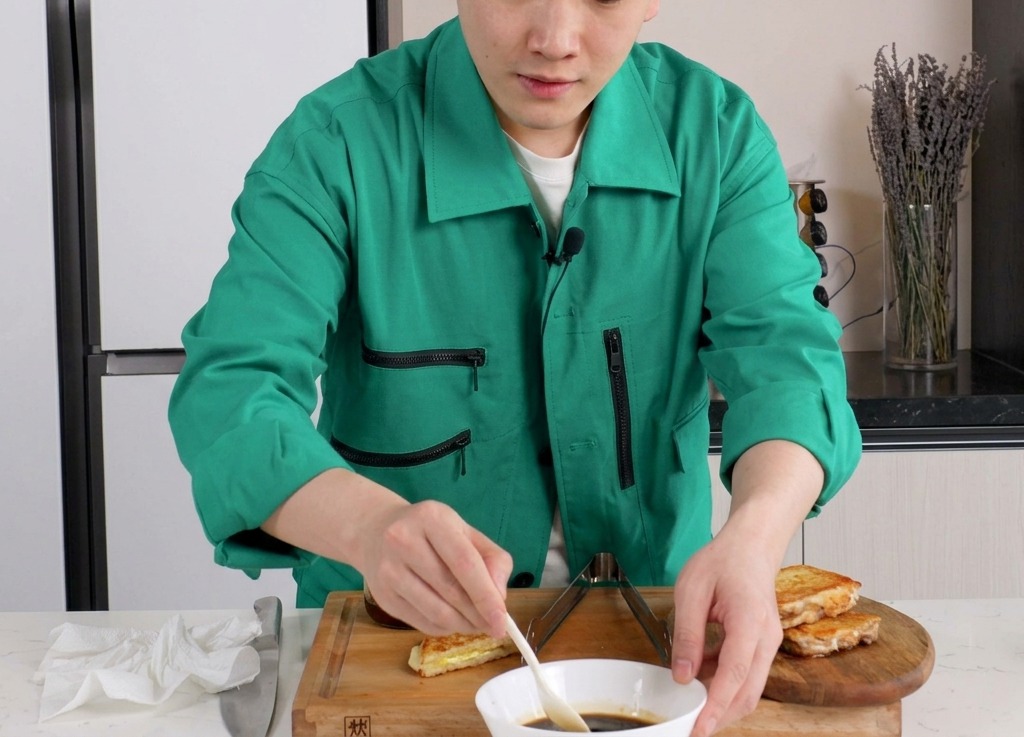
In a small bowl, combine two spoons of mirin (or rice wine as a substitute), two spoons of Japanese soy sauce, and six spoons of water. Stir the mixture thoroughly to create the soul sauce that will provide the classic sweet and savory flavor base for the dish.
Tip: If you dont have mirin, a mix of rice wine with a pinch of sugar can replicate that characteristic Japanese sweetness. - 8Simmer the onions in sauce
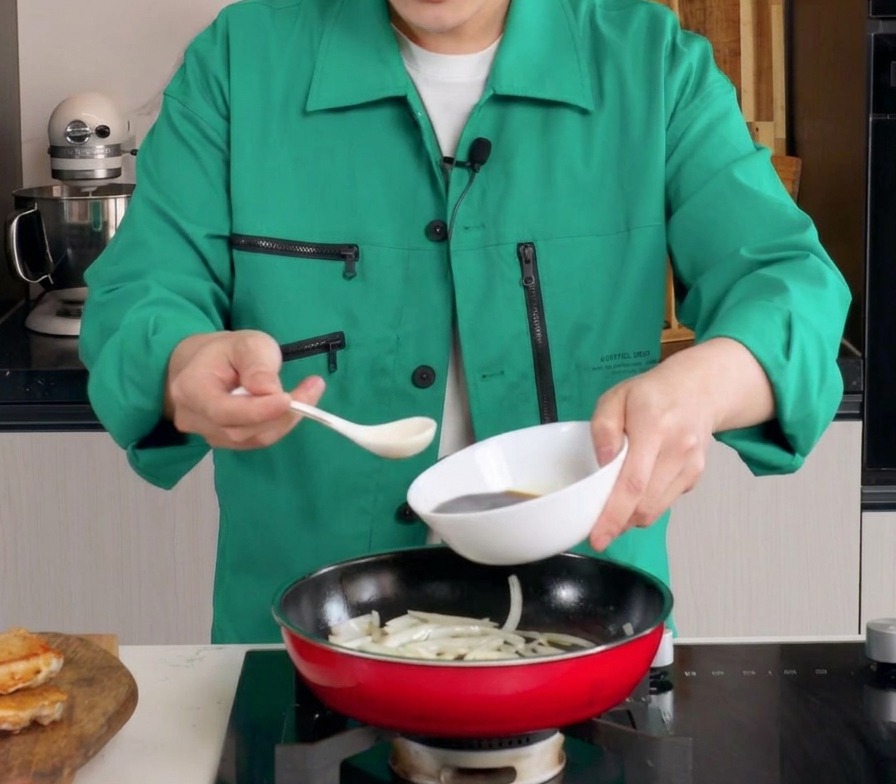
After the onions have been stir-fried until soft, pour the prepared sauce mixture into the pan. Stir gently to ensure the onions are well coated, then let them simmer over low heat for about 2 minutes to absorb the umami from the sauce.
Tip: Keep the heat low during this stage to prevent the sauce from reducing too quickly and becoming overly salty. - 9Whisk the eggs gently
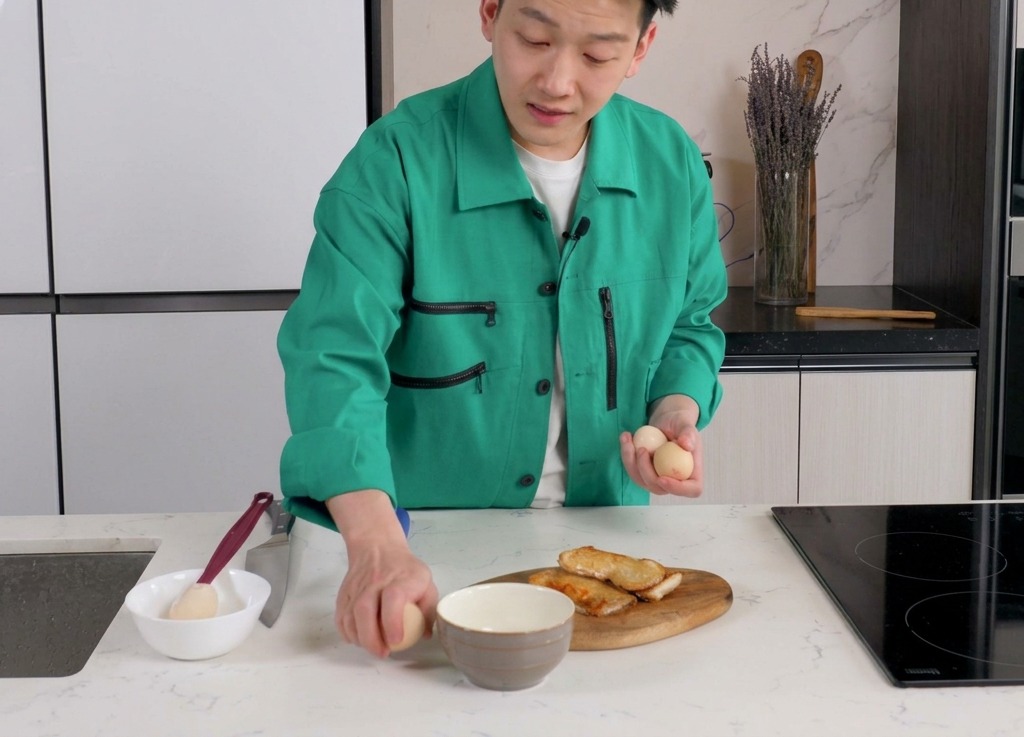
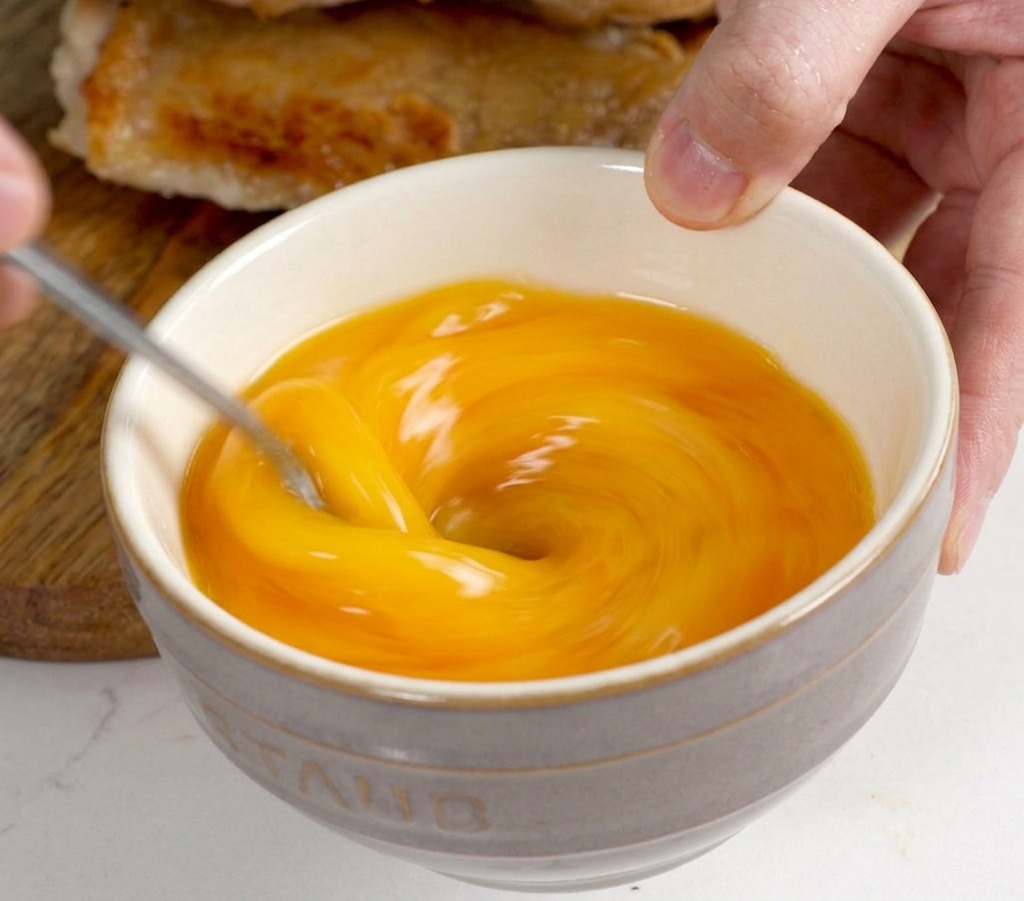
Crack three fresh eggs into a small bowl. Lightly beat the eggs with a gentle motion until the yolks and whites are just incorporated. Avoid over-whisking to keep bubbles to a minimum, which ensures a silkier texture when cooked.
Tip: For the best Oyakodon texture, you want streaks of white and yellow rather than a perfectly uniform yellow mixture. - 10Prepare the rice bowls
While the onions simmer and the sauce reduces slightly, scoop the warm cooked white rice into two deep serving bowls. Having the rice ready ensures you can serve the dish immediately while the eggs are at their most tender and silken consistency.
Tip: Warm the bowls slightly if possible to keep the rice and topping hot during serving. - 11Slice the chicken thigh
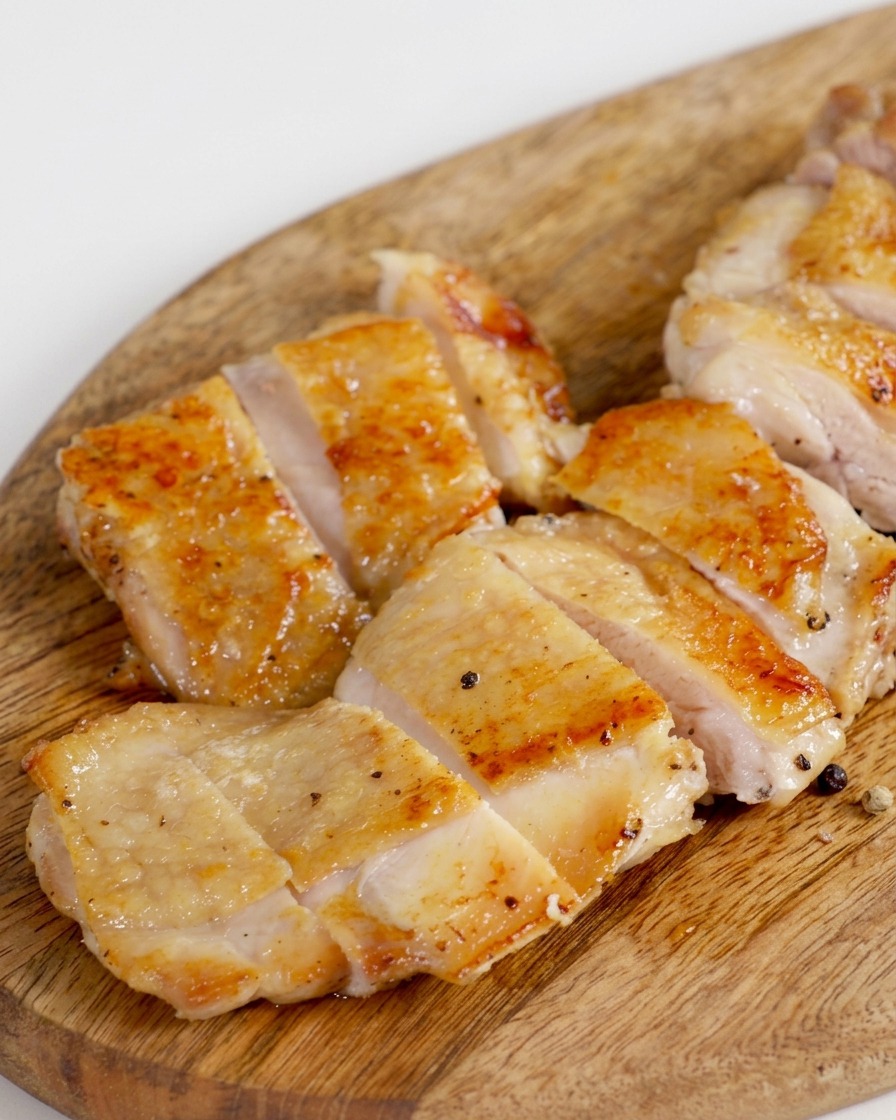
Transfer the pan-fried chicken thigh to a wooden cutting board skin-side up. Use a sharp knife to slice the meat into thick, bite-sized strips. The chicken should have a deeply browned, crispy skin while the interior remains tender and juicy.
Tip: Let the chicken rest for a minute before slicing to help the meat retain its juices. - 12Add the first layer of eggs
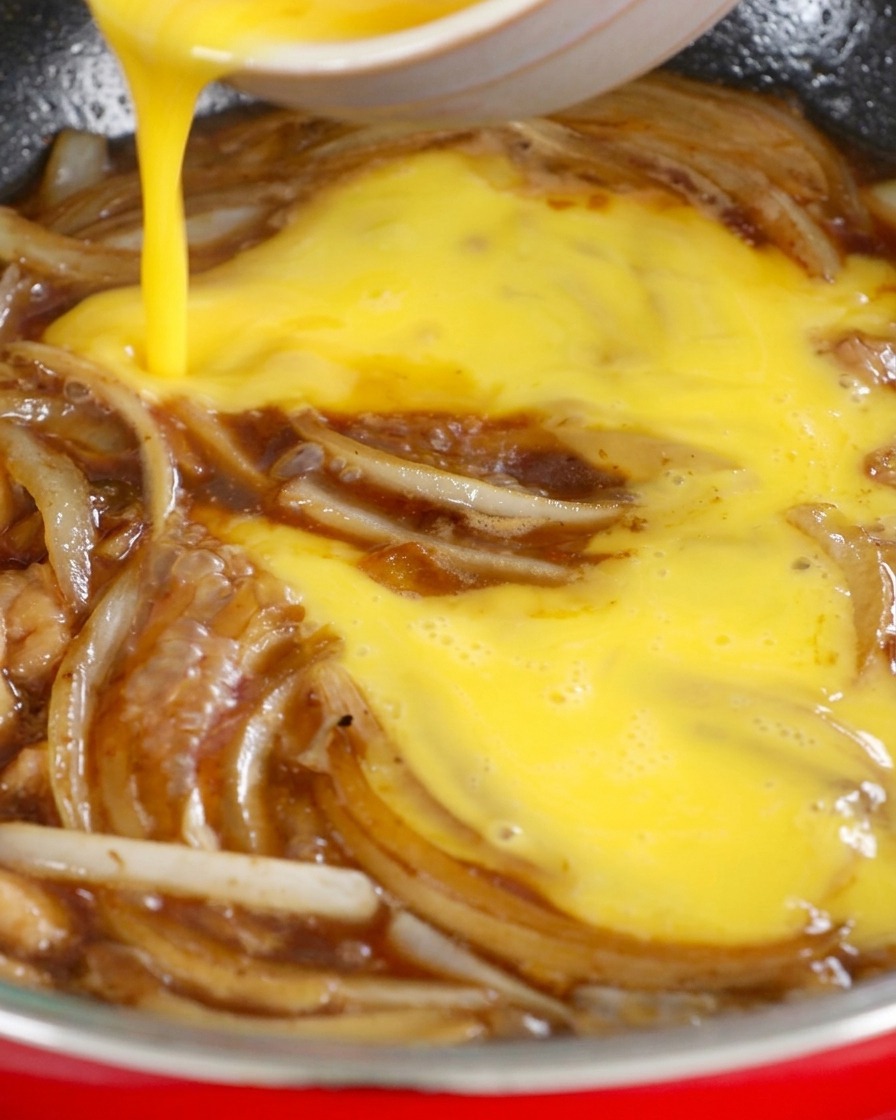
Pour approximately half of your beaten egg mixture into the pan, circling over the simmering onions and savory sauce. Allow the eggs to spread naturally to create a soft, flavorful base for the chicken pieces.
Tip: Keep the heat low during this step to ensure the eggs cook gently and stay creamy. - 13Arrange chicken in the pan
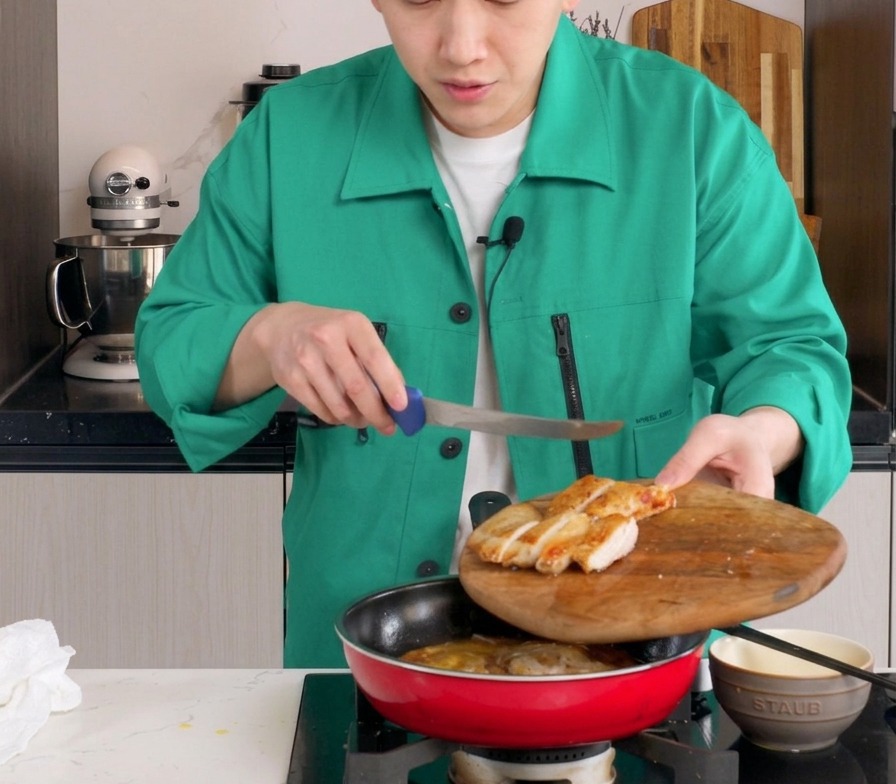
Carefully arrange the sliced, golden-brown chicken pieces on top of the simmering onions and the first layer of eggs. Ensure the skin side faces up to maintain its texture and appearance while the bottom of the meat absorbs the savory sauce.
Tip: Placing the chicken skin-side up prevents the crispy skin from getting soggy while the meat finishes cooking in the sauce and egg. - 14Add the remaining egg mixture
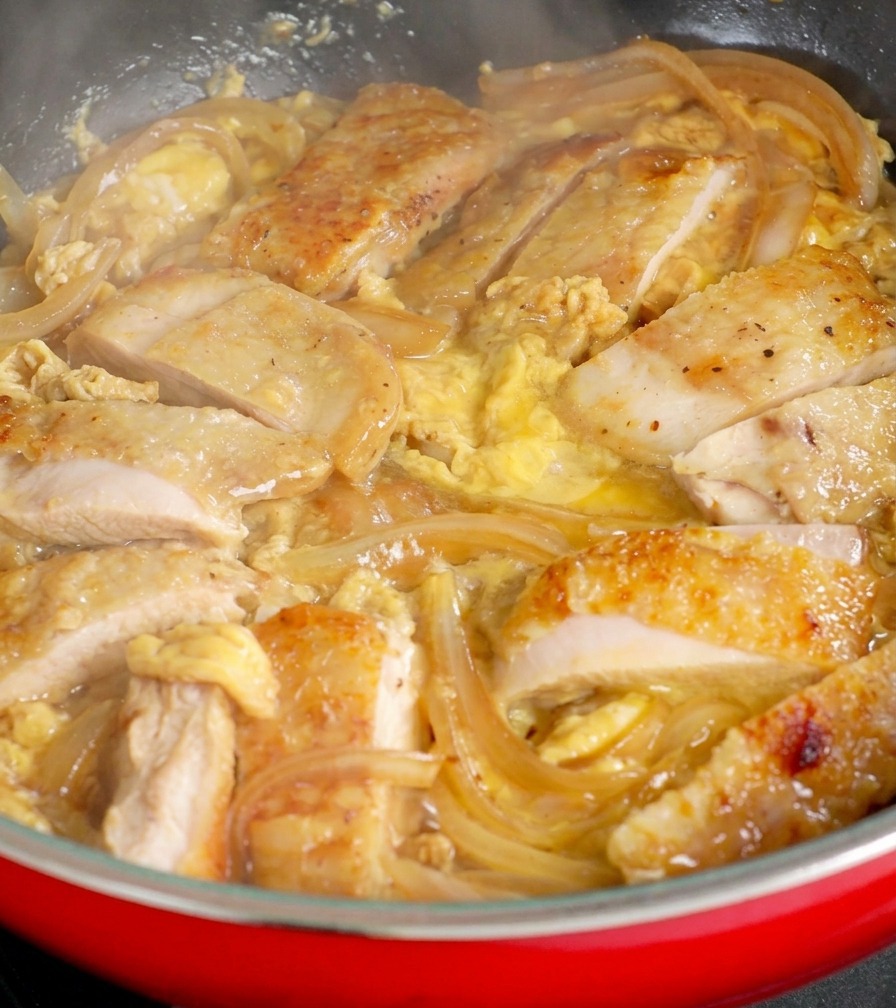
Once the first half of the egg has solidified around the chicken and onions, pour the remaining beaten egg mixture evenly into the pan. This two-step pouring method is the secret to achieving the perfect Oyakodon texture—where some of the egg is fully cooked while the rest remains soft and silken.
Tip: Cover the pan with a lid for about 30 seconds after adding the second half of the eggs if you prefer them slightly more set while keeping the texture creamy.