Classic Oyakodon (Japanese Chicken
Egg Rice Bowl)
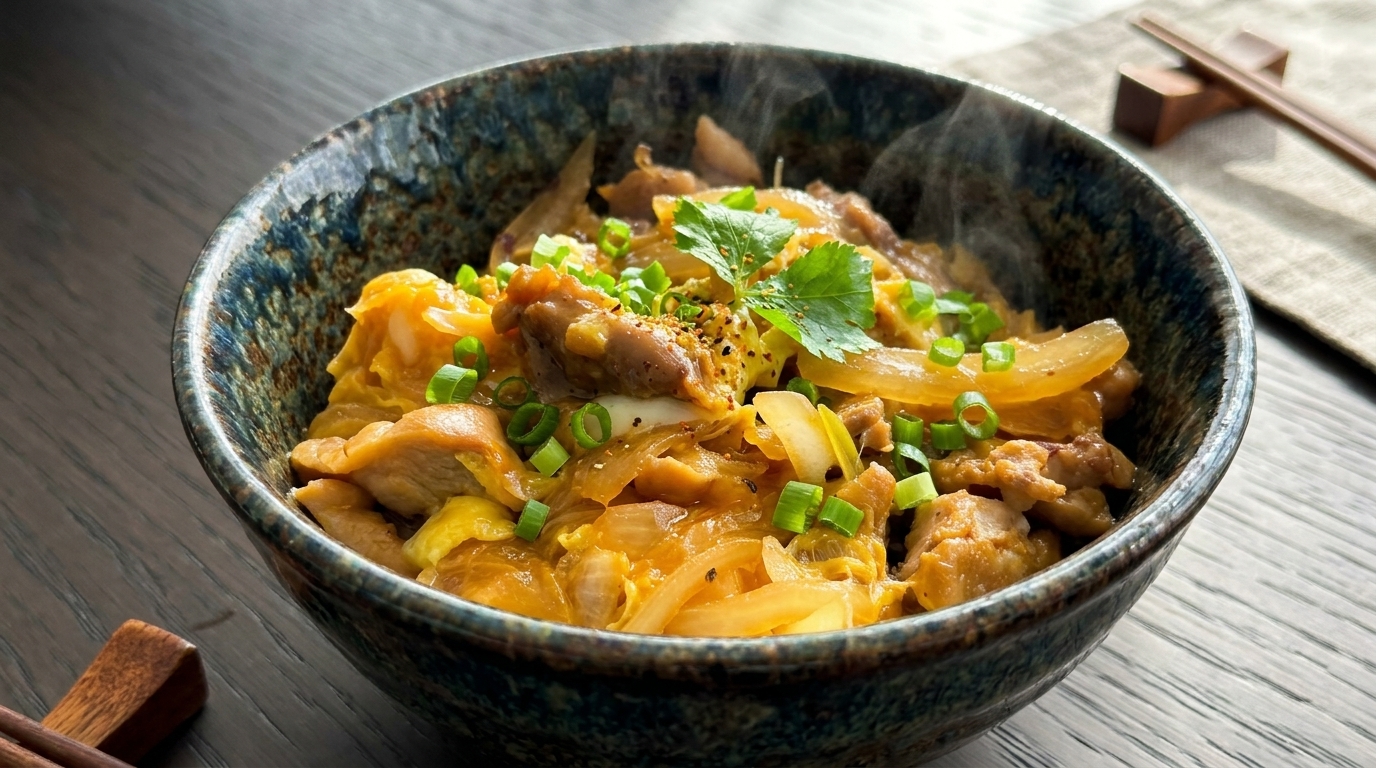
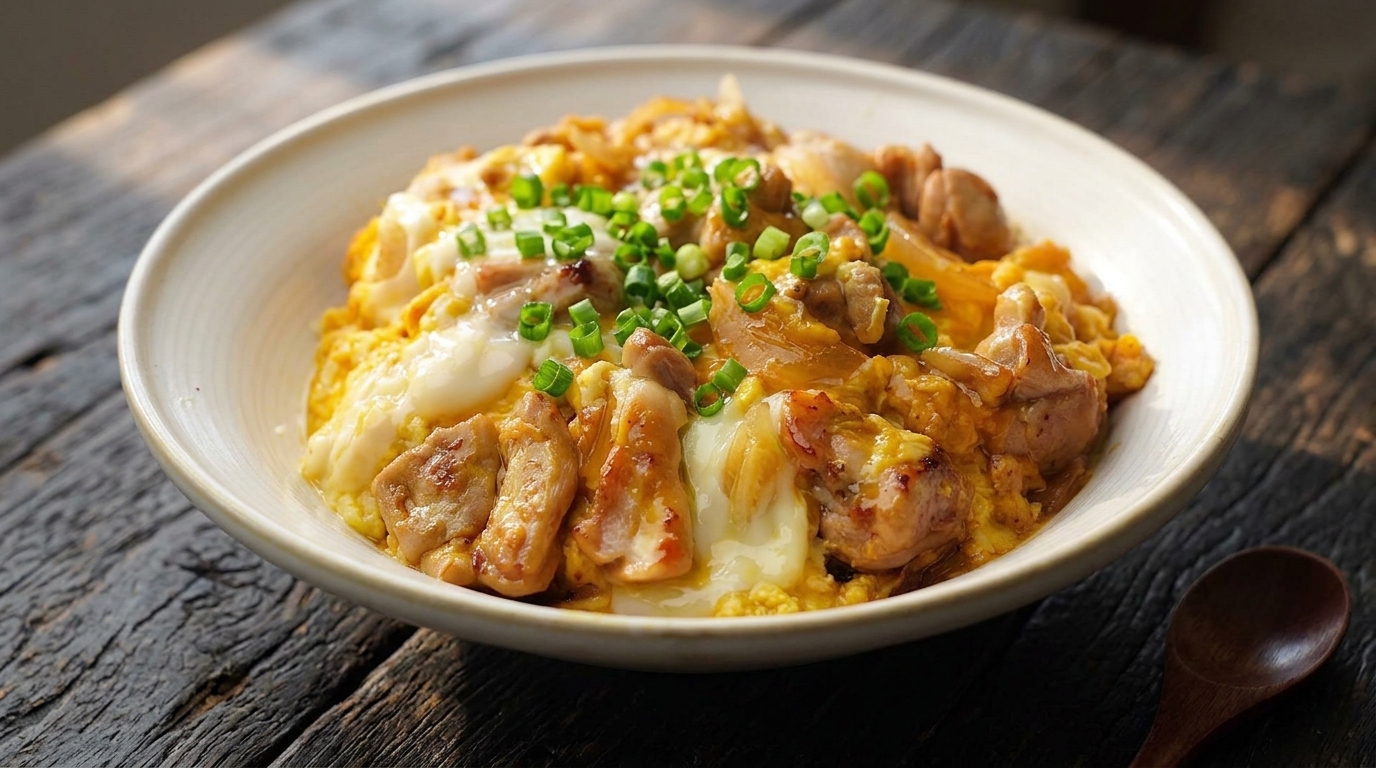
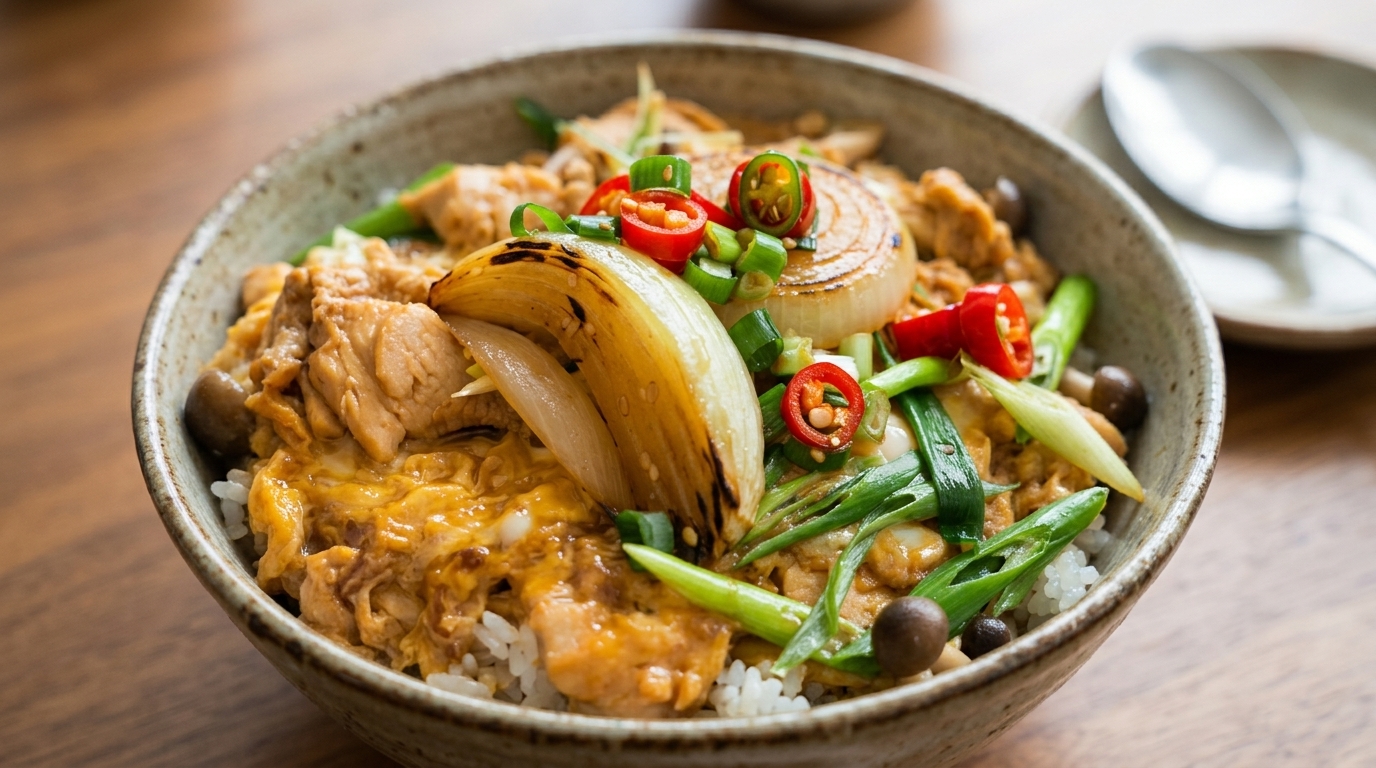
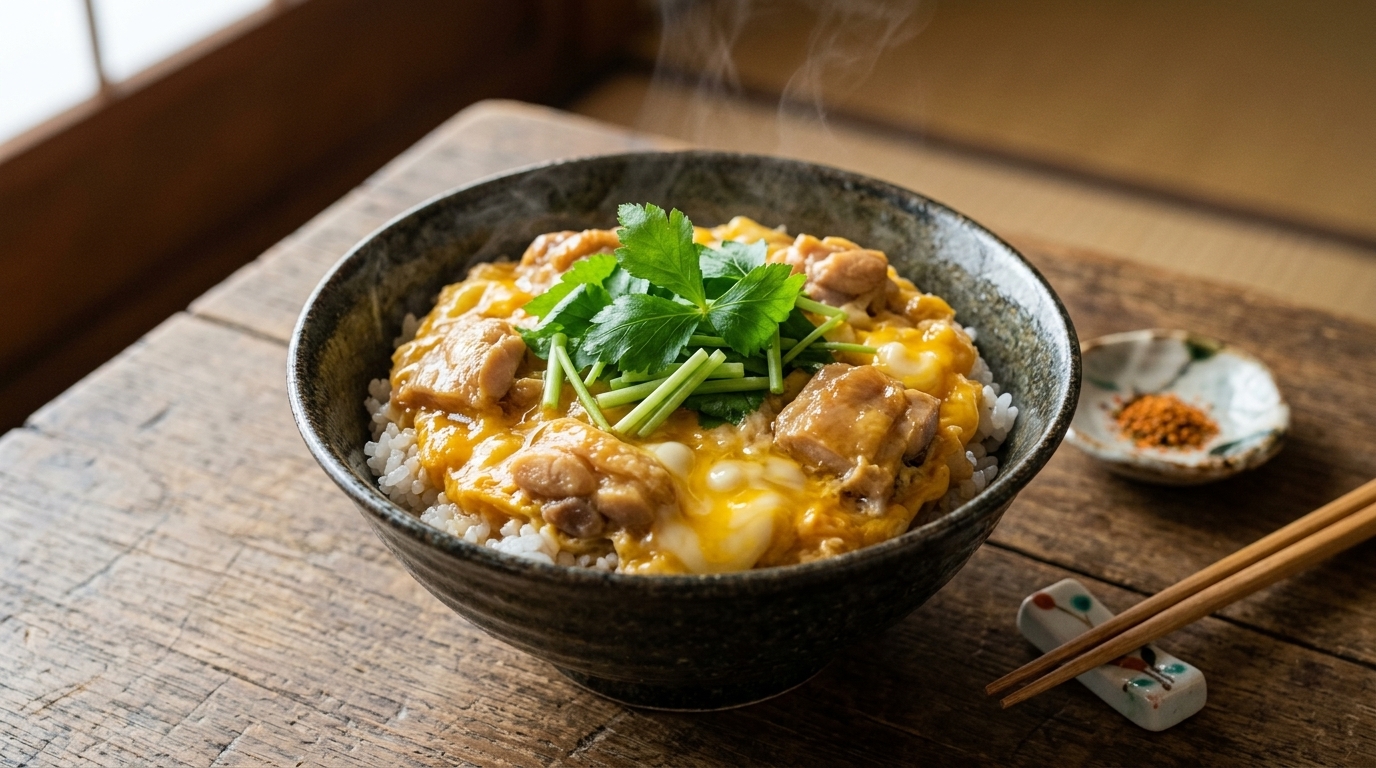
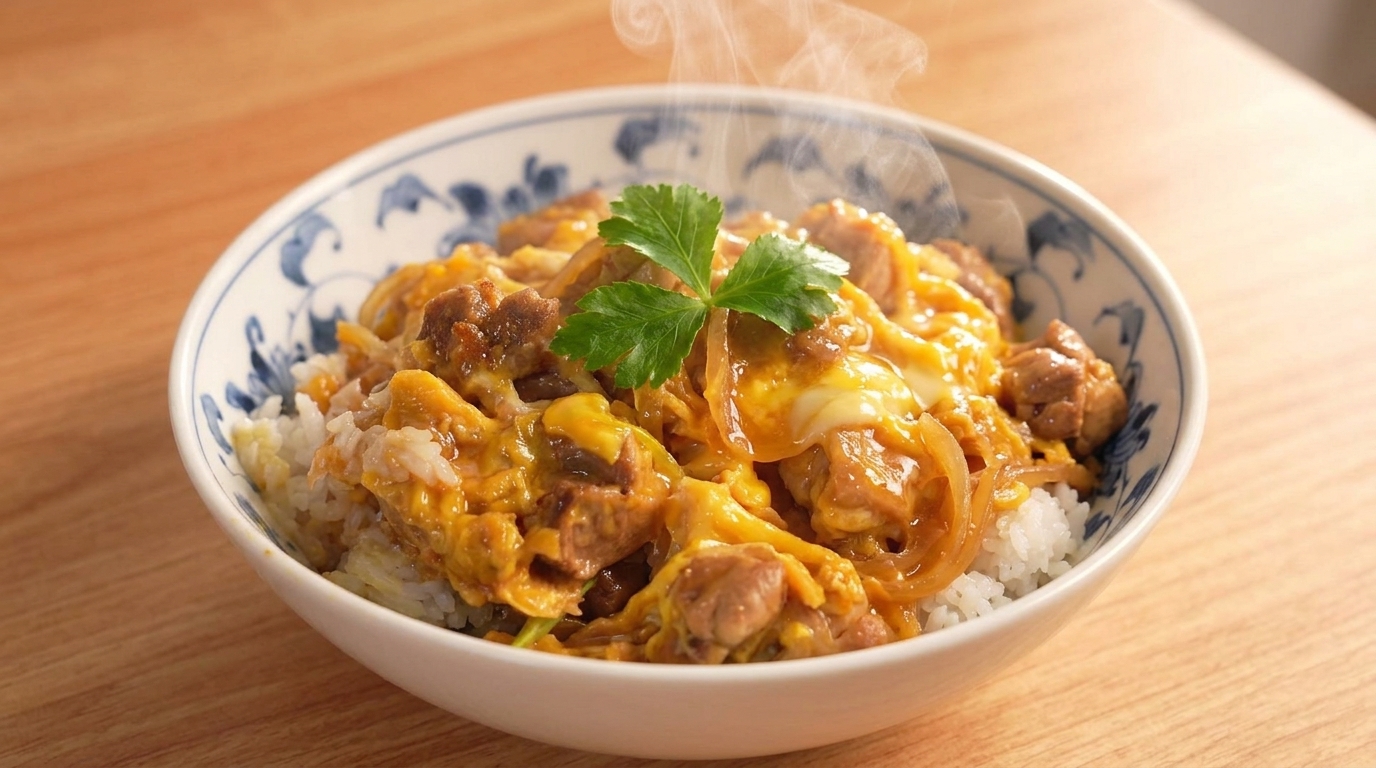
A comforting Japanese bowl of tender chicken and onions simmered in savory dashi, topped with silky, semi-set eggs over a bed of fluffy white rice.
Oyakodon literally translates to parent and child donburi which is a soul warming Japanese comfort food celebrating the harmony between chicken and egg. Originally created in Tokyo in the late 19th century it relies on the donburi philosophy where the flavorful simmered topping seasons the rice beneath. This version adds a touch of butter for a richer finish while maintaining the traditional silky egg texture.
Ingredients
- 200 g chicken thigh
- 2 large eggs
- 12 white onion
- 100 ml dashi stock
- 1 tbsp soy sauce
- 1 tbsp mirin
- 10 g butter
- 1 stalk green onion
- 1 bowl steamed white rice
- to taste black pepper
- 1 tsp vegetable oil
- optional parsley or mitsuba
Instructions
- 1Prepare the dashi base
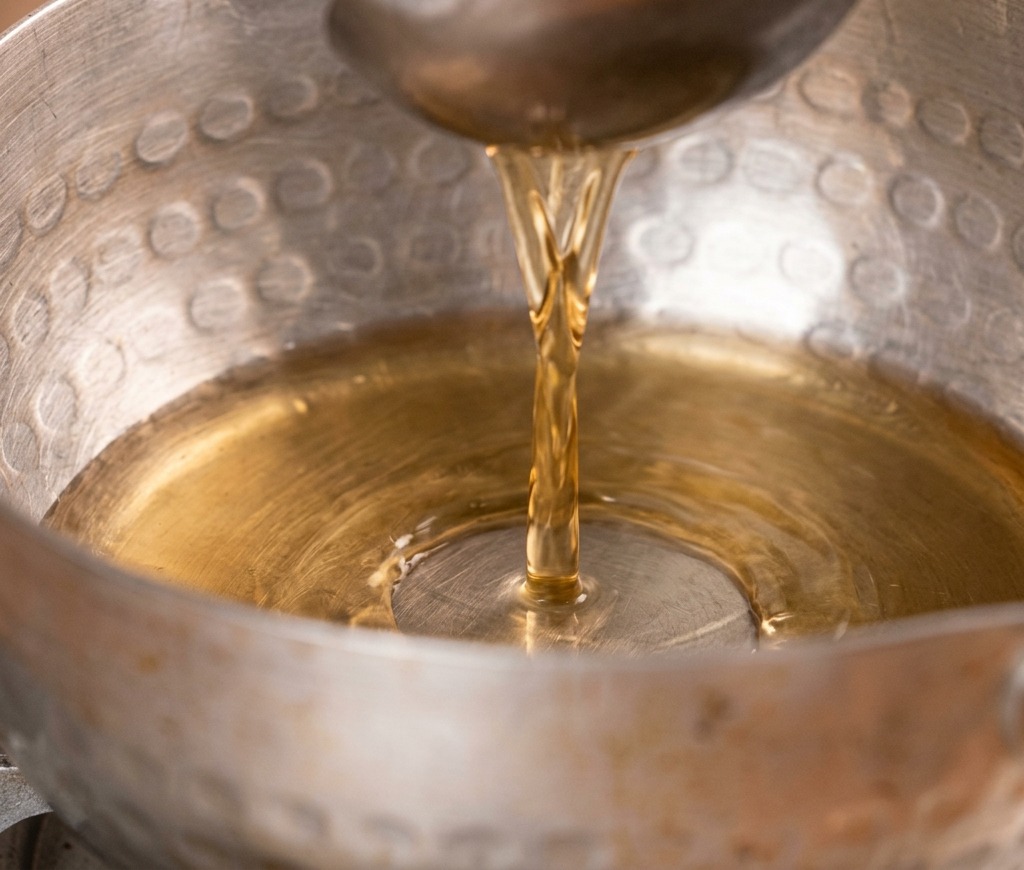
Begin by pouring dashi stock into a small saucepan or traditional yukihira nabe. Place it over medium heat and bring the liquid to a gentle simmer. This flavorful stock serves as the foundation for the Oyakodon sauce.
Tip: For the best results, use a high-quality dashi made from kombu and katsuobushi to ensure a deep, savory umami flavor. - 2Season the sauce
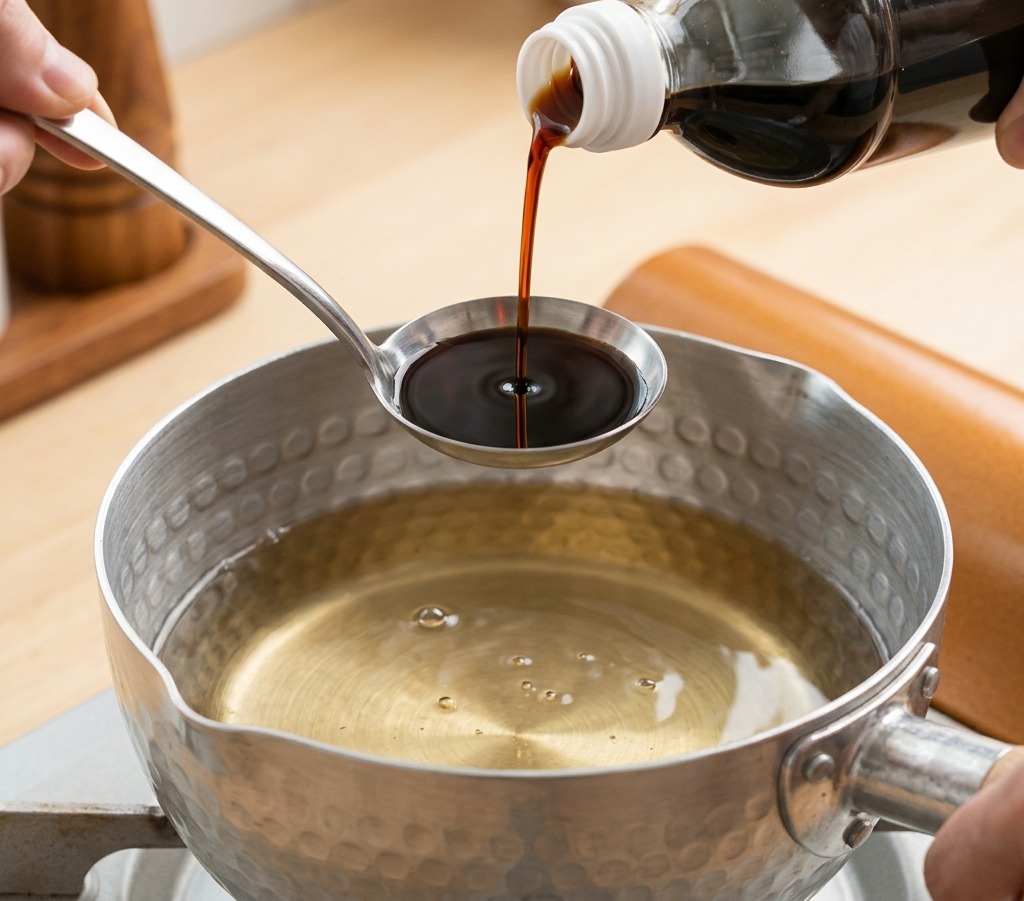
Add soy sauce to the simmering dashi. The soy sauce provides the necessary saltiness and color, balancing the savory stock to create a classic Japanese seasoning liquid for the chicken and eggs.
Tip: You can adjust the amount of soy sauce depending on your preference for a lighter or richer sauce. - 3Melt the butter
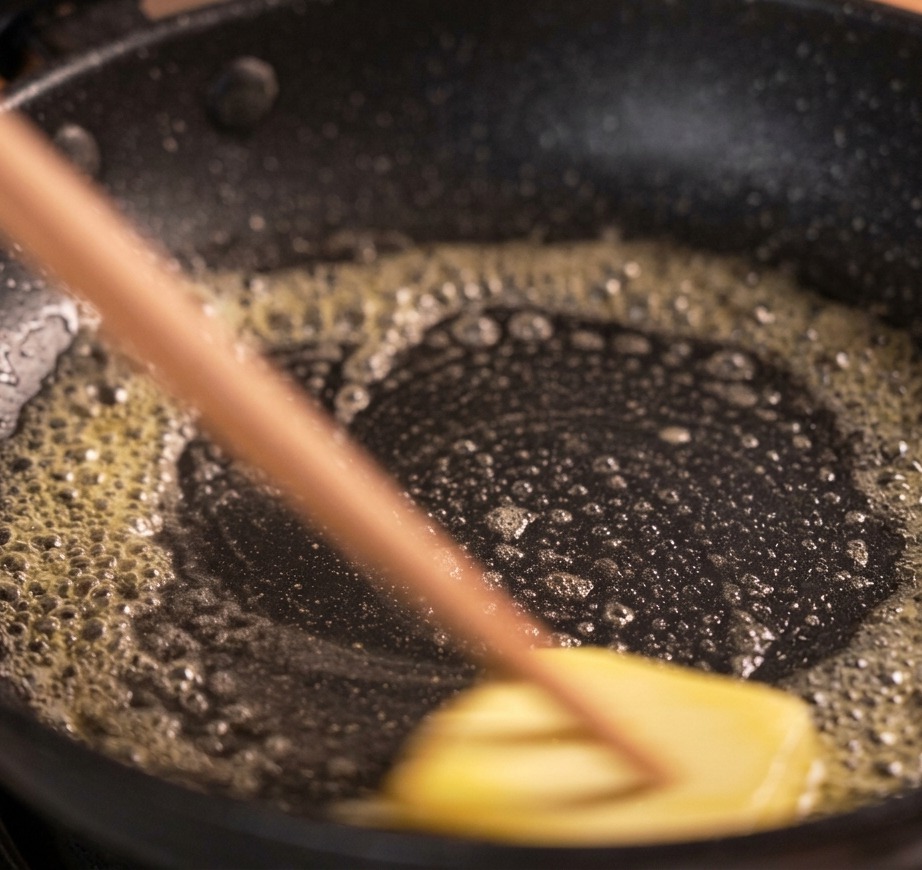
Heat a non-stick frying pan over medium heat and add a pat of butter. Let the butter melt completely until it begins to foam slightly. Using butter adds a rich, western-style depth to the dish.
Tip: Move the butter around with chopsticks or a spatula to ensure it coats the bottom of the pan evenly and doesnt burn. - 4Sear the chicken
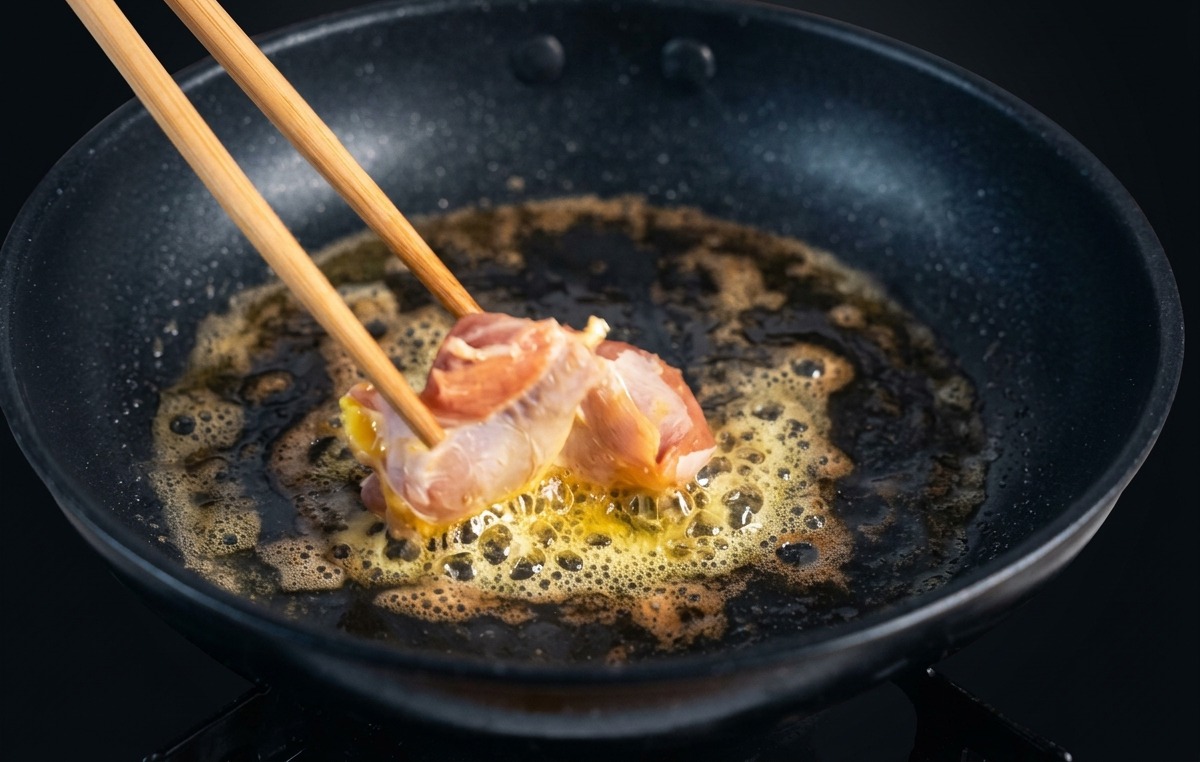
Place the raw chicken thigh pieces skin-side down into the hot pan with the melted butter. Allow them to sear undisturbed for a few minutes until the skin becomes golden brown and slightly crispy.
Tip: Searing the chicken first helps render the fat and locks in the juices, resulting in a more flavorful final dish. - 5Season with pepper
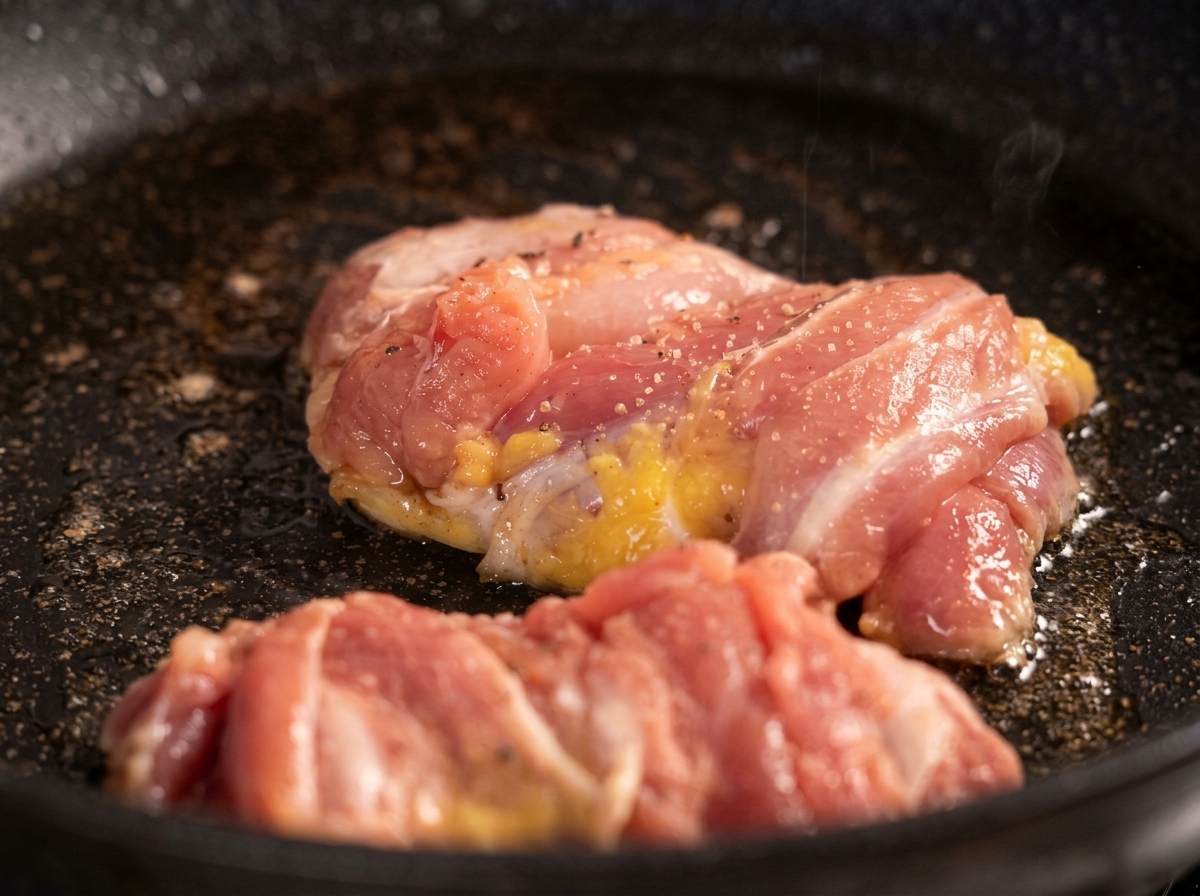
As the chicken sears in the pan, season the pieces generously with freshly cracked black pepper. This adds a subtle heat and aromatic punch that complements the rich butter and soy-based sauce.
Tip: Wait until the chicken has been searing for a moment before seasoning so the pepper sticks to the surface of the meat. - 6Slice into bite-sized pieces
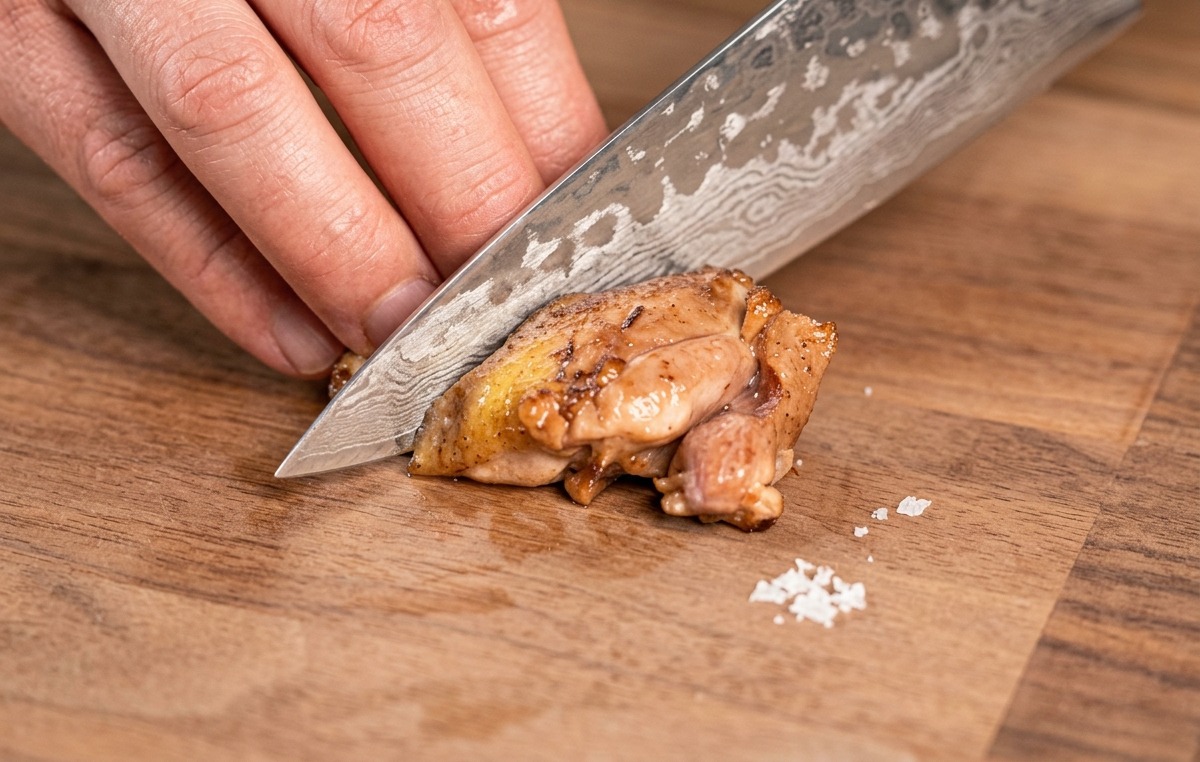
Once the chicken is well-browned on the outside, remove it from the heat and transfer it to a wooden cutting board. Use a sharp knife to slice the seared thighs into uniform, bite-sized pieces.
Tip: The chicken doesnt need to be cooked all the way through at this stage, as it will continue to simmer in the sauce later. - 7Slice the onion
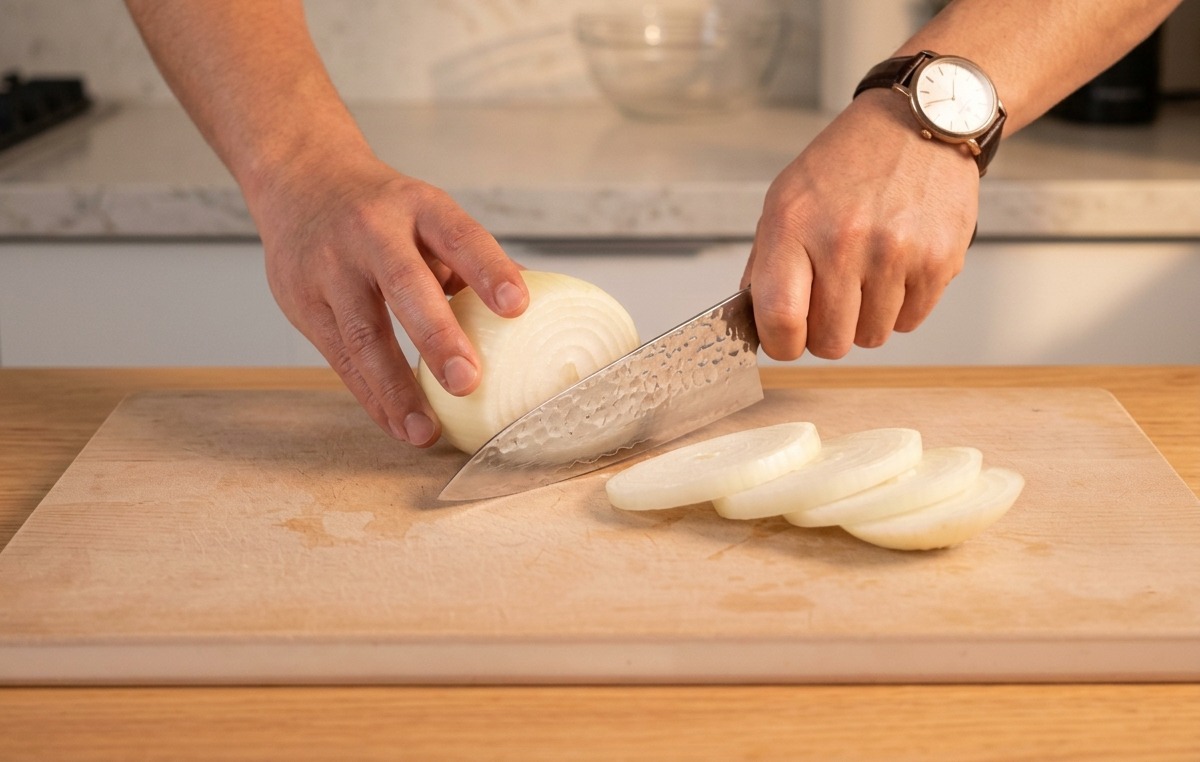
Carefully slice a white onion into thin, uniform crescent-shaped strips. These onions will act as a flavorful, sweet base for the Oyakodon as they poach in the savory dashi broth.
Tip: Cut the onion in half from root to tip first, then slice across the grain for better texture. - 8Sauté the onions
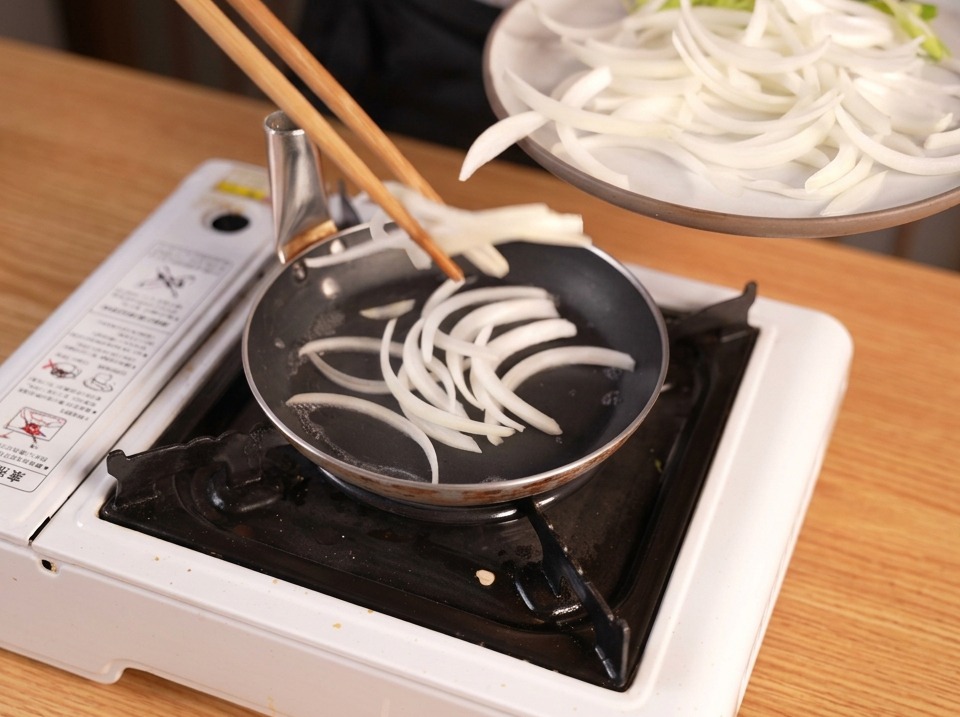
Place the thinly sliced onions into a small frying pan with a light coating of oil. Sauté them over medium heat until they start to soften and become translucent. Softening the onions first allows their natural sweetness to meld with the savory sauce later in the process.
Tip: If the onions start to brown too quickly, lower the heat slightly; you want them tender and sweet rather than crispy. - 9Add the dashi sauce
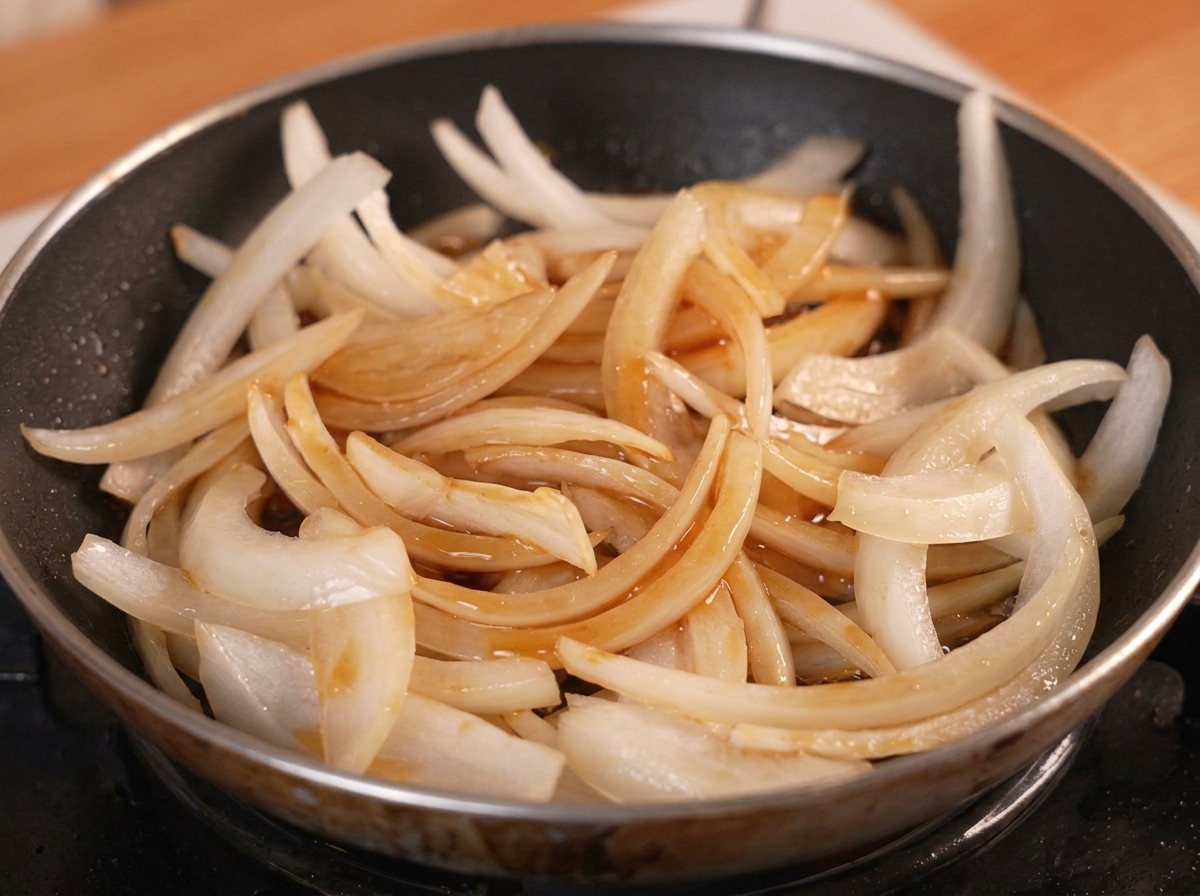
Pour your prepared mixture of dashi, soy sauce, and mirin directly over the sautéed onions in the pan. The liquid should surround the onions, allowing them to simmer evenly and absorb the savory seasoning.
Tip: Make sure the sauce is well-whisked before pouring to ensure the salt and sugar are fully dissolved. - 10Simmer the onions
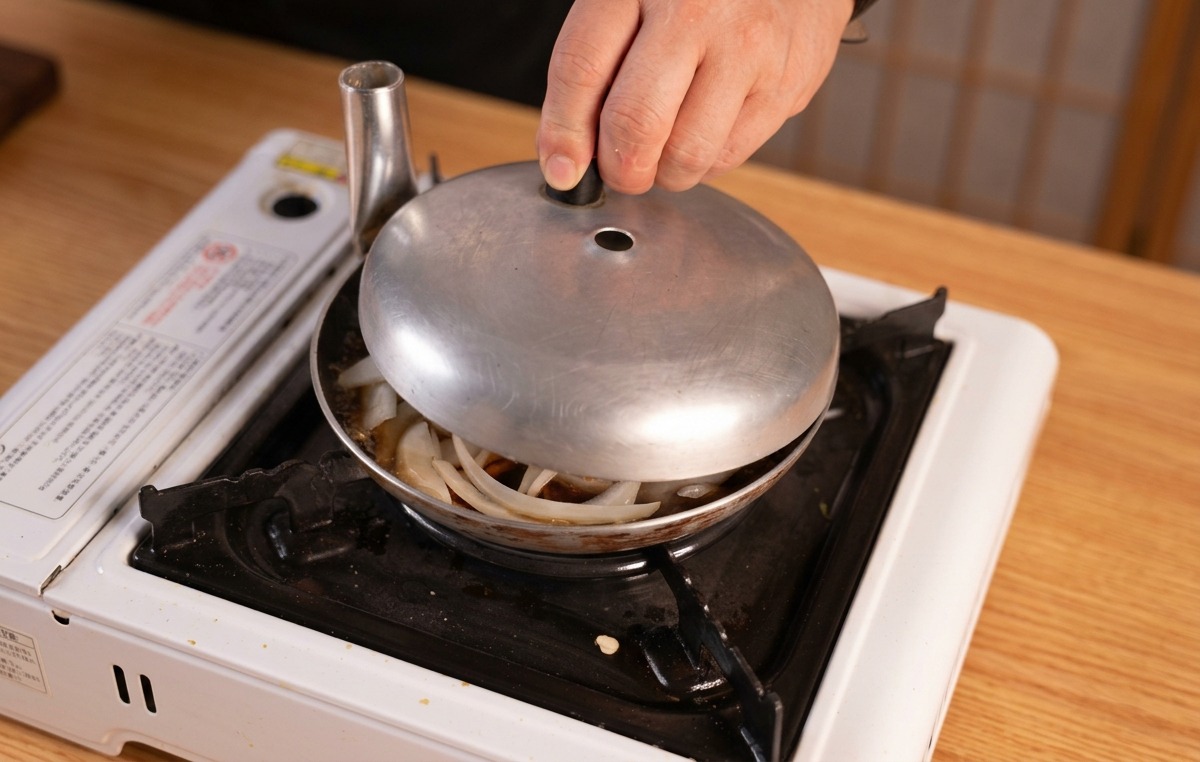
Place a lid over the pan and let the onions simmer in the sauce. This traps the steam, which helps the onions soften quickly until they become sweet and translucent.
Tip: Using a lid slightly smaller than the pan (like a Japanese drop lid or otoshi-buta) helps the liquid circulate better. - 11Add the seared chicken
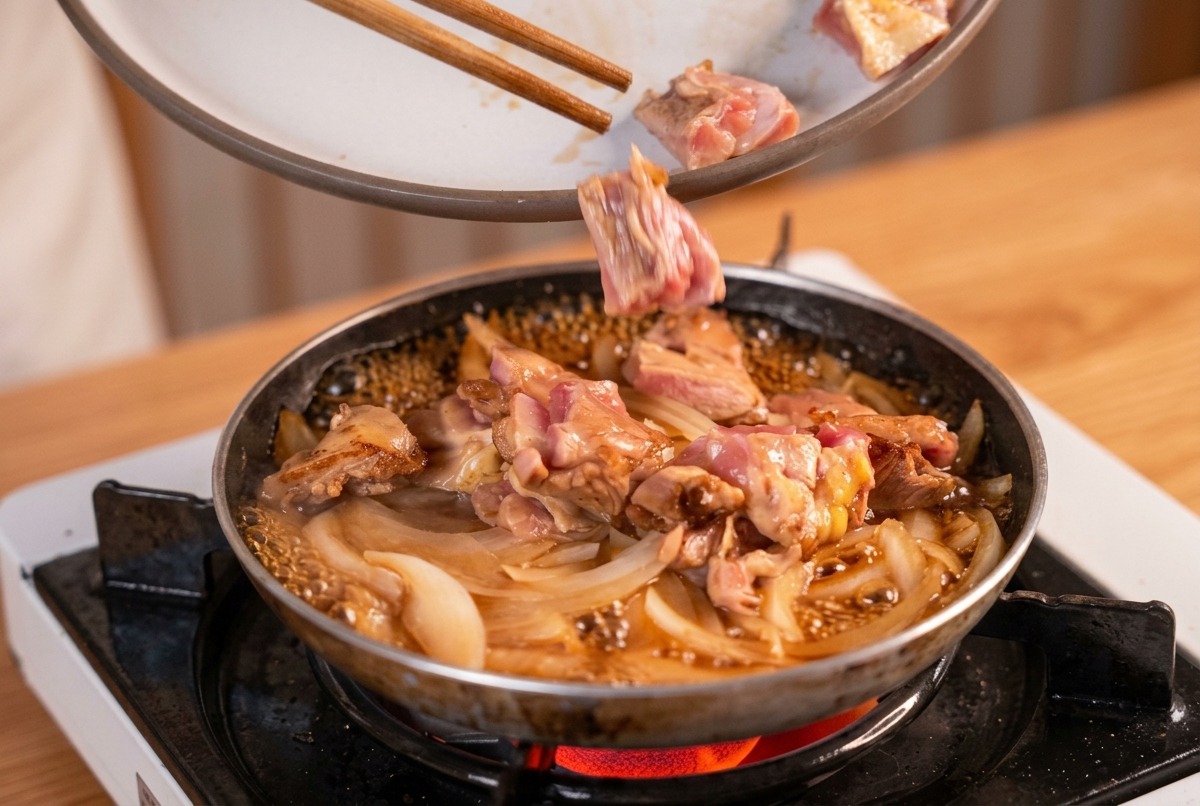
Once the onions are tender, nestle the seared chicken thigh pieces back into the pan. Distribute them evenly so each piece of chicken can soak up the dashi broth during the final simmer.
Tip: Dont forget to pour in any resting juices from the chicken plate for maximum umami flavor. - 12Prepare the egg mixture
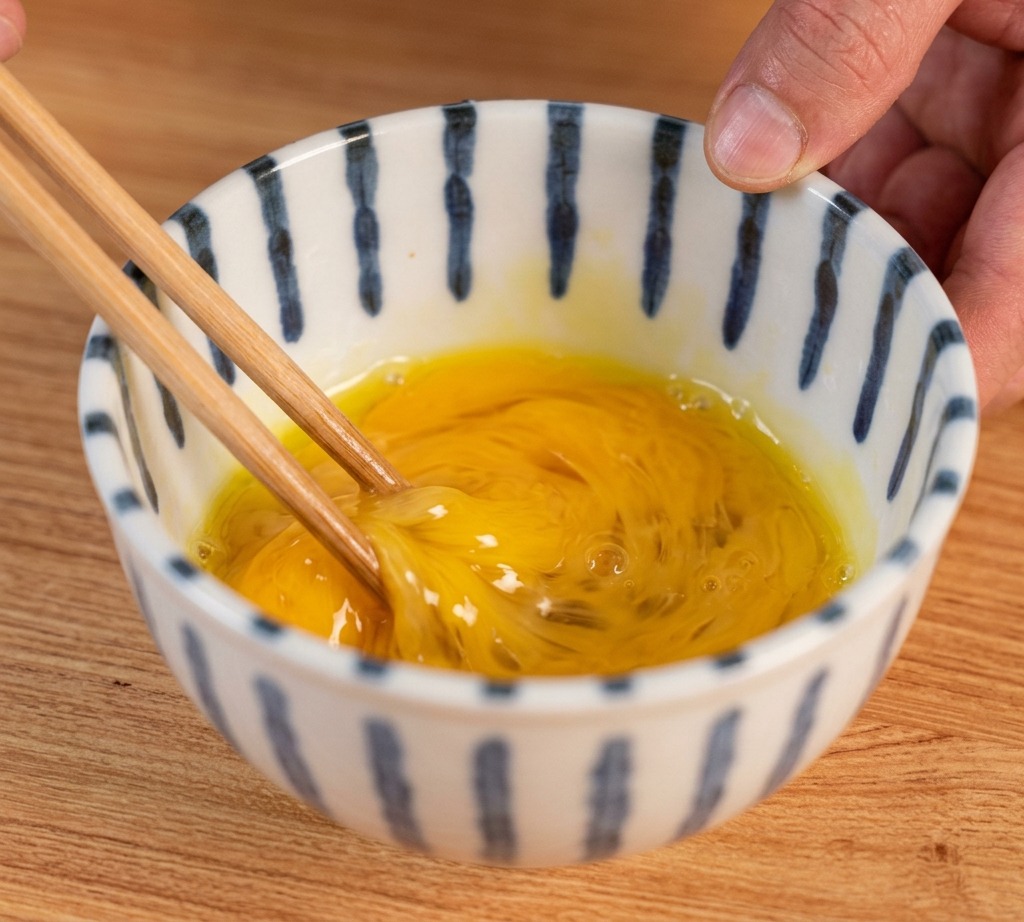
Crack two eggs into a bowl and use chopsticks to whisk them very lightly. You want the yolks broken, but do not over-mix; having distinct streaks of white and yellow creates the classic silky texture of Oyakodon.
Tip: Aim for a cutting motion with the chopsticks rather than a vigorous beat to keep the proteins from becoming too homogenous. - 13Finish with egg and green onions
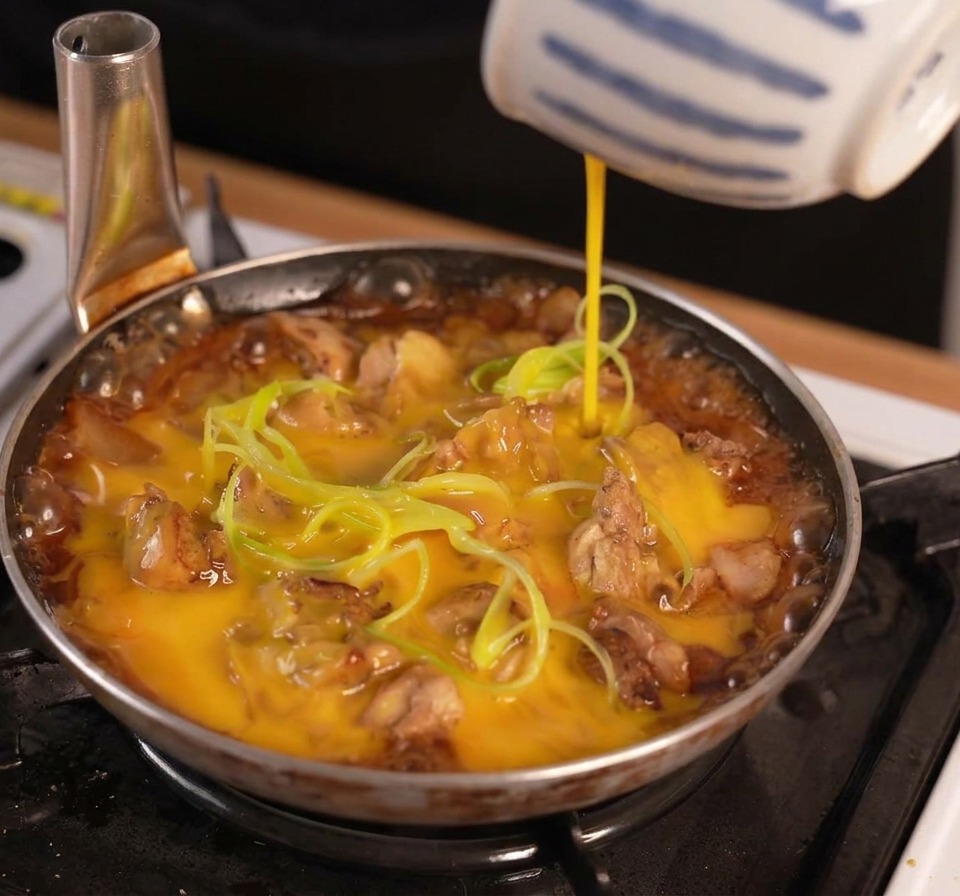
Pour about two thirds of the beaten egg mixture over the chicken and onions. Add the sliced green onions then pour the remaining egg across the surface. This dual pour technique creates a beautiful contrast between the fully set base and the silky top layer.
Tip: Cover the pan for just 10 to 15 seconds after this final pour then turn off the heat. The residual heat will finish cooking the egg to a perfect custardy consistency. - 14Cover and steam the eggs
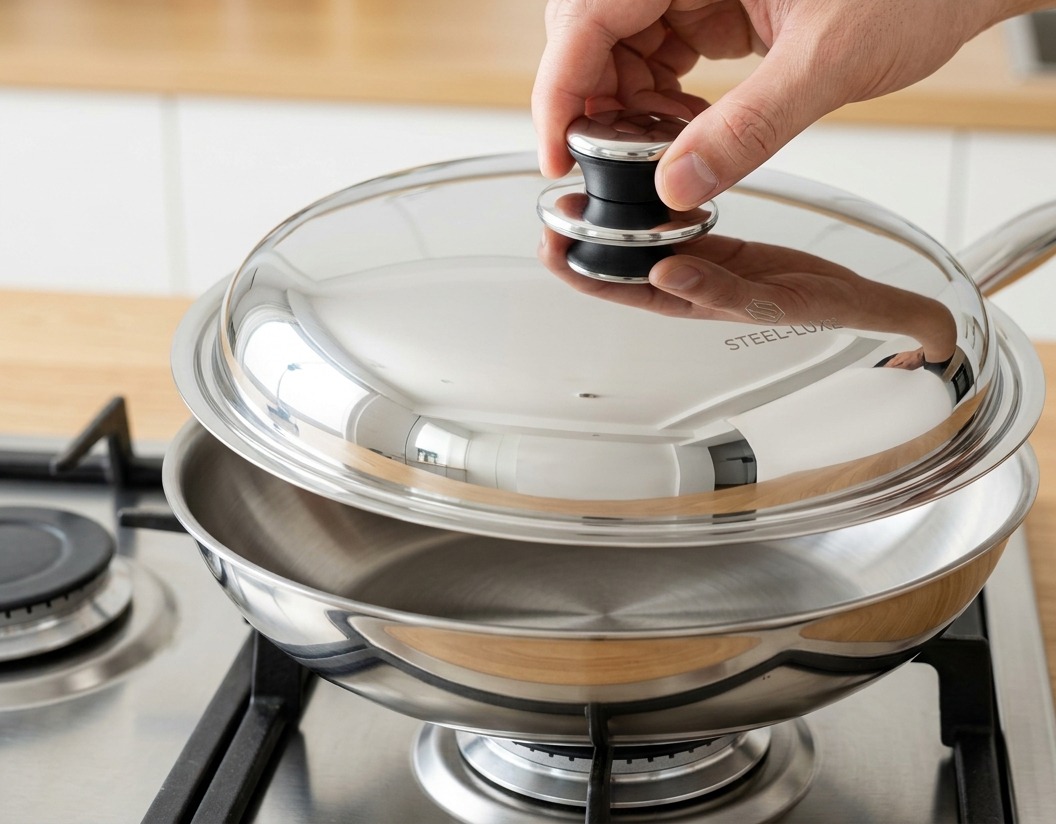
Place a lid over the frying pan and let the mixture simmer for just a few seconds. This traps the heat and creates steam, which gently cooks the egg mixture until it is perfectly set on the bottom while remaining soft and moist on top. The steam also helps keep the chicken pieces tender and juicy.
Tip: Keep a close eye on the pan; the eggs only need about 20–30 seconds to reach the ideal silky consistency. - 15Serve the Oyakodon
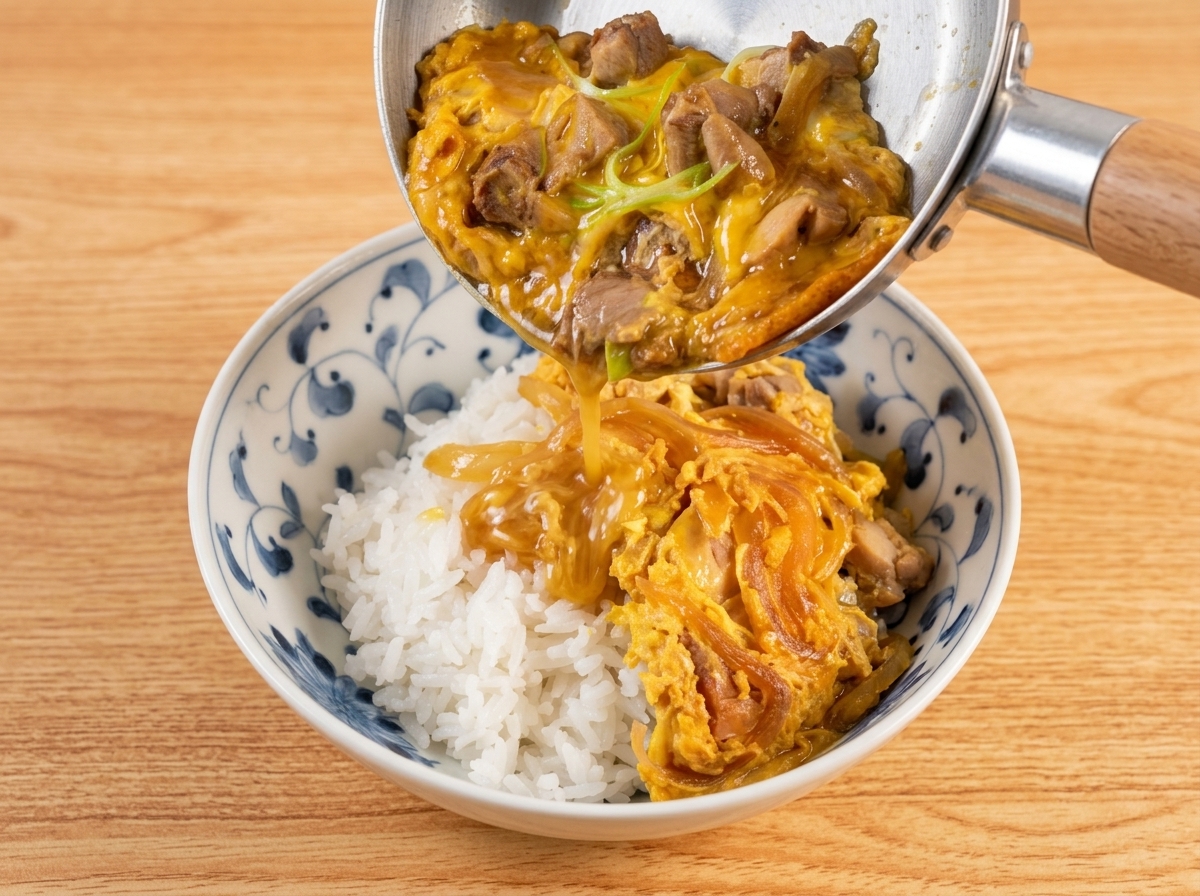
Carefully tilt the pan and gently slide the cooked chicken and egg topping directly over a bowl of hot steamed rice. Ensure the flavorful dashi-based sauce flows over the rice as well, as this provides the essential seasoning for the base of the dish.
Tip: If the mixture sticks slightly, use a spatula to gently nudge the edge before sliding it out to keep the presentation neat.