Oyakodon (Chicken
Egg Rice Bowl) Set Meal
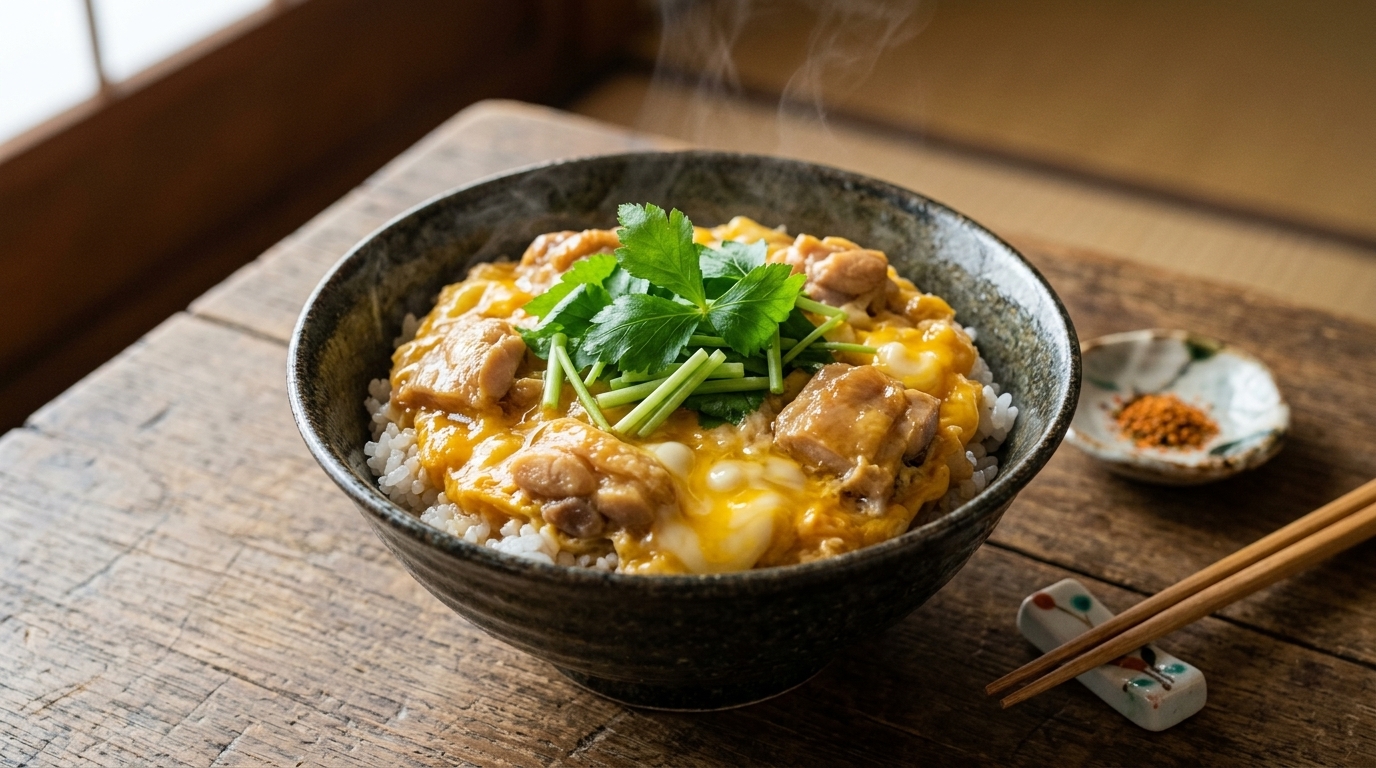
A quintessential Japanese comfort meal featuring succulent chicken and silky, semi-set eggs simmered in a sweet-savory dashi broth and served over fluffy steamed rice.
Oyakodon literally translates to parent and child bowl, a poetic reference to the use of both chicken and egg. This humble donburi is a staple of Japanese home cooking and lunch counters, prized for its soul-warming flavors and the delicate, custard-like texture of the eggs.

Ingredients
- 250 g chicken thigh
- 12 white onion
- 2 large eggs
- 1 tbsp salad oil
- 100 ml Oyakodon sauce (soy sauce, mirin, and dashi)
- 2 cups cooked white rice
- to taste green onions
Instructions
- 1Slice the onion
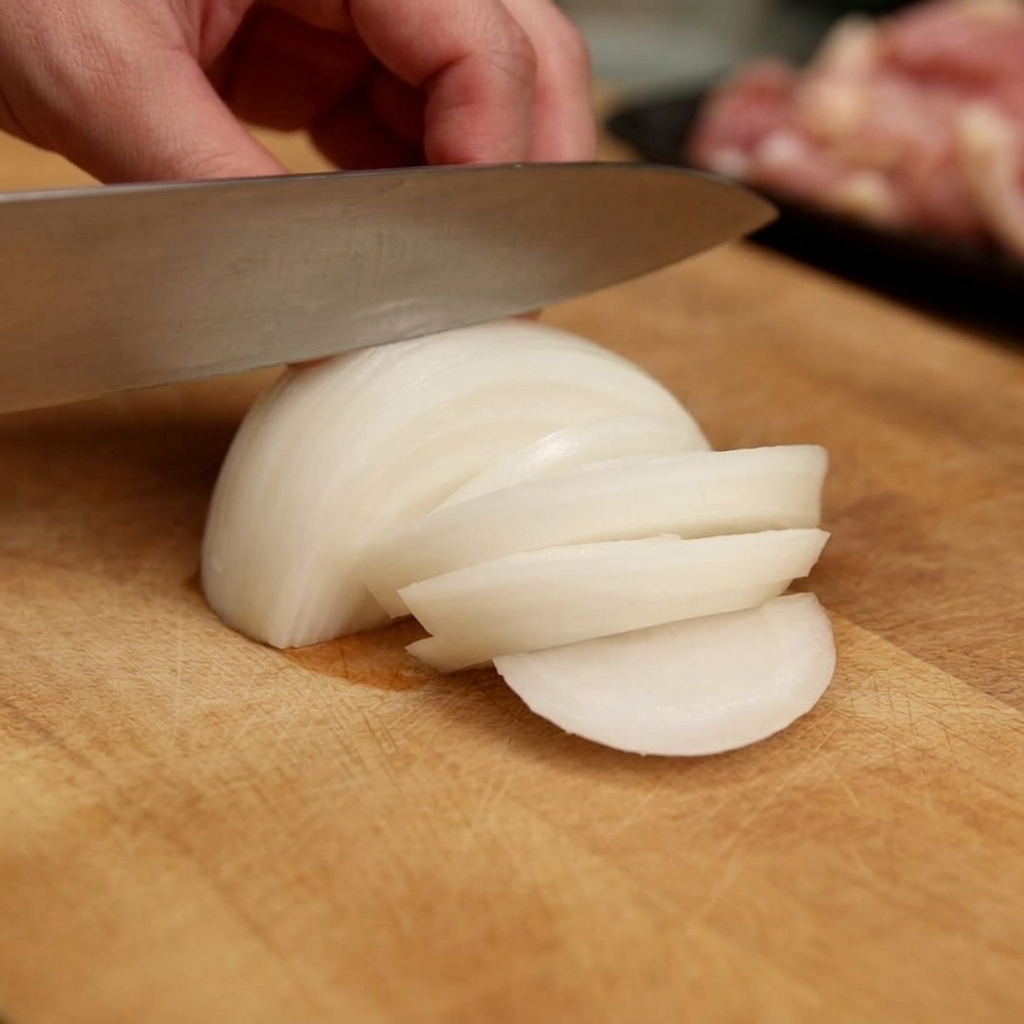
Begin the preparation by thinly slicing a white onion on a wooden cutting board. These thin slices will soften quickly and provide a sweet, aromatic base for the Oyakodon sauce as they simmer.
Tip: Slice from pole to pole (with the grain) to ensure the onion pieces maintain their shape and provide a pleasant texture in the finished dish. - 2Prep the chicken
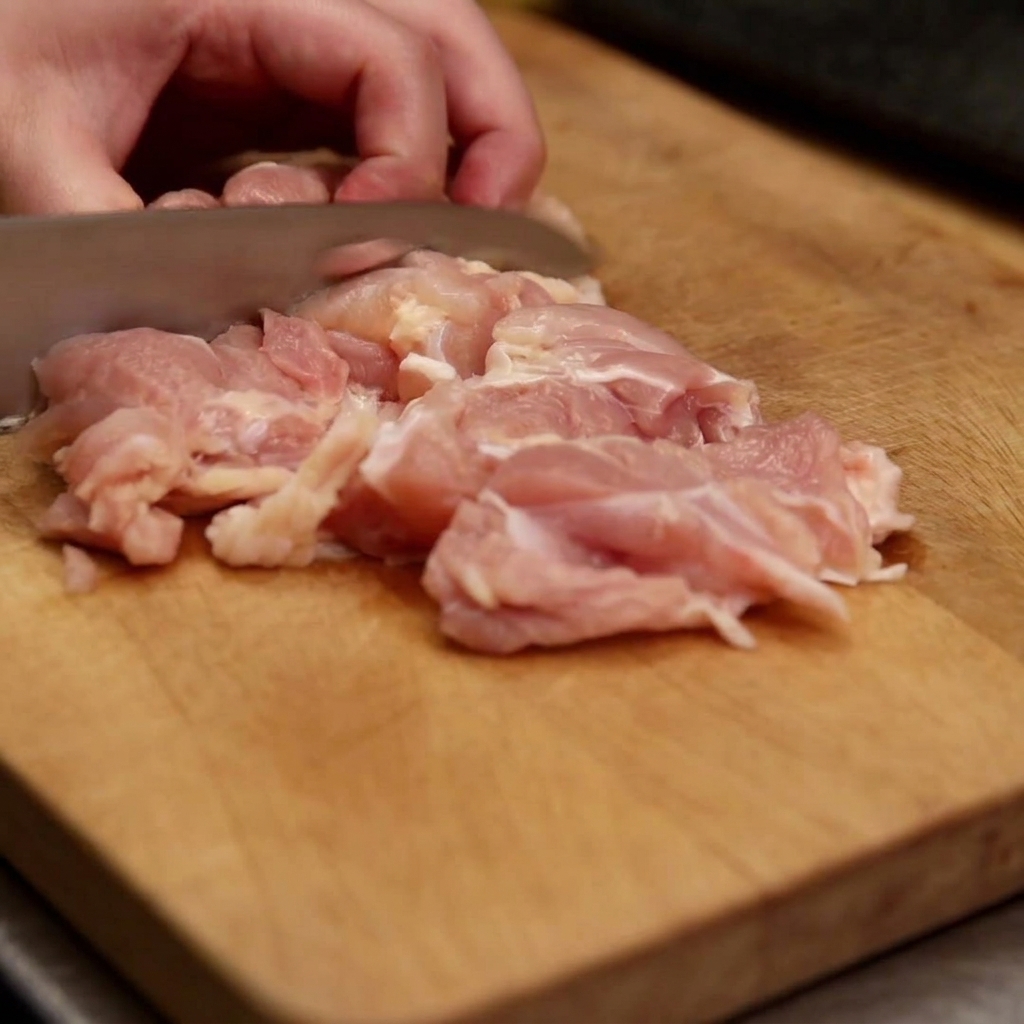
Cut the raw chicken thigh meat into uniform bite-sized pieces on the cutting board. Using chicken thigh ensures the meat stays juicy and tender during the sautéing and simmering stages.
Tip: Try to keep the pieces roughly the same size so they cook evenly when they hit the hot pan. - 3Whisk the eggs
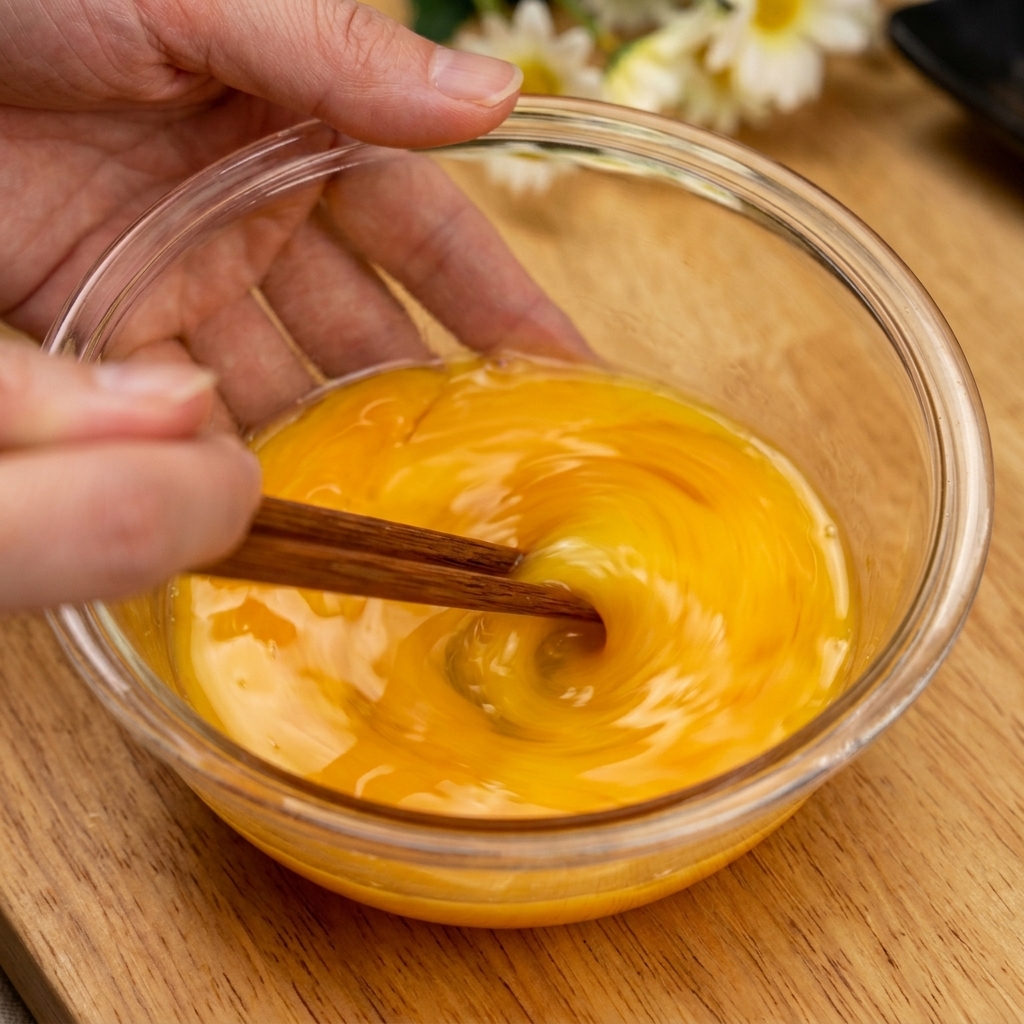
Crack two eggs into a clear glass bowl. Using a pair of chopsticks, whisk the eggs together until the yolks are broken and the mixture is combined, though not perfectly homogeneous. This slight separation between the whites and yolks helps create the classic marbled look of a traditional Oyakodon.
Tip: Avoid over-whisking or using a whisk; using chopsticks keeps the texture of the eggs thicker and more rustic for the final dish. - 4Heat the oil
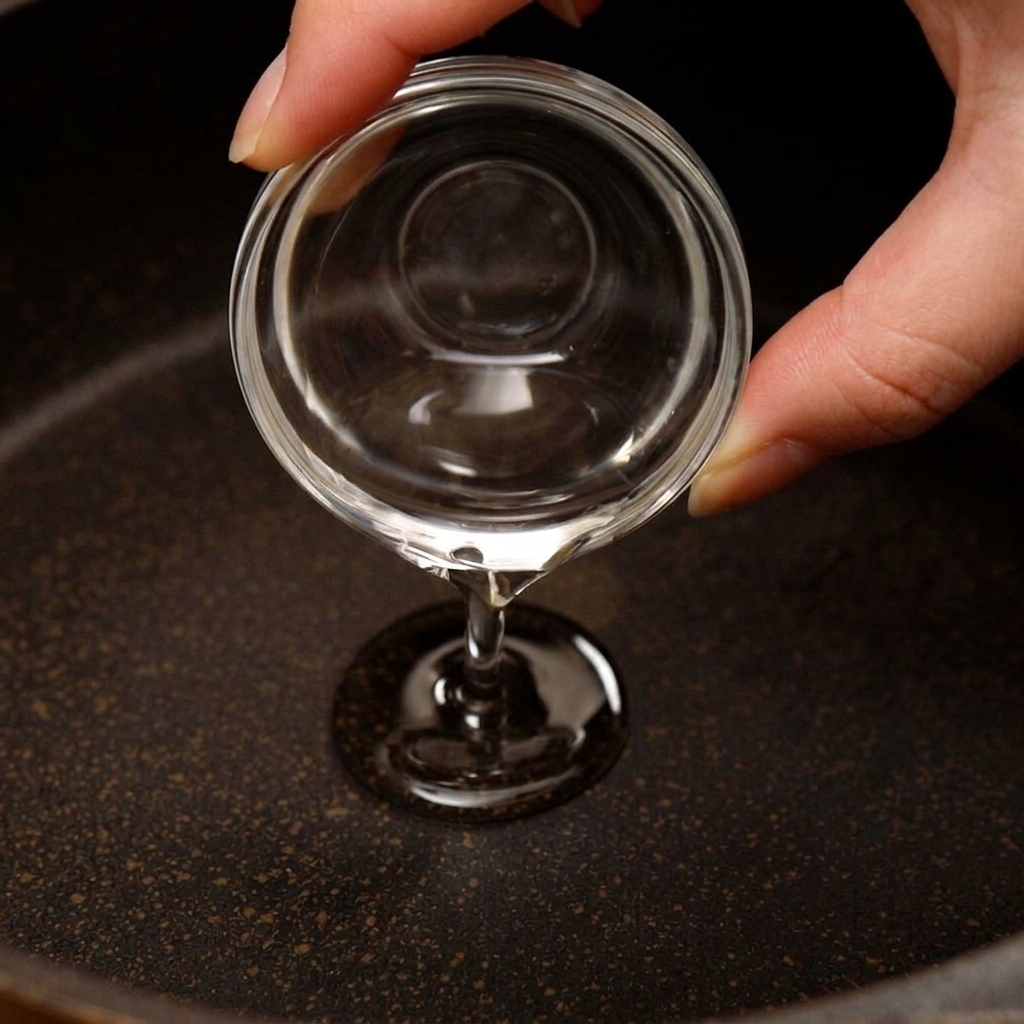
Pour a small amount of salad oil from a glass container into a black frying pan. Heat the oil over medium heat, ensuring it coats the surface to prevent the chicken from sticking.
Tip: Preheating the pan before adding the oil helps create a better sear on the meat. - 5Sauté the chicken pieces
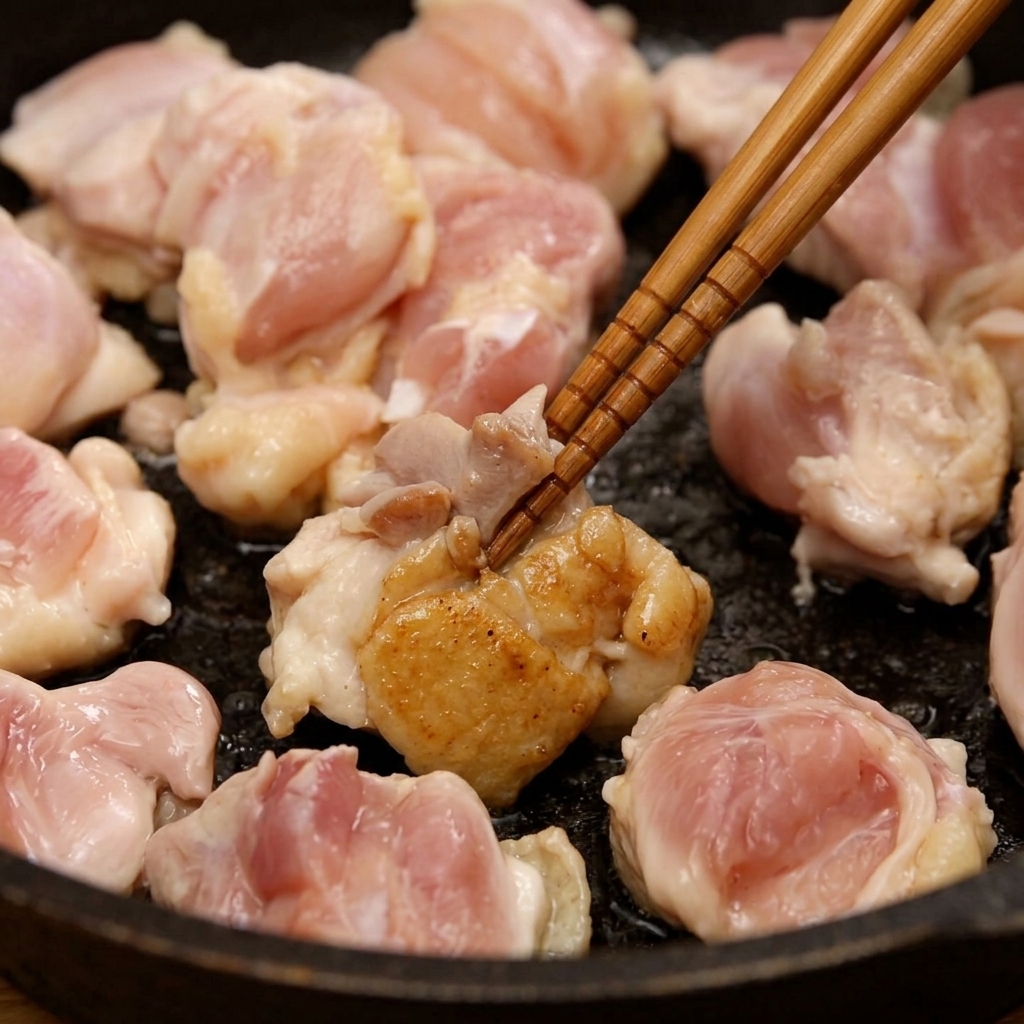
Add the chicken pieces to the hot pan and sauté them using chopsticks. Cook until the exterior of the meat turns opaque and begins to develop a light golden-brown color.
Tip: Do not overcook the chicken at this stage; it only needs a light sear as it will continue to cook later in the sauce. - 6Add the sliced onions
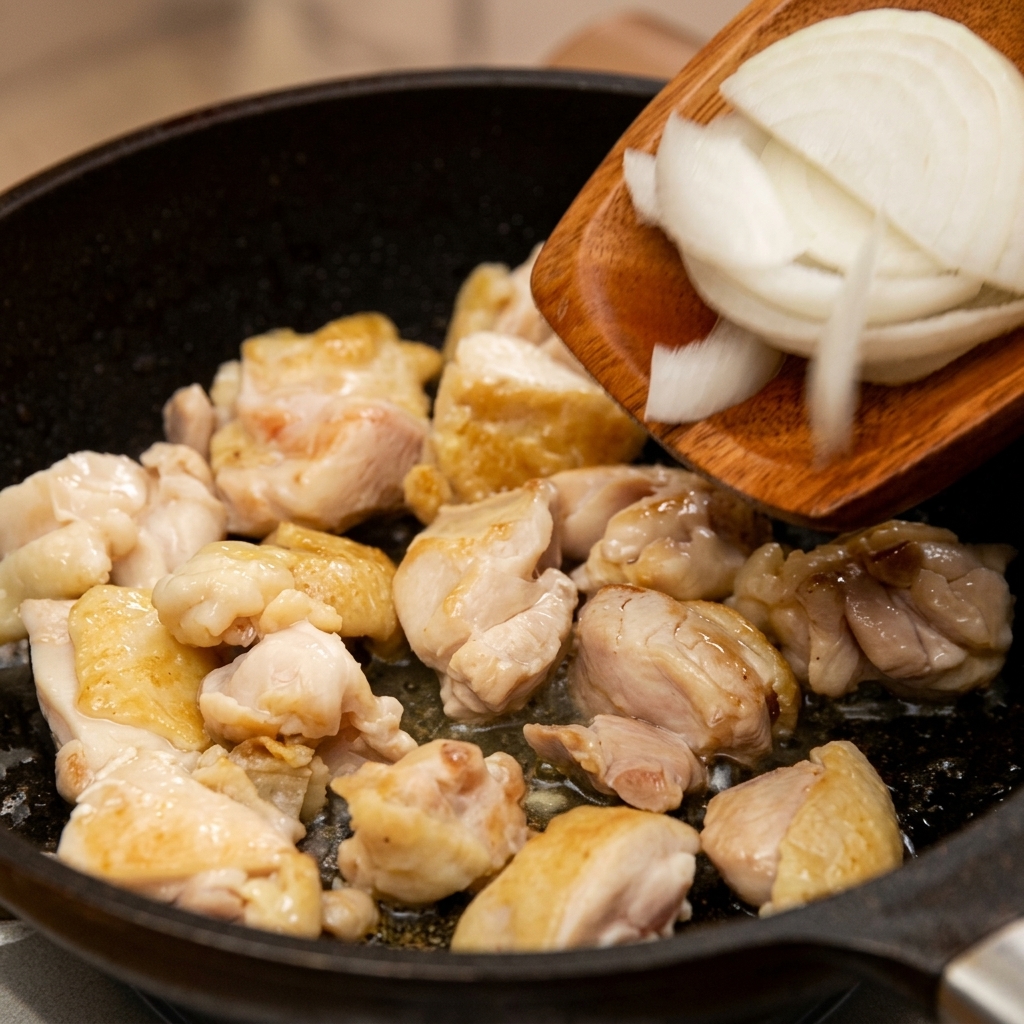
Once the chicken is partially browned, add the sliced raw onions into the pan. Stir them into the chicken pieces to begin the sautéing process.
Tip: The moisture released from the onions will help deglaze the pan and pick up any flavorful browned bits from the chicken. - 7Simmer with savory sauce

Once the chicken is lightly browned and the onions have softened, pour the soy-based sauce over the ingredients. This sweet and savory liquid acts as the poaching base, infusing the protein and vegetables with deep umami flavor as it reduces.
Tip: Reduce the heat slightly after adding the sauce to allow it to simmer gently without evaporating too quickly. - 8Add the first layer of eggs
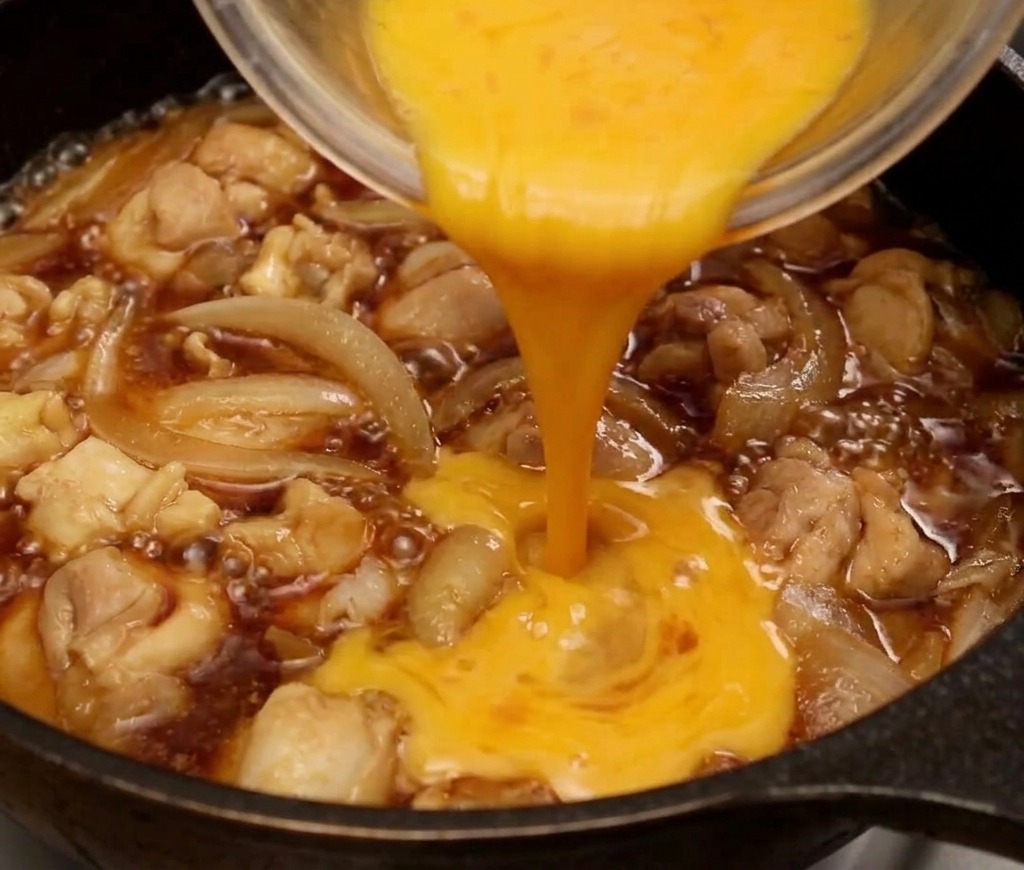
Pour about two-thirds of your beaten egg mixture into the simmering pan. Use a steady, circular motion to distribute the egg evenly over the chicken and onions. This initial layer creates the rich, fluffy base that defines the dishs signature texture.
Tip: Avoid stirring the pan after adding the egg; let it settle and poach in the simmering sauce to maintain a soft, custard-like consistency. - 9Pour the remaining egg

After the first addition of egg has partially set, pour the remaining third of the beaten egg mixture directly into the center of the pan. The residual heat from the simmering sauce and the bubbling chicken will cook the egg quickly while maintaining a soft, creamy consistency.
Tip: For the best texture, pour the second batch of egg in a circular motion toward the center to ensure the thickest part of the dish remains moist. - 10Transfer to a bowl of rice
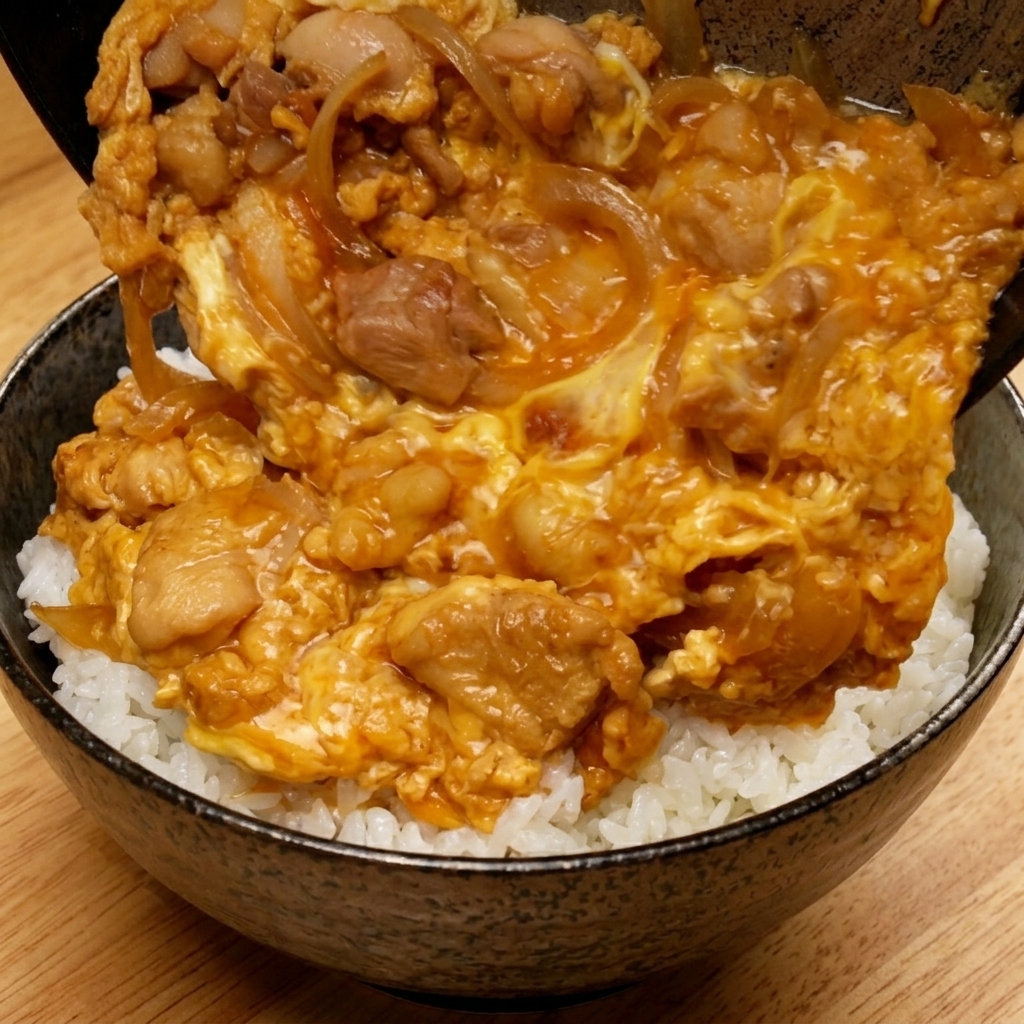
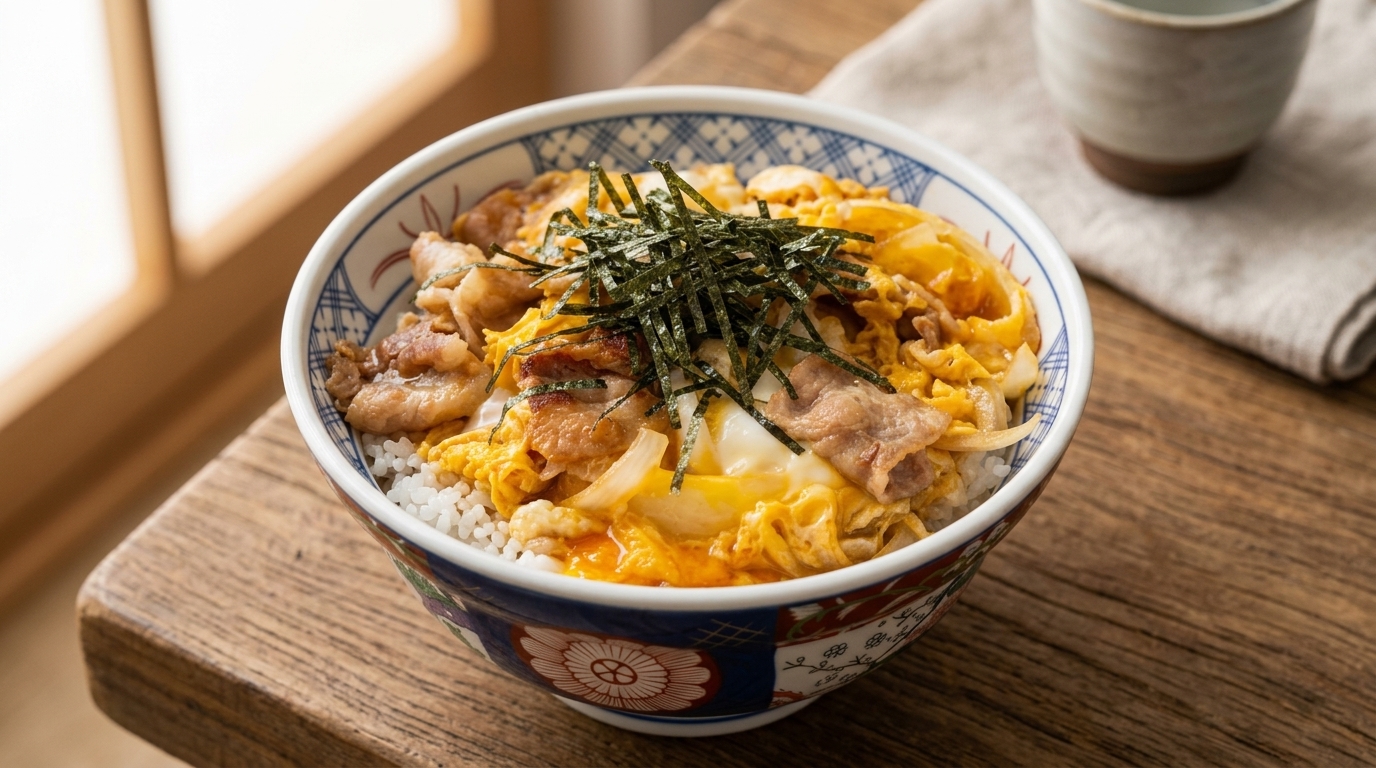
When the eggs are soft-boiled and have reached a silky, semi-set consistency, gently slide the mixture out of the pan. Place it directly over a bowl of steamed white rice, ensuring the savory sauce covers the grains to create a cohesive set meal.
Tip: Tipping the pan at a shallow angle helps the eggs slide out smoothly without breaking the delicate topping. - 11Garnish with green onions
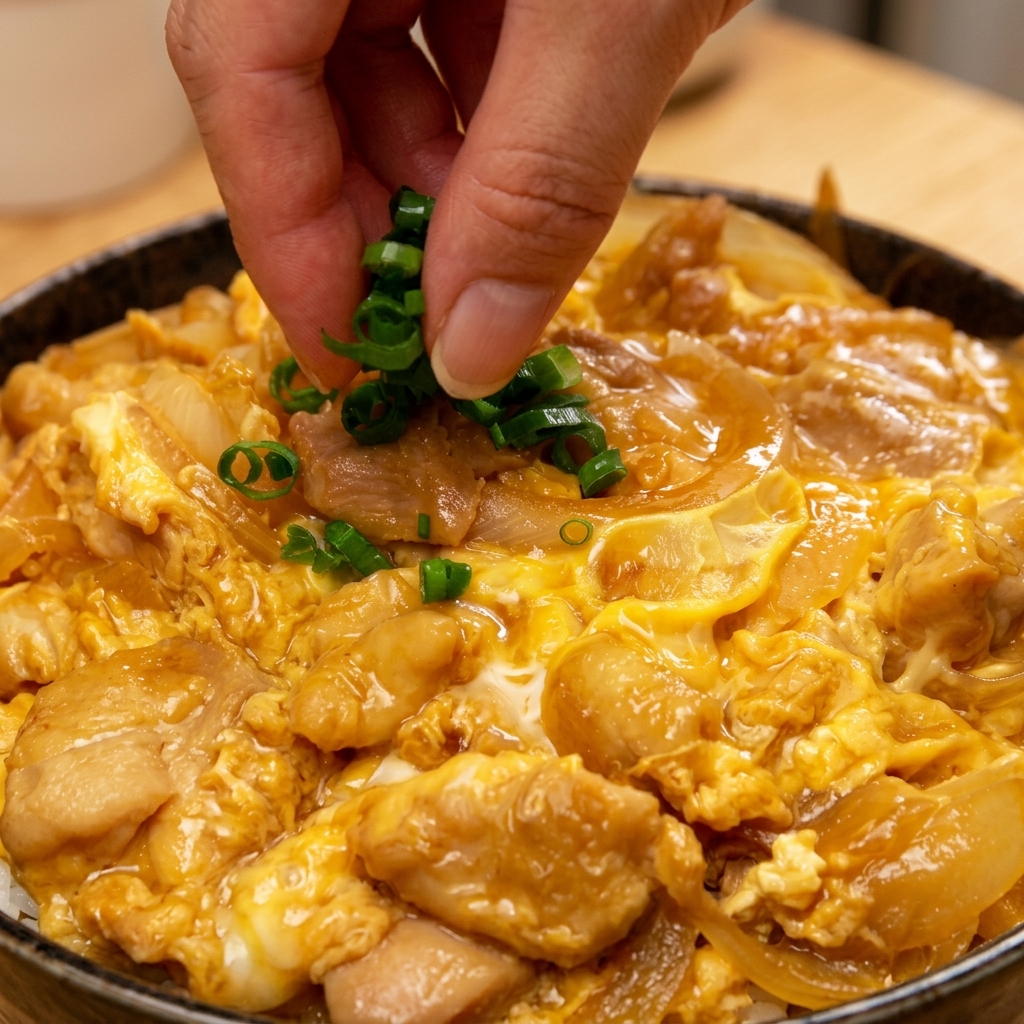
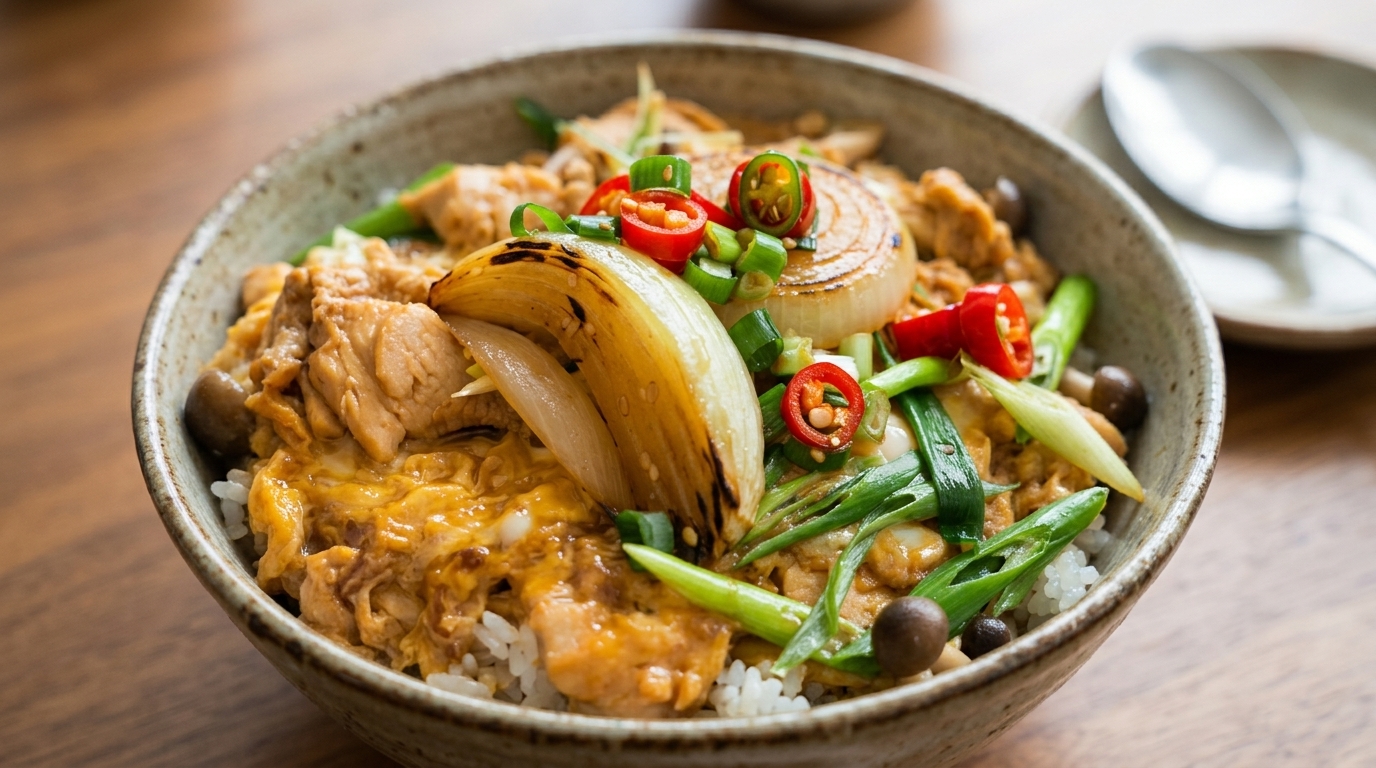
Finalize the dish by sprinkling a handful of freshly chopped green onions over the top. The vibrant greens provide a fresh, crisp contrast to the rich, savory flavors of the simmered eggs and chicken, making the final presentation pop.
Tip: Chop the scallions thinly and use them immediately for the brightest color and freshest flavor profile.